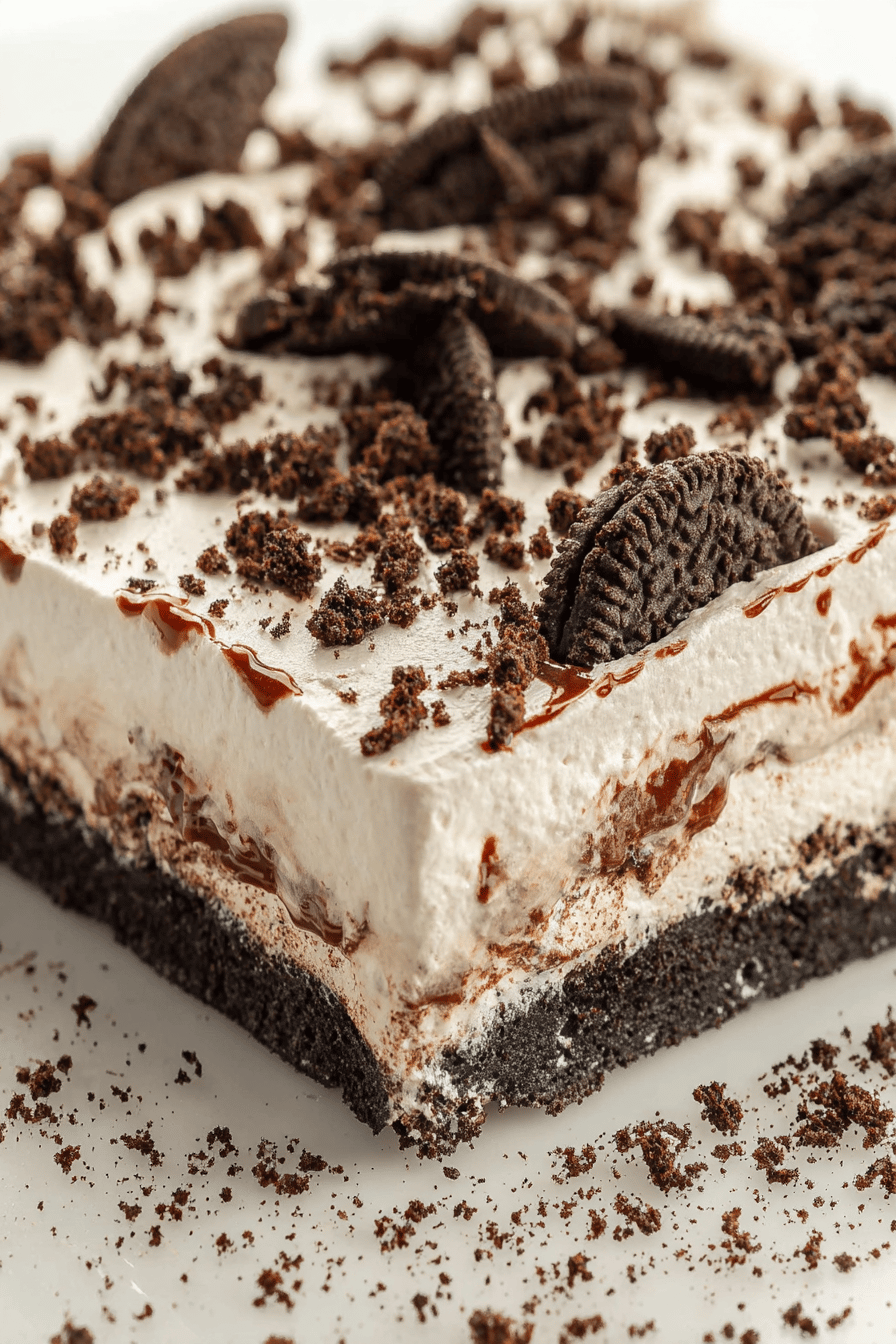
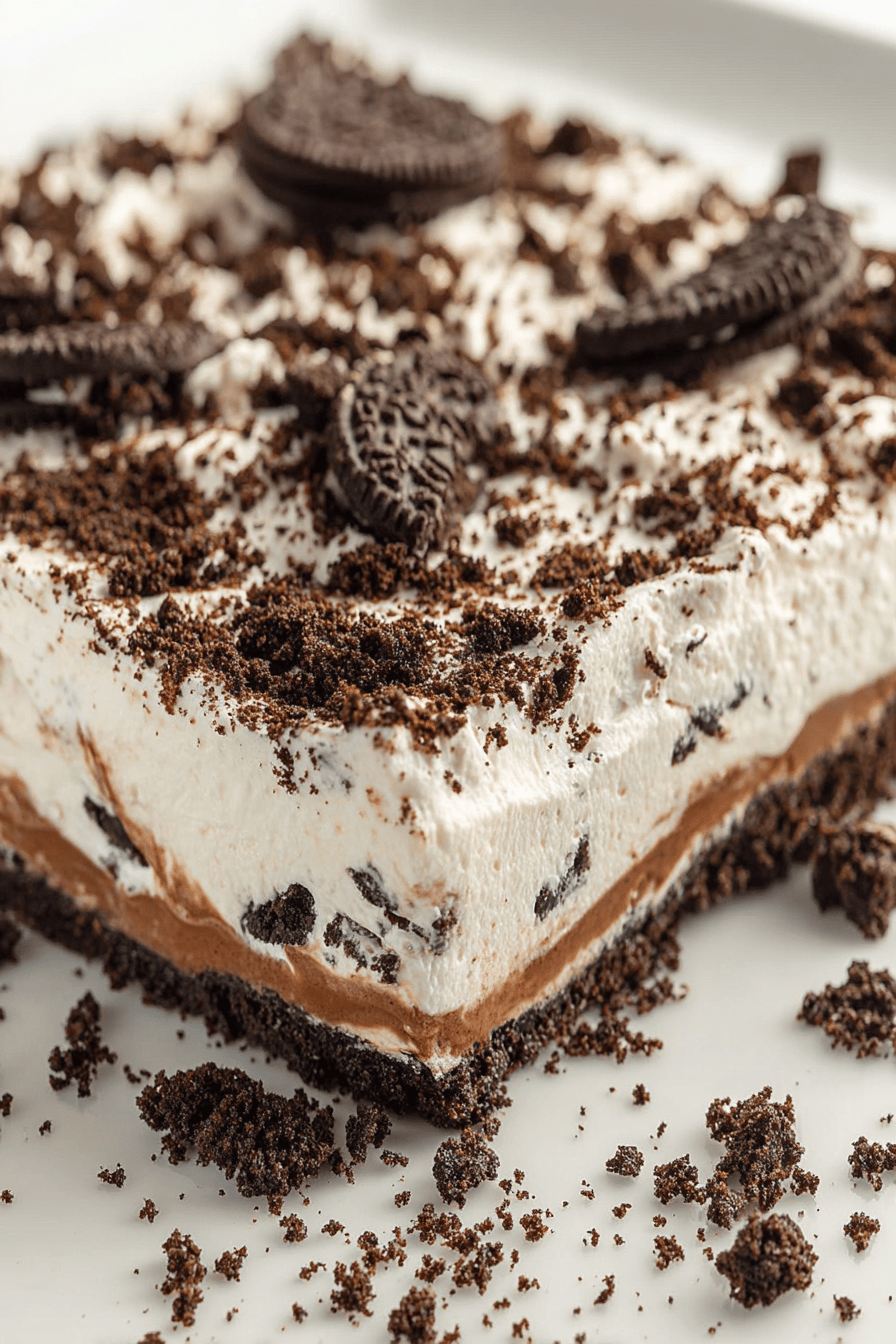
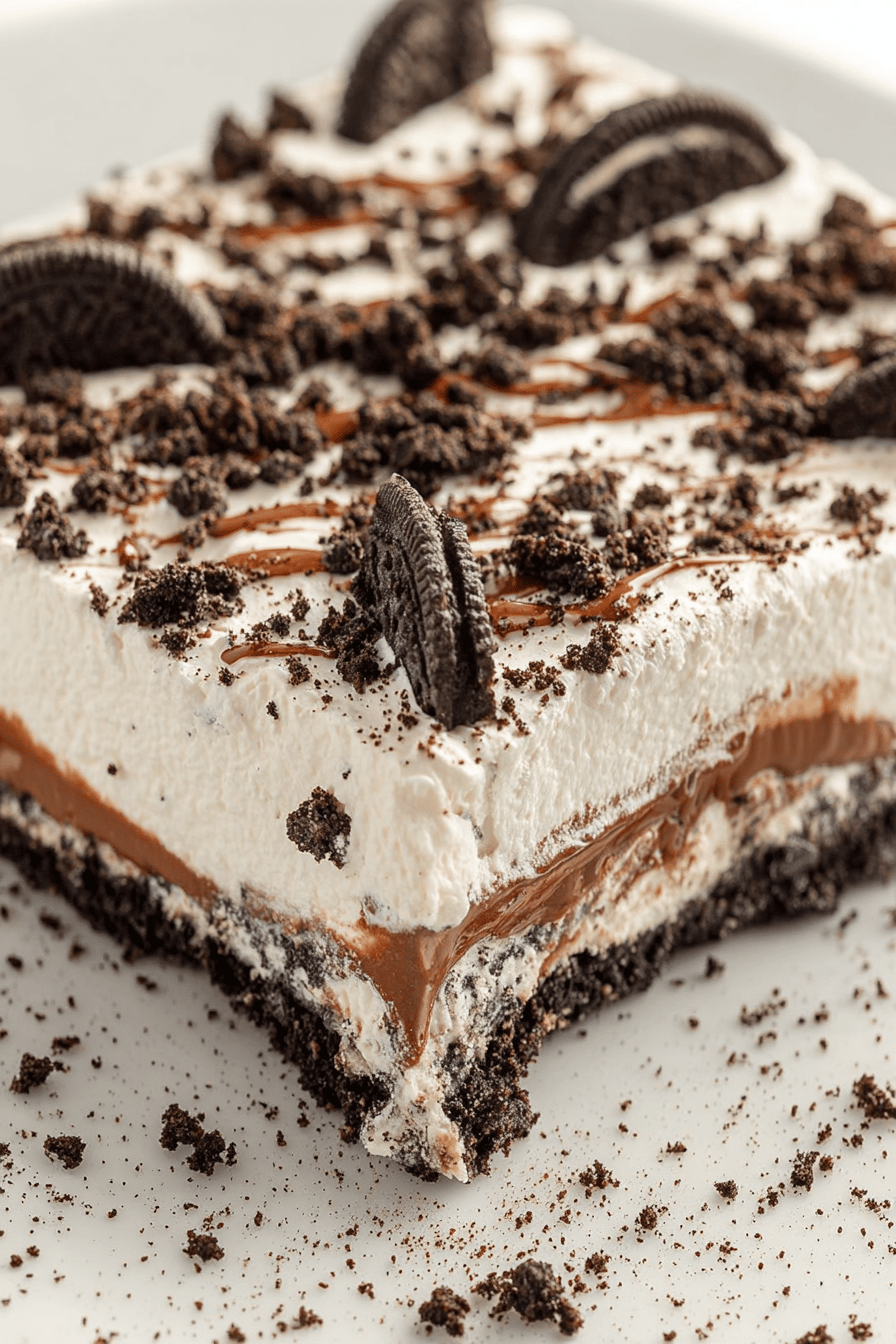
Easy No-Bake Oreo Lush Dessert
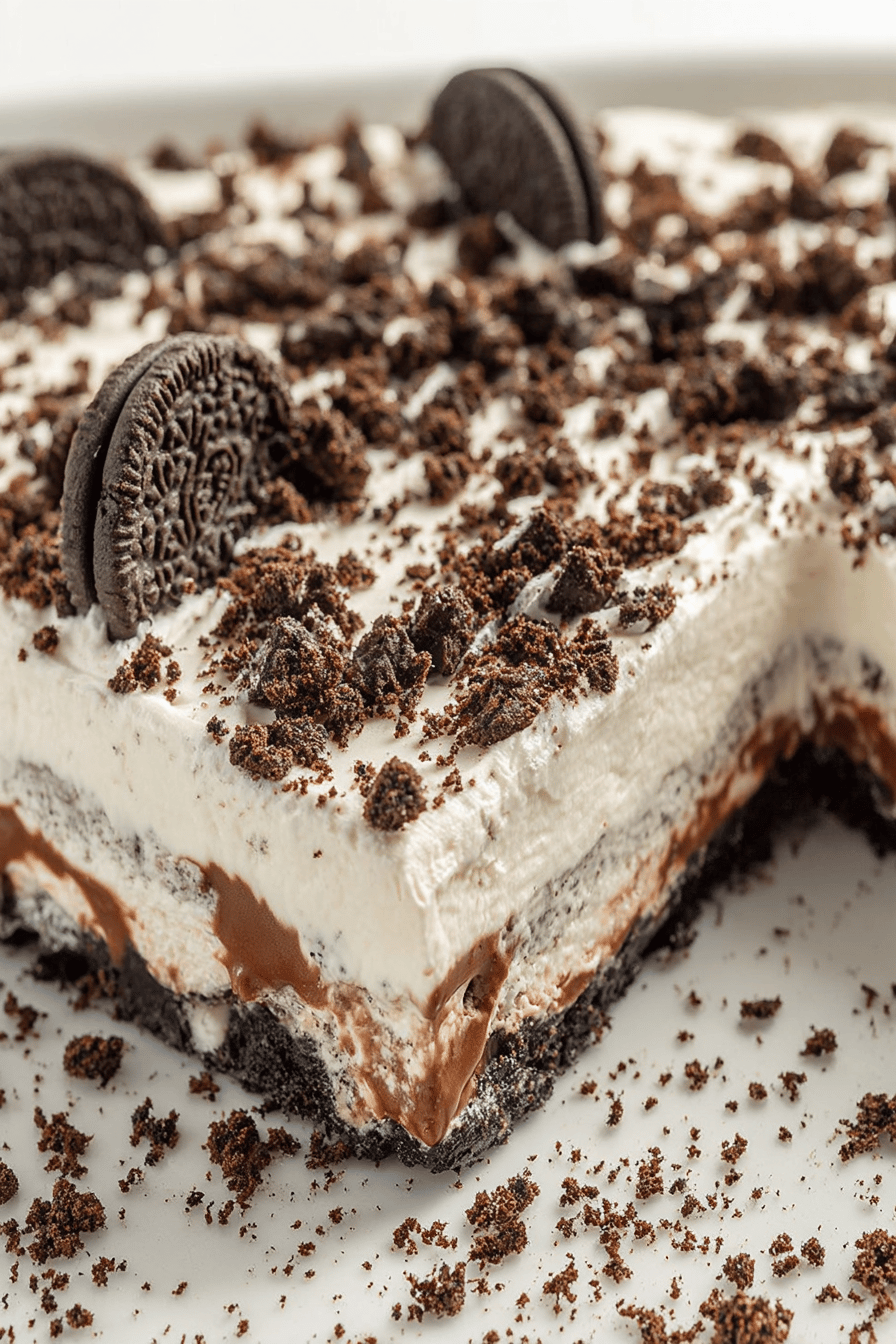
Imagine indulging in a dessert that’s as delightful to your taste buds as it is easy to prepare. Today, we’re diving into a world of rich chocolatey crunch and velvety cream with our new favorite, the Easy No-Bake Oreo Lush Dessert. This delicious creation will have your family singing praises and reaching for seconds, all without turning on the oven.
My grandmother was known for her culinary magic, and every visit to her place promised a treat beyond my wildest imaginations. One summer, I remember her introducing this no-bake wonder during our traditional family picnic. The lineage of her recipe passed on with tweaks, and my rendition still echoes the nostalgia of those afternoon gatherings under the sun. The best part? Even the least experienced chef in the family, often me, found success with it.
Why You’ll Love This Recipe
This dish marries ease with elegance, making it a must-try for both casual get-togethers and formal events. The simplicity lies in its assembly – no baking required! The creamy layers juxtaposed with the classic Oreo crunch deliver a texture you won’t easily forget. This dessert is versatile, allowing for any number of flavor twists that ensure each serving is fresh and exciting every time.
Ingredients Notes
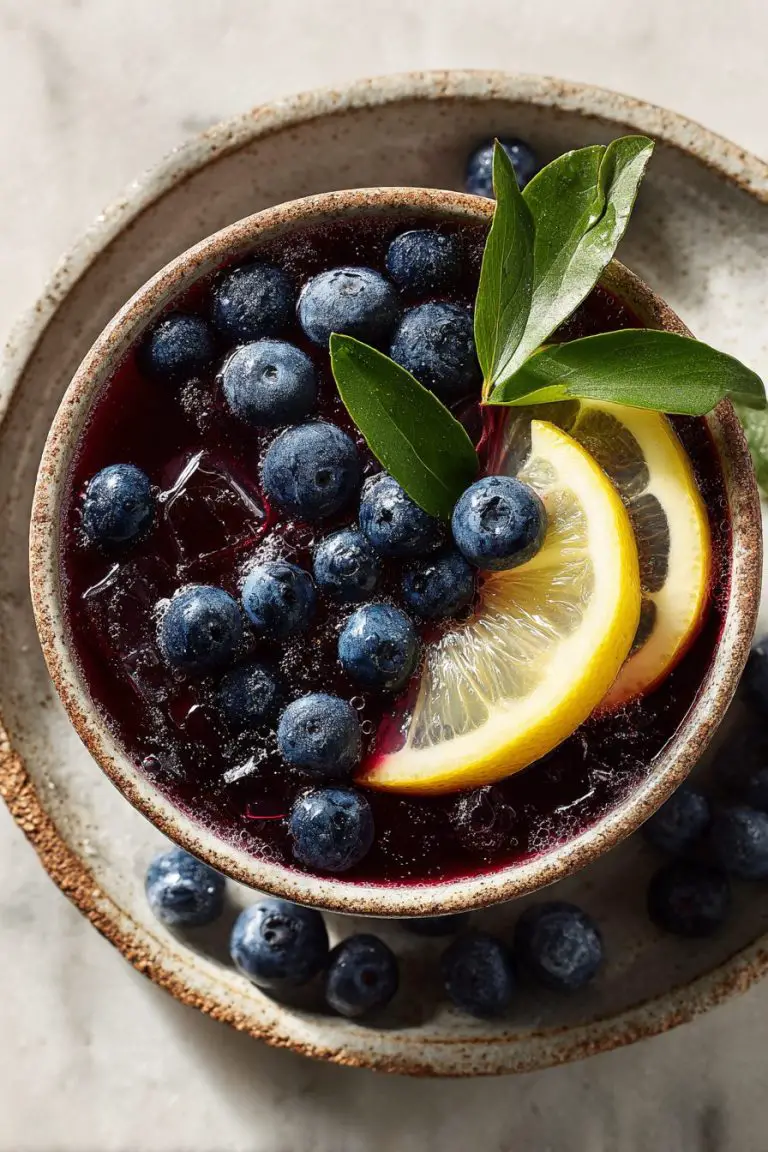
MORE EASY DESSERT RECIPES...


To craft this dish, you’ll need Oreos, instant pudding mix, cream cheese, whipped topping, and a splash of vanilla extract. Pro tip: reach for a generic or off-brand version of your favorite chocolate sandwich cookies to save costs without sacrificing taste. Feel free to substitute sugar-free versions of the pudding mix or whipped topping if you’re looking to cut calories or adjust for dietary needs.
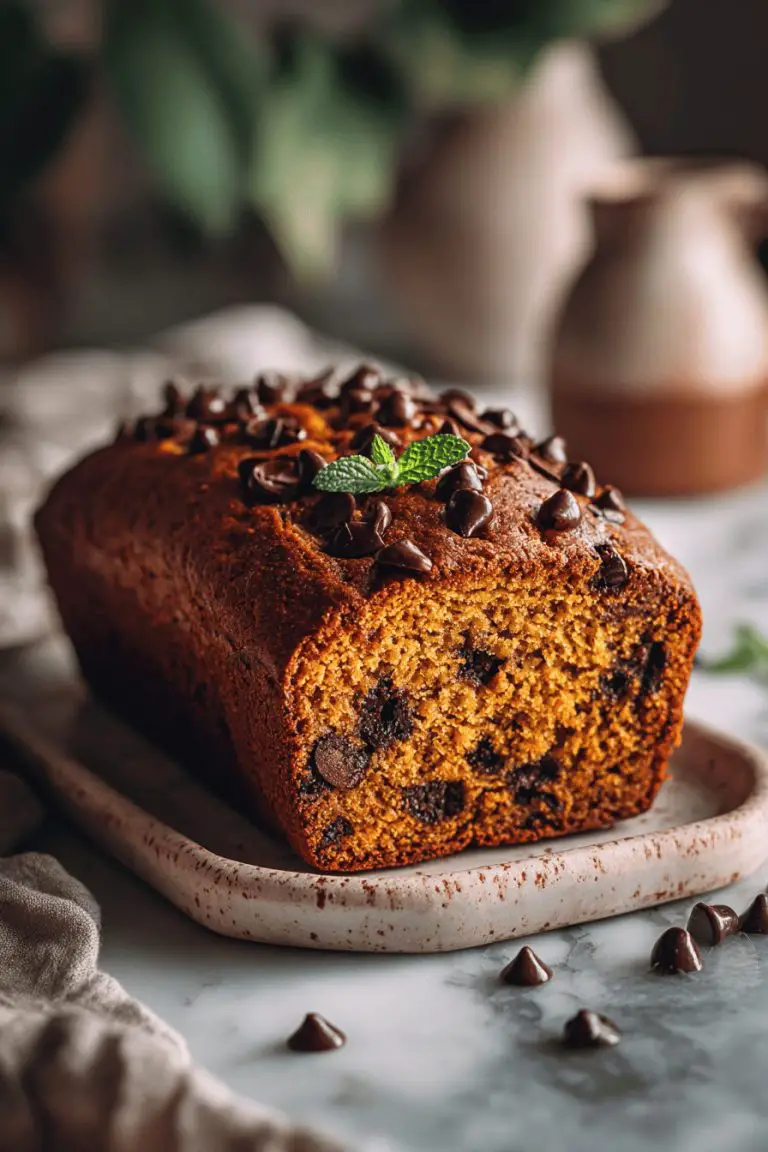
MORE OF OUR FAVORITE…
Recipe Steps
Step 1
First, crush the Oreo cookies by placing them in a sealed plastic bag and rolling over with a rolling pin. Reserve a cup of crumbs for topping and spread the rest in a layer at the bottom of your dish.
Step 2
Blend the cream cheese with powdered sugar until smooth, then fold in a portion of the whipped topping. Spread this mixture over the cookie base for the first creamy layer.
Step 3
Prepare the instant pudding according to package directions, then gently layer over the cream cheese mix. Ensure an even spread to keep the dessert’s structure intact.
Step 4
Spread the remaining whipped topping over the pudding layer, using a spatula to achieve a smooth finish and ensure even distribution.
Step 5
Sprinkle the reserved Oreo crumbs on top for a decadent finish. Let the dessert chill for at least four hours or overnight for optimum flavor meld and firmness.
Storage Options
Leftovers can be kept in an airtight container in the refrigerator for up to five days. Planning ahead? Prepare, cover with plastic wrap tightly, and freeze for up to three months. Just thaw overnight in the fridge before serving for that just-fresh texture and taste.
Variations & Substitutions
Customize this lush creation with a splash of mint extract, a handful of chocolate chips between layers, or a fruit twist by folding in sliced strawberries between creamed layers. Vegan options are easily accomplished with plant-based cream cheese and whipped cream alternatives.
Serving Suggestions
This dessert steals the spotlight at summer gatherings, holiday feasts, and birthdays. Serve it alone or alongside a scoop of creamy vanilla ice cream for an indulgent finish. Presenting it in clear cups offers a sophisticated, individual dish perfect for formal gatherings.
Frequently Asked Questions
Can I make this recipe without cream cheese? Absolutely! Substitute with a combination of Greek yogurt and a dash of milk for a similarly creamy texture. Remember, it will alter the flavor slightly but still delivers a creamy layer.
What can I use instead of a rolling pin to crush cookies? A food processor works wonders if you have one. Alternatively, using the back of a sturdy pan also suffices. The key is to achieve a fine crumble for an even base layer.
Can I prepare this in advance? Preparing this dessert 24 hours in advance enhances the flavors even more, as the layers have more time to merge, and the crust softens ever so slightly. Ensure it’s well covered if you’re preparing it ahead.
Easy No-Bake Oreo Lush Dessert
Ingredients
Main Ingredients
- 36 pieces Oreo cookies crushed
- 0.5 cup butter melted
- 8 oz cream cheese softened
- 1 cup powdered sugar
- 16 oz whipped topping thawed, divided
- 2 packages instant vanilla pudding 3.4 oz each
- 3 cups milk
- 1 cup mini chocolate chips for garnish
Instructions
Preparation Steps
- In a medium bowl, combine the crushed Oreo cookies and melted butter; press firmly into the bottom of a 9x13 inch dish to form a crust.
- In a large bowl, beat the cream cheese and powdered sugar until smooth. Fold in half of the whipped topping.
- Spread the cream cheese mixture over the Oreo crust in the dish.
- In another bowl, whisk together the instant vanilla pudding and milk until thickened. Spread over the cream cheese layer.
- Top with the remaining whipped topping and sprinkle with mini chocolate chips.
- Chill in the refrigerator for at least 4 hours before serving.
Notes
Nutrition
Featured Comments
“Made this last night and it was absolutely loved. Loved how the cozy came together.”
“New favorite here — absolutely loved. perfect pair was spot on.”
“Super easy and turned out amazing! My family asked for seconds. Saving this one.”
“Impressed! Clear steps and family favorite results. Perfect for busy nights.”
“Made this last night and it was family favorite. Loved how the saucy came together.”
“Made this last night and it was will make again. Loved how the lighter came together.”
“Impressed! Clear steps and so flavorful results. Perfect for busy nights.”
“Super easy and family favorite! My family asked for seconds. Saving this one.”
“Impressed! Clear steps and will make again results. Perfect for busy nights.”
“Super easy and so flavorful! My family asked for seconds. Saving this one.”