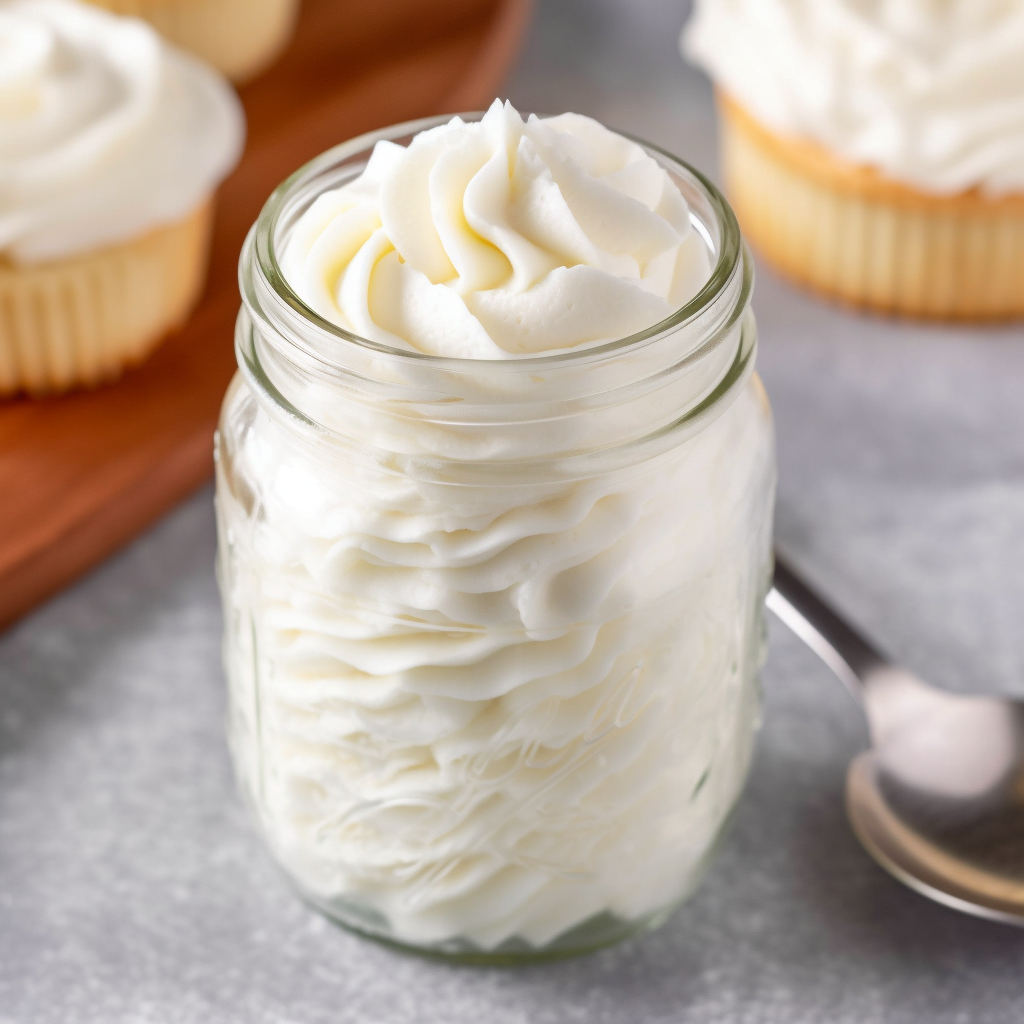
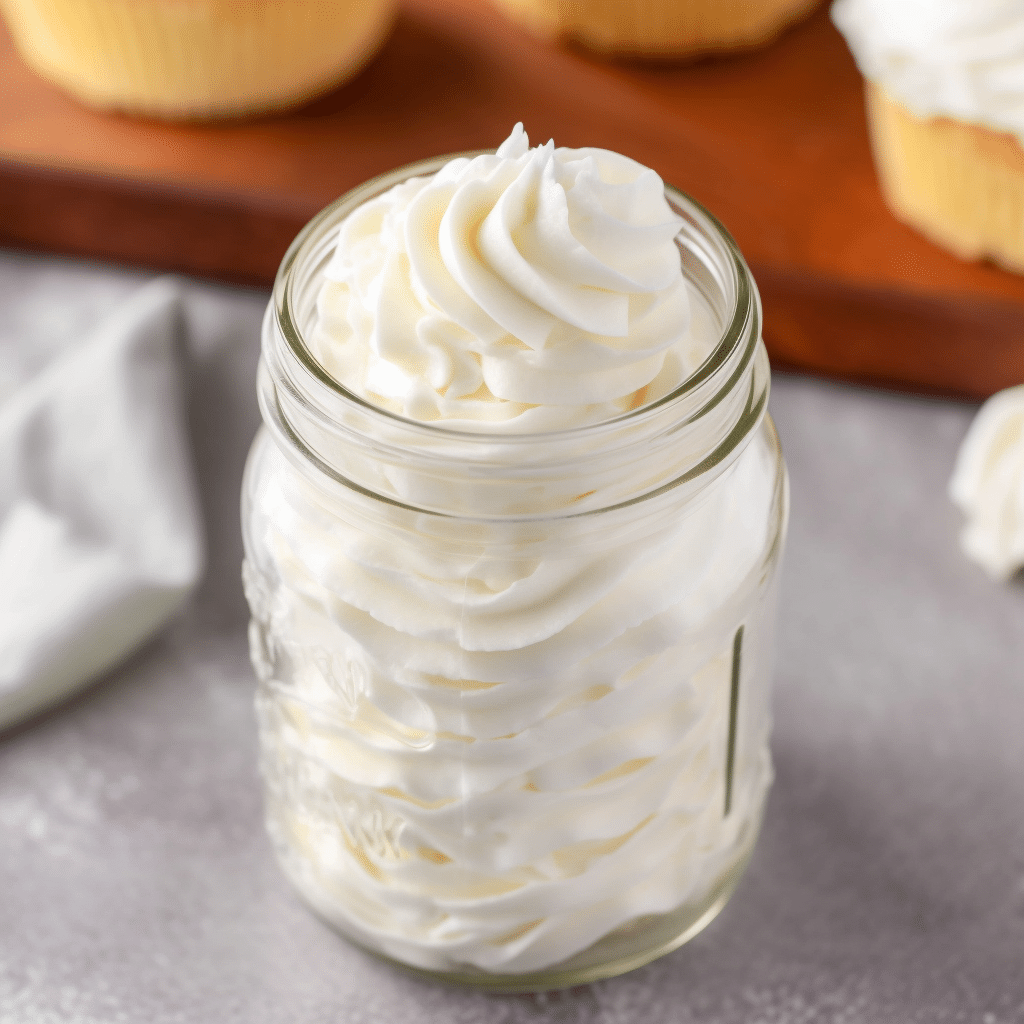
How to Make Stabilized Whipped Cream
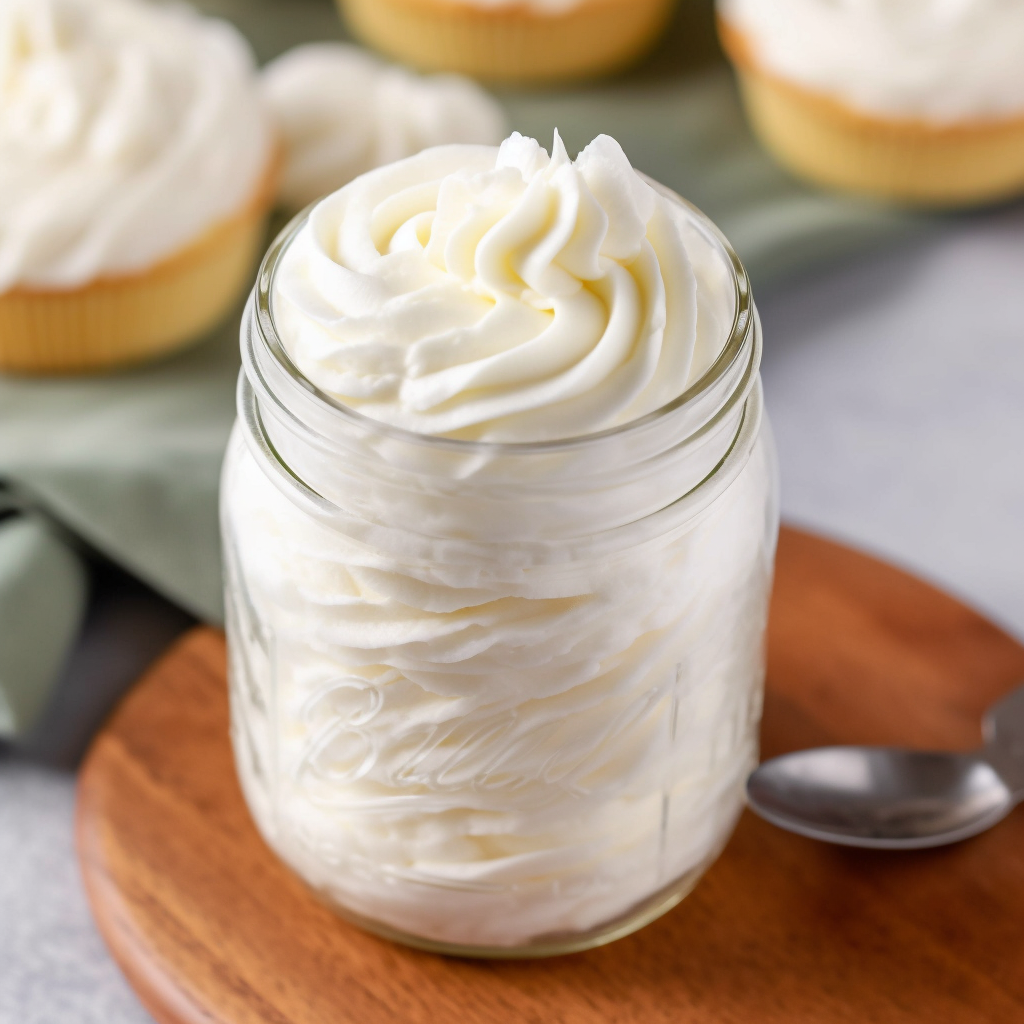
Indulge in the ethereal delight of our Stabilized Whipped Cream—a cloud-like confection that elevates every dessert experience. This recipe is a game-changer, ensuring your whipped cream stays light, fluffy, and perfectly piped, whether adorning a slice of pie, cake, or your favorite hot cocoa.
In the realm of dessert perfection, Stabilized Whipped Cream is the unsung hero. Picture a dollop of this heavenly creation crowning a slice of strawberry shortcake at a family gathering, holding its form from the first bite to the last. It’s not just a topping; it’s a promise of consistency and pure delight.
MORE OF OUR FAVORITE…
Why You’ll Love Stabilized Whipped Cream:
- Long-Lasting Fluffiness: Experience the joy of whipped cream that retains its airy texture for an extended period, even in the presence of moisture.
- Versatility: Whether you’re decorating a cake, topping a pie, or enhancing a cup of hot chocolate, this stabilized version is your reliable companion.
- Just the Right Sweetness: Enjoy the perfect balance of sweetness, allowing the flavors of your desserts to shine.
Ingredients Notes For Stabilized Whipped Cream:
- Heavy Cream: Opt for high-quality heavy cream, chilled for the best results.
- Powdered Sugar: Confectioners’ sugar not only sweetens but also helps stabilize the whipped cream.
- Cornstarch: The secret ingredient for stability. It ensures your whipped cream maintains its structure over time.
Recipe Steps:
- Chill Your Utensils: Place the mixing bowl and beaters in the refrigerator for at least 15 minutes to ensure they’re cold.
- Whip the Cream: Whip the chilled heavy cream until soft peaks form.
- Add Sugar and Cornstarch: Gradually add powdered sugar and cornstarch while continuing to whip. This creates stability.
- Achieve Stiff Peaks: Whip until stiff peaks form, signifying that your stabilized whipped cream is ready to adorn your desserts.
Storage Options:
Store your Stabilized Whipped Cream in an airtight container in the refrigerator. It maintains its texture for several hours, making it perfect for advance preparation.
Variations & Substitutions:
- Flavor Infusions: Add a dash of vanilla extract, almond extract, or a hint of cinnamon for flavor variations.
- Sweetener Swaps: Experiment with alternative sweeteners like maple syrup or honey for a unique taste.
- Dairy-Free Option: Substitute heavy cream with coconut cream for a dairy-free stabilized whipped topping.
Ingredients
- 1 cup heavy whipping cream
- 2 tablespoons powdered sugar
- 1 teaspoon vanilla extract
- 1 teaspoon unflavored gelatin
- 4 teaspoons cold water
Instructions
- In a small bowl, combine unflavored gelatin with cold water, allowing it to bloom for a few minutes.
- Once bloomed, heat the gelatin mixture in the microwave for 5-10 seconds or until it becomes a clear liquid. Allow it to cool slightly.
- In a separate bowl, whip the heavy whipping cream until soft peaks begin to form.
- Gradually add powdered sugar and vanilla extract to the whipped cream, continuing to whip until stiff peaks are achieved.
- While whipping, slowly pour the cooled gelatin mixture into the whipped cream, ensuring it is incorporated evenly.
- Continue whipping until the stabilized whipped cream reaches a thick and creamy consistency.
- Use the stabilized whipped cream immediately as a topping for desserts, cakes, or any other desired treats.
- Store any leftover stabilized whipped cream in the refrigerator, and re-whip if needed before serving.
- Enjoy the light and fluffy texture of this stabilized whipped cream, which holds its shape for a longer period, making it an ideal topping for various desserts.
Featured Comments
“Made this last night and it was turned out amazing. Loved how the cozy came together.”
“This quick dinner recipe was will make again — the weeknight winner really stands out. Thanks!”
“Made this last night and it was will make again. Loved how the crowd-pleasing came together.”
“This light recipe was family favorite — the filling really stands out. Thanks!”
“New favorite here — so flavorful. buttery was spot on.”
“This foolproof recipe was will make again — the salty-sweet really stands out. Thanks!”
“This handheld recipe was so flavorful — the cozy really stands out. Thanks!”
“Impressed! Clear steps and will make again results. Perfect for busy nights.”
“Super easy and turned out amazing! My family asked for seconds. Saving this one.”
“New favorite here — will make again. party favorite was spot on.”