Garlic Butter Oven-Baked Tilapia Recipe
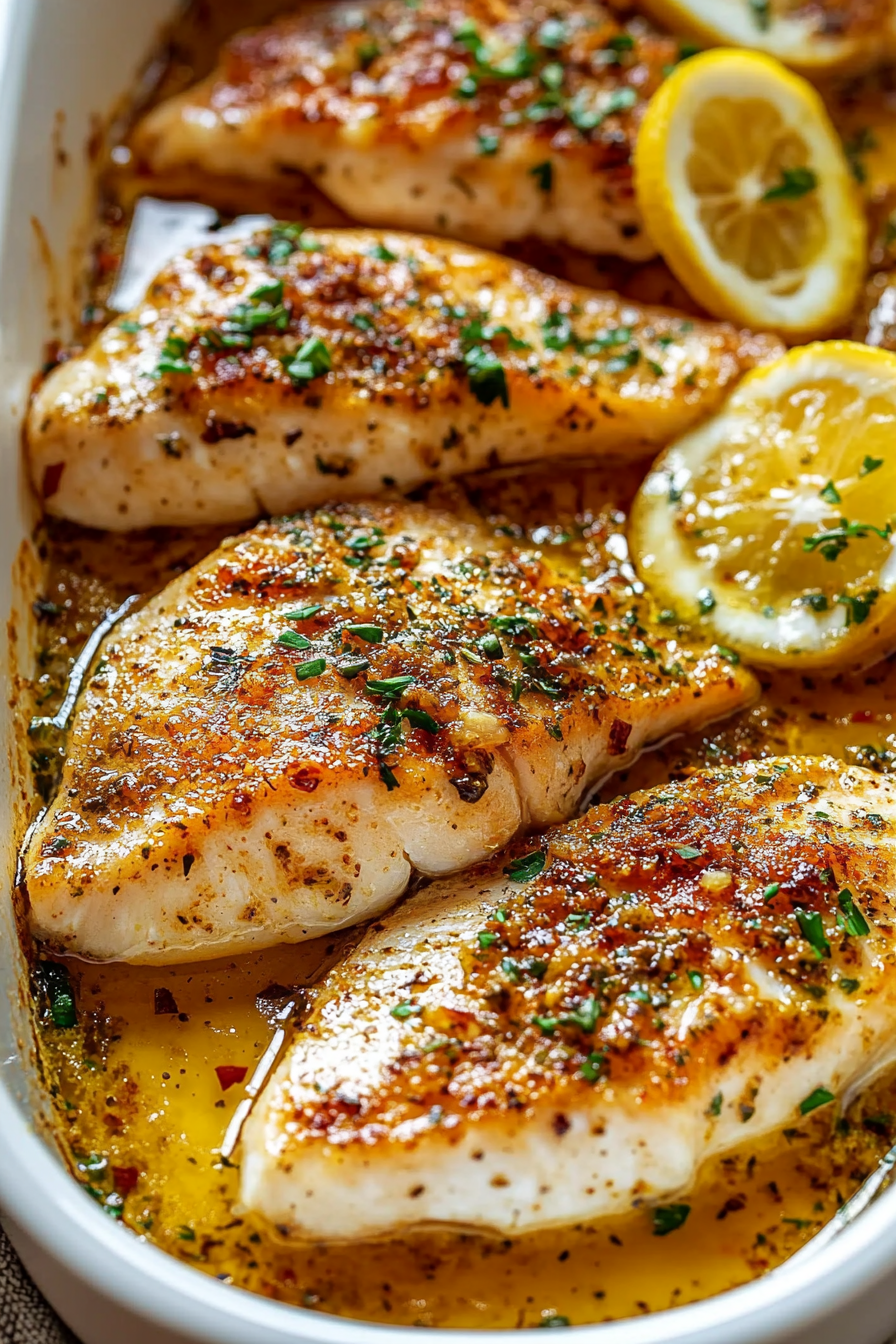
There’s something delightfully simple and satisfying about preparing a Garlic Butter Oven-Baked Tilapia. This recipe hits the perfect balance of savory and refreshing flavors, making it a must-try for home cooks. Easy to whip up and a joy to savor, this dish combines the tender flakes of tilapia with the rich notes of garlic-infused butter. Whether you’re cooking for yourself or impressing guests, this dish takes center stage with its vibrant flavors and blissful aroma.
Growing up, seafood was a staple at family dinners, and my mom often experimented with different recipes. One evening, she introduced us to baked fish infused with garlic and butter, a combination we instantly adored. The dish quickly became a family favorite, drawing delight from everyone around the table. Every time I prepare it now, those flavors take me back to warm family gatherings, wrapped in laughter and heartfelt conversations.
Why You’ll Love This Recipe
This recipe is not only flavorful but also remarkably easy to prepare, requiring just a few ingredients. It’s healthy and packed with protein, making it a fantastic choice for a weeknight dinner or an elegant weekend meal. The use of garlic butter elevates the mild tilapia, giving it an indulgent feel without much effort. Plus, it’s versatile, accommodating to various side dishes like veggies, rice, or a fresh salad.
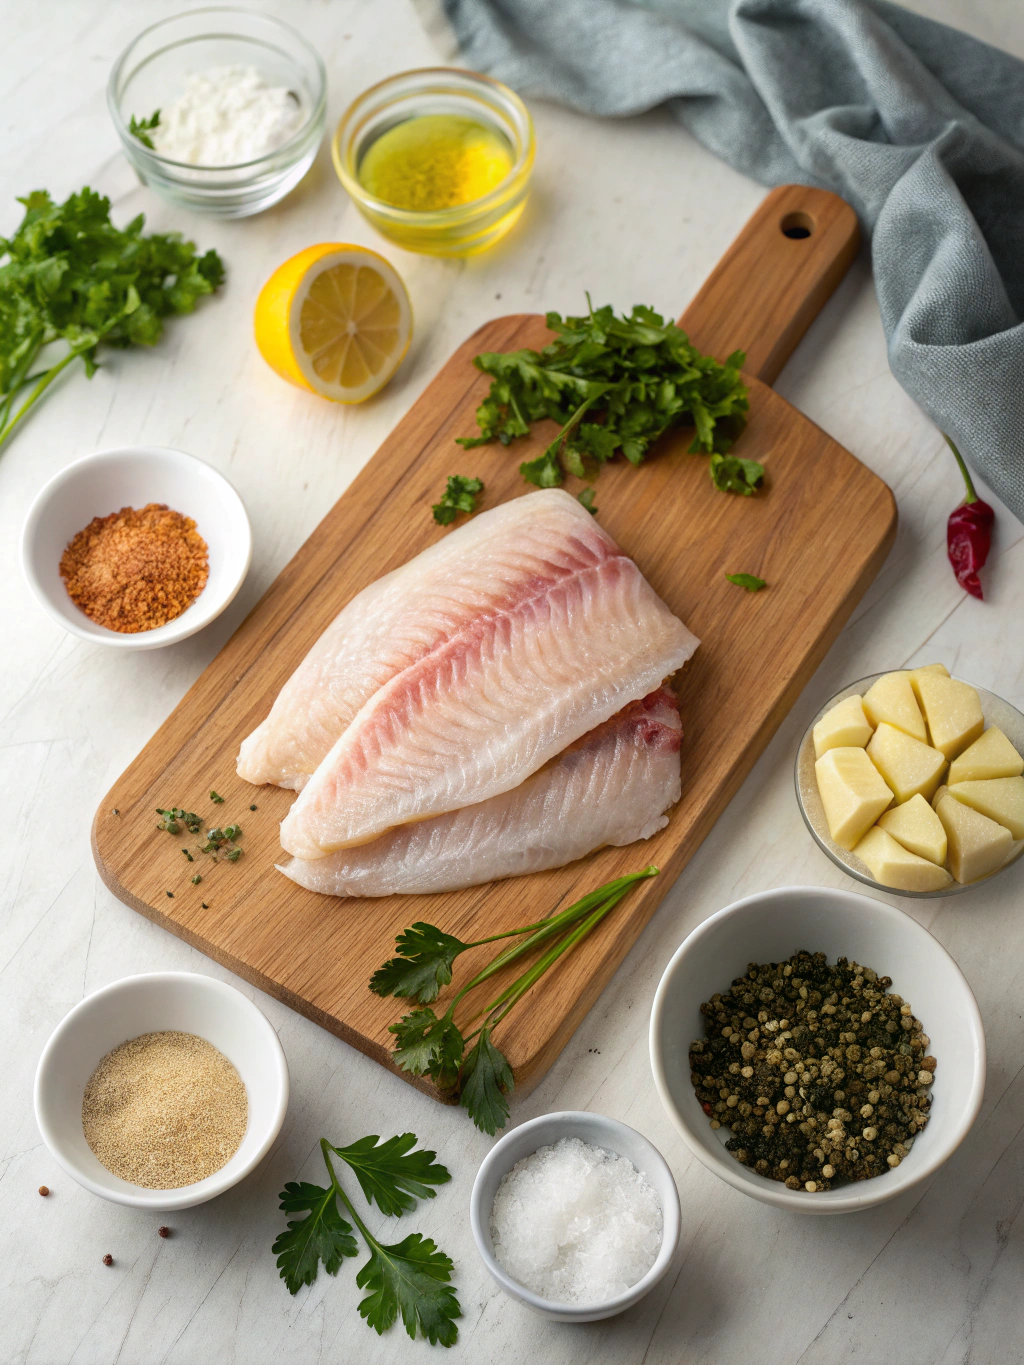
Ingredients Notes

Key ingredients like fresh garlic, butter, and lemon are crucial for capturing the essence of this dish. Opt for high-quality tilapia fillets from a reputable source to ensure freshness. If fresh tilapia isn’t available, consider sourcing frozen fillets as a practical alternative. The aromatic herbs enhance the buttery sauce, providing depth and complexity.
MORE OF OUR FAVORITE…
Recipe Steps
Step 1
Preheat your oven to 375°F (190°C) and lightly grease a baking dish. Ensure your tilapia fillets are thawed, if previously frozen. Pat them dry with paper towels to remove excess moisture; this helps the seasoning adhere better.
Step 2
In a small saucepan, melt the butter over medium heat. Once melted, add minced garlic and sauté until fragrant but not browned. Remove from heat and mix in freshly squeezed lemon juice.
Step 3
Place the tilapia fillets in the prepared baking dish. Pour the garlic butter mixture evenly over the fillets, ensuring they’re well coated. Season lightly with salt, pepper, and a sprinkle of your chosen herbs.
Step 4
Cover the baking dish with foil and bake for about 15-20 minutes, or until the fish flakes easily with a fork. The cooking time may vary slightly based on the thickness of the fillets.
Step 5
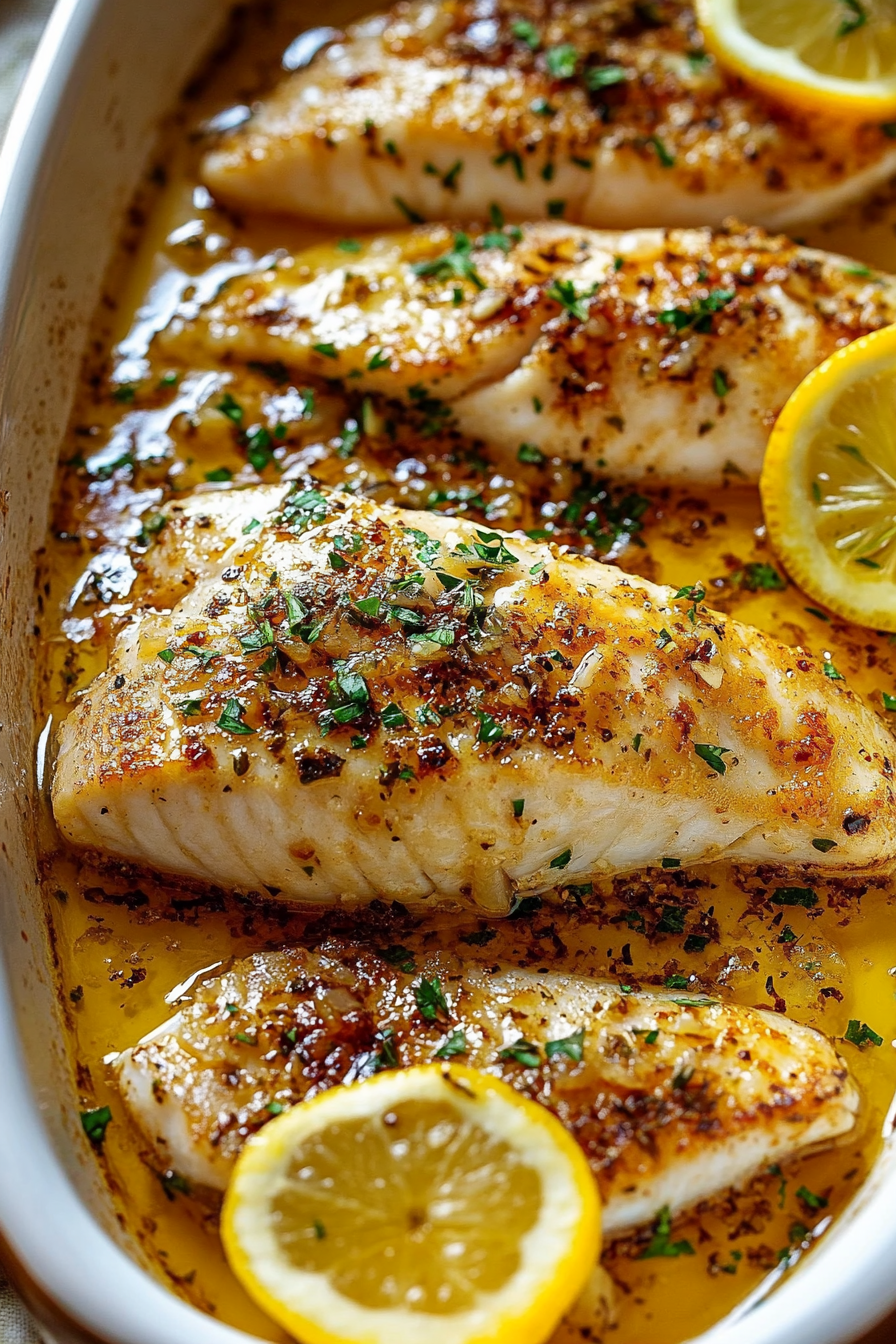
Once cooked, remove the dish from the oven and let it rest for a few minutes. Garnish with chopped parsley and additional lemon slices for extra zest before serving.
Storage Options
Leftover tilapia can be stored in an airtight container in the refrigerator for up to 2 days. To reheat, place the fish in a preheated oven at a low temperature to maintain its moisture. Alternatively, the dish can be frozen for up to one month. Ensure it’s completely cooled and stored properly. Thaw in the refrigerator overnight before reheating.
Variations & Substitutions
For those with dietary restrictions, substitute the butter with a dairy-free alternative or olive oil. To inject more flavor, consider adding cayenne pepper or smoked paprika. Alternatively, switch the tilapia for another white fish such as cod or haddock for a different taste experience.
Frequently Asked Questions
Can I use frozen tilapia for this recipe? Yes, frozen tilapia works well for this recipe. Just be sure to thaw the fillets completely before cooking and pat them dry to help the seasoning stick. Defrosting in the refrigerator overnight is the safest method.
Is this dish suitable for meal prep? Absolutely, this recipe is ideal for meal prep. Prepare the fish and store it in individual containers. It makes a great protein source paired with different sides like steamed veggies or quinoa, minimizing cooking time during a busy week.
How can I adjust the recipe for fewer servings? Simply reduce the number of tilapia fillets and adjust the amount of garlic butter mixture accordingly. The recipe is very forgiving and can easily be scaled down without compromising taste or quality.
Garlic Butter Oven-Baked Tilapia Recipe
Ingredients
Main Ingredients
- 4 filets tilapia fresh or thawed
- 4 tablespoons butter melted
- 4 cloves garlic minced
- 1 teaspoon lemon zest
- 2 tablespoons lemon juice freshly squeezed
- 1 teaspoon dried parsley or fresh
- 1 teaspoon salt to taste
- 0.5 teaspoon black pepper to taste
Instructions
Preparation Steps
- Preheat the oven to 400°F (200°C).
- Place tilapia on a baking sheet lined with parchment paper.
- In a small bowl, combine melted butter, garlic, lemon zest, lemon juice, parsley, salt, and pepper.
- Pour the mixture over the tilapia filets.
- Bake for 15-20 minutes, or until fish flakes easily with a fork.
- Serve immediately, garnished with additional parsley if desired.
Notes
Nutrition
Featured Comments
“This filling recipe was turned out amazing — the family favorite really stands out. Thanks!”
“Super easy and so flavorful! My family asked for seconds. Saving this one.”
“Super easy and absolutely loved! My family asked for seconds. Saving this one.”
“Impressed! Clear steps and will make again results. Perfect for busy nights.”
“This guilt-free recipe was absolutely loved — the allergen-friendly really stands out. Thanks!”
“Super easy and turned out amazing! My family asked for seconds. Saving this one.”
“This messy-good recipe was absolutely loved — the weeknight saver really stands out. Thanks!”
“Impressed! Clear steps and will make again results. Perfect for busy nights.”
“Impressed! Clear steps and turned out amazing results. Perfect for busy nights.”
“Super easy and absolutely loved! My family asked for seconds. Saving this one.”