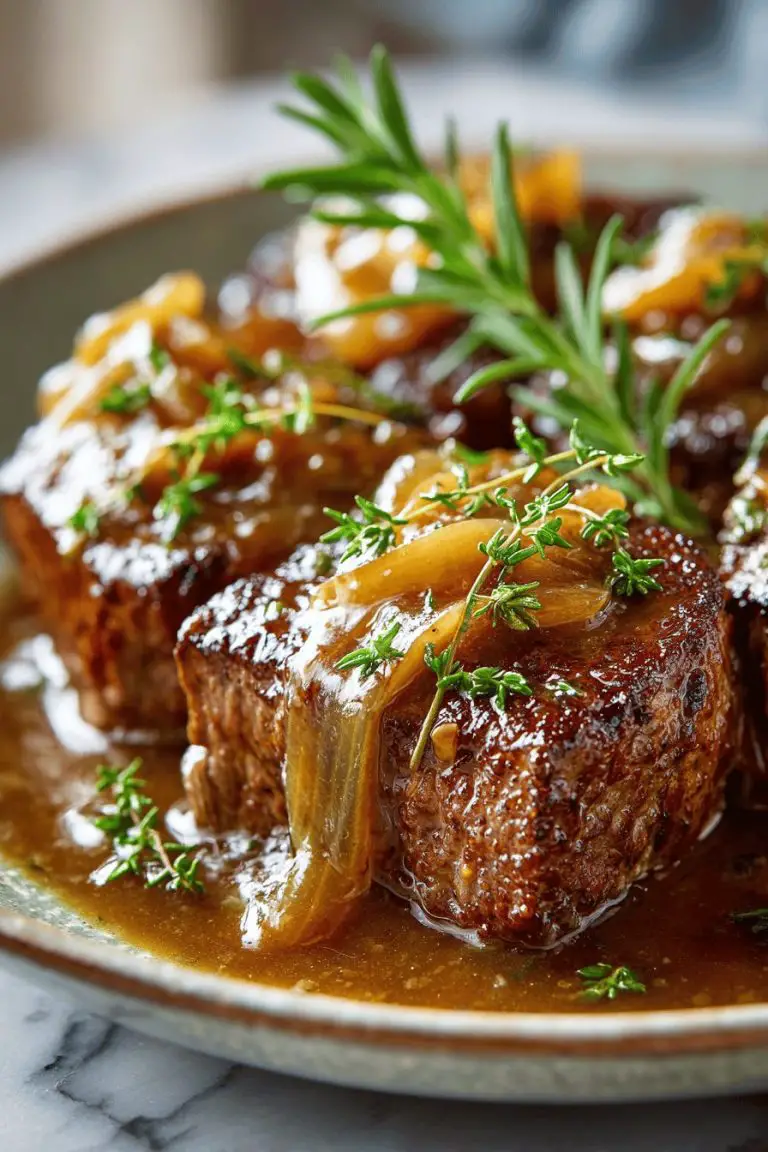
Classic Beef Chili Recipe

This chili is the kind of bowl that makes you sigh and then text your neighbor to come over because you’ve gone and made something seriously comforting. It’s a classic beef chili—rich, tomatoey, slightly smoky, with browned beef and beans (if you’re into that), and enough personality to show up to any weeknight dinner, potluck, or game day and steal the show.
My husband practically does a little happy dance when I pull this out. Not kidding — he’ll clear the table like a garbage disposal and taste-test every spoonful, declaring whether it needs more hot sauce (it usually does). We’ve served this to picky cousins, hungover friends, and on lazy Sundays, and it’s become our go-to for feeding a crowd without stressing. Once, I accidentally left the chili simmering a little too long and it turned into something unbelievably cozy — thicker, deeper, and the husband announced it tasted like a hug. Ever since, a “too-long” simmer is kind of my secret weapon.
Why You’ll Love This Classic Beef Chili Recipe
– It’s unfussy: pantry staples meet simple technique, and boom — big flavor without drama.
– Crowd-pleaser: kids, coworkers, and in-laws can all be happy at the same table.
– Flexible AF: toss in extra beans, swap ground meat, or make it spicier or tameder — it adapts.
– Better the next day: it tastes even more soulful after a night in the fridge.

Kitchen Talk


I never follow a recipe page-for-page in the first go — I usually brown more beef than written because the crispy bits are my favorite. Sometimes I’ll accidentally add a splash of coffee or a square of dark chocolate because I read somewhere it boosts depth and then I’m shook at how right that is. I’ve scorched a batch (whoops) when I got distracted by toddler drama; the trick was to fish out the charred bits, add more liquid, and pretend it was supposed to be “charred.” One time I swapped beef for ground turkey and it worked okay, but the texture and depth aren’t the same — beef gives you that weighty, cozy backbone.
MORE OF OUR FAVORITE…
Shopping Tips
– Protein: Pick coarsely ground beef with some fat for flavor; leaner blends will be drier and may need extra simmer time or a splash of oil.
– Vegetables: Choose firm onions and bright bell peppers (if using) — nothing soggy; fresher aromatics = more punch.
– Canned Goods: Go for low-sodium diced tomatoes and stock if you want control over salt; regular is fine if you’re short on time.
– Spices: Fresh-smelling chili powder and cumin make a huge difference — avoid tins that smell stale, and opt for small jars if you rarely cook with them.
– Fats & Oils: Use a neutral oil for browning and a knob of butter at the end if you want silkier mouthfeel; ghee or olive oil both work depending on taste.
Prep Ahead Ideas
– Chop the onions, peppers, and mince garlic the night before and store in airtight containers in the fridge so you can sear and stir without the crying phase.
– Brown the beef in advance and refrigerate in a shallow container; when you’re ready, reheat briefly, skim excess fat if needed, then build the chili.
– You can mix the dry spice blend in a jar ahead of time so evening assembly is just dump-and-stir.
– Use shallow containers for quick cooling and label with the date if you stash in the fridge — reheats beautifully.

Time-Saving Tricks
– Brown the meat in a wide pan to get more caramelized bits at once; more surface area = more flavor.
– Use an immersion blender to smooth part of the chili if you want a thicker texture without long reduction time.
– Swap dried beans for canned to shave off soaking and long-cook time — rinse them well before adding.
– Shortcuts I actually use: pre-minced garlic in a pinch, and a splash of store-bought chili sauce when I’m low on time.
– When it’s worth not rushing: low-and-slow simmers deepen flavor, so if you can, give it a lazy hour.
Common Mistakes
– Not browning the beef enough — you miss out on the nutty, caramelized flavor that makes the whole pot sing.
– Adding salt too early or too late; taste as you go because canned tomatoes and stock bring hidden salt.
– Too much liquid at the start leads to thin chili; simmer to reduce or mash a few beans in to thicken.
– I once thought more heat = better, dumped a ton of chili flakes, and learned the hard way; fix by stirring in a spoonful of yogurt or a splash of maple to tame it.
– Rescue moves: simmer with the lid off to reduce, add a spoon of tomato paste for depth, or swirl in butter at the end for silkiness.
What to Serve It With
– Warm cornbread or crusty bread to sop up every last bit.
– A simple green salad with a tangy vinaigrette to cut through the richness.
– Rice or baked potatoes for a heartier meal.
– Quick pickled red onions or jarred jalapeños for contrast.
Tips & Mistakes
– Season in layers: salt the meat while browning, then adjust after simmering.
– Pan too crowded while browning? Do it in batches — otherwise you steam instead of caramelize.
– If your chili tastes flat, add acid (a little vinegar or a squeeze of lime) to brighten it.
– Want a smoother texture? Briefly blend a portion, then stir back in.
Storage Tips
Leftovers live happily in the fridge for a few days in airtight containers; freeze in meal-sized portions for longer. Chili tastes great cold on toast or cold with a fried egg for breakfast — no shame. When reheating, add a splash of water or stock if it’s too thick, and re-season lightly because cold storage dulls flavors.

Variations and Substitutions
– Swap ground beef for a mix of beef and pork for a juicier, deeper flavor, or go turkey for a lighter version (expect a different mouthfeel).
– Beans optional: kidney, pinto, or black all work — or skip them for a Texas-style chili.
– Make it smoky with chipotle in adobo, or sweeter with a touch of molasses or brown sugar.
– For vegetarian: replace beef with lentils and mushrooms and use vegetable stock — it can be surprisingly meaty.
– Dairy swaps: top with sour cream, Greek yogurt, or a plant-based alternative for creaminess.
Frequently Asked Questions
Classic Beef Chili Recipe
Ingredients
Chili Base
- 1.5 lb 85% lean ground beef
- 1.25 cups diced yellow onion
- 0.5 cup diced celery
- 2 cloves garlic, minced
- 2 cans (15 oz) tomato sauce
- 1 can (15 oz) petite diced tomatoes, drained
- 1 can (4 oz) diced green chiles
- 1 cup low-sodium beef broth
- 1 can (15 oz) kidney beans, rinsed and drained
- 1 can (15 oz) pinto beans, rinsed and drained
Seasonings
- 2.5 tablespoons chili powder
- 1 tablespoon ground cumin
- 1.25 teaspoons kosher salt
- 0.75 teaspoon freshly ground black pepper
Finishing
- 1 teaspoon apple cider vinegar to brighten
Instructions
Preparation Steps
- Set a heavy Dutch oven over medium heat. Add the ground beef and cook 6 to 8 minutes, breaking it into small crumbles. Spoon off excess fat, leaving about 1 tablespoon in the pot for flavor.
- Push the beef to one side. Add the onion and celery to the open space with a pinch of salt and cook until softened and translucent, 4 to 5 minutes. Stir in the garlic and cook just until fragrant, about 30 seconds.
- Sprinkle in the chili powder, cumin, salt, and pepper. Stir constantly for 30 seconds to bloom the spices in the fat.
- Pour in the beef broth and scrape up any browned bits from the bottom of the pot. Stir in the tomato sauce, drained diced tomatoes, and green chiles. Bring to a gentle boil, then reduce to a low simmer. Partially cover and cook for 30 minutes, stirring occasionally.
- Stir in the kidney and pinto beans. Continue simmering uncovered for 20 to 25 minutes, until the chili thickens to your liking. If it becomes too thick, add a splash of broth or water; if too thin, keep simmering uncovered or lightly mash some beans against the pot to thicken.
- Turn off the heat. Stir in the apple cider vinegar and adjust seasoning to taste. Let the chili rest 10 minutes before serving so the flavors settle and the chili sets up.
Notes
Featured Comments
“New favorite here — so flavorful. summer-ready was spot on.”
“New favorite here — so flavorful. cheesy was spot on.”
“New favorite here — turned out amazing. crispy crust was spot on.”
“This delicate recipe was absolutely loved — the light really stands out. Thanks!”
“Impressed! Clear steps and will make again results. Perfect for busy nights.”
“New favorite here — so flavorful. flavorful was spot on.”
“Made this last night and it was turned out amazing. Loved how the family-style came together.”
“Made this last night and it was turned out amazing. Loved how the zesty came together.”
“This crispy recipe was turned out amazing — the satisfying really stands out. Thanks!”
“New favorite here — so flavorful. hands-off was spot on.”