Philly Cheesesteak Sliders Recipe
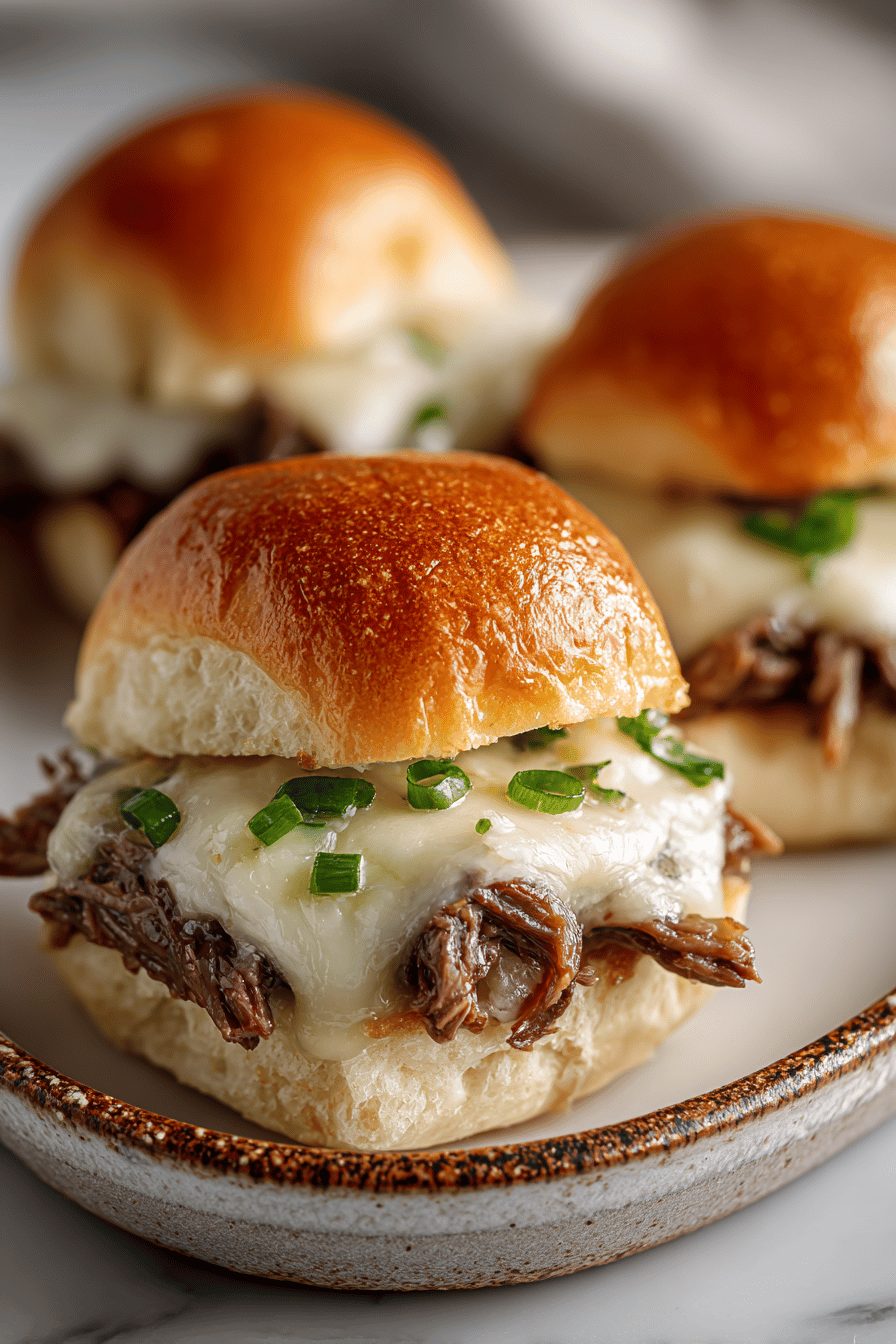
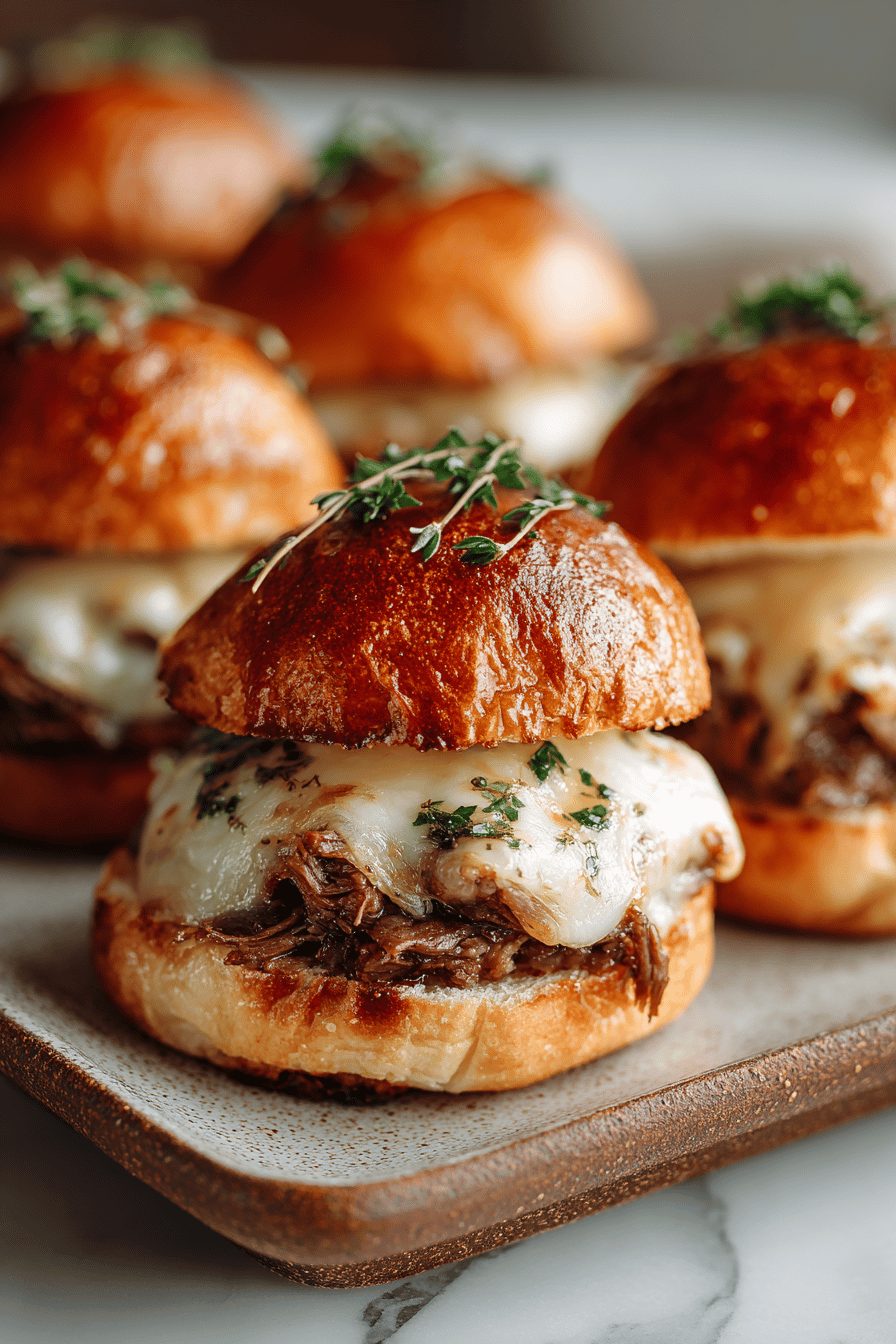
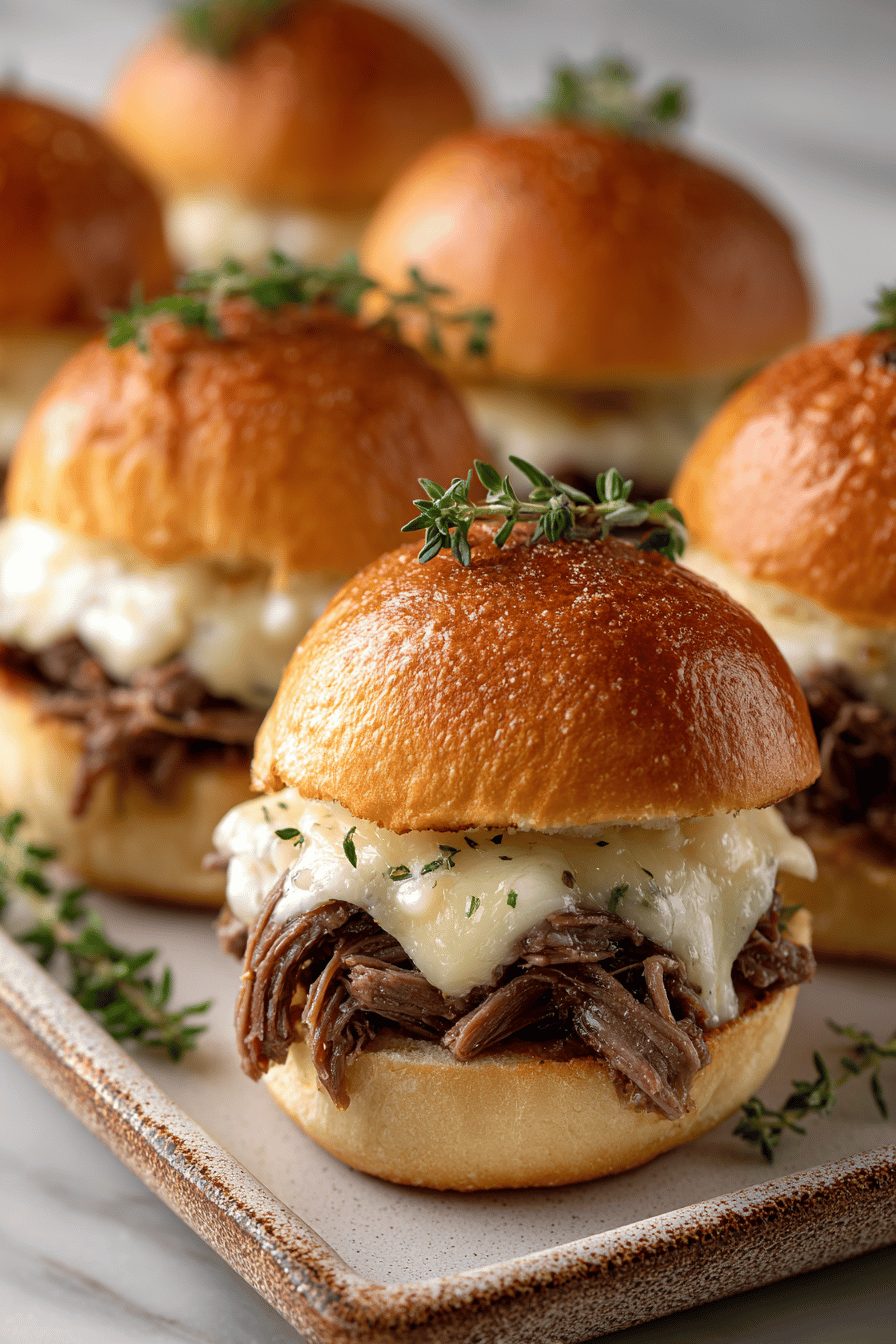
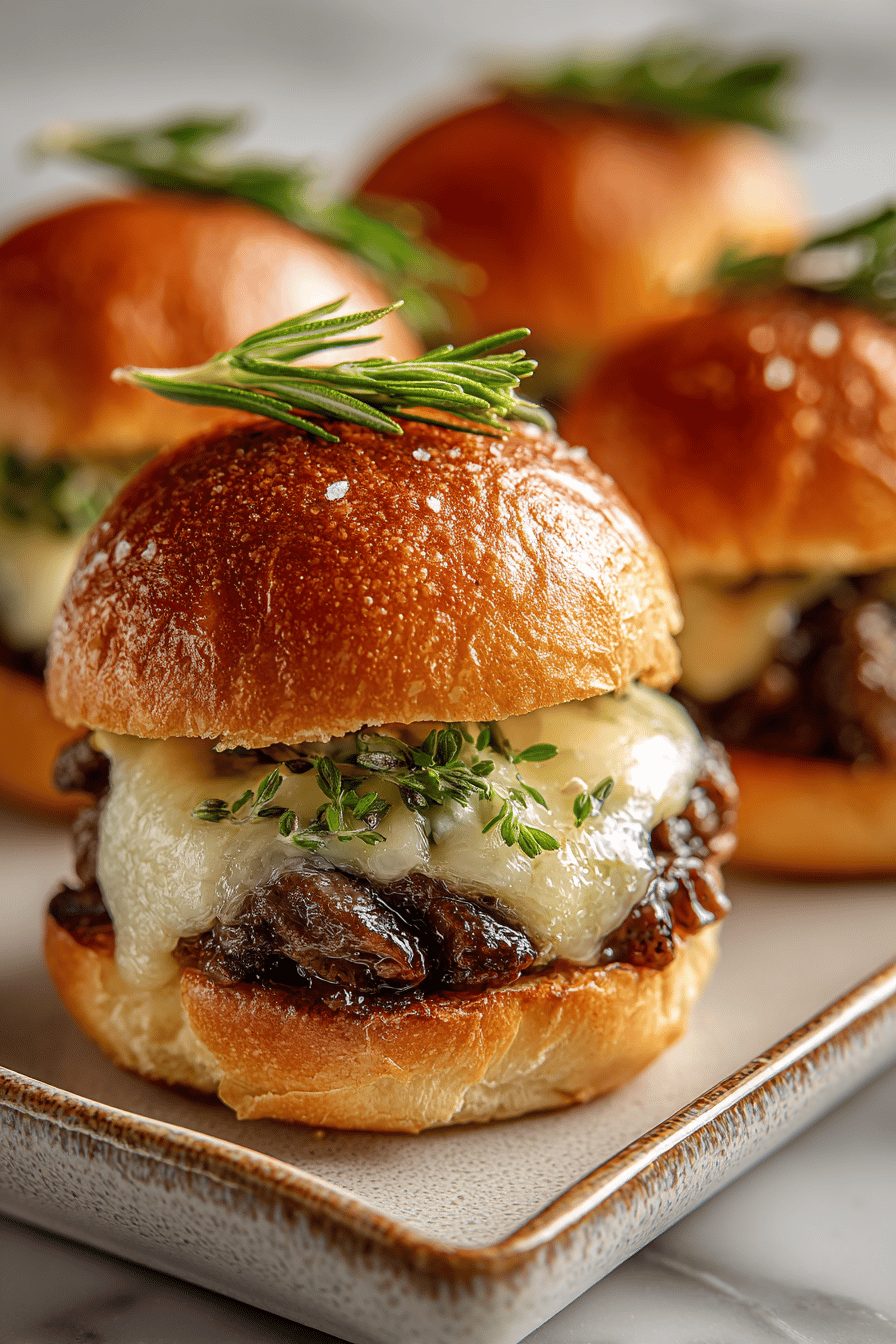
I make these Philly cheesesteak sliders when I want the drama of a cheesesteak with none of the slicing-into-a-million-plates fuss. Tiny rolls stuffed with thinly sliced beef, sweet sautéed onions, melty cheese, and a little buttered toastiness — all handheld and utterly gratifying. They’re the kind of recipe that looks like effort but mostly just needs some good heat and patience.
My husband calls these “the excuse for extra cheese night.” True story: the first time I made them he ate three in a row and then asked if they could be the official answer to every “what’s for dinner?” question forever. They’ve become our lazy-Sunday crowd-pleaser and a must at any casual get-together; I’ll put them out and suddenly people stop scrolling and start arguing over who gets the last one. Kids like them too — and if yours are picky, shove a little extra cheese in there and watch the mood change.
Why You’ll Love This Philly Cheesesteak Sliders Recipe
– Bite-sized, hands-on comfort—everything you like about a big Philly cheesesteak, but party-ready and mess-friendly.
– Fast to assemble once the meat’s sliced thin; a hot skillet and a couple of minutes of melting cheese and you’re golden.
– Super customizable: swap the beef, swap the cheese, throw in peppers or mushrooms — it still sings.
– Crowd-pleaser that travels well to potlucks, game days, or a weeknight dinner that needs cheering up.
Kitchen Talk


I always underestimate how loud the onions will be while caramelizing — the house smells like a diner for hours. One time I used frozen sliced onions because I was in a hurry and they made everything watery; learned to pat them dry or use fresh. Also, thin-slicing the beef is boring but worth it: it cooks fast and stays tender. And yes, I’ve absolutely blanched a few sliders under the broiler when the cheese refused to cooperate. Works every time.
{"
{"reviewer_name": "Sarah T.", "rating": 5, "review_text": "These Philly Cheesesteak Sliders are an absolute game-changer for game day or family dinners – the shaved steak, melty provolone, and sweet Hawaiian rolls make every bite ooey-gooey perfection.[1][2] I added a touch of smoked paprika like one tip suggested, and they disappeared faster than halftime![1] Super easy to whip up and everyone raved about them – definitely making these again soon.[3]"}
MORE OF OUR FAVORITE…
Shopping Tips
– Protein: Look for thinly sliced ribeye or sirloin; ask the butcher to slice it for you if it’s not pre-sliced. Frozen thin-sliced roast beef works in a pinch but isn’t as tender.
– Cheese: Provolone melts beautifully; American or provolone + a smear of Cheez Whiz is the classic vibe. Slices are easier than shredded for this.
– Vegetables: Choose a sweet yellow or Spanish onion for caramelizing and consider green bell pepper if you want a peppery bite. Fresh beats frozen here.
– Grains/Pasta: Use soft slider rolls or small hoagie rolls that fit in one hand; split-top Hawaiian rolls add a buttery, slightly sweet profile.
– Fats & Oils: Butter for toasting the rolls gives the best flavor; use a mix of butter and a little oil if you’re worried about burning.
Prep Ahead Ideas
– Slice the beef and store it in a shallow container covered with plastic wrap in the fridge; this keeps it ready to toss in the pan and helps it cook evenly.
– Caramelize the onions the day before and refrigerate in an airtight container — they reheat in a skillet in a couple of minutes.
– Assemble the meat and cheese in a container (un-toasted rolls) and toast/bake right before serving for best texture.
– Use zip-top bags for prepped components; they stack neatly in the fridge and make morning-to-evening transitions effortless.
Time-Saving Tricks
– Buy pre-sliced steak from the deli if you’re in a rush — it’s not gourmet, but it saves 10–15 minutes.
– Use the hottest pan you own so the meat sears quickly; work in batches to avoid stewing the beef.
– Toast the split rolls in a buttered sheet pan while the meat rests — the oven does the heavy lifting.
– Freeze the assembled sliders (without broiling the cheese) for a quick reheat later; broil for a minute to melt when ready.
Common Mistakes
– Overcrowding the pan: I did this once and ended up with gray, stewed meat. Cook in small batches for a quick sear.
– Using watery onions: frozen or un-drained onions can make the filling soggy — drain well or use fresh.
– Adding too much cheese too early: it can burn if the pan is too hot; add cheese off the direct flame or finish under the broiler.
– Skimping on butter for the rolls: dry buns ruin the experience. Butter the tops and bottoms lightly for that luxury crunch.
What to Serve It With
– Crisp dill pickles or quick pickled cucumbers to cut the richness.
– A simple green salad with a tangy vinaigrette to freshen the plate.
– Crispy oven fries or air-fryer potatoes for the full diner experience.
– Coleslaw or a light slaw for crunch and acidity.
Tips & Mistakes
– Use a heavy skillet and get it hot before adding beef.
– Salt the meat just before cooking to keep it juicy.
– If the cheese won’t melt, cover the pan for 30–60 seconds or slide under the broiler.
– Don’t skip the butter on the rolls — trust me.
Storage Tips
Leftovers keep in the fridge for 3–4 days in an airtight container; reheat in a hot skillet or under the broiler to revive the crunch. You can eat them cold — not shameful — but they’re best warmed so the cheese re-softens. For breakfast the next day: slice and fry one, add a fried egg, eat standing at the counter — bliss.
Variations and Substitutions
– Swap beef for thinly sliced chicken or turkey for a lighter version; cook the same but watch timing.
– For vegetarian sliders, use mushrooms and onions with provolone or a melty vegan cheese.
– Try Swiss or pepper jack for a different cheese profile; a combo of provolone + American is nostalgic and melty.
– Add sautéed bell peppers or mushrooms for extra texture, or a swipe of horseradish mayo for kick.
Frequently Asked Questions
Philly Cheesesteak Sliders Recipe
Ingredients
Main Ingredients
- 12 oz sweet slider rolls, kept as one slab
- 1.5 lb thinly sliced ribeye or sirloin
- 8 oz provolone cheese slices
- 1 tbsp olive oil
- 1 tbsp unsalted butter for the skillet
- 2 cups thinly sliced yellow onion
- 1.5 cups thinly sliced bell peppers (green and red)
- 1 cup sliced mushrooms optional
- 2 tsp minced garlic
- 1 tbsp Worcestershire sauce
- 1 tsp kosher salt to taste
- 0.75 tsp black pepper
- 2 tbsp mayonnaise optional
Garlic Butter Topping
- 3 tbsp unsalted butter, melted
- 1 tsp garlic powder
- 1 tsp dried parsley
- 1 tsp sesame seeds optional
Instructions
Preparation Steps
- Preheat oven to 350°F. Lightly grease a 9x13-inch baking dish.
- Warm olive oil and 1 tbsp butter in a large skillet over medium heat.
- Sauté onions and peppers until softened and lightly golden, about 6–8 minutes.
- Stir in mushrooms and cook 2–3 minutes more. Add garlic and cook 30 seconds. Transfer vegetables to a plate.
- Increase heat to medium-high. Sear the sliced beef in batches until just browned, 2–3 minutes.
- Season beef with salt and pepper. Splash in Worcestershire and toss with the cooked vegetables. Remove from heat.
- Slice the rolls horizontally to keep tops and bottoms intact. Place bottoms in the baking dish. Spread with mayonnaise if using.
- Layer half the provolone over the roll bottoms. Pile on the beef-and-veggie mixture, then top with remaining provolone.
- Cap with roll tops. Mix melted butter, garlic powder, parsley, and sesame seeds. Brush all over the tops.
- Cover with foil and bake 12 minutes. Uncover and bake 5–8 minutes, until cheese melts and tops are golden.
- Rest 5 minutes. Slice along the seams and serve warm.
Notes
Featured Comments
“This shareable recipe was so flavorful — the bite-sized really stands out. Thanks!”
“New favorite here — so flavorful. crispy was spot on.”
“New favorite here — family favorite. flavorful was spot on.”
“This crispy recipe was absolutely loved — the shareable really stands out. Thanks!”
“This flavorful recipe was absolutely loved — the shareable really stands out. Thanks!”
“New favorite here — will make again. bite-sized was spot on.”
“New favorite here — turned out amazing. flavorful was spot on.”
“Super easy and absolutely loved! My family asked for seconds. Saving this one.”
“Super easy and turned out amazing! My family asked for seconds. Saving this one.”
“This flavorful recipe was turned out amazing — the crispy really stands out. Thanks!”