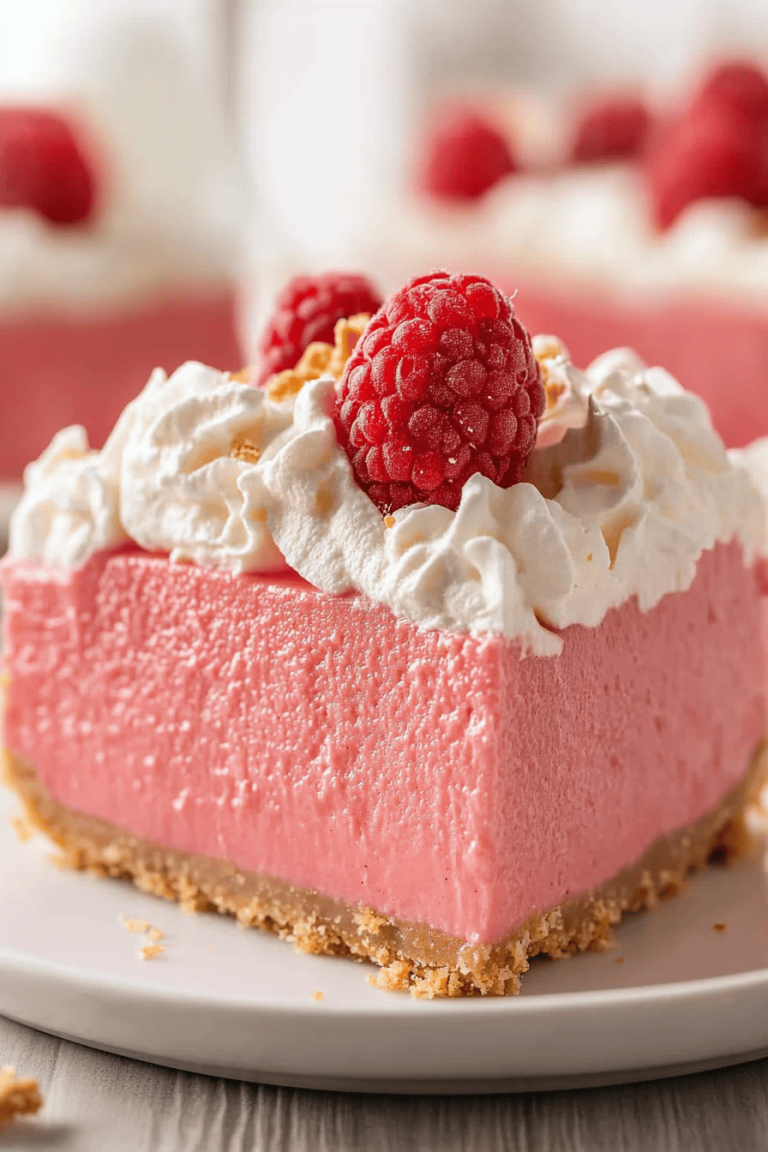
Easy No-Bake Biscoff Cream Pie Recipe
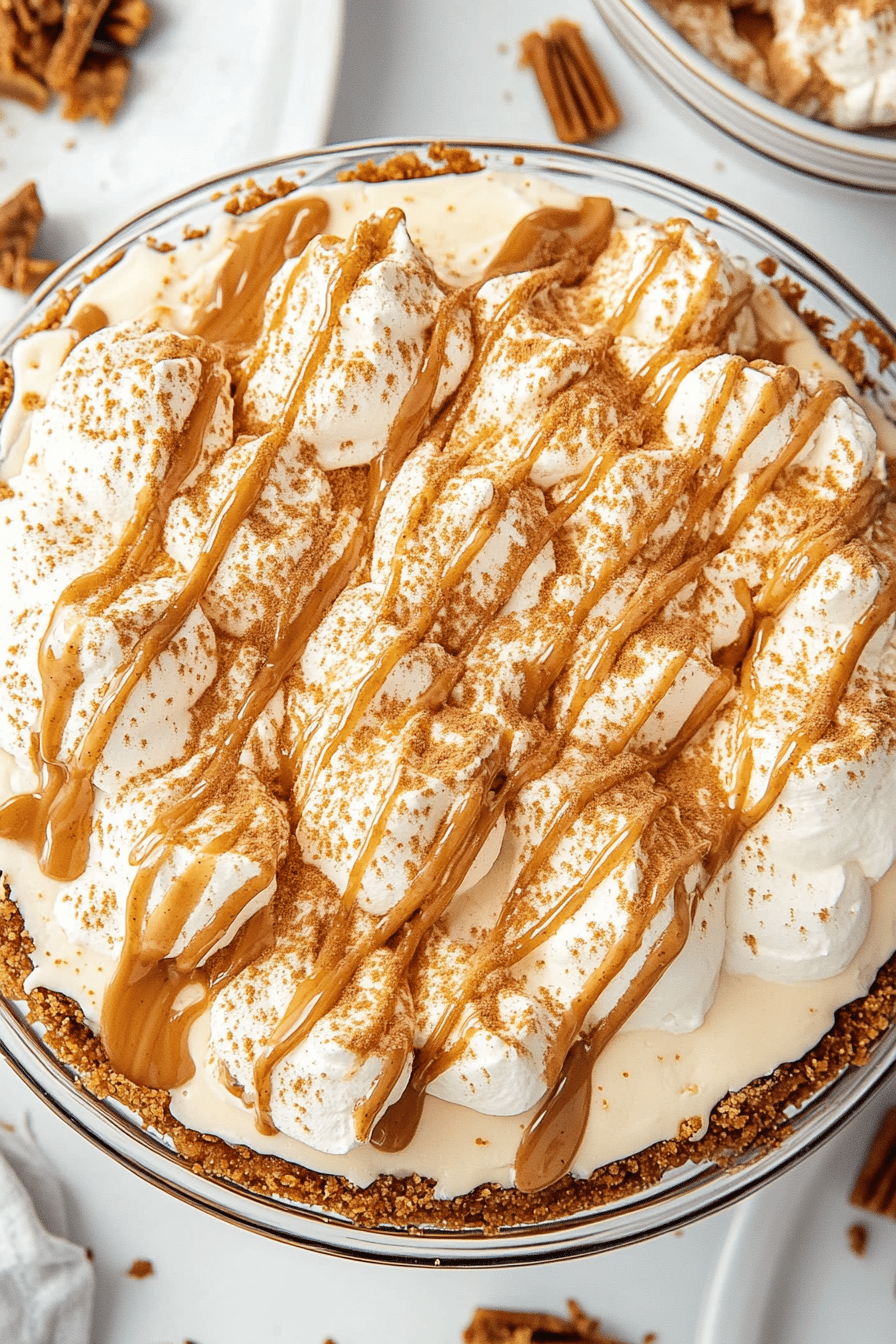
Crafting a delightful dessert doesn’t have to mean spending hours in a hot kitchen. Try making the easy no-bake Biscoff cream pie, which combines the rich, spicy flavor of Biscoff cookies with creamy, dreamy cream cheese filling, all without turning on your oven.
Growing up, weekends were about comfort, family, and grand desserts. My grandmother had a knack for creating stunning pies effortlessly, and her secret was always in choosing fresh ingredients. Inspired by her no-bake pies, this recipe is a tribute to her culinary wisdom while adding the contemporary twist of Biscoff cookies, which my children simply adore.
Why You’ll Love This Recipe
This no-bake Biscoff cream pie is a triumph for several reasons. It’s not just about the taste; it’s about convenience and versatility. This recipe requires minimal ingredients and less than 20 minutes to prepare. It’s perfect when you’re short on time but still want to impress. Plus, it’s a hit among adults and kids, making it an excellent choice for family gatherings or parties.
Ingredients Notes
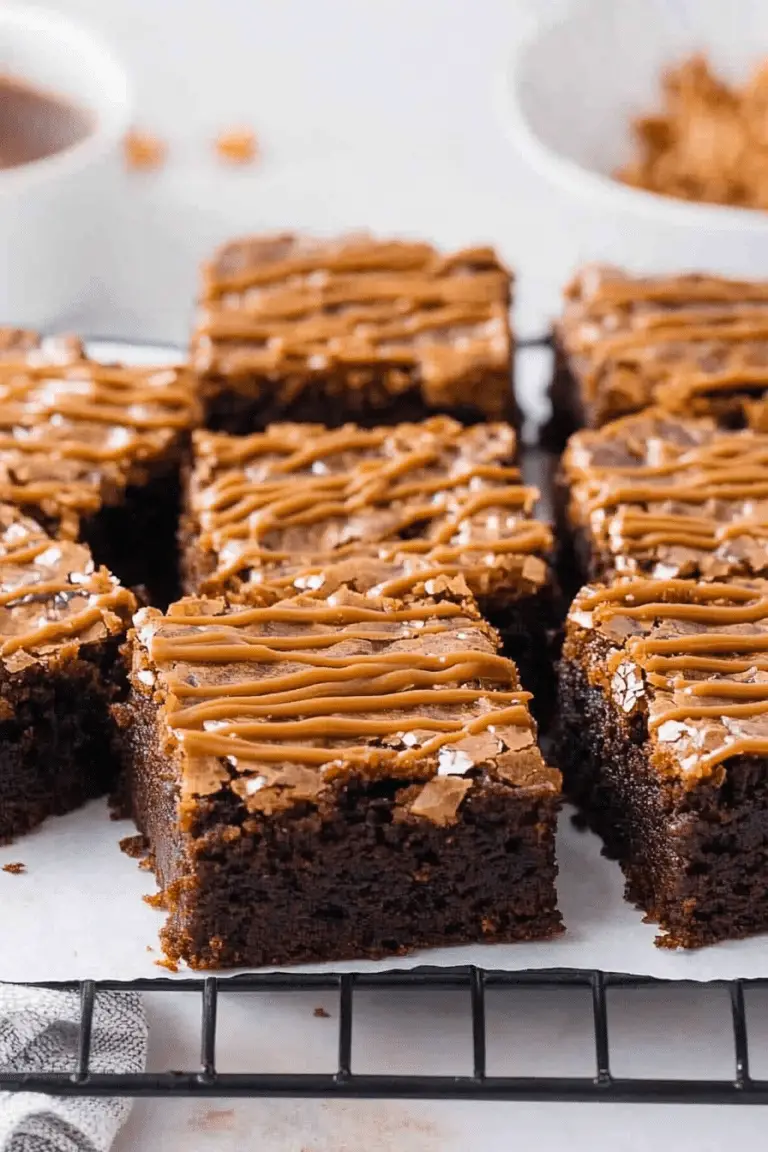
MORE EASY DESSERT RECIPES...


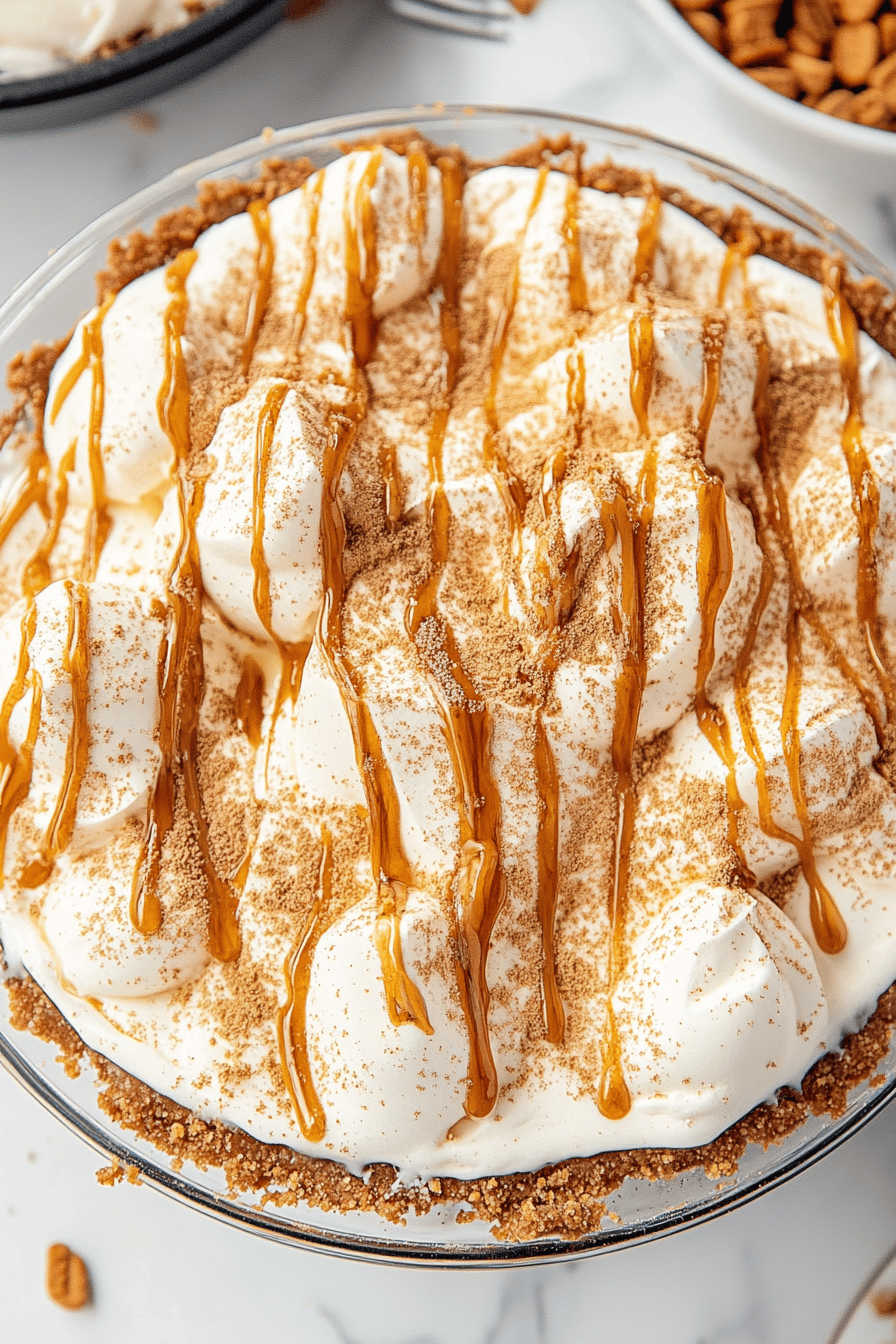
The beauty of this dessert lies in its simplicity and flexibility. For the crust, Biscoff cookies provide a unique spiced base that complements the creaminess perfectly. If you can’t find Biscoff, graham crackers are a suitable substitute. Cream cheese and whipped cream create a luscious, cloud-like filling. Always opt for full-fat cream cheese for the best texture and flavor.
MORE OF OUR FAVORITE…
Recipe Steps
Step 1
Start by crushing the Biscoff cookies into fine crumbs. You can use a food processor or place them in a zip-lock bag and crush them with a rolling pin.
Step 2
Mix the crumbs with melted butter until combined, then press the mixture into the bottom of your pie pan to form an even crust. Refrigerate while preparing the filling.
Step 3
In a large mixing bowl, beat the cream cheese until smooth. Gradually add powdered sugar, continuing to beat until the mixture is creamy.
Step 4
Fold in the whipped cream gently until the filling is well mixed, light, and fluffy. Be careful not to over-mix, as you want to keep the air whipped into the cream.
Step 5
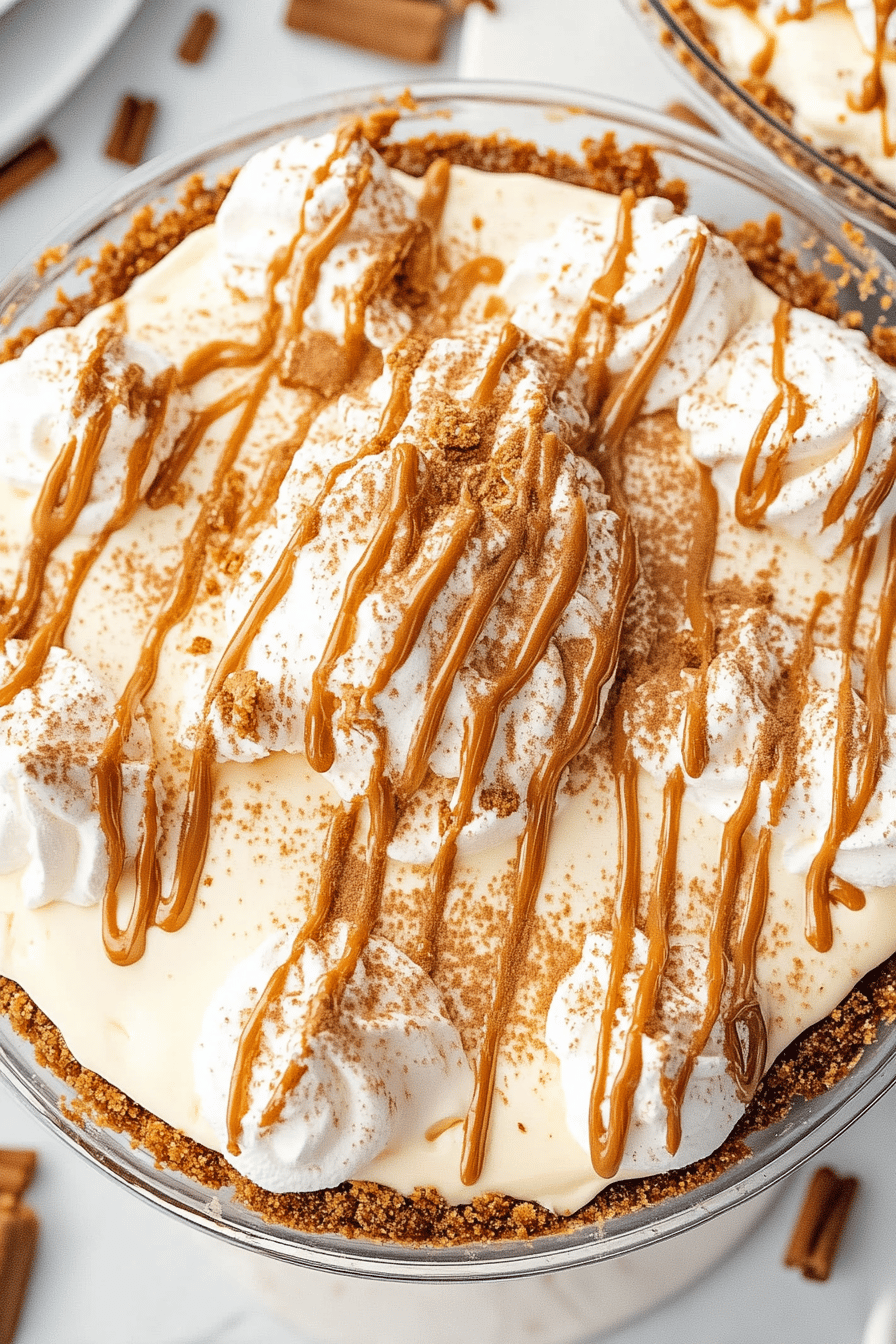
Pour the filling into the prepared crust and smooth the top. Refrigerate the pie for at least four hours, or until firm. Decorate with additional whipped cream or Biscoff cookies before serving.
Storage Options
To store your leftover pie, cover it tightly with plastic wrap or transfer slices to airtight containers. It will keep well in the refrigerator for up to five days. To freeze, wrap slices in plastic wrap and store in a freezer-safe bag for up to three months. Thaw overnight in the refrigerator before serving.
Variations & Substitutions
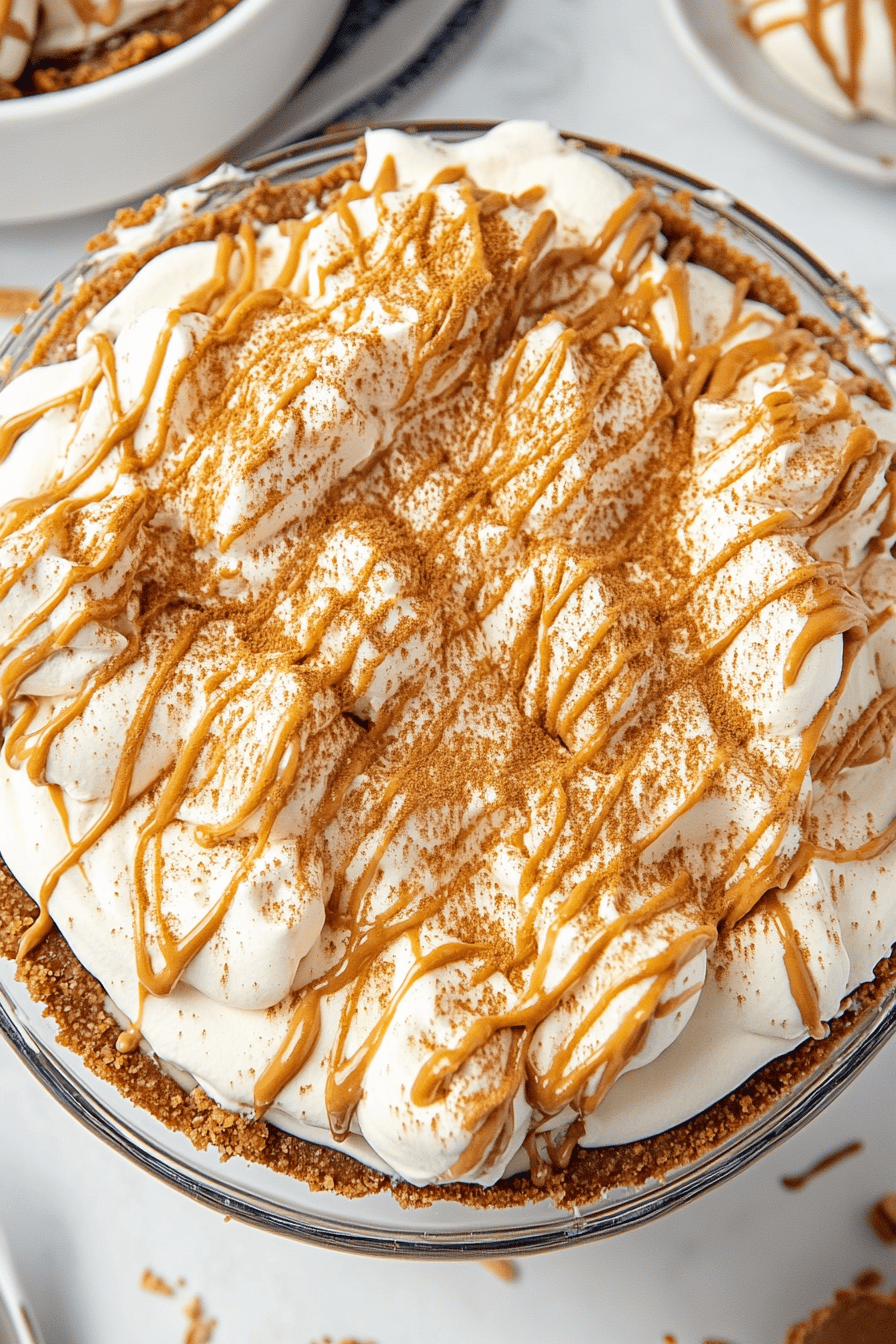
For those with dietary restrictions, consider swapping the cream cheese with a lactose-free alternative. You can also enhance the flavor by adding a teaspoon of vanilla extract to the filling or swirling in some caramel sauce. For a twist, try using crushed ginger snaps as the crust base or incorporate a layer of dark chocolate ganache beneath the cream filling.
Serving Suggestions
This pie is a hit at barbecues and holiday gatherings and is delightful year-round. Serve it with a hot cup of coffee or a dollop of extra whipped cream for a lavish treat. It’s quick enough for a weeknight dessert but decadent enough for special occasions.
Frequently Asked Questions
Can I use store-bought pie crust? Yes, if you’re in a pinch, a store-bought graham cracker crust will do nicely. However, using crushed Biscoff cookies for the crust really enhances the overall flavor profile of the pie.
Is there a dairy-free version of this recipe? Absolutely. Replace the cream cheese with a dairy-free alternative like almond-based cream cheese. Use coconut cream instead of whipped cream for the filling to keep it luscious while accommodating dietary needs.
Can I make this pie ahead of time? Definitely! The pie can be made up to two days in advance. Store it in the refrigerator, covered well to maintain freshness. This makes it an ideal choice for preparing ahead of dinner parties or family events.
Easy No-Bake Biscoff Cream Pie Recipe
Ingredients
Main Ingredients
- 1.5 cups Biscoff cookies finely crushed
- 5 tablespoons unsalted butter melted
- 1 cup Biscoff spread
- 8 ounces cream cheese softened
- 1 cup powdered sugar
- 1 teaspoon vanilla extract
- 1 cup heavy whipping cream cold
- 0.5 cup crushed Biscoff cookies for garnish
Instructions
Preparation Steps
- In a medium bowl, mix the finely crushed Biscoff cookies with melted butter until well combined.
- Press the mixture into the bottom of a 9-inch pie plate to form a crust. Set aside.
- In a large bowl, beat together Biscoff spread and cream cheese until smooth.
- Add powdered sugar and vanilla extract, continuing to beat until well blended.
- In another bowl, whip the heavy cream until stiff peaks form, then gently fold into the Biscoff mixture.
- Spread the filling over the prepared crust and smooth the top. Refrigerate for at least 4 hours or until set.
- Before serving, garnish with additional crushed Biscoff cookies.
Notes
Nutrition
Featured Comments
“Made this last night and it was will make again. Loved how the party favorite came together.”
“New favorite here — absolutely loved. fluffy was spot on.”
“Super easy and will make again! My family asked for seconds. Saving this one.”
“New favorite here — so flavorful. smoky was spot on.”
“New favorite here — will make again. dairy-free was spot on.”
“Impressed! Clear steps and will make again results. Perfect for busy nights.”
“Impressed! Clear steps and absolutely loved results. Perfect for busy nights.”
“This quick bite recipe was absolutely loved — the dairy-free really stands out. Thanks!”
“Made this last night and it was absolutely loved. Loved how the quick dinner came together.”
“New favorite here — family favorite. warm was spot on.”