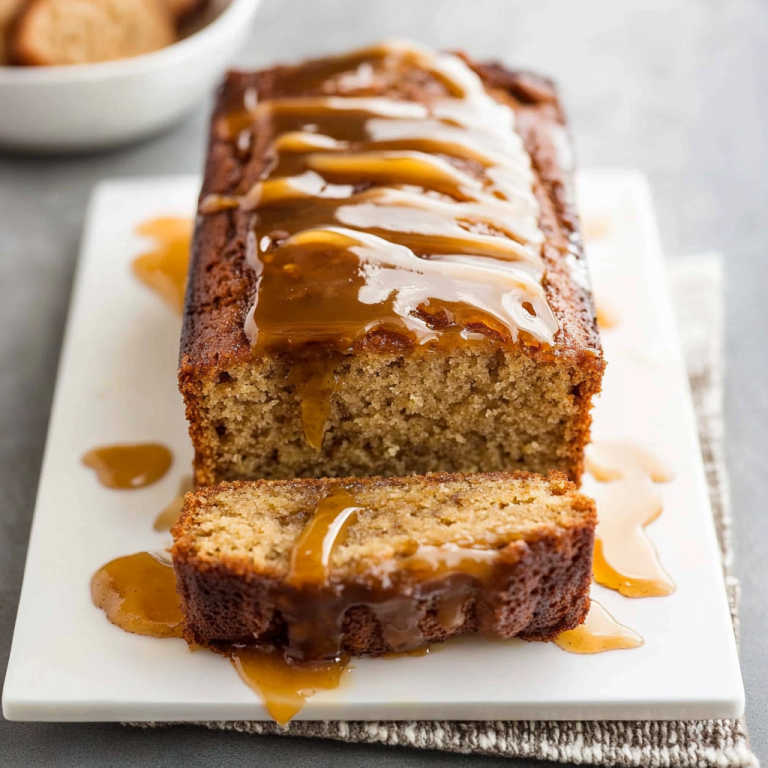
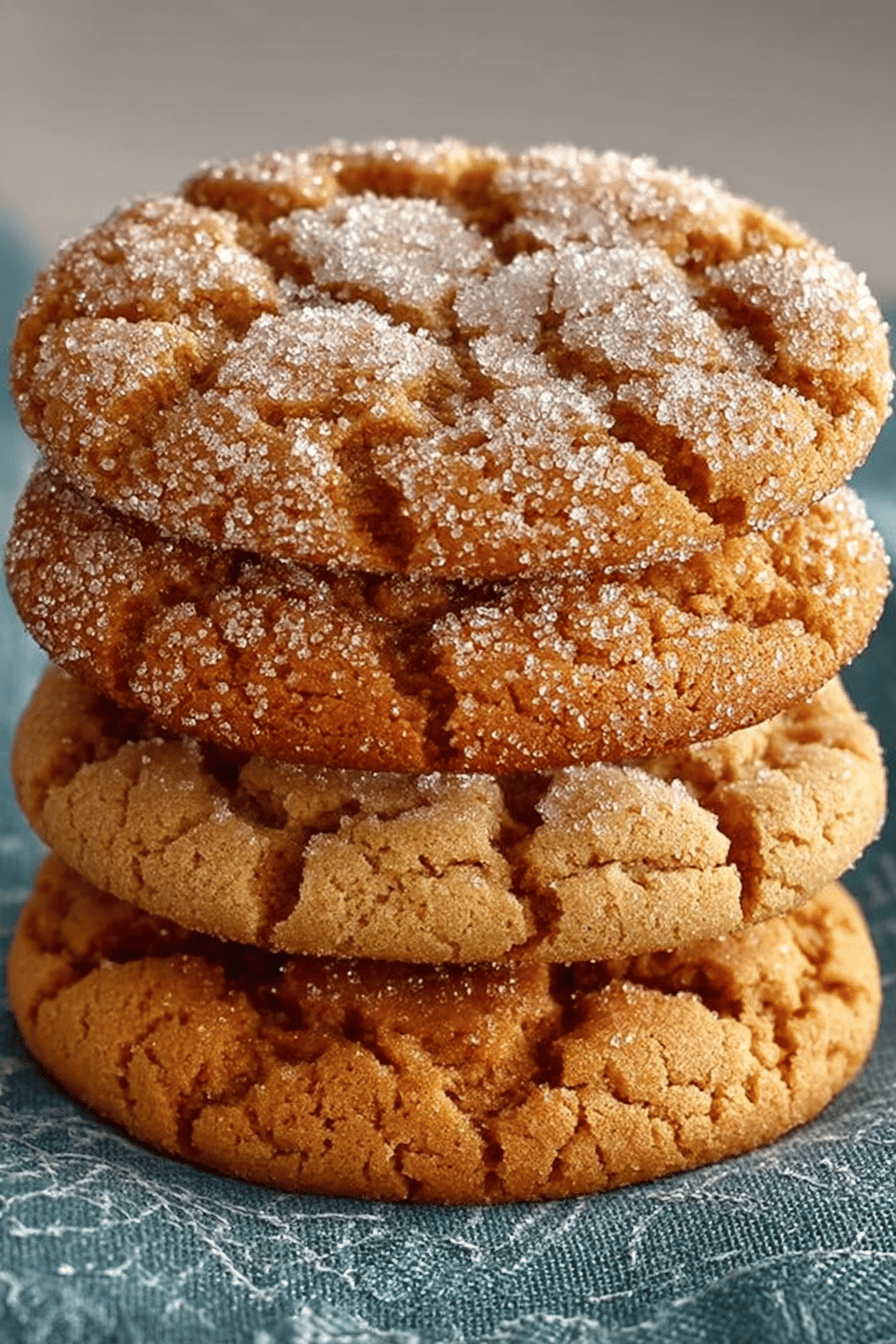
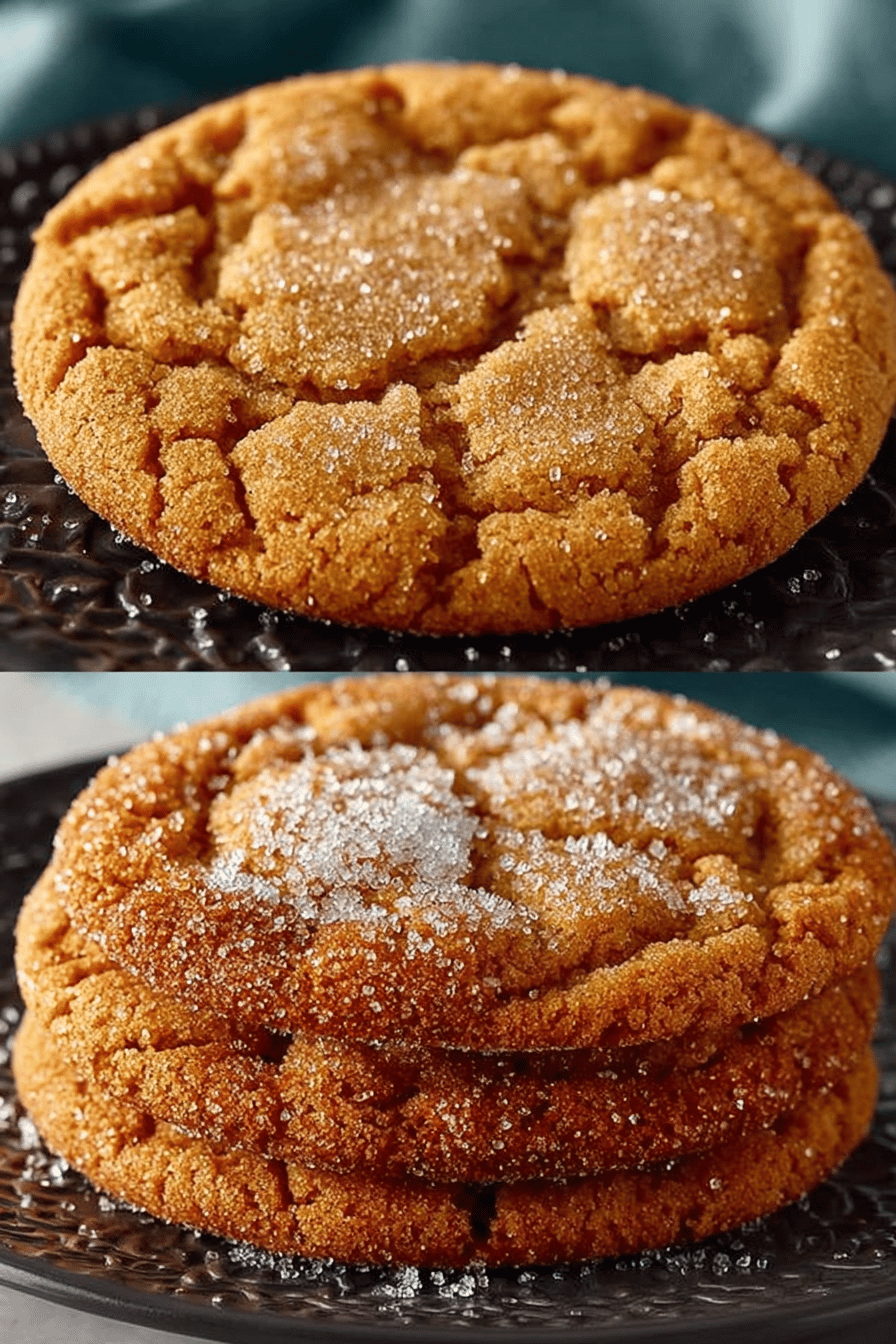
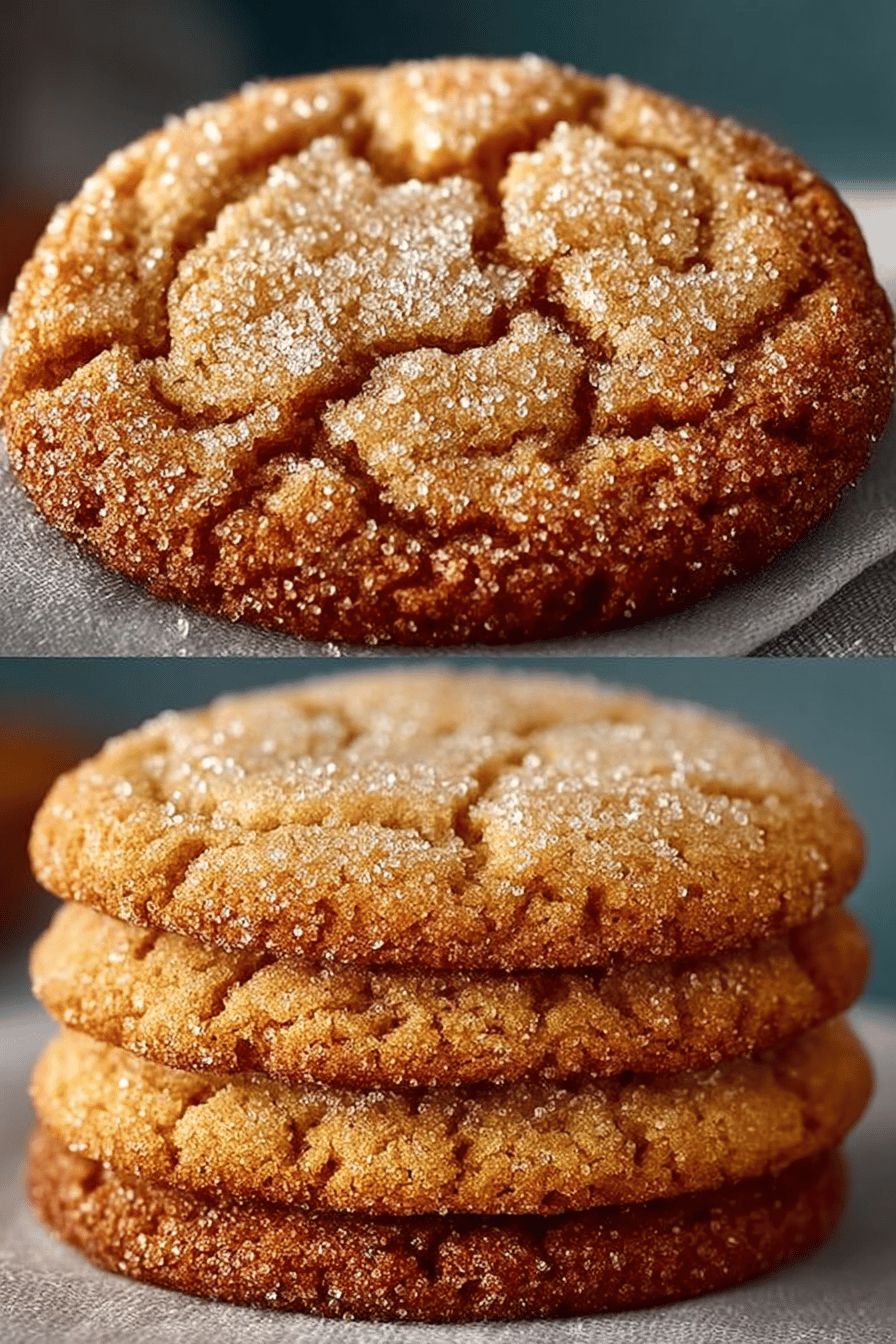
Easy Brown Sugar Cookies Recipe

Okay, friends, gather ’round because I’m about to share the easiest, most addictive cookie recipe EVER. Seriously. We’re talking melt-in-your-mouth, brown sugar goodness that takes, like, zero effort. These Easy Brown Sugar Cookies Recipe are my go-to when I need a quick sugar fix or want to impress someone (without actually trying too hard). Trust me, once you make these, you’ll never reach for another cookie recipe again.
My husband, bless his heart, is a cookie monster. He could probably live off cookies alone if I let him. One time, I made a double batch of these for a potluck, and he ate almost half of them before I could even pack them up! Now, whenever I bake a batch, I have to hide a few for myself or they vanish within minutes. My kiddo also loves to get in on the action. I plop her in her highchair with a bowl of sprinkles and she has a blast decorating the cookies before promptly devouring them. It’s messy, it’s chaotic, but it’s pure, sweet, cookie-filled family time.
Why You’ll Love This Easy Brown Sugar Cookies Recipe
- They’re ridiculously easy to make. Like, even I can’t mess them up.
- They taste like a warm hug. Seriously comforting.
- Brown sugar = instant caramel-y goodness. Need I say more?
- You probably already have all the ingredients in your pantry. Score!
- They’re perfect for any occasion. Or no occasion at all.
How to Make It
Alright, let’s get down to business. First things first, you’re gonna cream together that butter and brown sugar. Get it nice and fluffy, like you’re giving it a spa day. Then, crack in that egg and vanilla. Don’t forget the vanilla! I almost did the other day, disaster averted. Mix it all up until it’s smooth and dreamy.
In another bowl (because who wants lumpy cookies?), whisk together your flour, baking soda, and salt. Now, gradually add the dry stuff to the wet stuff, mixing until just combined. Don’t overmix! Nobody likes tough cookies.
MORE OF OUR FAVORITE…
Now, here’s the fun part. Scoop out little balls of dough onto a baking sheet. I use a cookie scoop, but a spoon works just fine too. Just try to make them roughly the same size so they bake evenly. Pop those babies into the oven and bake until they’re golden brown around the edges.
Let them cool on the baking sheet for a few minutes before transferring them to a wire rack to cool completely. Or, you know, just eat them straight off the baking sheet while they’re still warm. I won’t judge.
Ingredient Notes
- Butter: Gotta be softened! Seriously, don’t try to use cold butter. It’s a pain in the butt. Trust me, I’ve been there.
- Brown Sugar: This is the star of the show! It’s what gives these cookies their amazing flavor. Don’t even think about using white sugar.
- Vanilla Extract: Please, for the love of cookies, use real vanilla extract. The imitation stuff just doesn’t cut it.
- Flour: All-purpose flour is your friend here. Don’t get fancy. Unless you want to, I guess.
- Baking Soda: Makes the cookies rise and get all puffy and delicious. Don’t skip it!
- Salt: A pinch of salt enhances the sweetness and balances out the flavors. Don’t go overboard, though.
Recipe Steps:
- Cream: Combine softened butter and brown sugar until fluffy.
- Mix: Add egg and vanilla extract, mixing until smooth.
- Whisk: In a separate bowl, whisk together flour, baking soda, and salt.
- Combine: Gradually add dry ingredients to wet ingredients, mixing until just combined.
- Scoop: Drop spoonfuls of dough onto a baking sheet.
- Bake: Bake until golden brown around the edges.
- Cool: Let cookies cool on the baking sheet before transferring to a wire rack.
What to Serve It With
These cookies are amazing on their own, obviously. But if you’re feeling fancy, you can serve them with:
- A cold glass of milk (duh).
- A scoop of vanilla ice cream.
- A cup of hot coffee or tea.
- A generous dollop of whipped cream.
Tips & Mistakes
- Don’t overbake the cookies! They should be slightly soft in the center when you take them out of the oven.
- If your dough is too sticky, chill it in the fridge for 30 minutes before scooping.
- Use a cookie scoop to ensure that all the cookies are the same size.
- Don’t forget to preheat your oven! I’ve totally done that before. Oops.
Storage Tips
Store these cookies in an airtight container at room temperature. They’ll stay fresh for about 3-4 days. If you want to keep them longer, you can freeze them for up to 2 months. Just make sure they’re completely cooled before freezing.
And honestly? Cold cookies for breakfast? Don’t judge. I do it all the time. Especially when I’m feeling lazy and don’t want to make actual breakfast. #NoShame
Variations and Substitutions
- Add chocolate chips! Because why not?
- Sprinkle the cookies with sea salt before baking for a salty-sweet treat.
- Use maple syrup instead of vanilla extract for a different flavor.
- If you’re out of baking soda, you can use baking powder, but the cookies will be a little flatter. I’ve done this, it works, but they’re not as fluffy.
- I once tried to make these with coconut oil instead of butter. Don’t do it. Just… don’t.
Frequently Asked Questions
Easy Brown Sugar Cookies Recipe
Ingredients
Main Ingredients
- 2.5 cups all-purpose flour
- 1 cup unsalted butter softened
- 1.5 cups light brown sugar packed
- 2 large eggs room temperature
- 1 teaspoon vanilla extract pure
- 1 teaspoon baking soda
- 0.5 teaspoon baking powder
- 0.5 teaspoon salt
Instructions
Preparation Steps
- Preheat your oven to 350°F (175°C). Line a baking sheet with parchment paper.
- In a large bowl, cream together the softened butter and packed light brown sugar until smooth and creamy.
- Beat in the eggs one at a time, then stir in the vanilla extract.
- In another bowl, whisk together the all-purpose flour, baking soda, baking powder, and salt. Gradually blend the dry ingredients into the creamed mixture until just combined.
- Drop rounded tablespoons of dough onto the prepared baking sheet, leaving about 2 inches between each cookie.
- Bake in the preheated oven for 8 to 10 minutes, or until the edges are lightly golden. Let cookies cool on the baking sheet for 5 minutes before transferring to wire racks to cool completely.
Notes
Nutrition
Featured Comments
“New favorite here — so flavorful. smoky was spot on.”
“New favorite here — family favorite. zesty was spot on.”
“Super easy and will make again! My family asked for seconds. Saving this one.”
“Impressed! Clear steps and absolutely loved results. Perfect for busy nights.”
“This flavorful recipe was will make again — the zesty really stands out. Thanks!”
“Made this last night and it was so flavorful. Loved how the cheesy came together.”
“Super easy and so flavorful! My family asked for seconds. Saving this one.”
“This picky-eater approved recipe was absolutely loved — the perfect pair really stands out. Thanks!”
“Made this last night and it was turned out amazing. Loved how the anytime came together.”
“New favorite here — family favorite. crispy was spot on.”