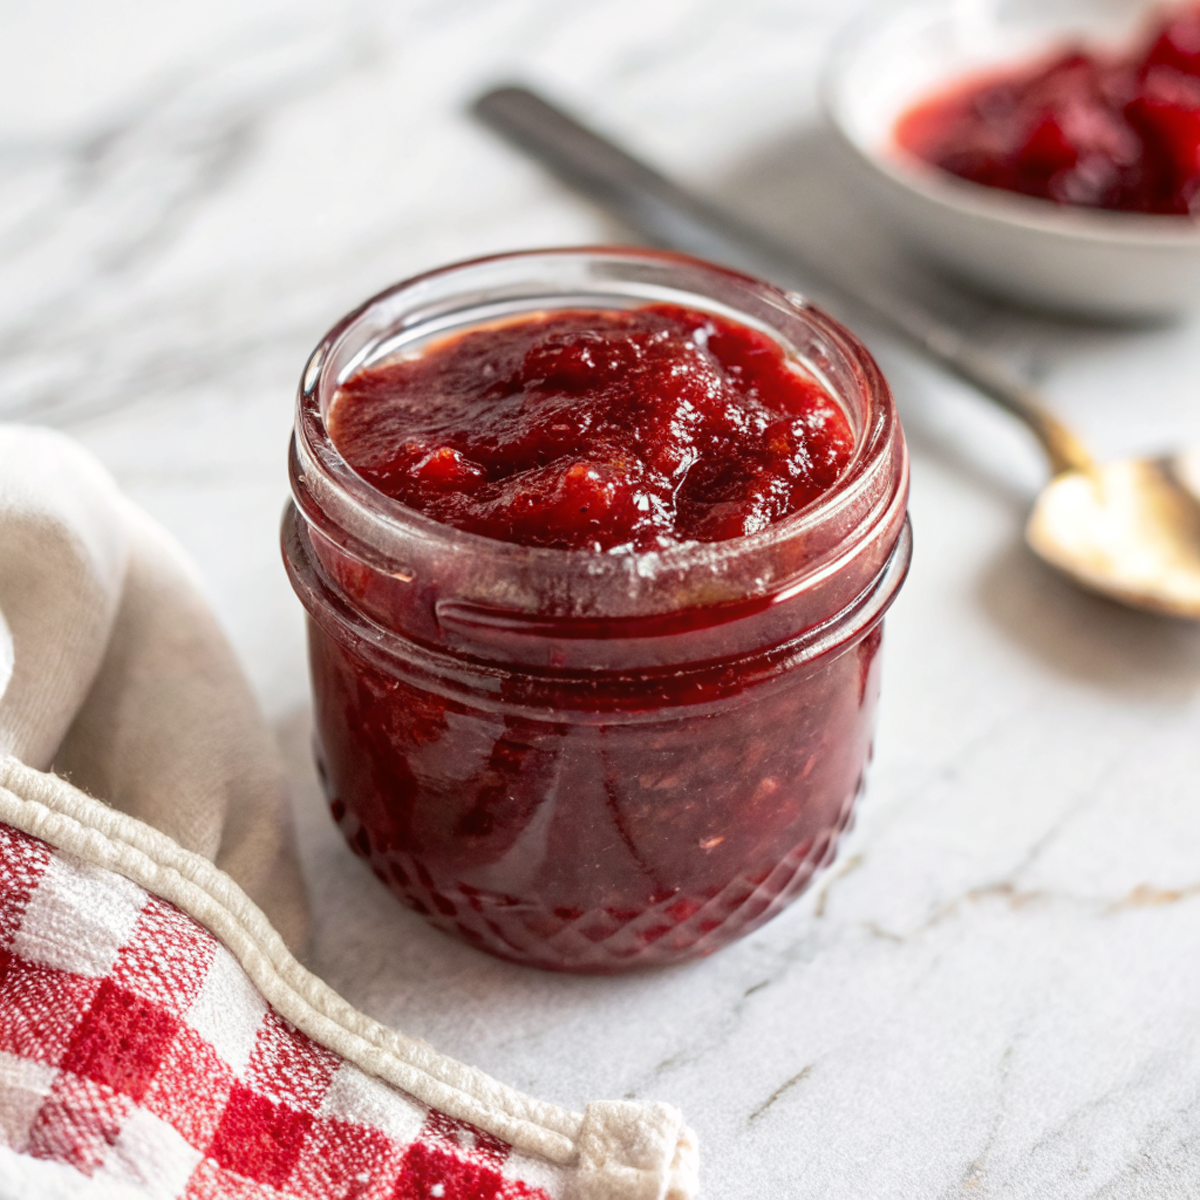
Homemade Strawberry Jam
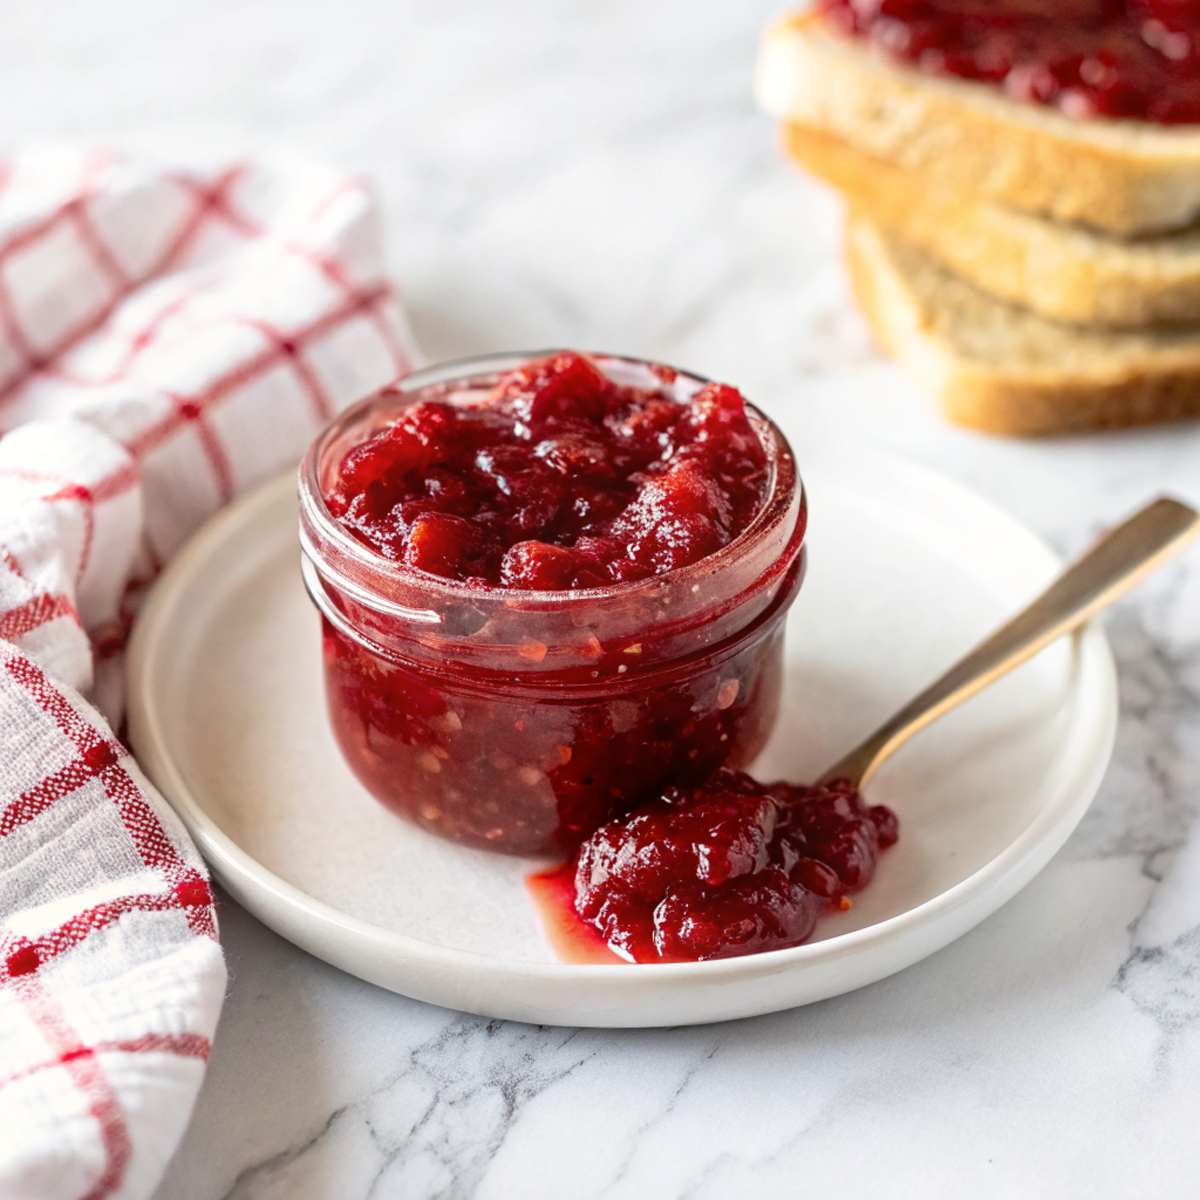
This jam is the kind of sticky, sun-bright strawberry jam that makes toast feel like a celebration. It’s simple — strawberries, sweetener, a little acid, and patience — but the result is intensely fruity and wildly better than the supermarket stuff. Make a batch, and you’ll understand why homemade jam is such a small, everyday luxury.
My husband calls this “the jar that fixes everything.” Sick kid? Spoon of jam. Sad Friday? Jam on toast. I started making it one summer because our kids went through strawberries like tiny vacuum cleaners. Now it’s a weekly ritual: one of us hulks out over cutting tops while the other stands over the pot, trying not to sing show tunes and burn the bottom. It’s messy, loud, and somehow always ends with sticky fingers and satisfied faces.
Why You’ll Love This Homemade Strawberry Jam
– Bright strawberry flavor that actually tastes like strawberries, not candy.
– No weird preservatives or mystery syrup — just fruit-forward sweetness.
– Flexible: make it thick for spooning or a little looser for slathering on pancakes.
– Uses ripe berries you’d otherwise eat too fast or let go soft in the fridge.

Kitchen Talk

Okay, full disclosure: the first time I tried a no-pectin jam, it was a disaster. I boiled the heck out of it, the color went dark, and I cried over ruined toast. Now I bring the heat up to a confident simmer and keep it there, stirring like my life depends on it for the last stretch. Also — don’t try to multitask too hard. Jar lids aren’t going to the dishwasher themselves and you’ll forget to check the set. I once added lemon zest on a whim and it turned into a slightly grown-up marmalade vibe that we weirdly loved. So, the rules are loose but the stirring is sacred.
MORE OF OUR FAVORITE…
Shopping Tips
– Produce/Fruit: Pick ripe, fragrant strawberries — they should smell like strawberries, not like a supermarket. Avoid mushy, fermented berries.
– Sweeteners: Regular granulated sugar is classic for jam because it helps set and preserves flavor; cane and beet sugars both work.
– Baking Basics (Flour/Sugar/Leaveners): If your recipe calls for pectin, buy powder pectin labeled for jam; liquid pectin behaves differently so read labels.
– Specialty Item: If you like a clearer jam, consider buying fruit pectin or a low-pectin guide; otherwise, skip and cook a little longer.
– Frozen Aisle: If strawberries aren’t in season, frozen berries are a solid standby — thaw and drain a bit before cooking to avoid extra water.
Prep Ahead Ideas
– Hull and halve the strawberries the day before and store them in a covered bowl in the fridge so you can jump right in.
– If you like a smoother jam, blitz half the berries in a container and keep the puree in the fridge for the next day.
– Sterilize jars and lids ahead of time and keep them oven-warm on a tray or in a hot oven until you’re ready to fill.
– Use labeled mason jars or airtight containers to keep batches organized in the fridge or pantry.
Time-Saving Tricks
– Use a wide, heavy-bottomed pan so the jam cooks faster and more evenly.
– Smash half the berries with a potato masher instead of chopping for a quicker texture prep.
– If you’re in a hurry, a little pectin or a jam-setting mix speeds up the thickening step.
– Don’t rush cooling — letting jam sit off the heat helps it finish setting without overcooking.
Common Mistakes
– Overcooking until the jam tastes caramelized — I did this once and it was tasty but not strawberry. Fix by adding a splash of lemon juice and testing again.
– Not stirring enough and scorching on the bottom — rescue with patience: move the jam to a clean pan, add a bit of water, and finish on low.
– Skipping jar-sterilization thinking the sugar will save you — use proper sterilizing for shelf stability.
– Expecting supermarket texture — homemade will be more rustic; embrace the lumps.
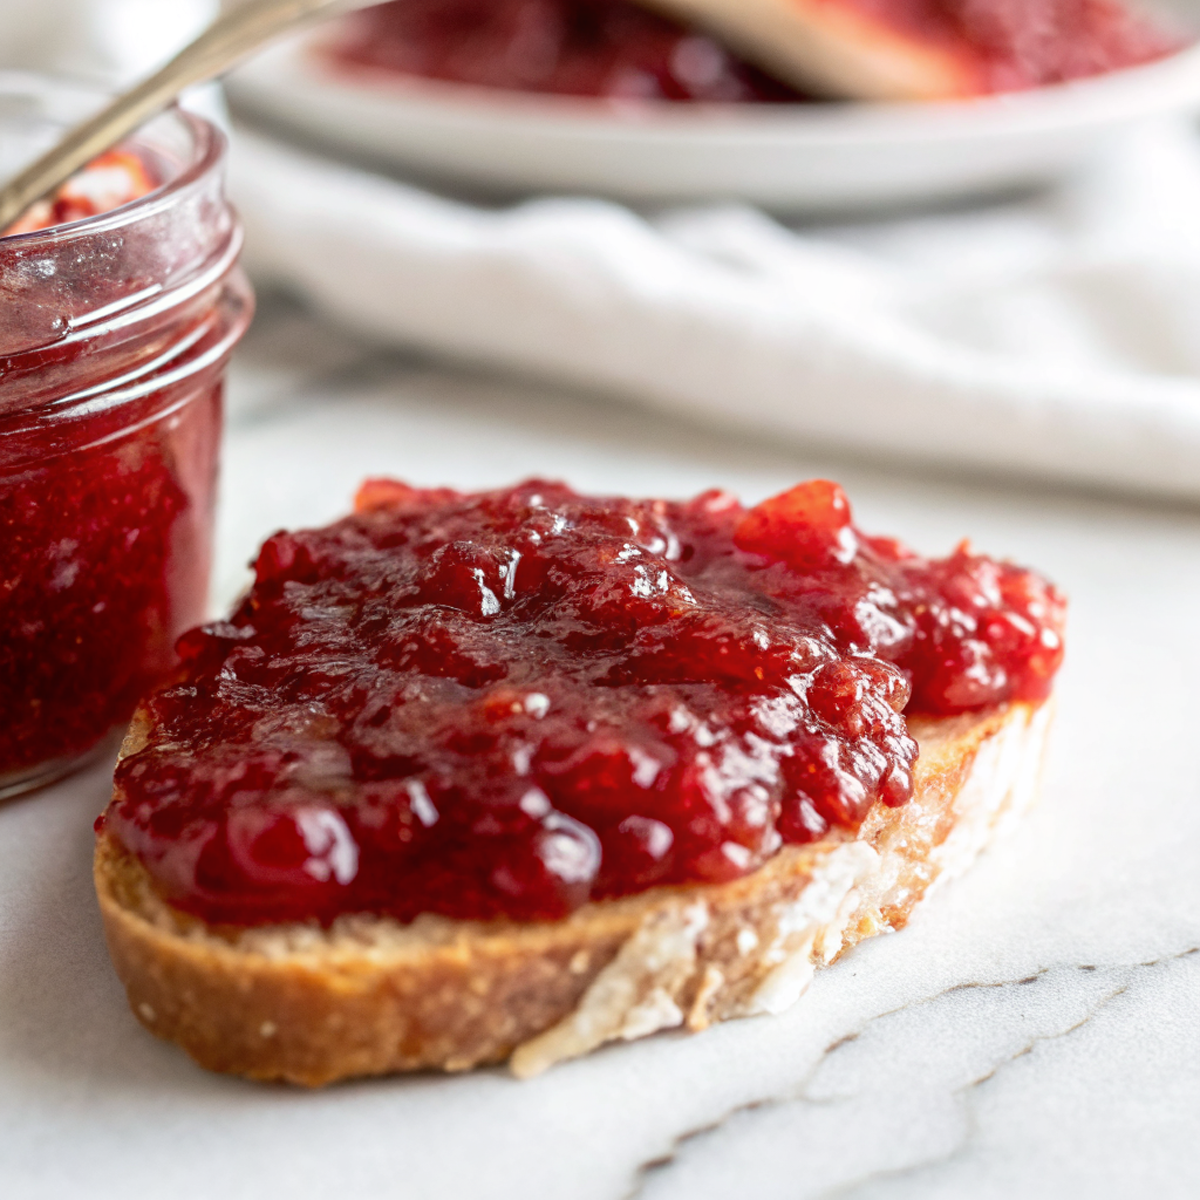
What to Serve It With
– Thick-cut buttered toast or a flaky biscuit for breakfast.
– Dolloped on Greek yogurt or cottage cheese for a tangy balance.
– Swirled into oatmeal or porridge for a fruit-filled morning.
– Spoon over vanilla ice cream for an instant dessert upgrade.
Tips & Mistakes
– Use a candy thermometer if you want precision, but don’t be afraid to eyeball a set with a chilled plate test.
– Avoid high heat at the end — you’ll lose fresh flavor and color.
– Salt isn’t needed, but a tiny pinch can lift the sweetness.
– If your jam is too runny, simmer gently to reduce; too thick — thin with a bit of water or lemon juice.
Storage Tips
Keep opened jam in the fridge and use within a few weeks for best flavor; unopened, properly processed jars can live in a cool, dark pantry for months. Cold jam is still delicious — spread it on a warm toast and watch the room cheer. If your jar gets moldy, toss it; sugar preserves, but it’s not invincible.
Variations and Substitutions
Swap some strawberries for rhubarb for a tangy lift, or add a splash of balsamic for depth. Honey can replace part of the sugar, but it will change the set and flavor, so taste as you go. Vanilla bean feels decadent; black pepper or black peppercorns (crushed) make a quirky grown-up jam. If you’re out of fresh fruit, frozen berries are an honest, reliable substitute.
Frequently Asked Questions
Homemade Strawberry Jam
Ingredients
Jam
- 1.75 lb granulated cane sugar
- 4.5 lb fresh strawberries, hulled and chopped
- 0.25 cup bottled lemon juice
- 1 tsp finely grated lemon zest
- 1/8 tsp fine sea salt
Instructions
Preparation Steps
- Place a small plate in the freezer for gel testing later. Set a water-bath canner (or deep pot with rack) to heat; keep jars and lids hot in simmering water (not boiling).
- In a large nonreactive bowl, combine sugar and salt. Add about two-thirds of the strawberries and toss well. Lightly mash to release juices, then let stand 20–30 minutes, stirring once or twice.
- Scrape the macerated berries and all juices into a wide, heavy pan. Set over medium heat and cook, stirring often, until the fruit is juicy and beginning to foam, 5–7 minutes. Mash to your preferred texture.
- Increase heat to a lively boil (medium-high). Cook 8–10 minutes, stirring frequently and adjusting the heat to maintain a robust but controlled boil.
- Stir in the remaining chopped strawberries for soft, fresh pieces. Continue boiling, stirring constantly, until the bubbles look thick and glossy and the jam reaches 219–221°F on a thermometer, 8–12 minutes more. Alternatively, spoon a little jam onto the frozen plate; after 30 seconds, it should wrinkle when nudged.
- Stir in bottled lemon juice and lemon zest, then boil 2 minutes longer. Remove from heat and let the jam settle for 3 minutes; skim any persistent foam only if you like a perfectly clear top.
- Working with hot, sterilized jars, ladle jam into jars leaving 1/4-inch headspace. Run a clean tool around the inside to release air bubbles and wipe rims with a vinegar-damp cloth. Apply lids and screw bands just finger-tight.
- Process in a boiling water-bath canner for 10 minutes (0–1,000 ft). Turn off heat and let jars rest in the canner for 5 minutes before removing to a towel-lined surface.
- Cool 12–24 hours undisturbed. Check seals, label, and store in a cool, dark place. Refrigerate any unsealed jars and use within 3–4 weeks.
Notes
Featured Comments
“New favorite here — will make again. cozy was spot on.”
“Impressed! Clear steps and family favorite results. Perfect for busy nights.”
“New favorite here — so flavorful. baked was spot on.”
“This indulgent recipe was absolutely loved — the juicy patty really stands out. Thanks!”
“This flaky recipe was will make again — the creamy really stands out. Thanks!”
“Made this last night and it was so flavorful. Loved how the baked came together.”
“Impressed! Clear steps and turned out amazing results. Perfect for busy nights.”
“Super easy and absolutely loved! My family asked for seconds. Saving this one.”
“This toasty recipe was so flavorful — the balanced really stands out. Thanks!”
“Impressed! Clear steps and family favorite results. Perfect for busy nights.”