No-Bake Cherry Cheesecake Recipe
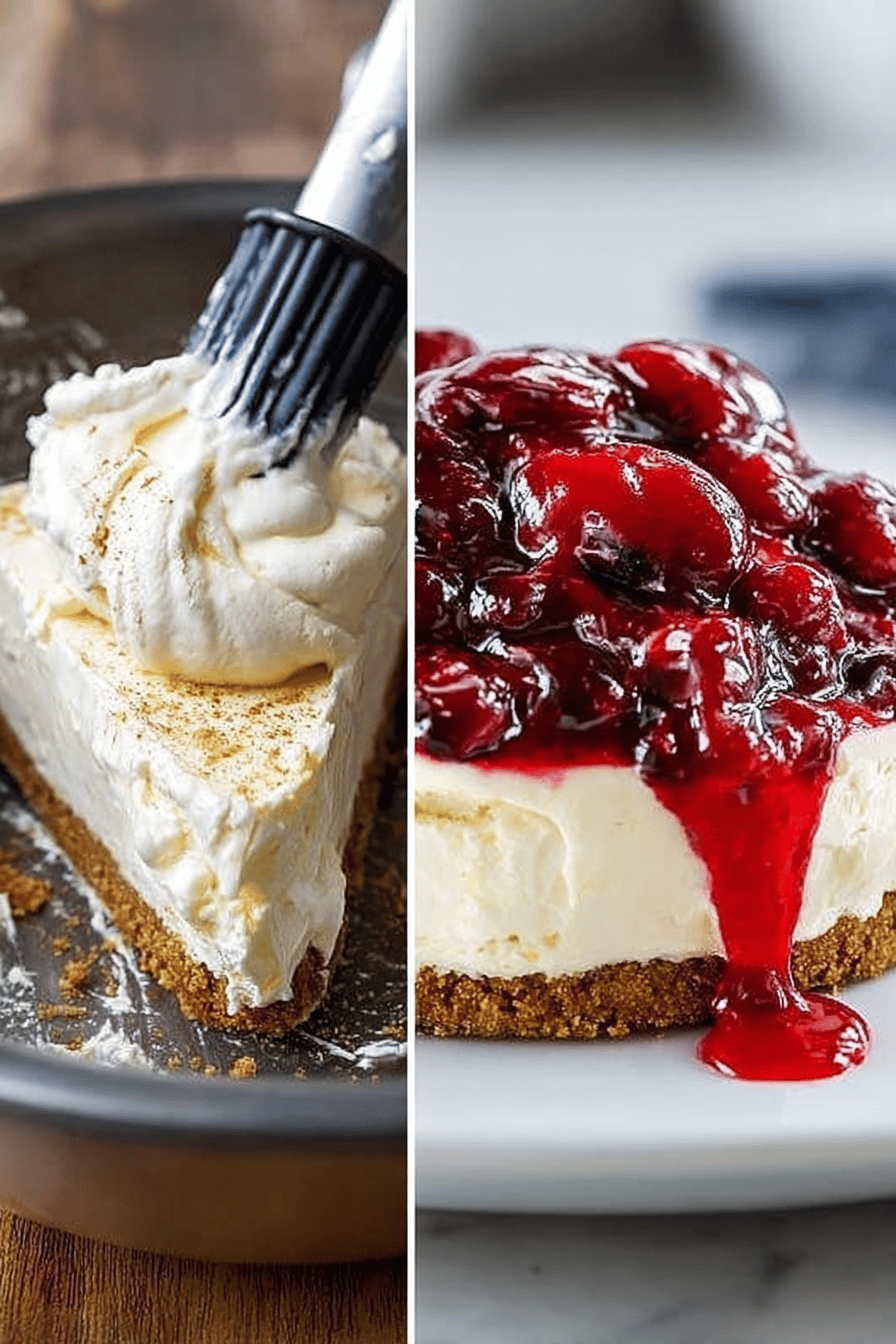
Okay, so here we go! This is my go-to dessert when I need something quick, easy, and guaranteed to disappear faster than I can say “seconds.” It’s a No-Bake Cherry Cheesecake – creamy, dreamy, and with that perfect sweet-tart cherry kick. Seriously, even if you think you can’t bake, you can nail this. And trust me, people will think you’re a culinary genius.
My hubby, bless his heart, is NOT a sweets person. Like, at all. But this cheesecake? He inhales it. Last time I made it, I swear I turned around to grab a spoon and half the freaking thing was gone. He had cherry filling all over his face and just shrugged. “What? It’s good!” My kiddo is even worse, she calls it “magic cheesecake” and asks for it every single week. I usually cave every other week, because mama needs a break too!
Why You’ll Love This No-Bake Cherry Cheesecake Recipe
Okay, let’s be real, there are approximately 7 billion reasons to love this cheesecake, but here are my top ones:
- No oven required! Hello, summer treat! No sweating your butt off trying to make dessert.
- It’s ridiculously easy. Like, seriously, dump, mix, chill, done. Perfect for those “I need dessert NOW” moments.
- Cherry filling. Need I say more? That sweet and tart combo is what dreams are made of.
- It’s a guaranteed crowd-pleaser. Seriously, I’ve never met anyone who doesn’t love this stuff. Even my picky Aunt Mildred.
- You can totally eat it for breakfast. Don’t judge me. Cheesecake is basically yogurt, right?
How to Make It
Alright, so first, you’re gonna crush up those graham crackers. I usually just throw them in a ziplock bag and whack them with a rolling pin. It’s a great stress reliever, BTW. Mix ‘em with melted butter and a little sugar, then press them into the bottom of a pie dish. This is your crust, baby!
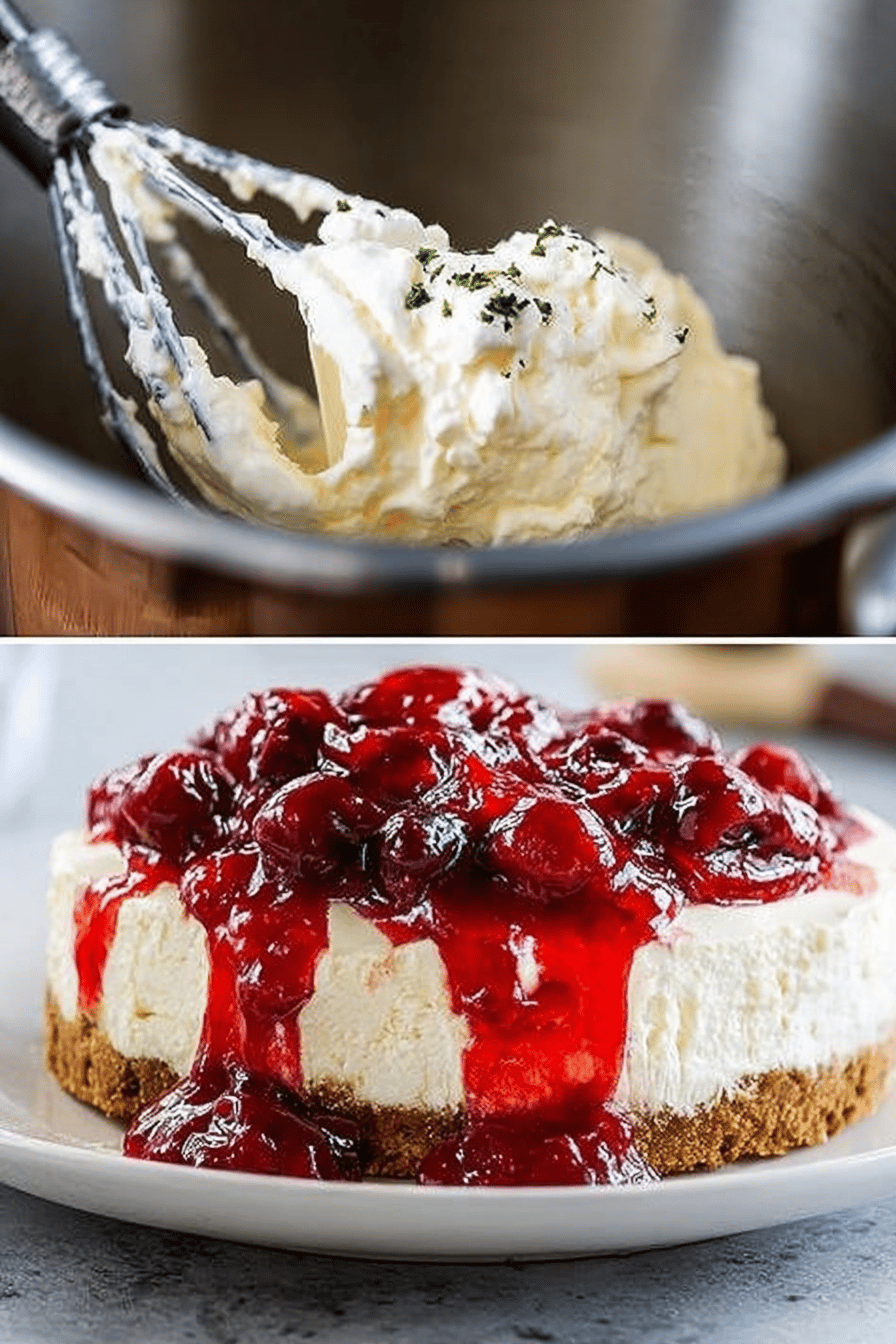
Next, you’re gonna whip up the cheesecake filling. Cream cheese, powdered sugar, vanilla… the usual suspects. Make sure your cream cheese is SOFT, or you’ll end up with lumps. Nobody wants lumpy cheesecake. Fold in some whipped cream to make it extra fluffy. I sometimes sneak a spoonful (or three) of the filling when no one is looking, shhh!
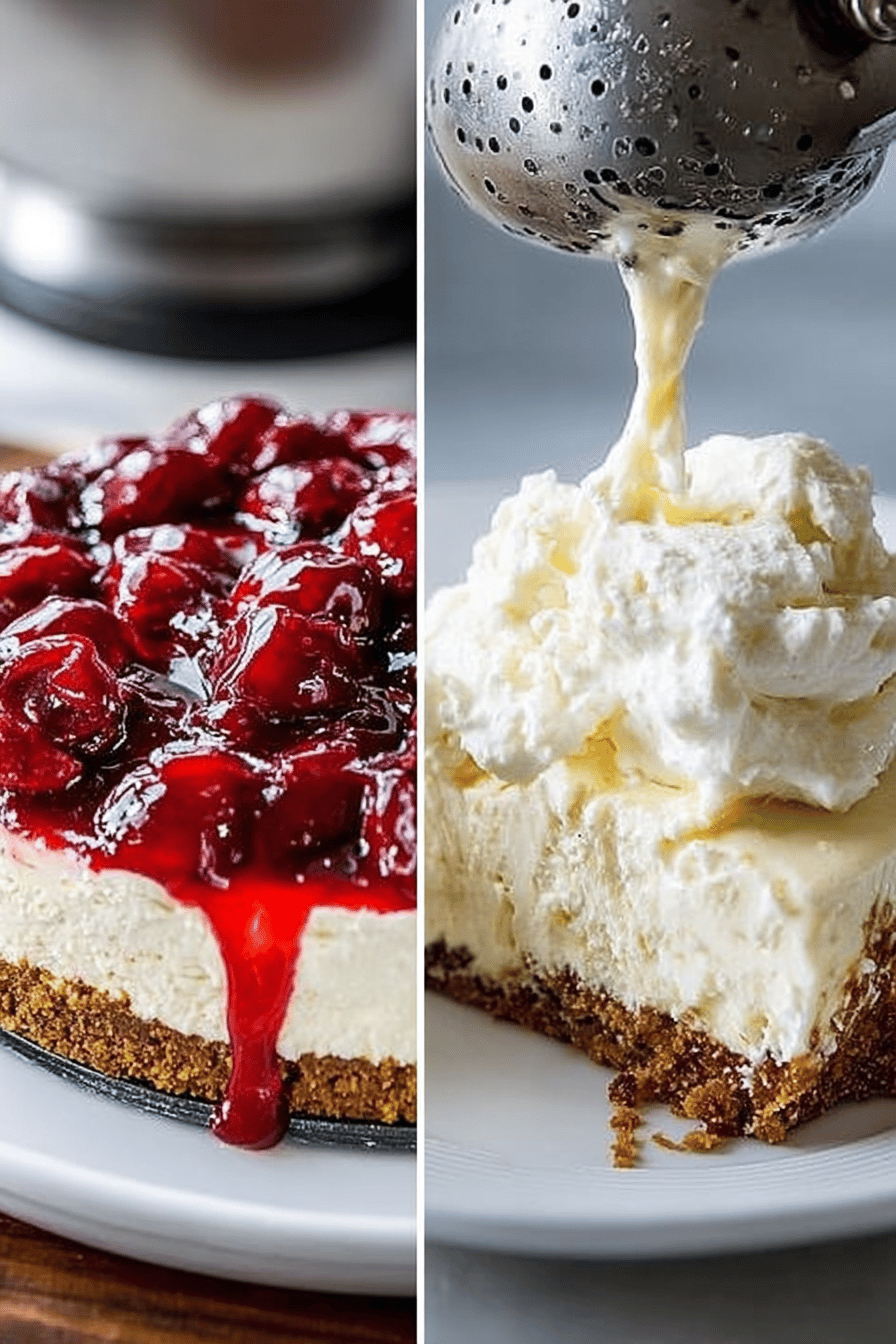
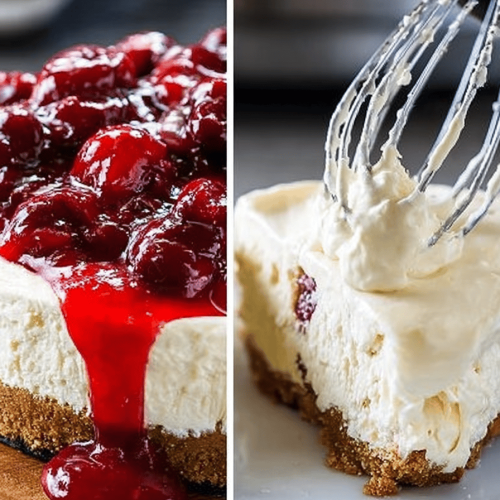
Pour that creamy goodness over your graham cracker crust, then top it with a can of cherry pie filling. I usually buy the kind with extra cherries because, well, more cherries! Chill it in the fridge for at least 4 hours, but overnight is even better. This is the hardest part – waiting!
WANT TO SAVE THIS RECIPE?
Slice it up, serve it with a dollop of whipped cream (if you’re feeling fancy), and watch it disappear. Seriously, this cheesecake is pure magic.
Ingredient Notes
[This module dynamically pulls in recipe-specific ingredients. Make sure when generating the recipe, the ingredient notes follow this tone and layout:]
- Graham Crackers: These are your crust’s backbone. Don’t skimp on the quality. And don’t buy the pre-crushed stuff, it’s just not the same. Plus, smashing them is fun.
- Cream Cheese: This needs to be full-fat, and needs to be properly softened. Otherwise, your cheesecake will be a lumpy, sad mess. Trust me, I’ve been there.
- Powdered Sugar: This dissolves beautifully and makes the filling super smooth. Don’t even THINK about using granulated sugar.
- Cherry Pie Filling: Okay, I’m a sucker for the canned stuff here. But hey, if you want to make your own from scratch, go for it! Just make sure it’s not too runny.
- Whipped Cream: Don’t use the stuff in a can! Whip your own – it tastes SO much better. Plus, you can lick the beaters.
Recipe Steps:
- Crush graham crackers into fine crumbs.
- Combine crumbs, melted butter, and sugar.
- Press mixture into the bottom of a pie dish.
- Beat cream cheese, powdered sugar, and vanilla until smooth.
- Fold in whipped cream.
- Pour filling over the crust.
- Spread cherry pie filling on top.
- Chill for at least 4 hours, or overnight.
- Slice and serve!
What to Serve It With
Honestly? Nothing. It’s perfect on its own. But if you’re feeling extra, a dollop of whipped cream or a sprinkle of chocolate shavings never hurt anyone. I’ve even been known to drizzle a little chocolate syrup over it. Don’t judge.
Tips & Mistakes
- Don’t overmix the filling! Overmixing will incorporate too much air and can cause the cheesecake to crack. Gently fold in the whipped cream.
- Make sure the crust is firmly packed. Use the bottom of a measuring cup to really press those crumbs down. Otherwise, your crust will crumble when you try to slice it.
- Be patient! The longer it chills, the better it tastes. Resist the urge to dig in after only an hour or two.
- Don’t be afraid to experiment. Add a little lemon zest to the filling for a brighter flavor. Or try a different fruit pie filling – blueberry, strawberry, raspberry… the possibilities are endless!
- If you forget to soften the cream cheese: I’ve done it. Multiple times. Pop it in the microwave for 15-20 seconds at a time, flipping it each time, until it’s slightly soft. Be careful not to melt it!
Storage Tips
Leftovers? What leftovers? Just kidding (sort of). If you actually manage to have any cheesecake left, cover it tightly with plastic wrap or foil and store it in the fridge. It’ll keep for about 3-4 days. And yes, you can totally eat it cold, straight from the fridge. It’s actually kind of amazing that way. Especially for breakfast. Again, no judgment.

Variations and Substitutions
Okay, so I’m all about making this recipe your own. Here are a few things I’ve tried:
- Different Crust: Use Oreo cookies instead of graham crackers. Just remove the filling first (and eat it, duh).
- Lighter Version: Use light cream cheese and sugar substitutes. It won’t be quite as decadent, but it’ll still be delicious. I’ve tried it, it’s okay… but I prefer the real thing.
- No Whipped Cream?: If you’re out of whipped cream (or just too lazy to make it), you can substitute Cool Whip. It’s not quite the same, but it works in a pinch.
- Cherry Disaster: I once tried using fresh cherries, thinking I was all fancy. Total fail. They were too watery and the cheesecake was a soggy mess. Stick with the canned filling.
Frequently Asked Questions
No-Bake Cherry Cheesecake Recipe
Ingredients
Main Ingredients
- 1.5 cups graham cracker crumbs finely ground
- 0.5 cup unsalted butter melted
- 16 oz cream cheese softened
- 1 cup powdered sugar sifted
- 1 tsp vanilla extract
- 1 cup heavy whipping cream chilled
- 21 oz cherry pie filling canned
Instructions
Preparation Steps
- In a medium bowl, combine the graham cracker crumbs and melted butter. Press the mixture into the bottom of a 9-inch springform pan to form the crust.1.5 cups graham cracker crumbs
- In a large bowl, beat the softened cream cheese, powdered sugar, and vanilla extract until smooth and creamy.0.5 cup unsalted butter, 16 oz cream cheese, 1 cup powdered sugar
- In a separate bowl, whip the heavy cream until stiff peaks form, then gently fold it into the cream cheese mixture.1 tsp vanilla extract
- Spread the cream cheese filling evenly over the crust. Refrigerate for at least 4 hours or until set.
- Top with cherry pie filling before serving.1 cup heavy whipping cream