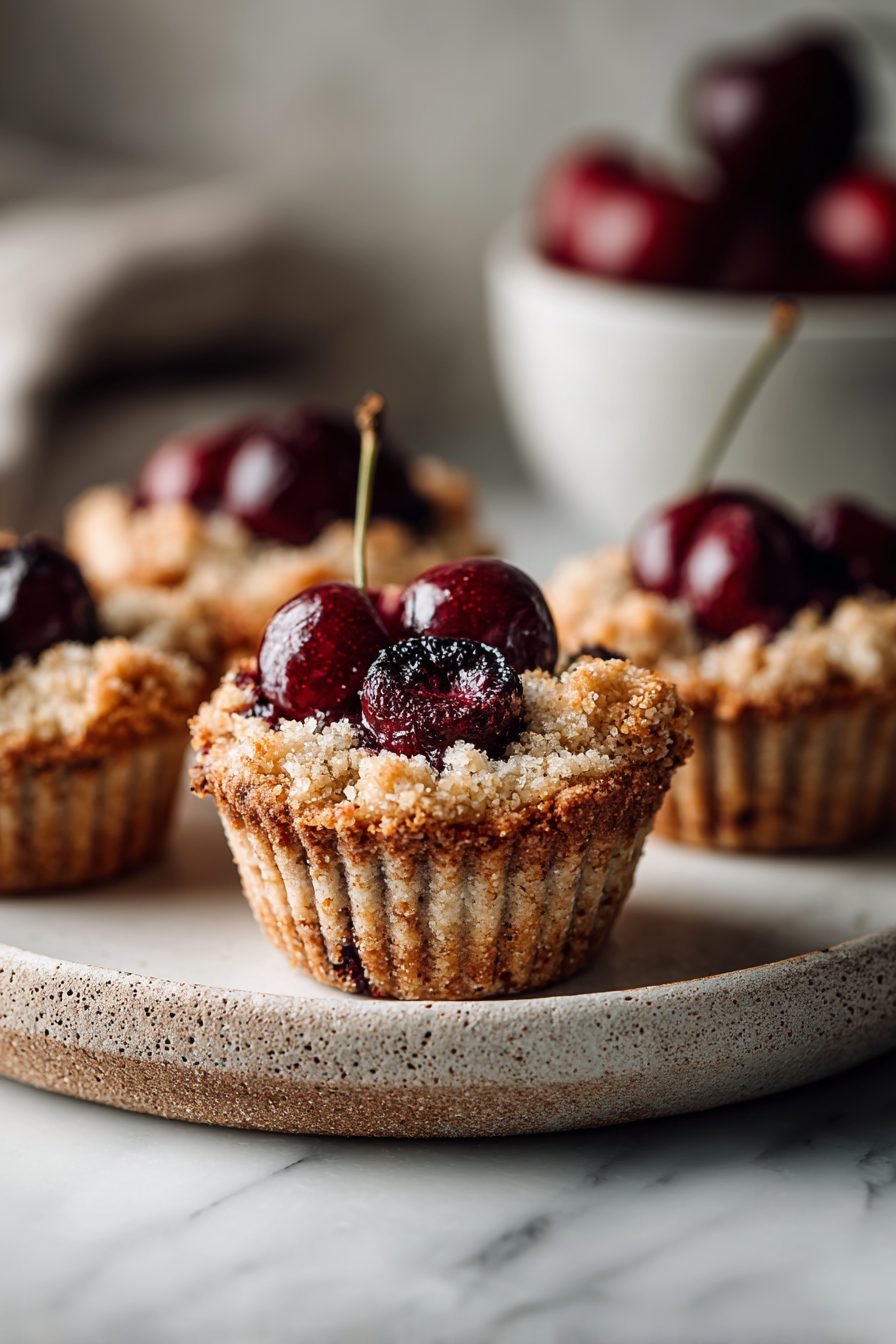
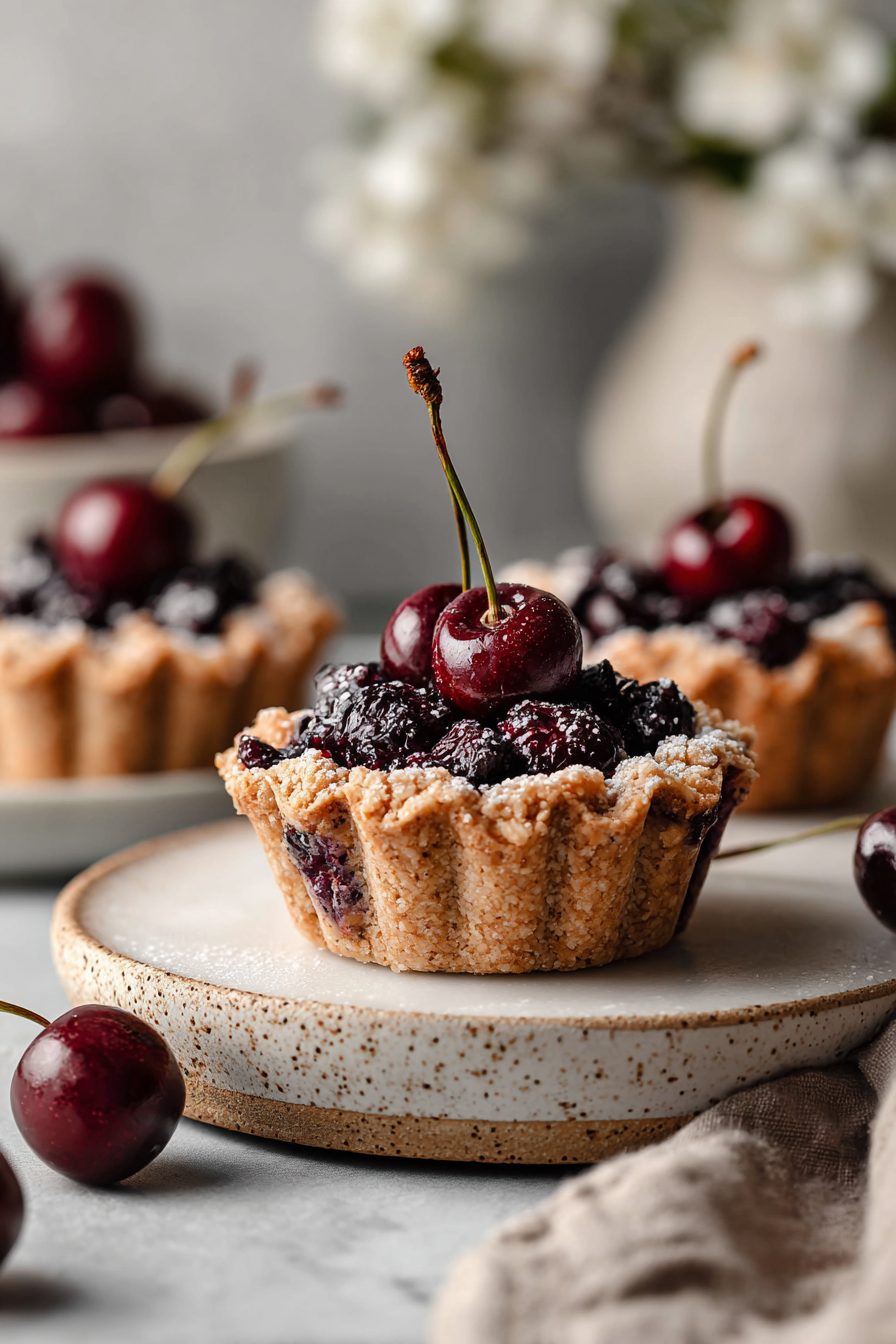
Easy Cherry Pie Bites
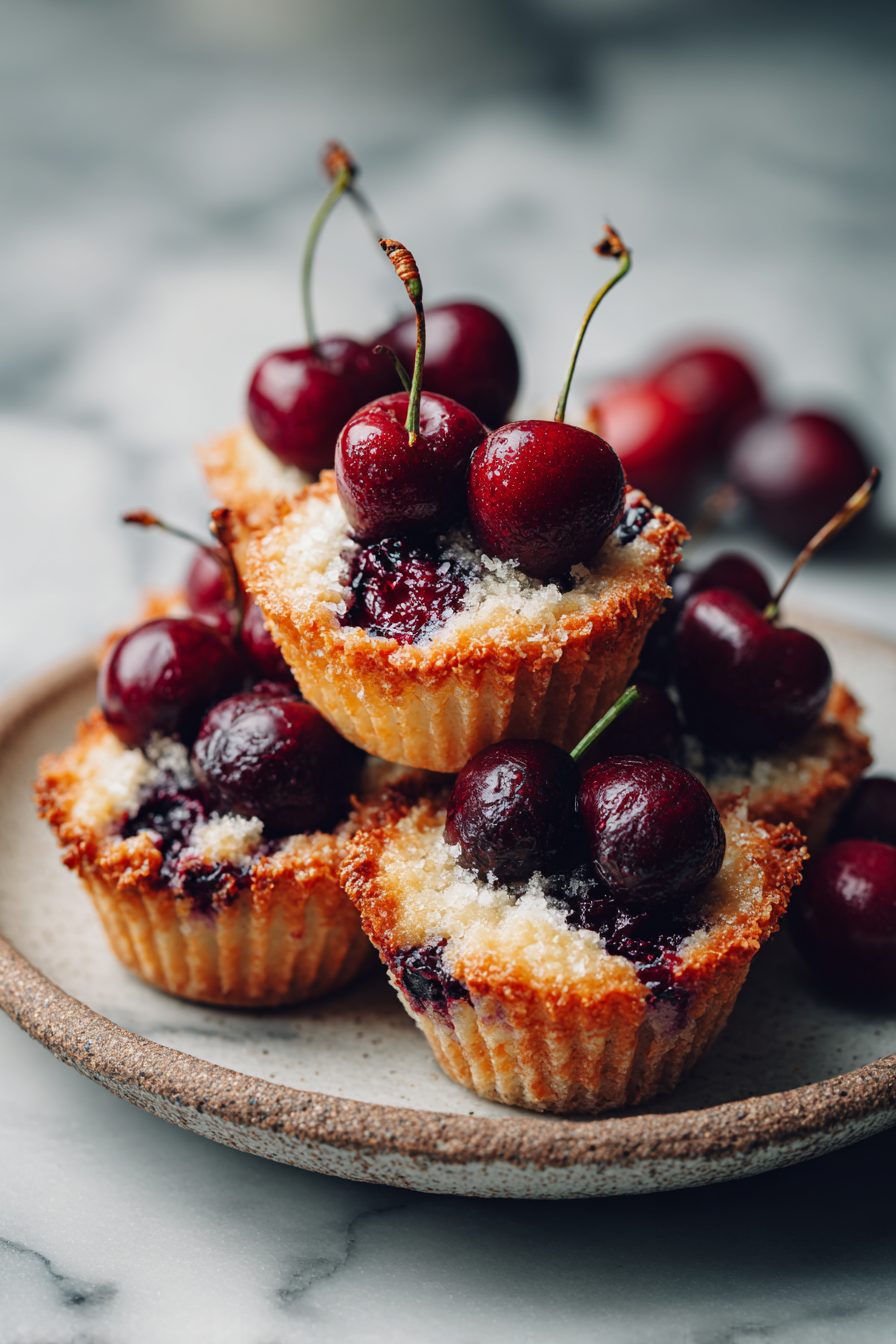
I’ll be honest: these cherry pie bites are the kind of recipe that looks fancy on the table but is shockingly lazy to make — pockets of cherry jam, buttery crust, and that pop of lemon that tricks you into thinking you did something sophisticated. Perfect for feeding a crowd, popping in the oven last minute, or pretending you baked all afternoon when really you used store-bought dough.
My husband calls them “the little red missiles” because he literally runs for them when they come out of the oven. The kids steal the flaky tops and argue over who gets the extra drippy cherry in the middle. Once I brought a tray to a family brunch and my sister whispered, “You bought these, right?” I did not. I say that like it’s a badge of honor — they’re tiny, gloriously imperfect, and somehow everyone acts like you’re a pastry wizard for 15 minutes.
Why You’ll Love This Easy Cherry Pie Bites
– Bite-sized pie vibes without wrestling a full pie crust.
– Uses pantry-friendly staples plus a can (or bag) of cherries — freezer-friendly win.
– Great for parties because people love anything you can eat with one hand and smile with the other.
Kitchen Talk
MORE EASY DESSERT RECIPES...

I once tried to be clever and swap lemon zest for orange zest. Big mistake — still edible, but the kids stared at me like I’d abandoned them. Also: prepping the filling while the dough chills is my favorite two-step dance. There was that Sunday when I forgot to seal the edges properly and the filling kind of leaked into the tray — showed us which bits crisp up best. I started tucking the edges over with a fork after that, and magic: tidy little pies, less sticky cleanup.
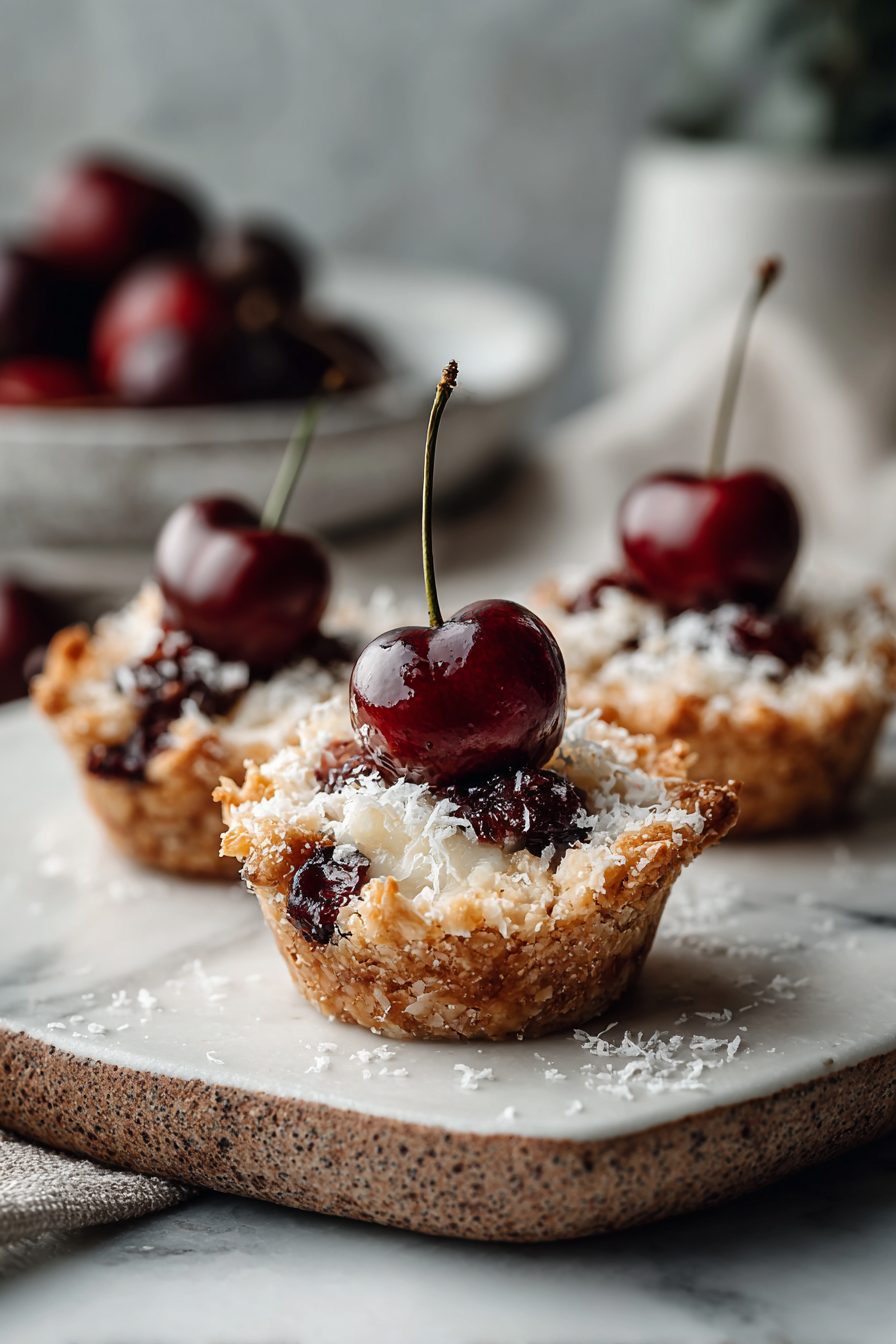
These Easy Cherry Pie Bites are a total game-changer for quick desserts—super simple with just crescent rolls, cherry pie filling, and a quick glaze, ready in under 30 minutes![1][2] They came out perfectly golden and not doughy at all when baked for 14 minutes, with that warm cherry burst in every bite that's downright addictive.[1][5] My family devoured them, and I'll definitely make these again for potlucks!
MORE OF OUR FAVORITE…
Shopping Tips
– Fruit: Fresh cherries are dreamy, but frozen or canned cherries work great — thaw and drain well so your filling isn’t watery.
– Baking Basics (Flour/Sugar/Leaveners): Use granulated sugar for the filling; a touch of cornstarch is your friend to thicken and prevent a soggy bite.
– Fats & Oils: Butter is the quickest route to a flaky crust flavor; if using pre-made dough, look for one with real butter listed first.
– Eggs: An egg wash gives that bakery sheen — one egg beaten with a splash of water will do the trick.
– Flavor Boosts: Lemon zest and a teaspoon of vanilla lift the cherries from good to “who made these?” levels.
Prep Ahead Ideas
– Make the cherry filling a day ahead and keep it in an airtight container in the fridge — it flavors up overnight and is easier to handle.
– If using homemade dough, roll and cut circles, then stack them between parchment sheets and refrigerate for up to 24 hours.
– Store egg wash in a small covered ramekin in the fridge and brush right before baking so edges crisp perfectly.
– Bring refrigerated components out for 15 minutes before assembling so the dough isn’t rock-hard (but still cool).
Time-Saving Tricks
– Use ready-made puff pastry or pie dough to skip rolling and chilling time.
– Microwave frozen cherries for a minute to thaw, then drain — quicker than waiting for them to defrost on the counter.
– Bake on a lined sheet pan so cleanup is a one-swipe job.
– Don’t rush the egg wash — thin, even strokes take seconds and give you that golden finish.
Common Mistakes
– Overstuffing the pockets so the filling explodes everywhere — I did this once and had sticky oven walls; lesson learned: less is more.
– Skipping the cornstarch or flour in the filling and ending up with runny bites — toss in a tablespoon if your cherries look juicy.
– Not sealing edges well; a light press with a fork prevents leaks and sad, soggy bottoms.
– Baking at too low a temp — you want enough heat to brown the crust before the filling boils over.
What to Serve It With
– Vanilla ice cream or whipped cream for the classic warm-and-cold contrast.
– A drizzle of caramel or chocolate sauce if you want to be decadently extra.
– Freshly brewed coffee or a fizzy sparkling water for balance.
– A quick mixed-green salad if you’re serving dessert after a heavy meal.
Tips & Mistakes
– Use a small cookie scoop to portion filling evenly — saves brainpower and drama.
– Chill the tray briefly if the dough starts to sag while you’re working through the batch.
– If your filling is a tiny bit runny after baking, pop bites back in the oven at 375°F for 3–4 minutes to crisp up.
– Salt is not optional in baking — a pinch in the filling amps flavors.
Storage Tips
Leftovers live great in an airtight container in the fridge for 3–4 days. Reheat in a 350°F oven for 6–8 minutes to revive the crisp; the microwave makes them squishy but still totally snackable. Cold cherry pie bites for breakfast? No judgment here — I’ve eaten them straight from the fridge with a cup of coffee and called it a balanced morning.
Variations and Substitutions
– Frozen cherries instead of fresh are perfectly fine; just thaw and drain, then add a bit more thickener.
– Swap half the granulated sugar for maple syrup or honey for a deeper flavor — cut liquids slightly to compensate.
– Almond extract (tiny dab) plays nicely with cherries if you want a nuttier note.
– For a gluten-free option try a high-quality gluten-free pastry or use almond flour crust for a twist.
Frequently Asked Questions
Easy Cherry Pie Bites
Ingredients
Main Ingredients
- 16 oz refrigerated crescent roll dough two 8-oz tubes
- 2 cup cherry pie filling
- 4 oz cream cheese, softened
- 2 tbsp granulated sugar
- 1 tsp vanilla extract
- 2 tbsp unsalted butter, melted
- 0.75 cup powdered sugar
- 1.5 tbsp milk
- 0.5 tsp ground cinnamon optional
- 1 tbsp coarse sugar optional, for sparkle
Instructions
Preparation Steps
- Preheat oven to 375°F. Lightly grease a 24-cup mini muffin tin.
- Beat cream cheese, granulated sugar, and vanilla until smooth and fluffy.
- Unroll crescent dough. Pinch seams closed, then cut into 24 even squares.
- Press one dough square into each muffin cup, creating a small well.
- Spoon about 1 teaspoon cream cheese mixture into each well.
- Top with a cherry and a little syrup from the filling.
- Brush exposed dough with melted butter. Sprinkle cinnamon and coarse sugar if using.
- Bake until puffed and golden, 12–14 minutes.
- Cool 10 minutes in the pan. Loosen edges and transfer to a rack.
- Whisk powdered sugar with milk until smooth. Drizzle over warm bites and serve.
Notes
Featured Comments
“Made this last night and it was will make again. Loved how the smoky came together.”
“Impressed! Clear steps and will make again results. Perfect for busy nights.”
“This cozy recipe was family favorite — the energizing really stands out. Thanks!”
“New favorite here — will make again. lighter was spot on.”
“Made this last night and it was family favorite. Loved how the fun came together.”
“Super easy and so flavorful! My family asked for seconds. Saving this one.”
“New favorite here — turned out amazing. creamy was spot on.”
“This baked recipe was family favorite — the crispy crust really stands out. Thanks!”
“This melt-in-your-mouth recipe was so flavorful — the balanced really stands out. Thanks!”
“Super easy and so flavorful! My family asked for seconds. Saving this one.”