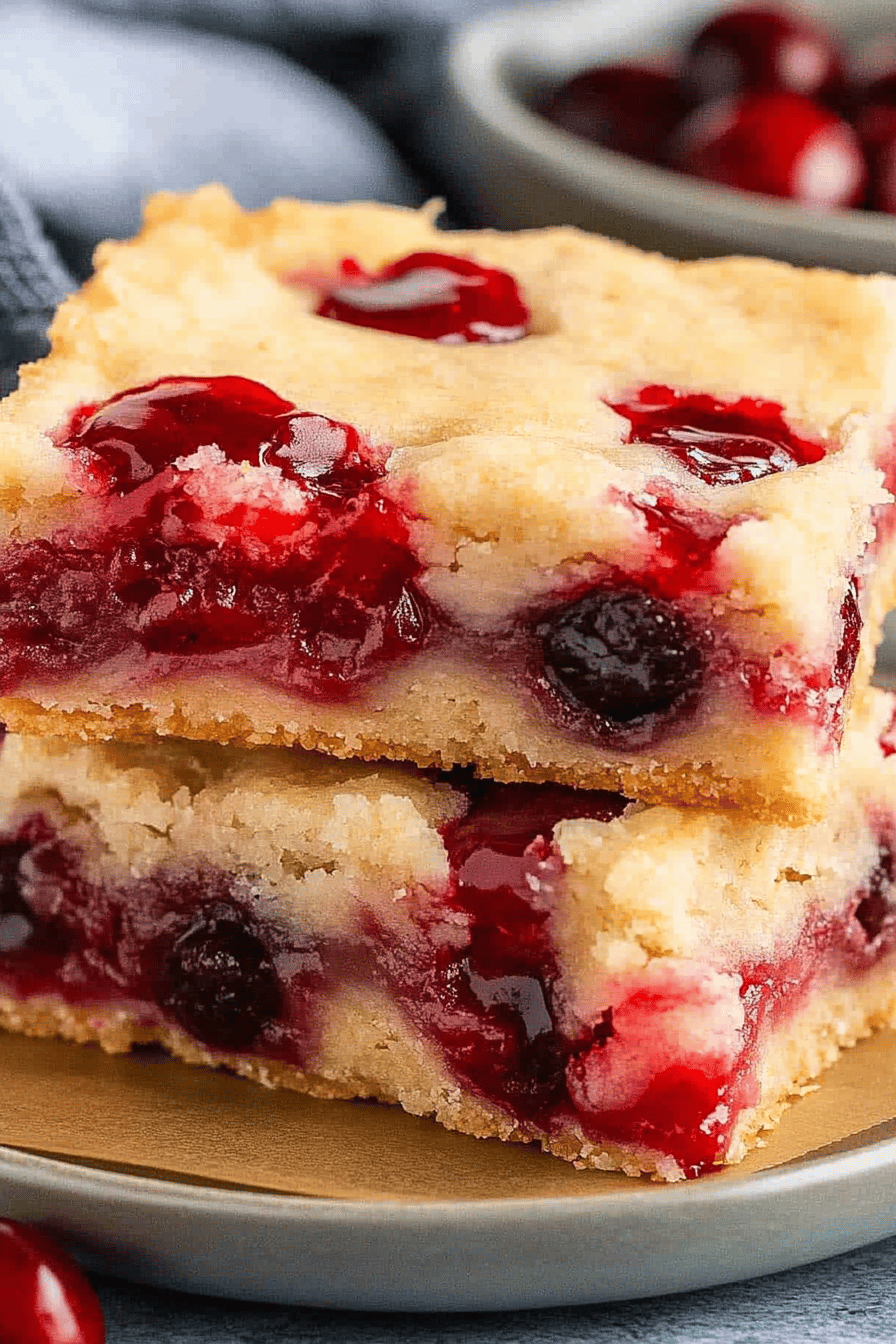
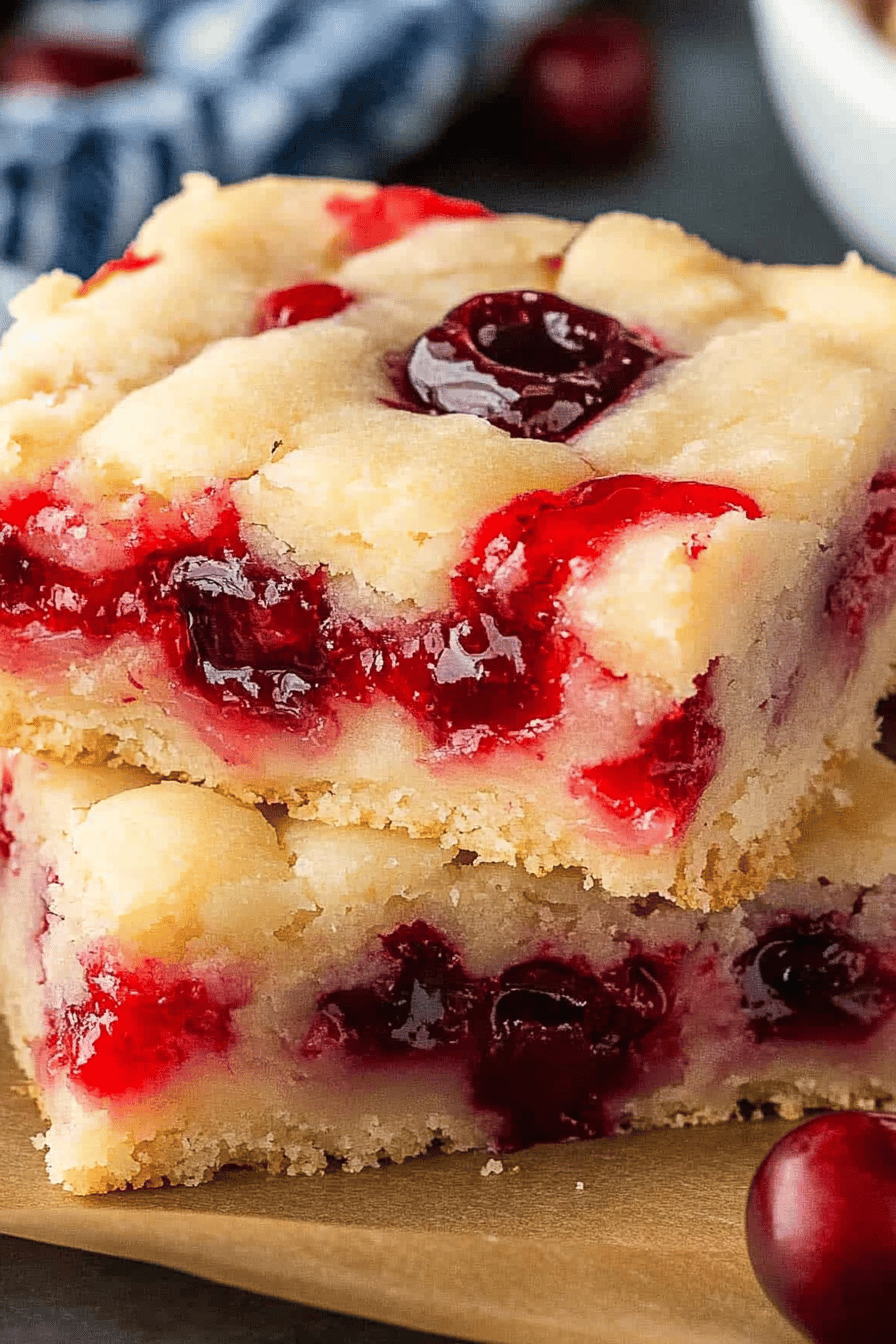
Easy Cherry Bars Recipe

There’s nothing quite like the sweet and tangy taste of cherries, especially when they’re baked into delicious cherry bars. These easy cherry bars are perfect for satisfying your sweet tooth without too much fuss. Perfect for both novice and experienced bakers, this recipe combines simplicity and flavor in every bite.
Growing up, my grandmother would always bake cherry bars whenever our family gathered for holidays. It became a tradition we looked forward to each year. The kitchen would fill with the smell of freshly baked cherries, and I’d eagerly await that first sweet, warm bite. As I grew older, I took over the task of baking these beloved bars, and now they are a staple in my own family’s celebrations.
Why You’ll Love This Recipe
This cherry bars recipe is a game-changer for dessert lovers. Its unique blend of sweet and tart flavors makes it incredibly special. The preparation is straightforward, making it perfect for busy days. Plus, these bars can be made ahead of time, ideal for parties and gatherings. Their moist and crumbly texture will impress your guests and have them reaching for seconds!
Ingredients Notes
MORE EASY DESSERT RECIPES...

Using fresh cherries is the key to this recipe’s success, but canned cherries can work as a substitute. Ensure canned cherries are pitted and preferably in light syrup. For an extra layer of flavor, consider adding almond extract. It complements the cherries beautifully.
MORE OF OUR FAVORITE…
Recipe Steps
Step 1
Preheat your oven to 350°F (175°C) and grease a 9×13 inch baking dish. This prevents the bars from sticking and ensures even cooking.
Step 2
In a large mixing bowl, combine flour, sugar, baking powder, and salt. Stir until well incorporated.
Step 3
Add in the butter, eggs, and vanilla extract. Mix until you achieve a dough-like consistency. Your dough should be smooth and easy to handle.
Step 4
Spread half of the dough evenly on the greased baking dish. Layer the cherry filling over the dough, ensuring it covers the surface.
Step 5
Top the cherry layer with the remaining dough, spreading evenly. Bake for 30-35 minutes or until golden brown. Allow it to cool before slicing.
Storage Options
Store any leftover cherry bars in an airtight container at room temperature for up to three days. For longer storage, keep them refrigerated for up to a week. You can also freeze these bars. Wrap them individually in plastic wrap and store them in a freezer-safe bag. Defrost them at room temperature or warm them up in the oven for that ‘freshly baked’ taste.
Variations & Substitutions
For a nutty twist, add chopped walnuts or pecans to the dough. If you’re looking for a gluten-free option, substitute the all-purpose flour with almond flour. To cater to vegan diets, replace the butter with a plant-based alternative and use flaxseed mixed with water as a substitute for eggs.
Serving Suggestions
These cherry bars are perfect as an afternoon snack with a cup of tea or coffee. Serve them warm with a scoop of vanilla ice cream for a delightful dessert. They also make an excellent addition to brunch buffets or picnic baskets. Enjoy them anytime you crave a delightful treat!
Frequently Asked Questions
Can I use frozen cherries? Yes, frozen cherries can be used. Thaw them first and drain any excess liquid to prevent soggy bars. They maintain the flavor beautifully and are a great alternative when fresh cherries are not in season.
What should I do if my dough is too sticky? If your dough becomes too sticky, incorporate small amounts of flour until it becomes manageable. Make sure the dough isn’t overly dry, as it could affect the texture of your bars.
How can I achieve a flaky crust? The key to a flaky crust is handling the dough as little as possible. Mixing it until just combined prevents the development of too much gluten. Additionally, using cold butter helps in creating a flaky texture.

Easy Cherry Bars Recipe
Ingredients
Main Ingredients
- 1.5 cups granulated sugar divided
- 1 cup unsalted butter softened
- 4 large eggs
- 1 teaspoon vanilla extract
- 3 cups all-purpose flour
- 1 teaspoon baking powder
- 0.5 teaspoon salt
- 1 can cherry pie filling about 21 oz
- 1 cup powdered sugar
- 1 tablespoon milk more if needed
Instructions
Preparation Steps
- Preheat the oven to 350°F (175°C) and grease a 9x13-inch baking pan.
- In a mixing bowl, cream together 1 cup of sugar and the butter until light and fluffy.
- Add the eggs one at a time, beating well after each addition, then mix in the vanilla extract.
- In another bowl, whisk together the flour, baking powder, and salt. Gradually add to the creamed mixture.
- Spread 2/3 of the batter into the prepared baking pan and spread the cherry pie filling on top.
- Drop the remaining batter by spoonfuls over the cherries.
- Bake for 30-35 minutes or until golden brown. Allow to cool completely.
- In a small bowl, combine the powdered sugar and milk until smooth. Drizzle over the cooled bars and slice to serve.
Notes
Nutrition
Featured Comments
“Made this last night and it was family favorite. Loved how the perfectly seasoned came together.”
“New favorite here — so flavorful. bold was spot on.”
“New favorite here — so flavorful. family-style was spot on.”
“Super easy and so flavorful! My family asked for seconds. Saving this one.”
“New favorite here — family favorite. rich was spot on.”
“New favorite here — family favorite. filling was spot on.”
“Super easy and absolutely loved! My family asked for seconds. Saving this one.”
“Super easy and will make again! My family asked for seconds. Saving this one.”
“Super easy and so flavorful! My family asked for seconds. Saving this one.”
“New favorite here — family favorite. cozy was spot on.”