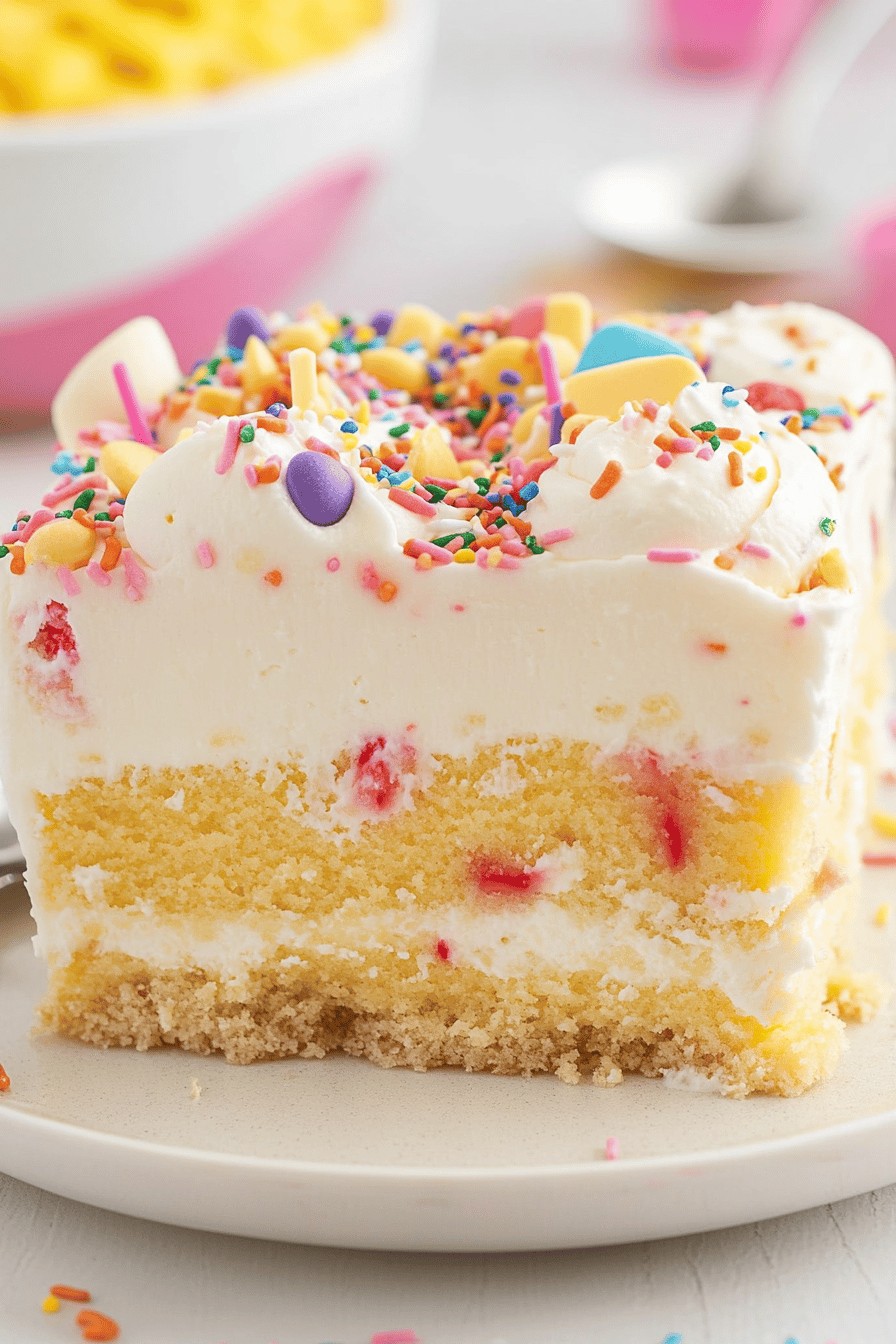
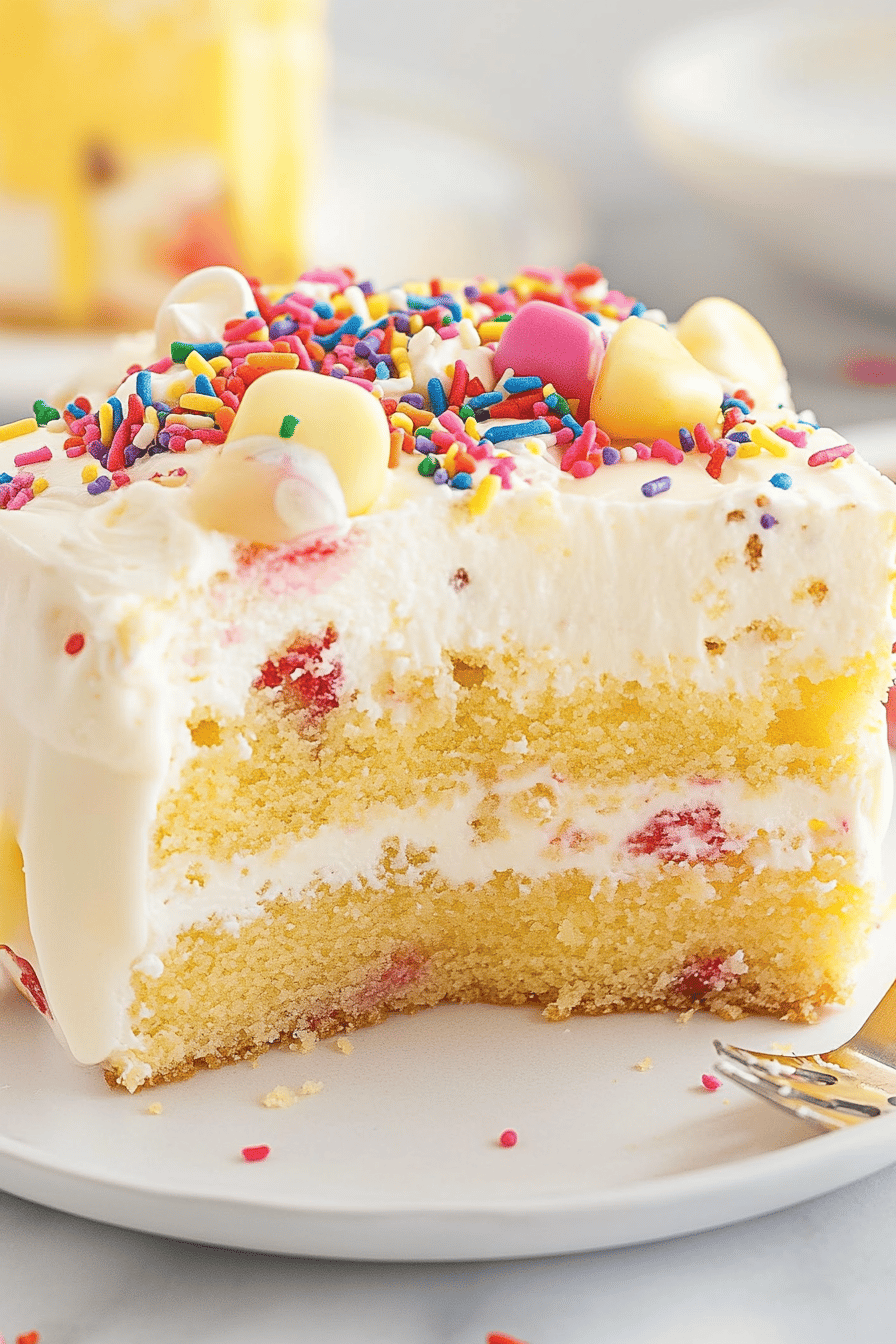
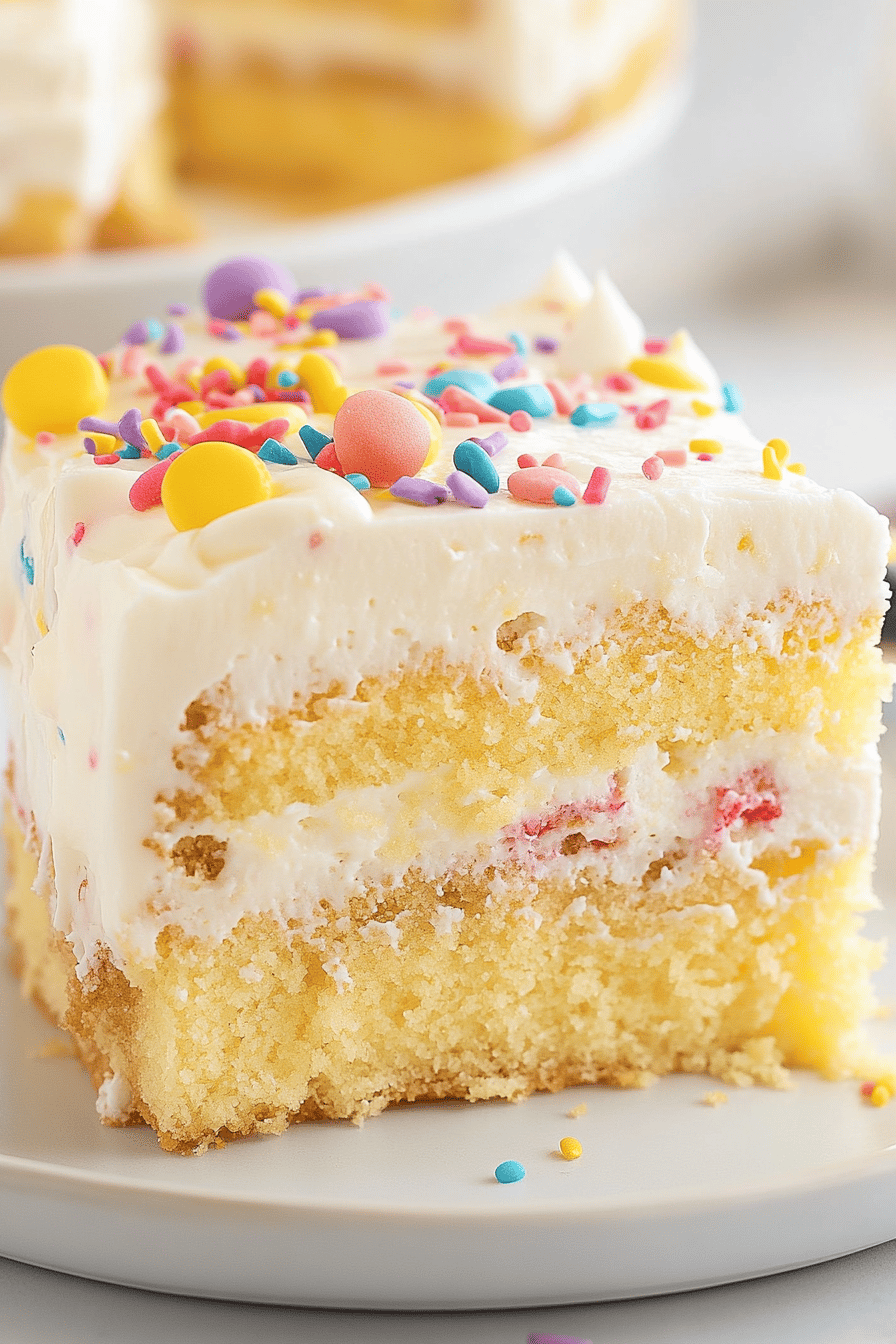
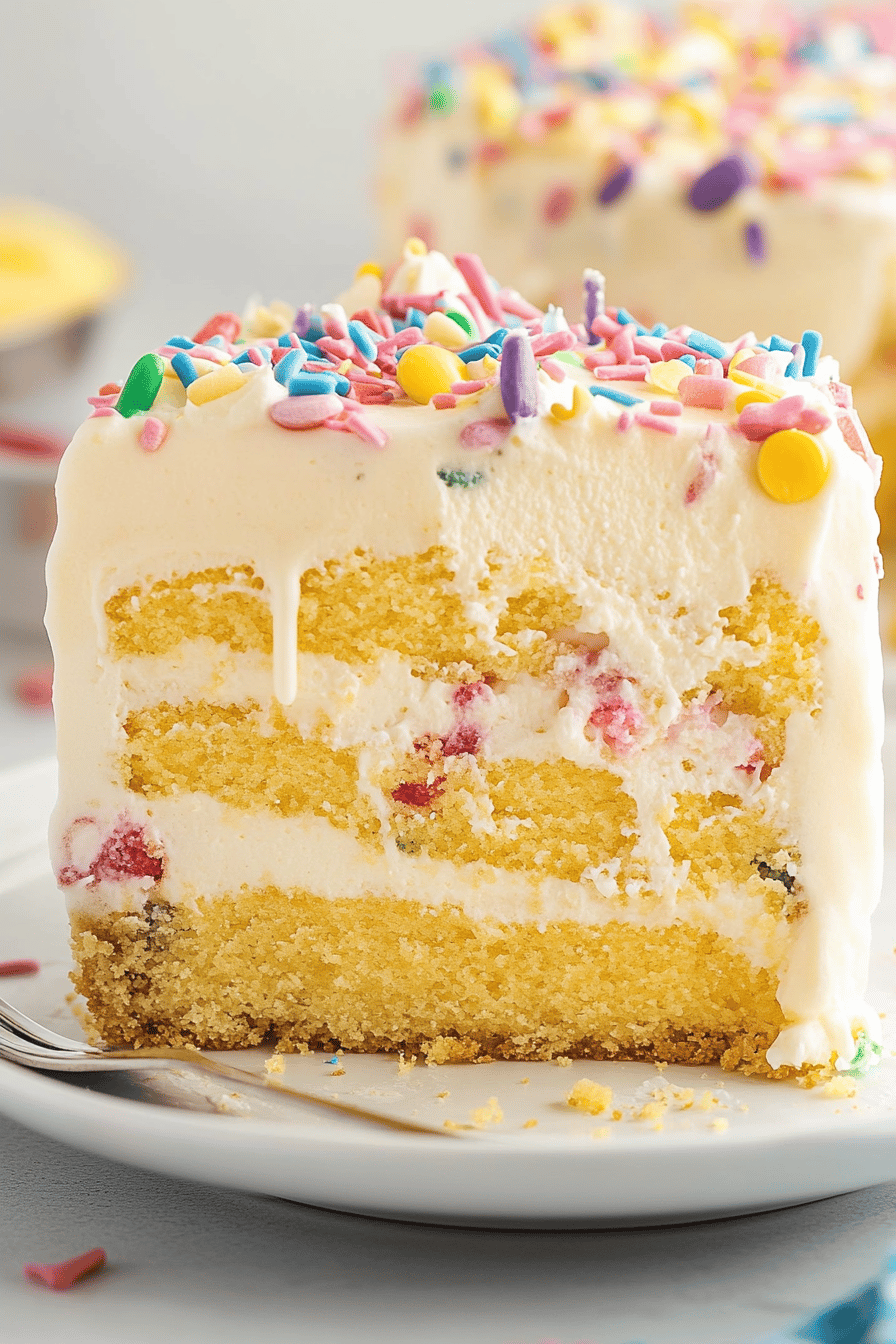
Easy Birthday Cake Lush Recipe
If you’re looking for a delightful and indulgent dessert, look no further than this easy and delicious recipe that captures the essence of celebration and joy. The focus keyword here highlights just how simple it is to create a masterpiece that will leave a lasting impression on your taste buds and guests alike. Enjoy crafting this decadent treat with ease and flair for your next special occasion!
Growing up, this was the one dessert my mom always made for our birthday parties. It was a family favorite, and I have carried on the tradition with my own kids. Mixing those vibrant ingredients and watching the layers form is both nostalgic and fulfilling. Each bite offers a taste of home, and a reason to celebrate life’s small moments.
Why You’ll Love This Recipe
This recipe is not only visually stunning but also incredibly easy to prepare. Whether you’re a seasoned baker or a novice in the kitchen, you’ll appreciate how straightforward it is to assemble. The layers provide a symphony of textures and flavors, making it a showstopper at any gathering. Plus, it’s customizable — you can tweak it to suit various taste preferences and dietary needs.
Ingredients Notes
MORE EASY DESSERT RECIPES...


Using quality ingredients will elevate this recipe to new heights. For the best results, choose fresh, organic eggs and rich, creamy butter. You can substitute the flour for gluten-free alternatives if needed. Consider adding a hint of almond extract for an enhanced flavor profile. Most of these items can be easily found at your local grocery store, or even online.
MORE OF OUR FAVORITE…
Recipe Steps
Step 1
Preheat your oven to 350°F (175°C). Grease a baking dish thoroughly to prevent sticking and line it with parchment paper for easier removal later.
Step 2
In a large bowl, mix all the dry ingredients until well combined. In a separate bowl, whisk together the wet ingredients until smooth and creamy. Gradually incorporate the wet mixture into the dry mixture, stirring until just blended.
Step 3
Pour the batter evenly into the prepared baking dish. Smooth the top with a spatula and tap the dish on the counter to remove any air bubbles for a uniform bake.
Step 4
Bake for 25–30 minutes or until a toothpick inserted into the center comes out clean. Allow the cake to cool on a wire rack for at least 10 minutes before removing it from the pan.
Step 5
Once cooled, layer the cake with your favorite frosting or filling. Decorate with whipped cream, fresh fruit, or sprinkles for an added touch of whimsy.
Storage Options
Store leftovers in an airtight container to maintain freshness and moisture. This dessert can be refrigerated for up to five days. If you wish to freeze it, wrap each piece individually in plastic wrap and then place them in a freezer-safe bag for up to three months. To reheat, thaw overnight in the refrigerator and serve at room temperature or lightly warm in a preheated oven.
Variations & Substitutions
To accommodate vegan diets, substitute dairy milk with almond or coconut milk, and use plant-based butter. For an extra burst of flavor, consider adding a tablespoon of lemon or orange zest. If you’re feeling adventurous, try incorporating layers of canned fruit or nuts between the cake layers. You can also experiment with different flavored extracts or add a touch of food coloring for a fun twist.
Serving Suggestions
This dessert is perfect for birthdays, holidays, or any festive occasion. Serve it alongside a cup of coffee or tea for an afternoon pick-me-up, or pair it with a scoop of vanilla ice cream to balance the flavors beautifully. It’s also a delightful treat to take along for picnics or potlucks, as it’s both portable and easy to serve.
Frequently Asked Questions
Can I make this recipe ahead of time? Yes, this recipe can be prepared a day in advance. You can bake the cake and store it unfrosted at room temperature, tightly covered. Assemble with frosting and toppings just before serving for optimal freshness and presentation.
What if I don’t have parchment paper? Parchment paper is recommended for easy removal, but if you don’t have any, you can generously grease and flour the baking dish to prevent sticking. Ensure that you apply the grease evenly across the pan for the best results.
Is this recipe suitable for cupcakes? Absolutely! Simply divide the batter into lined cupcake tins, filling each about two-thirds full. Adapt baking time to approximately 18–22 minutes or until a toothpick inserted comes out clean. These individual servings are ideal for parties or gatherings.
Easy Birthday Cake Lush Recipe
Ingredients
Main Ingredients
- 1 box yellow cake mix approximately 15.25 oz
- 3.4 oz instant vanilla pudding mix
- 2 cups milk cold
- 8 oz cream cheese softened
- 1 cup powdered sugar
- 16 oz whipped topping thawed
- 0.5 cup rainbow sprinkles
Instructions
Preparation Steps
- Prepare the cake mix according to the package instructions and let cool completely.
- In a large mixing bowl, whisk together the vanilla pudding mix and cold milk until thickened.
- In another bowl, beat the softened cream cheese and powdered sugar until smooth. Fold in half of the whipped topping.
- Crumble the cooled cake and layer half of it in the bottom of a 9x13 inch dish. Spread the cream cheese mixture over the cake layer.
- Spoon the pudding over the cream cheese layer, then add the remaining cake mix on top. Finish with the remaining whipped topping.
- Sprinkle rainbow sprinkles on top for decoration. Chill in the refrigerator for at least 2 hours before serving.
Notes
Nutrition
Featured Comments
“Super easy and absolutely loved! My family asked for seconds. Saving this one.”
“New favorite here — absolutely loved. balanced was spot on.”
“Made this last night and it was family favorite. Loved how the fluffy came together.”
“Impressed! Clear steps and turned out amazing results. Perfect for busy nights.”
“Super easy and so flavorful! My family asked for seconds. Saving this one.”
“This fizzy recipe was will make again — the warming really stands out. Thanks!”
“Made this last night and it was will make again. Loved how the crunchy came together.”
“New favorite here — will make again. rich was spot on.”
“This flavorful recipe was turned out amazing — the weeknight saver really stands out. Thanks!”
“This flavorful recipe was absolutely loved — the fluffy really stands out. Thanks!”