Delish Chocolate Granola Recipes
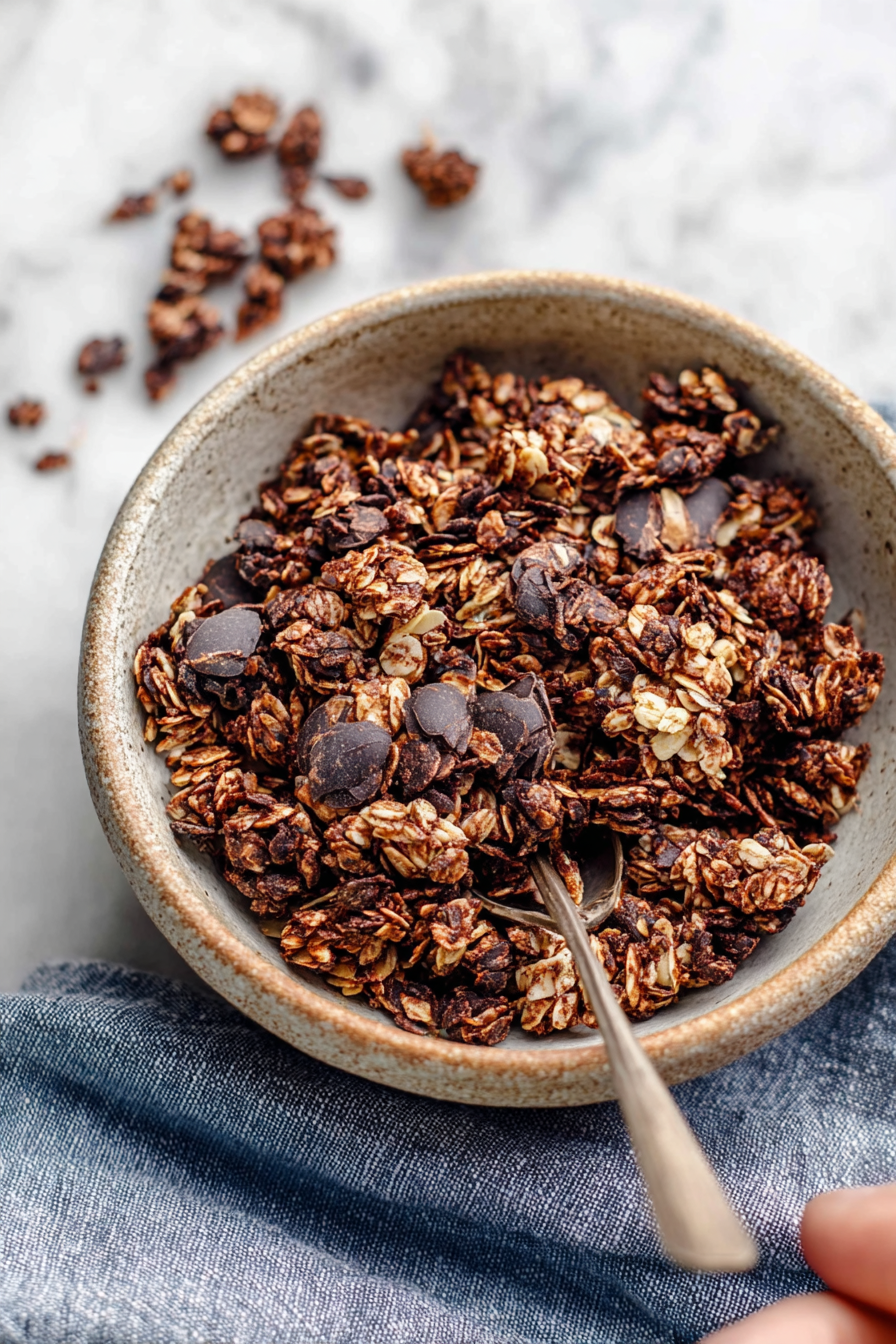
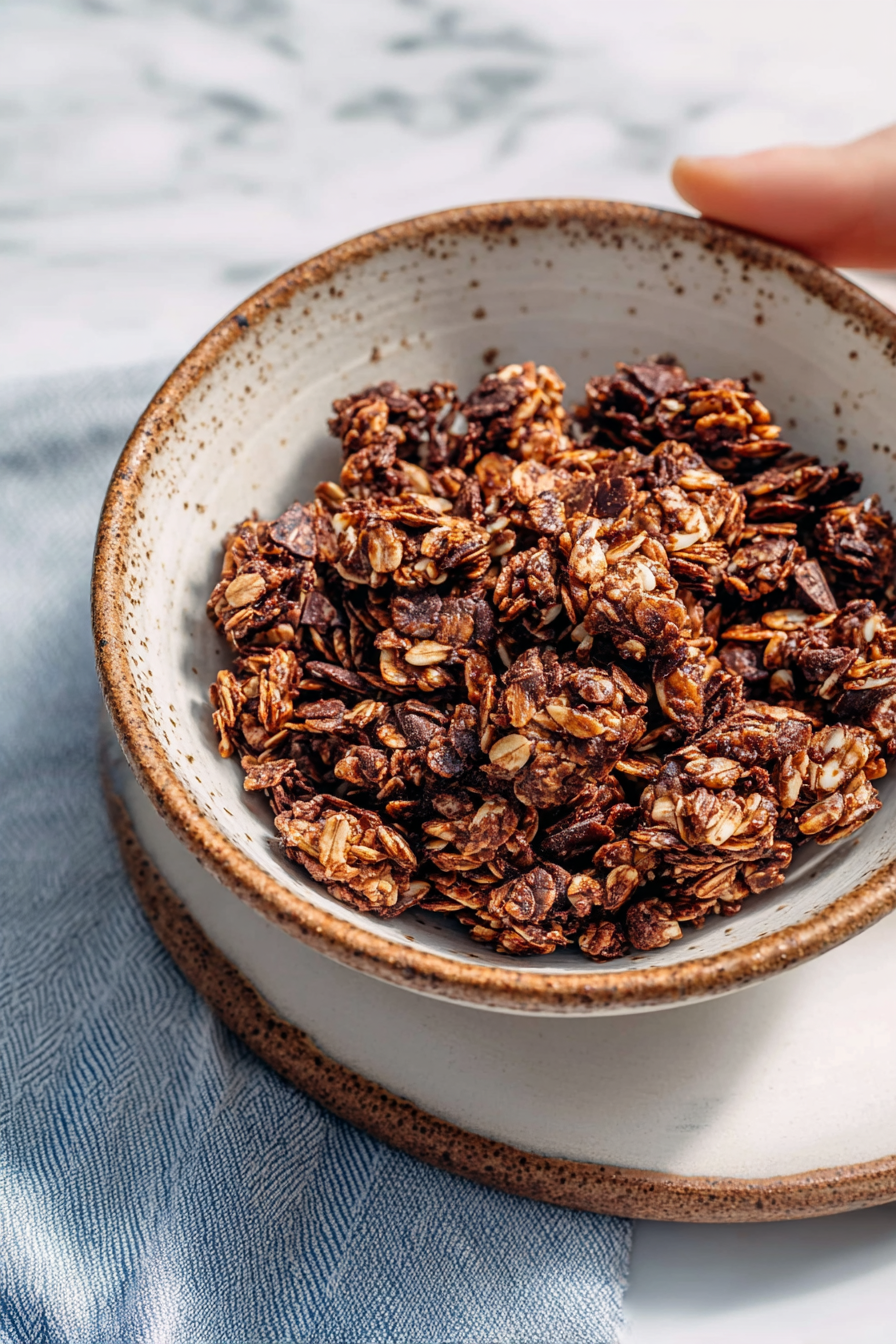
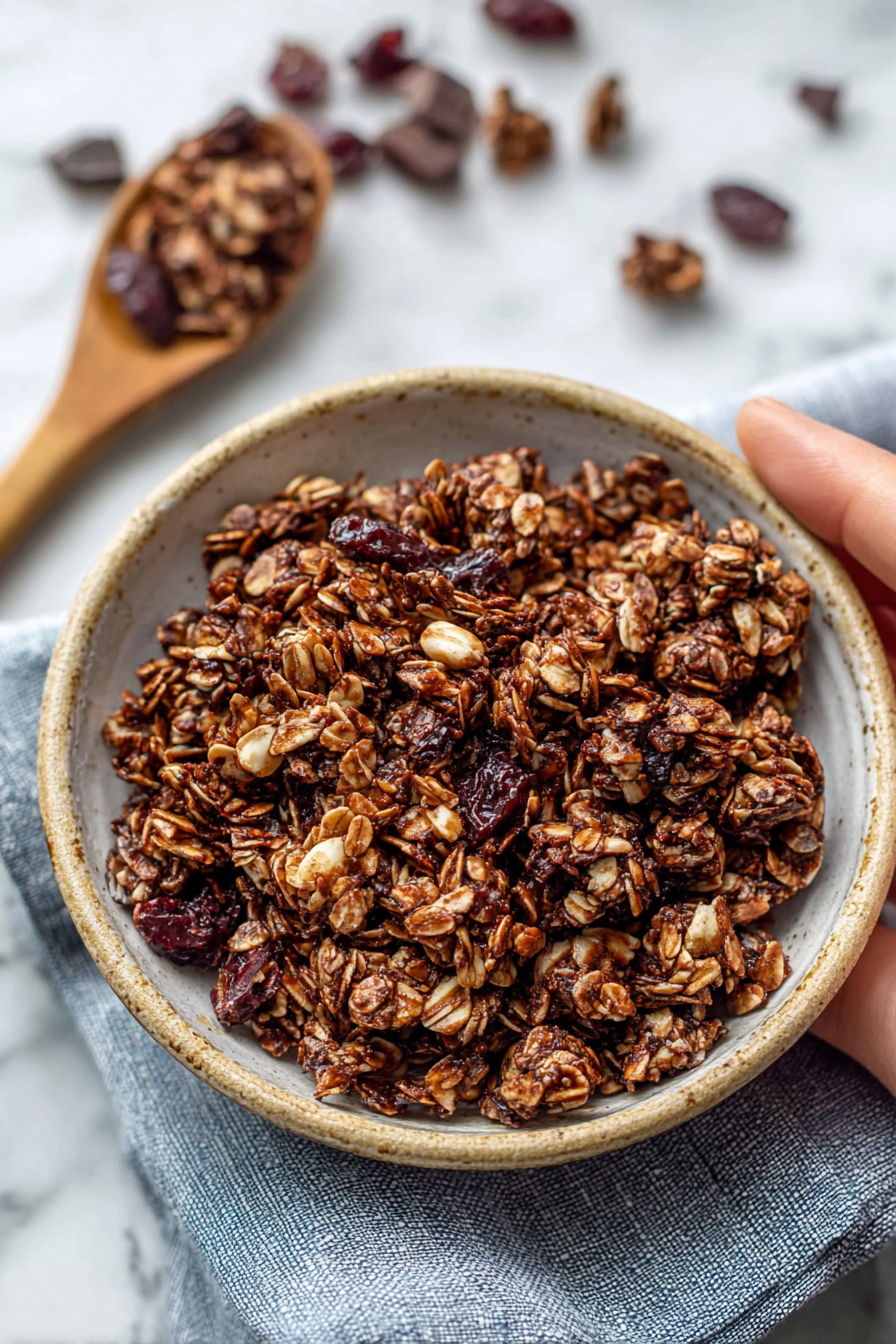
I make this chocolate granola like I’m trying to bribe my future self into eating breakfast—big, crunchy clusters, dark cocoa for real chocolate vibes, and just enough sweet to feel like a treat but not like a dessert for breakfast. It’s the kind of granola that survives being scooped straight from the jar with your hand at 10 p.m., yet also makes yogurt feel like a celebration on Monday morning. Try it if you want crunchy, chocolatey, slightly salty granola that doesn’t crumble into sad flakes in the bowl.
My husband calls it “breakfast candy,” which is how I know it’s dangerous. Our kid eats it like cereal (with milk, a face full of cocoa), my neighbor asked for the recipe and then showed up the next day with a jar she’d baked herself like we were secret granola club members. Once I tried adding espresso powder because I was tired and dramatic—don’t say I didn’t warn you, it’s a whole different mood, in the best way. This recipe lives on our countertop in a big mason jar and disappears faster than I can pretend I won’t eat the last handful.
Why You’ll Love This Delish Chocolate Granola Recipes
– Crunchy, clustery texture that actually sticks together — not just sad, dusty flakes.
– Proper chocolate flavor from cocoa (and optional dark chocolate pieces) so it feels indulgent, not fake.
– Flexible sweetening: can be lighter or more dessert-like depending on mood and pantry chaos.
– Perfect for yogurt bowls, smoothie toppers, or just eating with a spoon standing over the sink.
Kitchen Talk


The first time I made this I forgot the vanilla and blamed my grief-ridden brain for a flat batch. Then I added chocolate chips hot out of the oven because why not, and suddenly it was festival-level delicious. I’ve burned a tray before because I checked Instagram for one minute and turned into a granola pyromaniac. Also, if you toast the nuts first you get this toasty, almost-roasted nuttiness that makes everyone act like they know what “handmade artisan granola” means. I usually stir once halfway through baking; too much stirring breaks up the clusters. Trust me—let it be a little messy.
MORE OF OUR FAVORITE…
Shopping Tips
– Grains/Pasta: Use old-fashioned rolled oats, not instant—they give you structure and the best clumps.
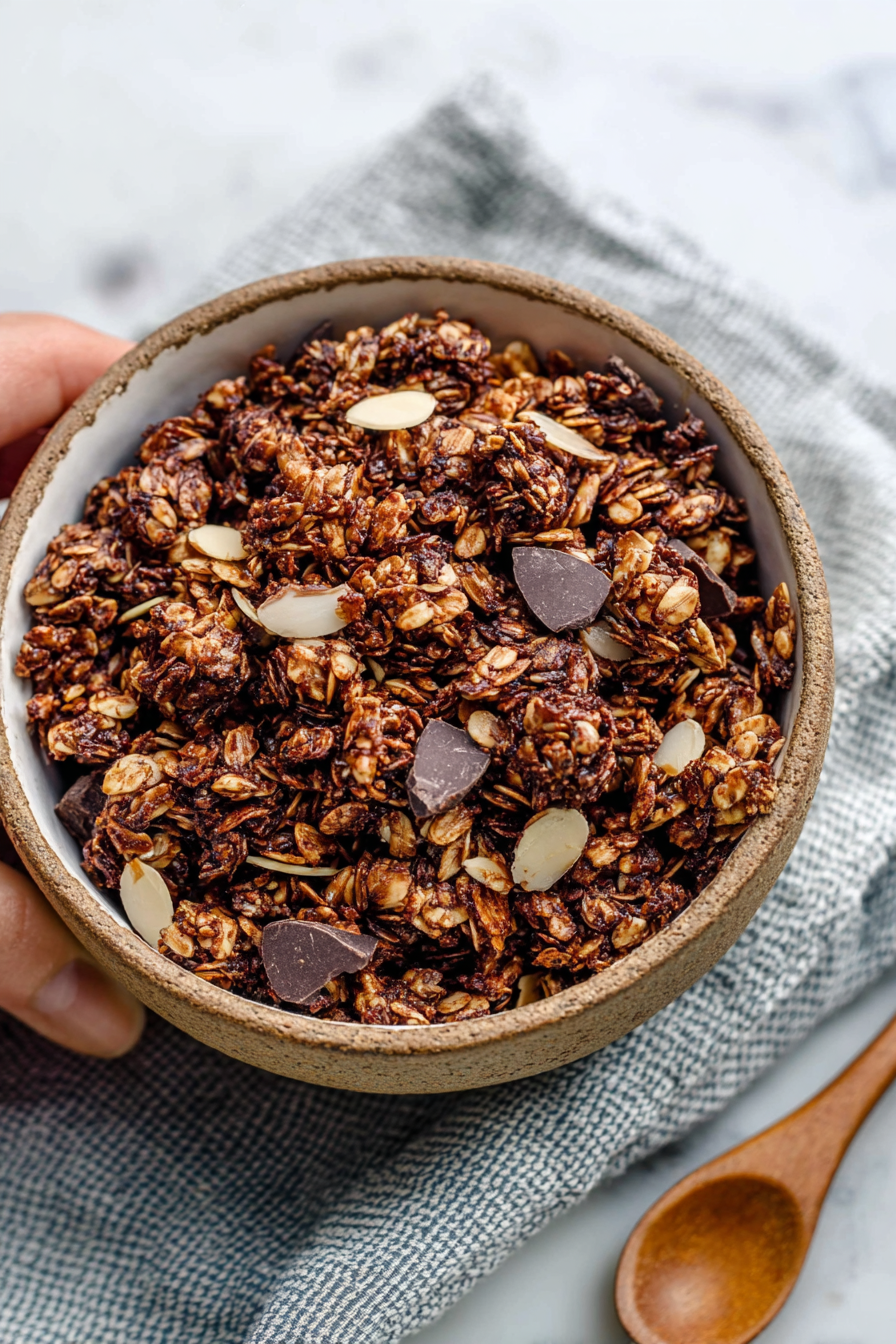
– Nuts & Seeds: Pick a mix you actually like eating raw: almonds, pecans, and pumpkin seeds hold up well and toast nicely.
– Chocolate: Buy good cocoa powder (Dutch-processed if you like smooth, natural if you like bright). Toss in chopped dark chocolate after baking for melty pockets.
– Sweeteners: Honey or maple syrup work best for binding and flavor; avoid cheap corn syrup unless you want a different texture.
– Fats & Oils: Use coconut oil or neutral oil (grapeseed/vegetable) for even toasting; butter can burn faster so watch the oven.
Prep Ahead Ideas
– Mix the dry ingredients (oats, seeds, nuts, cocoa powder, pinch of salt) the night before and store them in an airtight container so you just add wet stuff when you’re ready to bake.
– Pre-measure your sweetener and oil into a jar; shake to combine and pour over the dry mix for minimal fuss.
– Toast nuts ahead of time in a single layer, let cool, then add to the granola after baking so they stay extra crunchy.
– Store prepped mixes in glass jars or zip-top bags; label with date and use within 2 weeks for best flavor.
– Doing these steps the night before turns a morning bake into a 10-minute toss-and-bake situation.
Time-Saving Tricks
– Use a rimmed sheet pan and spread the granola thinly so it bakes faster and more evenly.
– Toss the wet ingredients together in a measuring cup or jar to skip extra bowls.
– If you’re in a rush, toast in a 375°F oven for slightly less time, but watch closely—the difference between perfect and burned is like five minutes.
– Buy pre-chopped nuts or roughly pulse them in the food processor for even chunks without the work.
– Don’t rush the cooling; the clusters set as it cools, so let it rest on the pan to firm up.
Common Mistakes
– Burning it because you walked away: been there. Fix by scraping off the darkest bits and tasting—if it’s bitter, toss and start smaller-batches or lower-temp.
– Over-stirring during baking which breaks up clusters: I did this once and ended up with crumbly granola; next time I stirred only once.
– Using too much sweetener/oil makes it soggy: measure carefully and err on the side of slightly less if experimenting.
– Adding chocolate before it cools: it melts into a sad mess. Add chips or chunks after cooling if you want whole chocolate bites.
– Packing it into a jar while still warm traps steam and makes it soft; cool completely first.
What to Serve It With
– A bowl of Greek yogurt and fresh berries for breakfast.
– Poured over smoothie bowls for added chew and crunch.
– Alongside fruit and a drizzle of milk as quick cereal.
– Scoop on top of vanilla ice cream for instant dessert.
Tips & Mistakes
– Use parchment on the sheet pan for easy cleanup and even browning.
– Salt is not optional—tiny salt flakes at the end make the chocolate pop.
– If clusters aren’t forming, press the granola into the pan gently before baking and let it cool undisturbed.
– One-liner: I once used dark brown sugar instead of maple syrup and the texture changed—still tasty, but denser.
Storage Tips
Store granola in an airtight jar at room temperature for up to 2 weeks; it’ll stay crunchy and snack-ready. For longer life, freeze in a zip-top bag for up to 3 months—thaw at room temp and give a quick stir. Eating it cold straight from the jar is perfectly acceptable breakfast behavior; it’s also killer on cold yogurt or warmed with milk like cereal. No shame in reheating a bowl in the microwave for 15 seconds if you want the chocolate slightly melty.
Variations and Substitutions
– Honey vs maple: both bind and sweeten, maple gives a deeper flavor while honey gives a lighter, floral note.
– Nut-free: swap nuts for extra seeds (sunflower, pumpkin) and add toasted coconut for crunch.
– Vegan: use maple syrup or agave and coconut oil to keep it animal-free.
– Add-ins: dried cherries, banana chips, or cacao nibs are great post-bake additions; avoid adding anything wet before baking.
– Protein powder: if you add it, use sparingly and mix with dry ingredients only—too much can make the granola mealy.
Write me the frequently asked questions and answers Delish Chocolate Granola Recipes in the same way as the example below.
Frequently Asked Questions
Delish Chocolate Granola Recipes
Ingredients
Main Ingredients
- 2 cups rolled oats Use old-fashioned oats for best results
- 0.5 cups honey You can substitute with maple syrup if needed
- 0.25 cups cocoa powder Unsweetened cocoa powder works best
- 0.5 cups nuts Chopped almonds or walnuts are great options
- 0.5 cups chocolate chips Use dark chocolate chips for a richer flavor
Instructions
Preparation Steps
- Preheat your oven to 350°F (175°C).
- In a large bowl, mix together the rolled oats, cocoa powder, and chopped nuts.
- In another bowl, combine honey and melted coconut oil. Mix well and then pour over the dry ingredients.
- Spread the mixture onto a baking sheet and bake for 20-25 minutes, stirring halfway through.
- Remove from the oven, allow it to cool, then stir in chocolate chips.
Notes
Nutrition
Featured Comments
“This dairy-free recipe was family favorite — the simple really stands out. Thanks!”
“This quick bite recipe was family favorite — the crispy crust really stands out. Thanks!”
“Made this last night and it was so flavorful. Loved how the comforting came together.”
“New favorite here — will make again. nostalgic was spot on.”
“New favorite here — absolutely loved. light was spot on.”
“New favorite here — so flavorful. crowd-pleasing was spot on.”
“Impressed! Clear steps and absolutely loved results. Perfect for busy nights.”
“This flavorful recipe was absolutely loved — the lighter really stands out. Thanks!”
“New favorite here — family favorite. wholesome was spot on.”
“Made this last night and it was family favorite. Loved how the salty-sweet came together.”