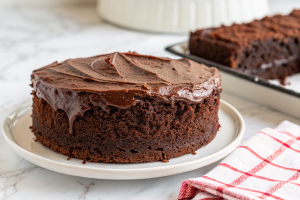
Easy Boston Cream Poke Cake Recipe
If you’re looking to satisfy your sweet tooth with minimal effort, this easy Boston Cream Poke Cake recipe is a game changer. Designed to capture the flavors of the iconic Boston Cream Pie, this delightful dessert takes its classic taste to new heights with the same creamy filling and chocolaty topping you love.
Growing up, weekend baking was a family affair in our house. The sweet aroma that filled our kitchen while making my grandmother’s version of this dessert is forever etched in my memory as a symbol of comfort and joy. Fast forward to today, and it’s still a staple treat at our gatherings, loved by young and old alike.
Why You’ll Love This Recipe
This recipe offers a delightful combination of textures and flavors. The tender cake infused with creamy vanilla pudding is a hit at any party or gathering. It’s simple to prepare, making it ideal for both seasoned bakers and novices alike. Whether it’s a casual family dinner or a special occasion, this cake is sure to impress with minimal fuss.
Ingredients Notes


The star components that make this cake shine are readily available at most grocery stores. You can substitute regular milk with almond or oat milk for a dairy-free option. For an elevated flavor, consider adding a splash of vanilla extract to the cake batter or use dark chocolate for the topping for a richer taste.
MORE OF OUR FAVORITE…
Recipe Steps
Step 1
Prepare the cake mix according to the package instructions. Pour the batter into a greased baking dish and bake until a toothpick inserted in the center comes out clean.
Step 2
Once baked, allow the cake to cool slightly. Then, with a fork, poke holes at regular intervals throughout the cake.
Step 3
Prepare the pudding mix as per the packet instructions. Pour it evenly over the cake, allowing it to seep into the holes for maximum flavor infusion.
Step 4
Refrigerate the cake for at least an hour to set. This step is crucial as it allows the pudding to fully integrate into the cake.
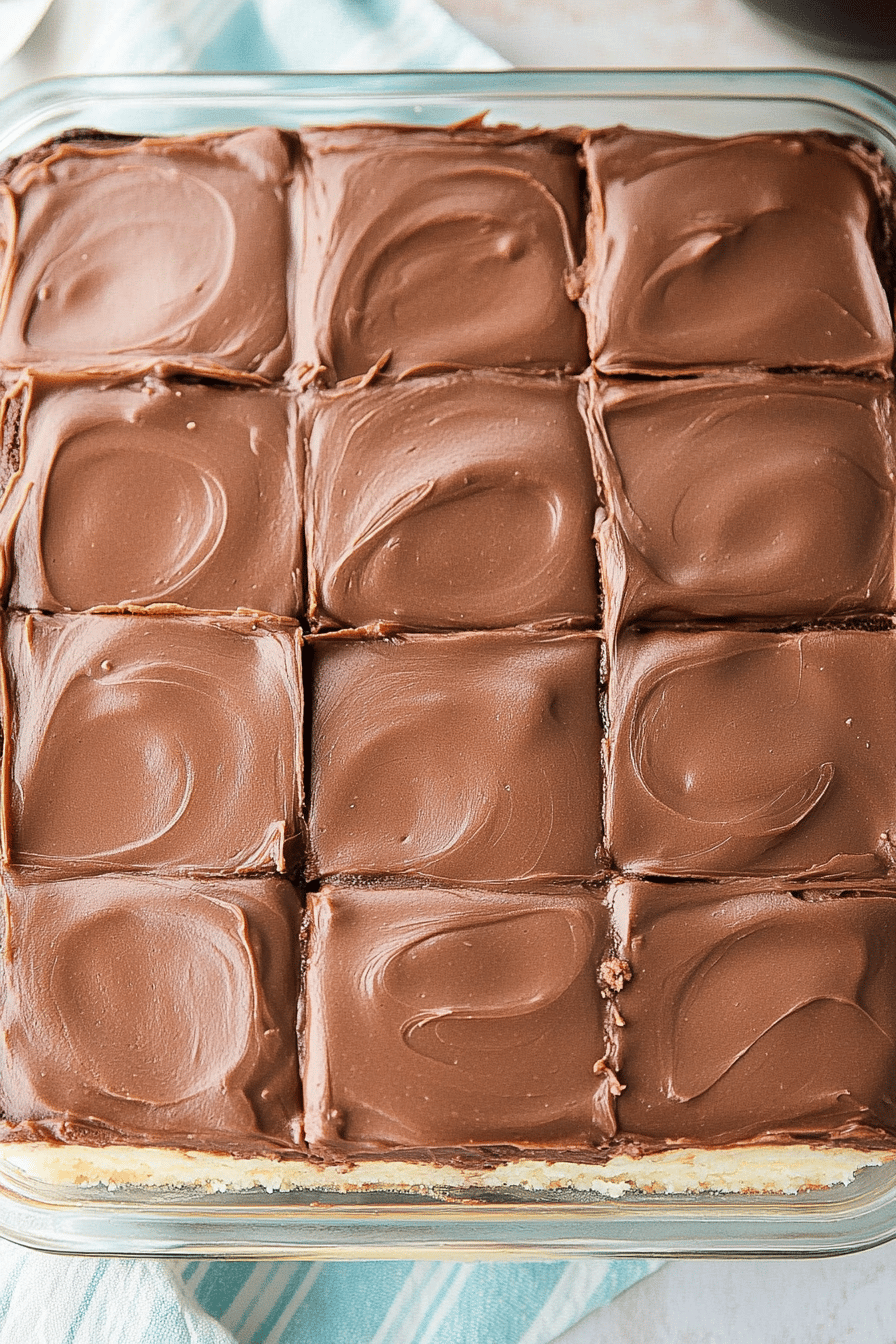
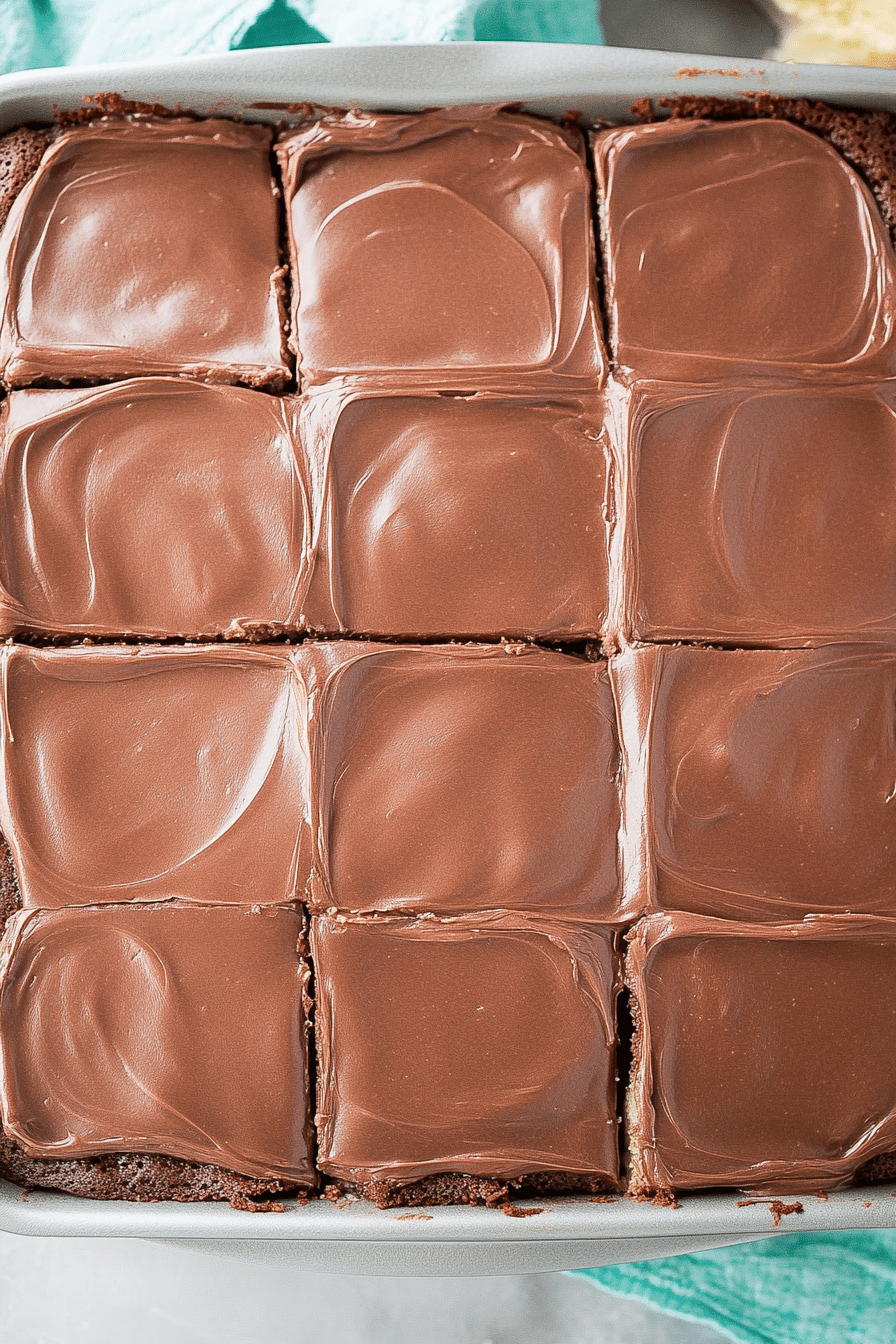
Step 5
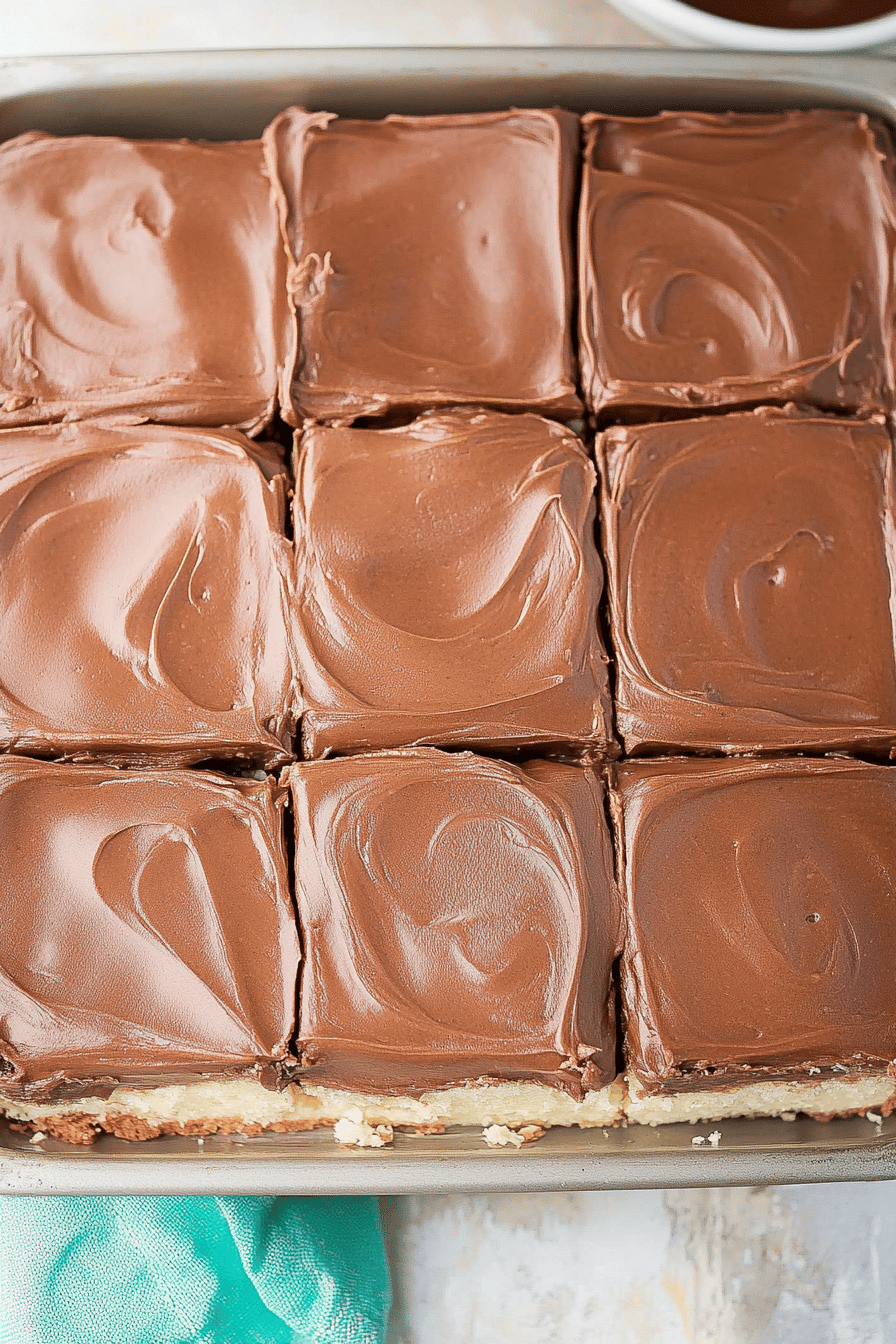
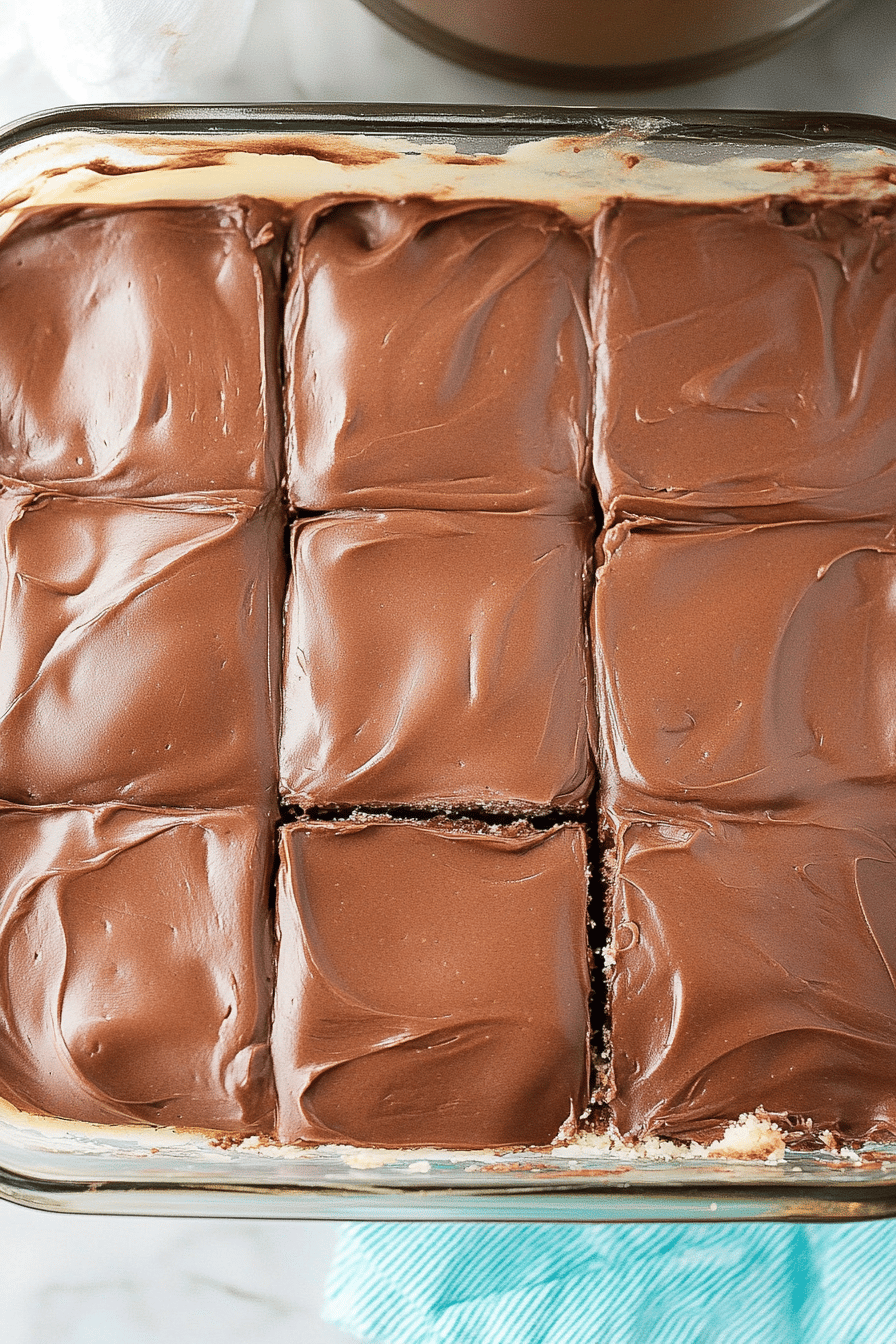
Melt the chocolate and butter together using a double boiler. Pour the glossy glaze over the top of the cake, spreading it evenly. Allow to cool before slicing and serving.
Storage Options
This cake can be wrapped in plastic wrap or stored in an airtight container in the refrigerator for up to three days. For longer preservation, slice the cake into portions and freeze them in freezer-safe containers. When you’re ready to enjoy a piece, simply thaw it in the refrigerator and let it come to room temperature.
Variations & Substitutions
For a lighter version, use sugar-free pudding mix and swap in olive oil instead of butter for the chocolate glaze. You can also incorporate layers of fresh fruit such as strawberries or sliced bananas for a refreshing twist.
Serving Suggestions
This dessert makes a perfect finish to any meal. Serve it chilled with an extra dollop of whipped cream or alongside a scoop of vanilla ice cream. It’s a classic choice for potlucks, birthday parties, or just a cozy weekend treat.
Frequently Asked Questions
Can I make this cake ahead of time? Absolutely! In fact, making it the day before allows the flavors to meld beautifully. Just ensure that you add the chocolate topping a few hours before serving for the best results.
What can I use if I’m allergic to dairy? For a dairy-free cake, substitute the milk in the cake mix and pudding with plant-based alternatives like almond or coconut milk. Ensure your chosen chocolate is also dairy-free.
How do I prevent the chocolate from cracking? Ensure that the chocolate topping is poured over the cake while it’s still slightly warm. If the topping has hardened too quickly, let the cake sit at room temperature for a few minutes before slicing.
Easy Boston Cream Poke Cake Recipe
Ingredients
Main Ingredients
- 1 box yellow cake mix prepared as per package instructions
- 3.4 oz instant vanilla pudding mix
- 2 cups milk cold
- 1 cup heavy cream
- 1 cup semi-sweet chocolate chips
Instructions
Preparation Steps
- Preheat the oven to 350°F (175°C) and prepare the yellow cake mix as per the package instructions.
- Bake the cake in a 9x13 inch pan for 30 minutes or until a toothpick inserted comes out clean.
- Let the cake cool for 15 minutes, then poke holes all over the top with the handle of a wooden spoon.
- In a bowl, whisk together the instant vanilla pudding mix and cold milk until combined and slightly thickened.
- Pour the pudding mixture over the cake, spreading it evenly into the holes.
- In a saucepan over medium heat, heat the heavy cream until it begins to simmer, then pour it over the chocolate chips in a bowl.
- Let sit for 5 minutes, then stir until smooth and pour over the cake.
- Refrigerate the cake for at least 2 hours before serving.
Notes
Nutrition
Featured Comments
“Impressed! Clear steps and so flavorful results. Perfect for busy nights.”
“Super easy and turned out amazing! My family asked for seconds. Saving this one.”
“Made this last night and it was family favorite. Loved how the handheld came together.”
“Made this last night and it was turned out amazing. Loved how the speedy came together.”
“Super easy and family favorite! My family asked for seconds. Saving this one.”
“Made this last night and it was family favorite. Loved how the tender came together.”
“Made this last night and it was absolutely loved. Loved how the nostalgic came together.”
“Made this last night and it was turned out amazing. Loved how the buttery came together.”
“This fun recipe was family favorite — the lighter really stands out. Thanks!”
“Super easy and family favorite! My family asked for seconds. Saving this one.”