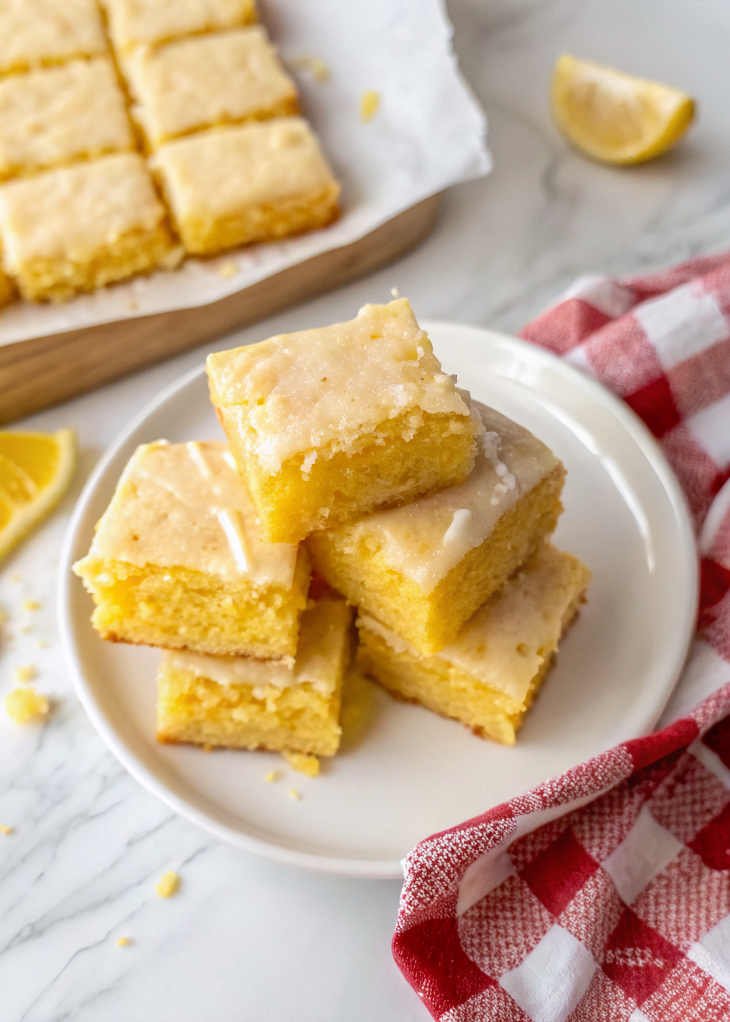
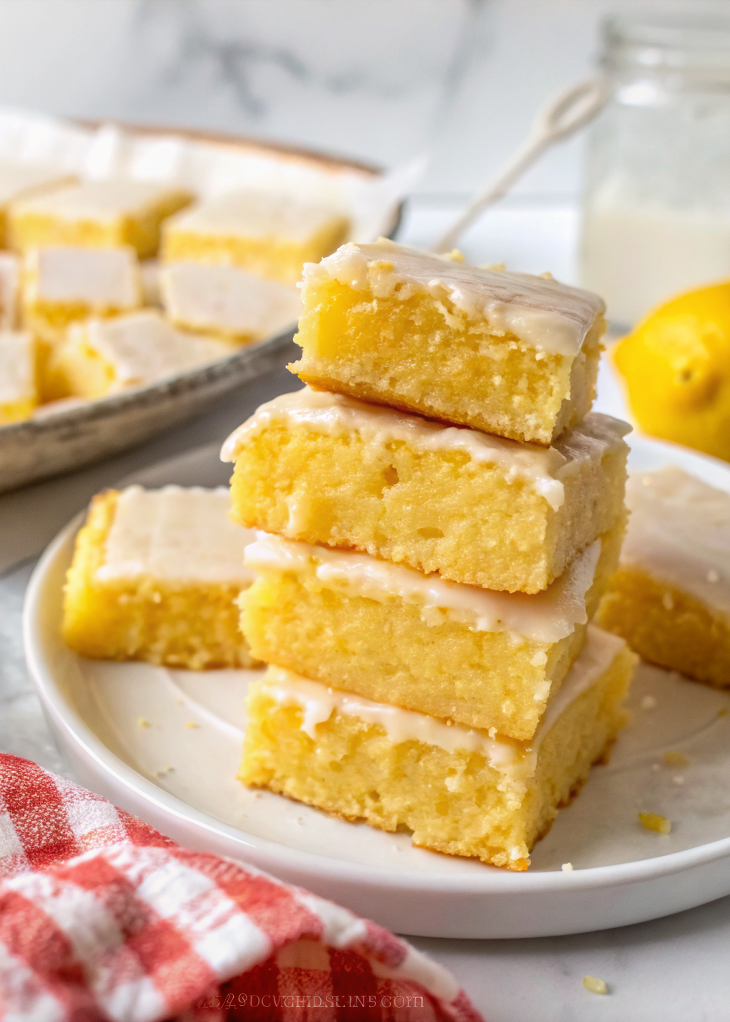
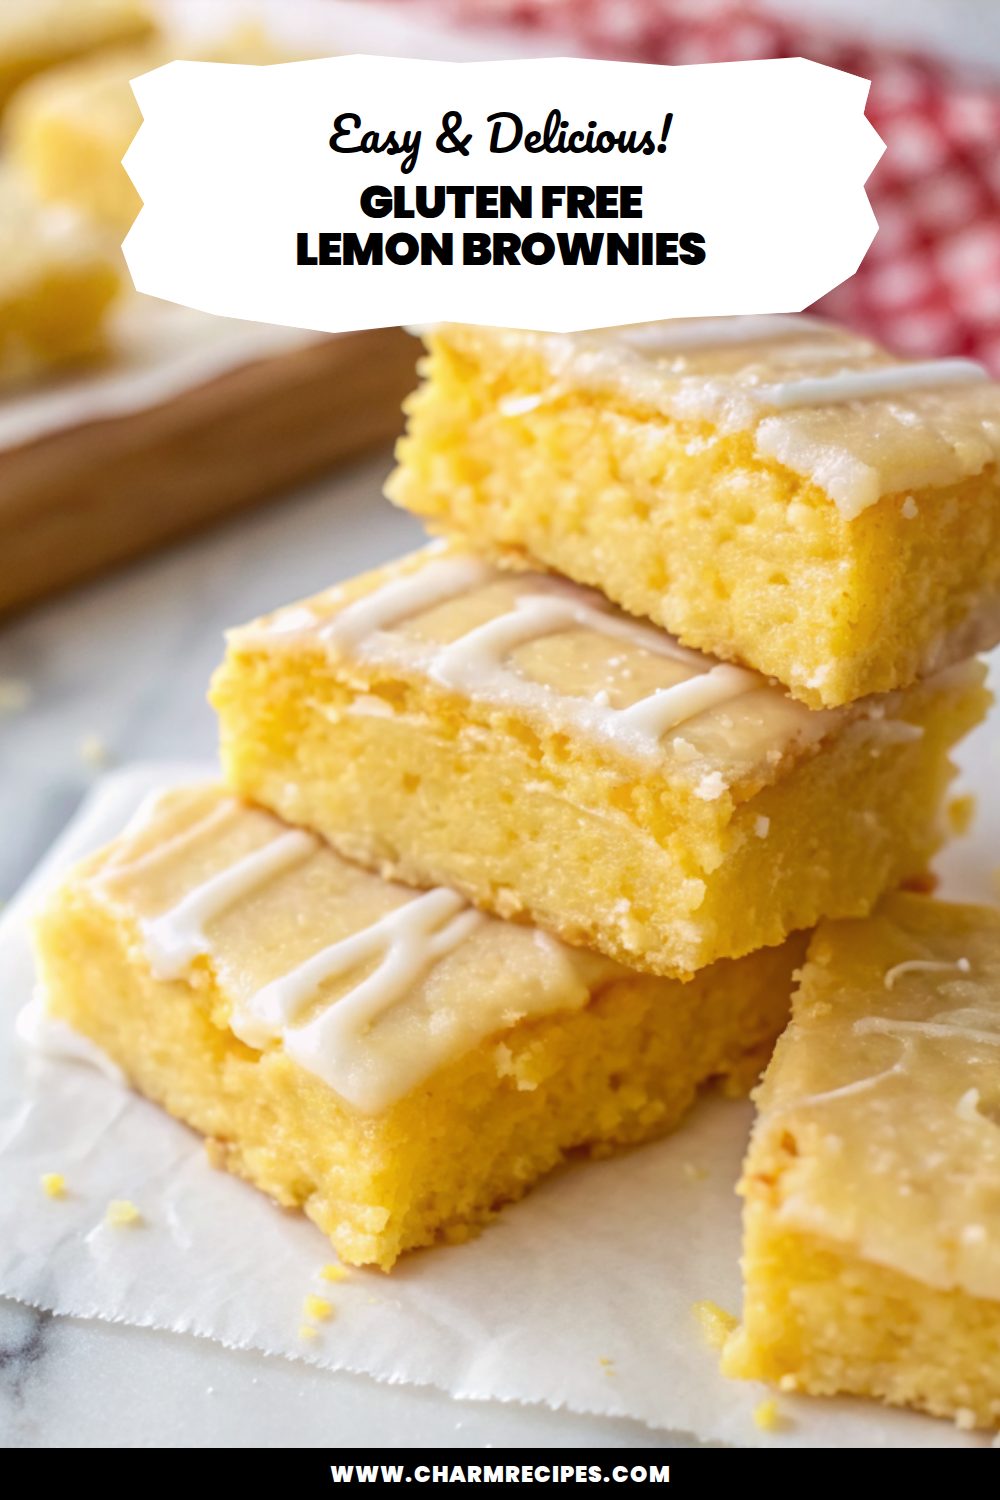
Gluten Free Lemon Brownies
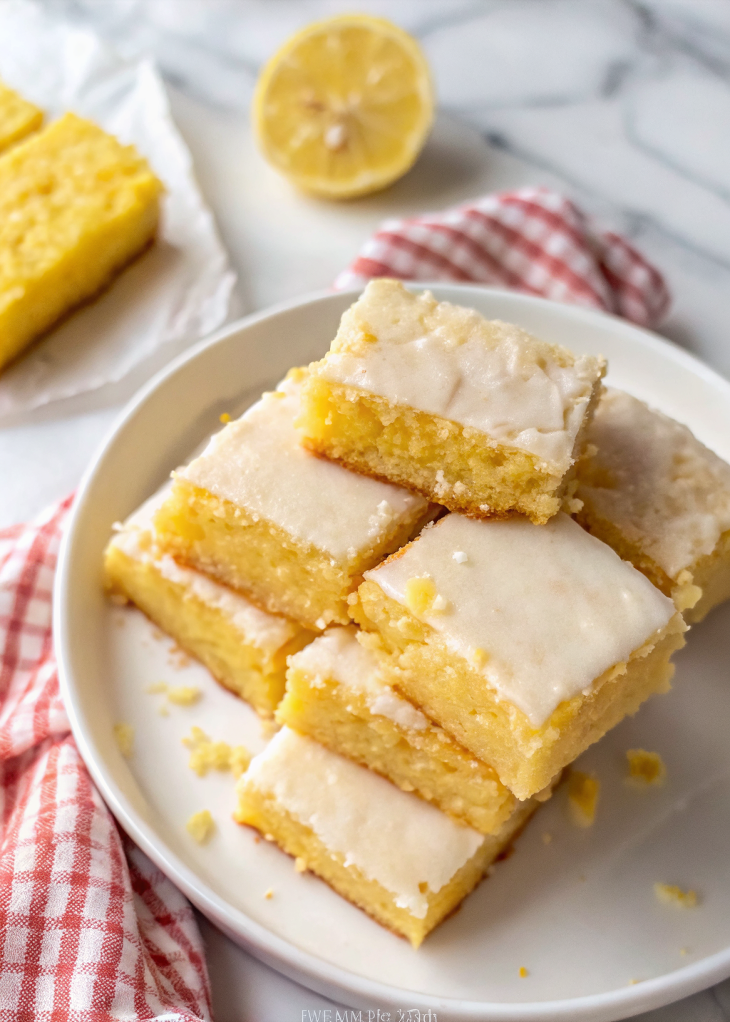
Bright, tender lemon brownies that are gluten free — more like a lemon blondie with a slightly fudgy center and bright citrus zing. They’re quick to mix, bake into a soft, sliceable bar, and worth making when you want a dessert that’s refreshing but not fussy.
I like this recipe because it uses a simple gluten-free flour blend and lots of fresh lemon zest for clear lemon flavor; the texture is forgiving, so small swaps work fine if you’re missing one pantry item.
Why This Gluten Free Lemon Brownies Works
1. The lemon zest and juice give a clean, bright flavor that comes through even with gluten-free flour.
2. A mix of gluten-free all-purpose blend and a bit of almond flour keeps the bars tender without crumbling.
3. The batter is dense and slightly fudgy, so the baked bars hold together well and slice nicely.
4. Easy steps and common pantry ingredients make this a quick weeknight or weekend bake.
Ingredients
These are the ingredients you’ll want on hand; the full recipe card has exact amounts.
MORE OF OUR FAVORITE…
– Gluten-free all-purpose flour blend: Choose one that contains xanthan gum for best structure, or add 1/4 tsp xanthan per cup if your blend is plain.
– Almond flour: A small amount adds moisture and a tender crumb—don’t replace all the AP blend with it.
– Unsalted butter: Provides richness and a slightly crisp edge; you can swap for neutral oil but texture will be softer.
– Granulated sugar: Gives structure and a bit of crunch on top; you can use part brown sugar for depth.
– Eggs: Bind and give lift; room temperature eggs mix more evenly.
– Lemons (zest + juice): Use fresh for the brightest flavor—zest is the most important part for aroma.
– Baking powder and salt: Light leavening keeps the bars from being too dense and balances the sweetness.
– Powdered sugar or simple glaze (optional): For a glossy finish or drizzle—powdered sugar + lemon juice makes a quick glaze.
Substitutions and Variations
– Use all coconut oil for a dairy-free version; bars will be slightly softer and more tender.
– Replace almond flour with extra gluten-free blend if you need nut-free bars; expect a slightly drier texture—add a tablespoon of yogurt or oil to compensate.
– Swap half the sugar for brown sugar for a deeper, caramel-like note and slightly chewier edges.
– Add a handful of poppy seeds for texture and classic lemon-poppy flavor.
– Turn into lemon-blueberry brownies by folding in fresh or frozen blueberries; this adds moisture and flavor, and baking time may increase a few minutes.
How to Make Gluten Free Lemon Brownies
This is a summary — the full recipe card has exact amounts, oven temp, and bake time.
1. Preheat the oven and line an 8×8 (or recommended) pan with parchment for easy removal.
2. Whisk together the gluten-free flour blend, almond flour, baking powder, and salt in a bowl.
3. Beat the butter and sugar until combined, then add eggs one at a time, followed by lemon zest, lemon juice, and vanilla.
4. Fold the dry ingredients into the wet just until combined; don’t overmix.
5. Spread the batter evenly into the prepared pan, smoothing the top with a spatula.
6. Bake until the edges are set and a toothpick in the center comes out with a few moist crumbs — the center should not be wet.
7. Cool completely in the pan (chilling helps if you want clean slices), then dust with powdered sugar or drizzle glaze before cutting.
Tips for the Best Results
1. Use fresh lemon zest — it holds the most citrus oils and really lifts the flavor.
2. Don’t overbake; remove when a toothpick shows moist crumbs for a fudgy center.
3. Chill before slicing for neater squares, especially if you used oil instead of butter.
4. Measure flour by spooning into the cup and leveling, or weigh it, to avoid a dry crumb.
5. Line the pan with parchment overhang to lift the bars out cleanly.
Common Mistakes
– Overmixing the batter: causes a tough texture — fold until just combined.
– Using bottled lemon juice only: flavor will be flat — always use fresh zest for aroma.
– Baking too long: leads to dry, crumbly brownies — check early and remove with moist crumbs on a toothpick.
– Skipping almond flour entirely without compensation: can produce a drier bar — add a tablespoon of oil or yogurt if you omit it.
– Cutting too soon: slices will fall apart — cool fully or chill briefly before slicing.
Storage
Storing: Keep cooled lemon brownies in an airtight container at room temperature for up to 2 days, or in the refrigerator for 4–5 days. Refrigeration firms them up and concentrates the lemon flavor.
Freezing: These brownies freeze well. Cut into bars, wrap individually in plastic wrap and store in a freezer bag for up to 3 months. Thaw overnight in the fridge or at room temperature.
Reheating or serving later: Serve at room temperature for the best texture, or warm a slice for 10–15 seconds in the microwave to soften slightly. Add a fresh squeeze of lemon glaze after reheating if needed.
How to Serve Gluten Free Lemon Brownies
– Dust with powdered sugar or drizzle a simple lemon glaze just before serving.
– Serve with a dollop of whipped cream or Greek yogurt to balance the sweetness.
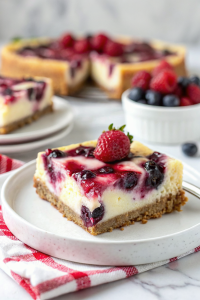
– Pair with fresh berries for a light, summery plate.
– Offer alongside a cup of tea or iced tea for a classic combination.
More Helpful Notes
– If your GF blend has no xanthan gum, add about 1/4 teaspoon per cup to help with structure.
– Zest before juicing the lemons to make zesting easier and avoid the bitter pith.
– For a brighter look, finish with a thin lemon glaze instead of powdered sugar.
– If using frozen berries, fold them in straight from frozen to avoid turning the batter purple.
Frequently Asked Questions
Gluten Free Lemon Brownies
Ingredients
Lemon Brownies
- 2/3 cup unsalted butter, melted
- 2 tablespoons finely grated lemon zest
- 7/8 cup granulated sugar
- 2 large eggs, at room temperature
- 3 tablespoons fresh lemon juice
- 1/2 teaspoon lemon extract
- 1/2 teaspoon pure vanilla extract
- 3/4 teaspoon fine sea salt
- 1 1/4 cups gluten-free 1:1 baking flour blend
- 1 tablespoon cornstarch
Lemon Glaze
- 1 1/4 cups powdered sugar
- 2 1/2 tablespoons fresh lemon juice
Instructions
Preparation Steps
- Heat the oven to 325°F. Line an 8x8-inch light-colored metal pan with parchment so the sides overhang; lightly grease the exposed sides of the pan.
- Bloom the zest: Stir the lemon zest into the warm melted butter and let it stand 5 minutes to infuse, then whisk to distribute evenly.
- In a large bowl, whisk the sugar and eggs together until slightly thickened and lighter in color, 45–60 seconds by hand.
- Slowly stream the lemony butter into the egg mixture while whisking. Whisk in the lemon juice, lemon extract, vanilla, and salt until smooth.
- In a separate bowl, whisk together the gluten-free flour blend and cornstarch. Add the dry mix to the wet ingredients and fold with a spatula just until no dry streaks remain; the batter will be thick.
- Rest the batter 10 minutes to hydrate the gluten-free flours. Scrape into the prepared pan, smooth the top, and tap the pan once on the counter to level.
- Bake for 26–30 minutes, until the edges are lightly golden and a toothpick inserted near the center comes out with moist crumbs (not wet batter).
- Cool the pan on a rack for 15 minutes, then use the parchment to lift the slab out. Cool until just barely warm, about 45 minutes more.
- Make the glaze: In a small bowl whisk the powdered sugar with lemon juice until smooth and thick but pourable. If needed, whisk an extra 10–15 seconds to loosen—avoid adding extra liquid so the glaze sets opaque.
- Glaze while warm: Spread the glaze over the barely warm brownies; it will settle into a glossy shell. Let stand 20–30 minutes to set. Chill 10 minutes for the cleanest slices, then cut into 16 squares with a hot, wiped knife.
Notes
Featured Comments
“Made this last night and it was so flavorful. Loved how the toasty came together.”
“New favorite here — turned out amazing. zesty was spot on.”
“This light recipe was family favorite — the tender really stands out. Thanks!”
“Super easy and turned out amazing! My family asked for seconds. Saving this one.”
“Impressed! Clear steps and absolutely loved results. Perfect for busy nights.”
“Super easy and turned out amazing! My family asked for seconds. Saving this one.”
“This vibrant recipe was absolutely loved — the fun really stands out. Thanks!”
“New favorite here — turned out amazing. stacked was spot on.”
“Super easy and absolutely loved! My family asked for seconds. Saving this one.”
“Super easy and turned out amazing! My family asked for seconds. Saving this one.”