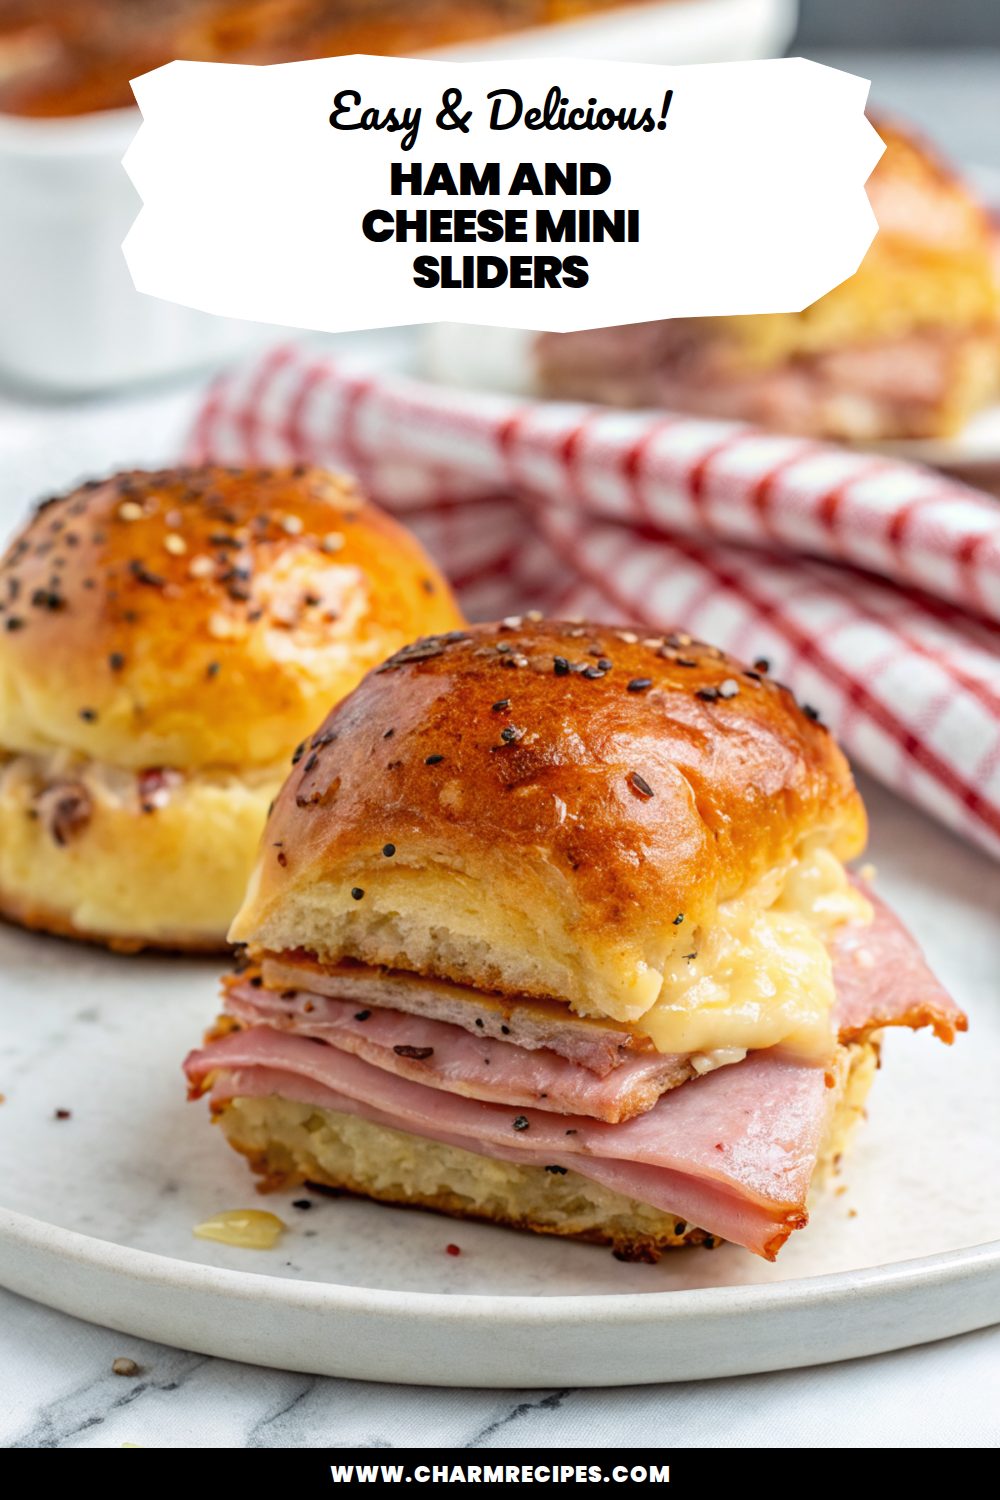
Ham and Cheese Mini Sliders

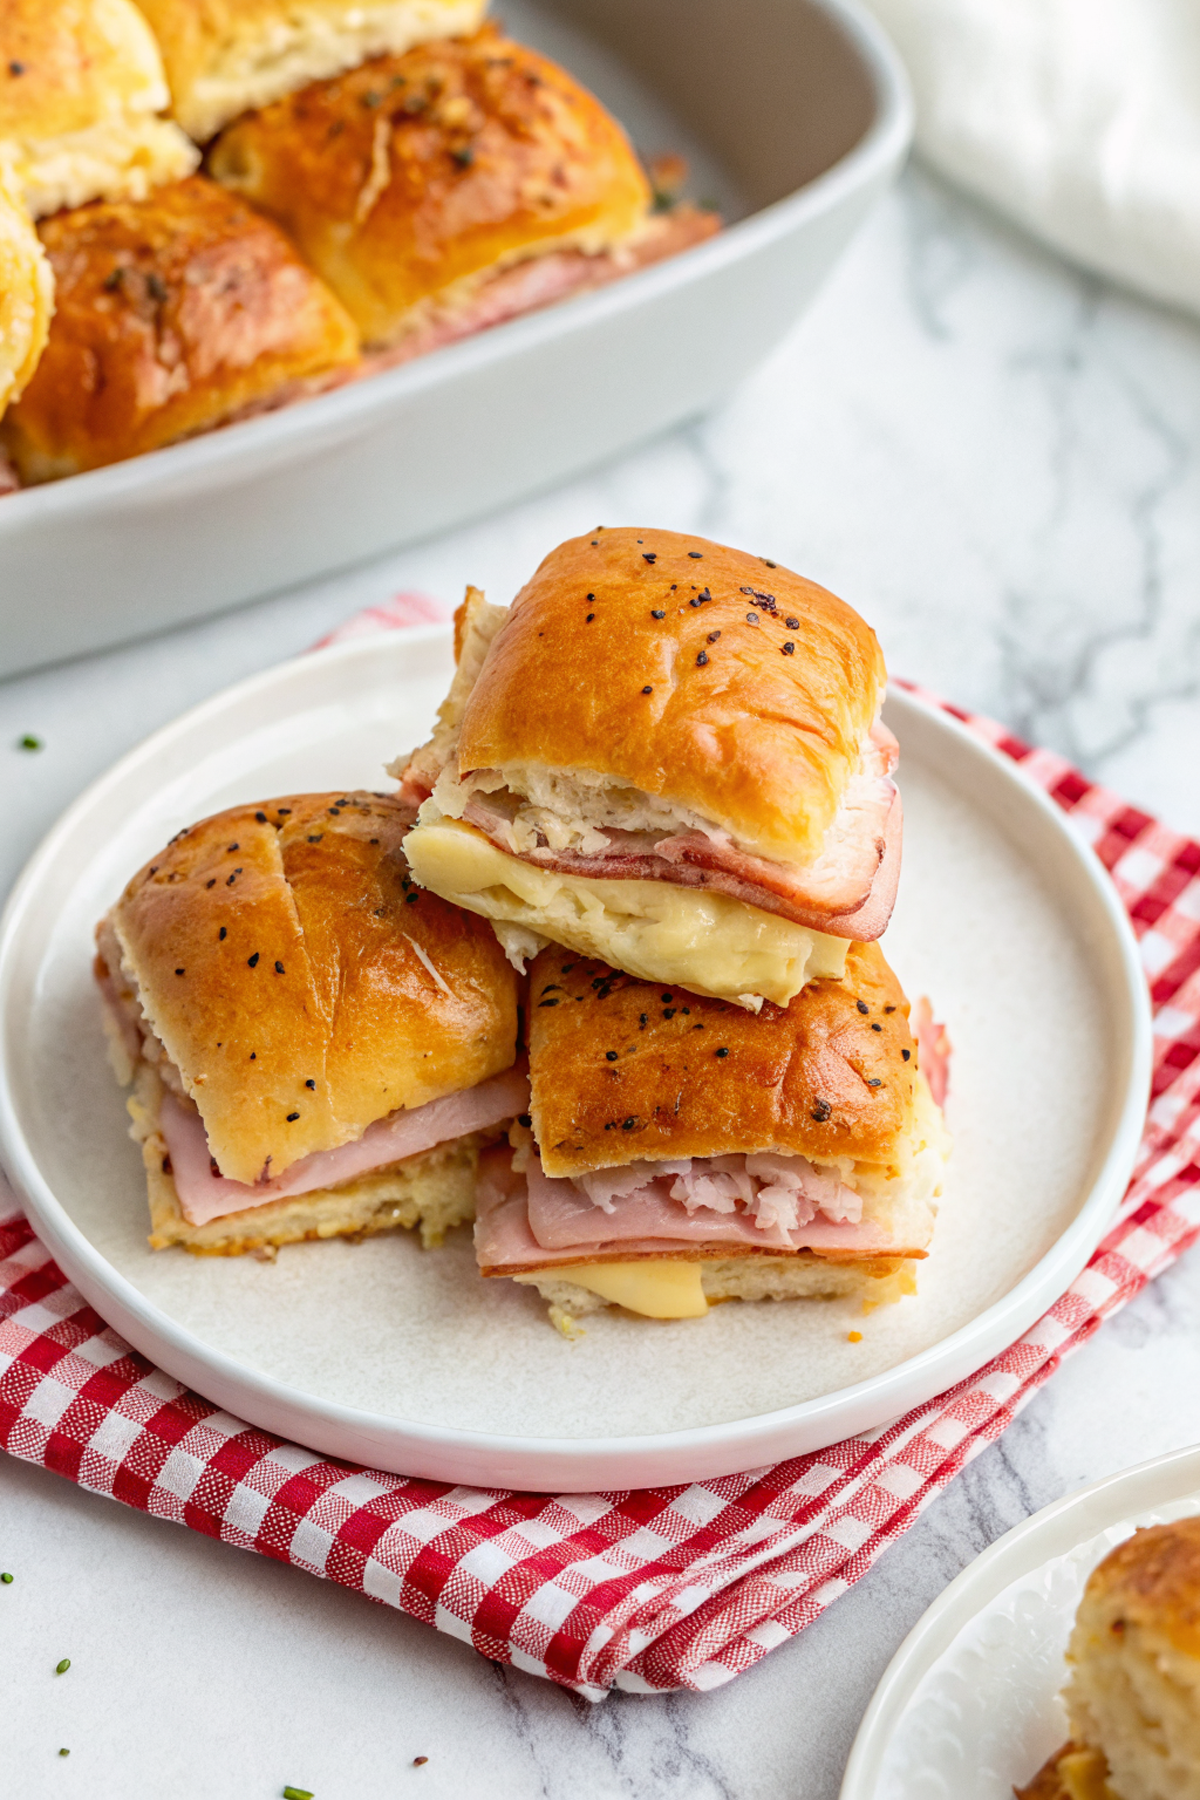
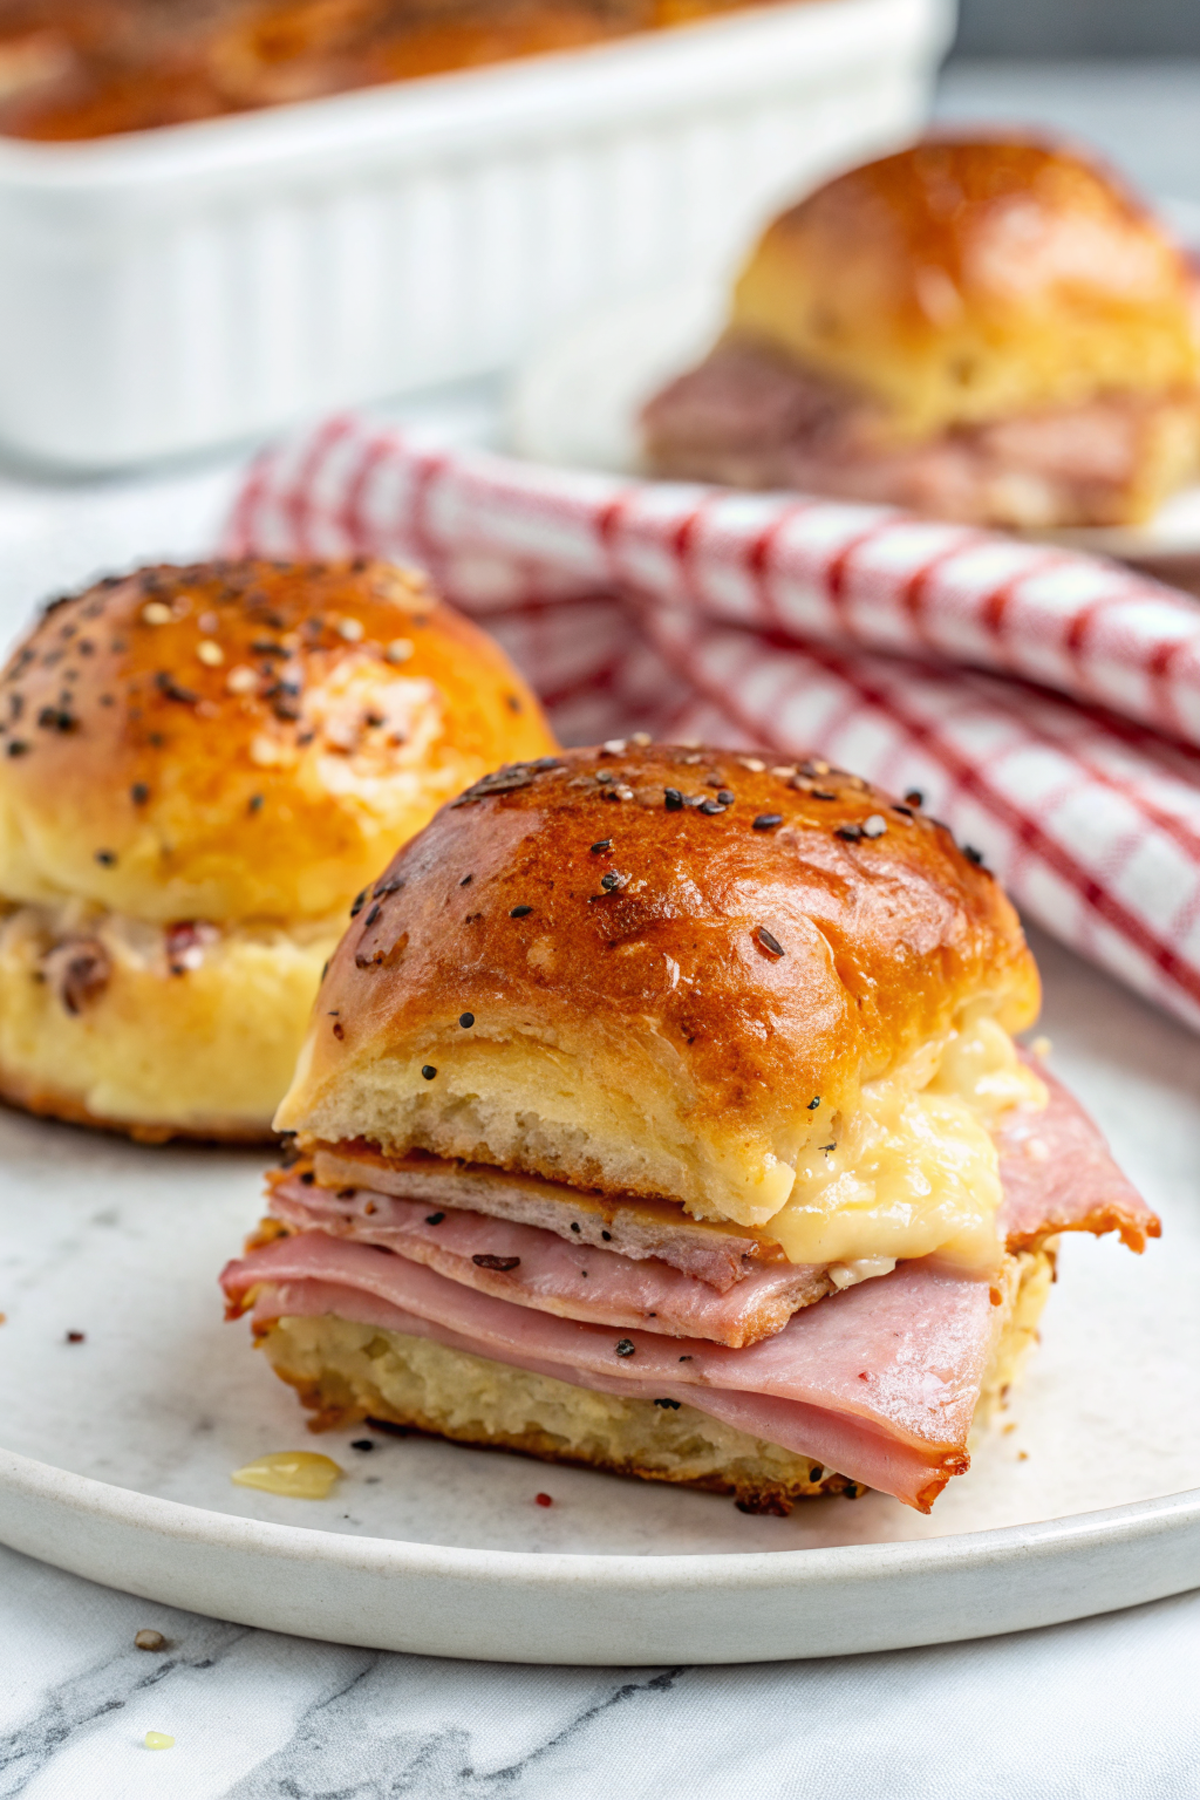
These ham and cheese mini sliders are soft, cheesy little sandwiches built on sweet dinner rolls, with melty cheese, savory ham, and a buttery mustard topping that browns nicely in the oven. The texture is pillowy from the rolls and gooey from the cheese, while the topping adds a savory, slightly tangy crust — easy to make and perfect for parties, snacks, or an easy weeknight dinner.
They come together quickly with store-bought rolls and sliced deli ham, and you can prep them ahead or assemble and bake right before serving. They’re forgiving, so small substitutions won’t break the recipe.
Why This Ham and Cheese Mini Sliders Works
1. Uses soft dinner rolls that stay tender while holding the fillings without falling apart.
2. A butter-mustard topping gives buttery richness and a slightly tangy crust that contrasts the melty cheese.
3. Layered ham and cheese melt together for a gooey interior and a flavorful bite.
4. Easy to assemble in a single pan — quick to bake and serve hot.
Ingredients


A short list of the basics and why each matters.
MORE OF OUR FAVORITE…
– Dinner Rolls (Hawaiian or plain): Soft rolls give a tender texture; Hawaiian adds sweetness that pairs nicely with ham.
– Sliced Ham: Thinly sliced deli or leftover baked ham works — choose a good-quality ham for the best flavor.
– Cheese (Swiss, cheddar, or provolone): Melty cheeses like Swiss or provolone melt smoothly and complement the ham.
– Butter: Softened butter forms the base of the topping and helps brown the rolls.
– Dijon mustard (or yellow mustard): Adds tang to cut the richness; adjust to taste.
– Poppy seeds or sesame seeds (optional): Give a classic shiny, seeded top and extra texture.
– Garlic powder & salt: Small seasonings that boost savory flavor without overpowering the sliders.
Substitutions and Variations
– Swap rolls for small brioche buns — slightly richer and more buttery, with the same soft texture.
– Use turkey or roast beef instead of ham for a different flavor; turkey is milder, roast beef is heartier.
– Replace Swiss with sharp cheddar for a tangier cheese bite and slightly oilier melt.
– Mix mayo into the butter topping instead of mustard for a creamier, less tangy finish.
– Add a thin layer of caramelized onions for sweetness and depth — this softens overall texture but adds flavor.
– Add a thin slice of pickle or a smear of mustard on each layer for a bright, tangy pop.
How to Make Ham and Cheese Mini Sliders
This is a short overview — the full recipe card has exact amounts and oven times.
1. Preheat the oven and prepare a 9×13-inch baking pan by lining with parchment or lightly greasing.
2. Slice the roll pack horizontally so you have a top and bottom sheet, keeping the rolls connected if possible.
3. Layer cheese and ham across the bottom half, arranging slices to cover evenly.
4. Place the top half of the rolls over the filling, pressing gently to compress slightly.
5. Mix softened butter, mustard, garlic powder, and a pinch of salt; brush the mixture evenly over the top. Sprinkle with poppy or sesame seeds if using.
6. Cover the pan with foil and bake until the cheese is melted, then remove foil and bake a few minutes more to brown the tops.
7. Let rest a few minutes, then slice between rolls and serve warm.

Tips for the Best Results
1. Use a 9×13 pan for a standard 12-roll pack so everything fits snugly and heats evenly.
2. Keep the butter soft but not melted so it spreads easily and stays on top without sliding off.
3. Cover with foil for most of the bake to ensure cheese melts before the tops brown. Remove foil at the end for a golden finish.
4. Don’t overstuff the sliders — one or two thin ham slices per roll layer melts and stacks better.
5. Let the sliders rest 3–5 minutes after baking to settle the cheese; this makes slicing cleaner.
Common Mistakes
– Over-saucing the rolls and ending up with soggy bottoms — use a light, even brush of the butter mixture instead of puddling it.
– Not covering while baking, which leaves cold cheese — cover with foil to melt the cheese, then uncover to brown.
– Using very thick ham slices that make the sliders hard to slice — choose thin slices for even heating and easier cutting.
– Baking at too high a temperature and burning the tops — lower the oven slightly or tent with foil.
– Slicing immediately out of the oven and losing structure — let them rest a few minutes so fillings set.
Storage
Storing:
Cool completely, then store in an airtight container or wrapped tightly in the fridge for 3–4 days. Reheat portions in the oven or microwave.
Freezing:
You can freeze assembled but unbaked sliders (wrapped tightly) for up to 1 month — bake from frozen, adding a few extra minutes. Baked sliders also freeze well when individually wrapped; thaw in the fridge before reheating.
Reheating or serving later:
Reheat in a 325°F oven covered with foil until warmed through (about 10–15 minutes for a few sliders). Microwave works for single servings but may make rolls a bit soggy; finish briefly under the broiler for a crisper top if needed.
How to Serve Ham and Cheese Mini Sliders
– Offer assorted mustards and pickles on the side for a simple buffet.
– Serve with a crisp green salad or coleslaw to balance the richness.
– Cut into quarters and serve as appetizers with toothpicks.
– Pair with a bowl of tomato soup for an easy comfort-food meal.
More Helpful Notes
– Use a serrated knife to slice through the entire tray in even rows without squashing the rolls.
– For a shinier top, brush with a little melted butter after baking.
– If planning a crowd, double the recipe and use two pans; rotate them halfway through baking for even color.
– If you like extra flavor, add a thin layer of grainy mustard between the ham and cheese.
Frequently Asked Questions
Ham and Cheese Mini Sliders
Ingredients
Buttery mustard glaze
- 5 tablespoons unsalted butter, melted
- 2 tablespoons Dijon mustard
- 2 tablespoons honey
- 1 teaspoon Worcestershire sauce
- 2 teaspoons poppy seeds
- 1 teaspoon onion powder
- 1/4 teaspoon freshly ground black pepper
Sliders
- 12 Hawaiian sweet rolls (1 package), kept attached
- 10 ounces thinly sliced cooked deli ham
- 8 slices Swiss cheese
Instructions
Preparation Steps
- Heat the oven to 375°F. Line a 9x13-inch baking pan with parchment, letting it overhang two sides for easy lifting.
- In a small bowl, whisk together the melted butter, Dijon, honey, Worcestershire, poppy seeds, onion powder, and black pepper. Set aside 2 tablespoons of the glaze for finishing.
- Without separating the rolls, slice the entire slab horizontally with a serrated knife to create a top and bottom. Optional for crisper bottoms: place the bottom slab, cut-side up, on the pan and toast in the oven for 3 minutes.
- Set the bottom slab in the lined pan and brush lightly with some glaze. Layer on 4 slices of Swiss, shingle the ham evenly over the cheese, then top with the remaining 4 slices of Swiss. Cap with the top slab of rolls.
- Brush most of the remaining glaze over the tops and down the sides. Let the sliders stand for 10 minutes so the glaze can soak in while the oven finishes heating.
- Cover the pan loosely with foil (tent so it doesn’t touch the rolls) and bake for 15 minutes. Uncover, brush with the reserved glaze, and bake 6–8 minutes more, until tops are deeply golden and the cheese is fully melted.
- Cool 5 minutes. Lift the slab out using the parchment, then slice into 12 sliders with a serrated knife. Serve warm.
Notes
Featured Comments
“Impressed! Clear steps and absolutely loved results. Perfect for busy nights.”
“Impressed! Clear steps and absolutely loved results. Perfect for busy nights.”
“New favorite here — turned out amazing. flavorful was spot on.”
“Super easy and family favorite! My family asked for seconds. Saving this one.”
“This simple recipe was family favorite — the smoky really stands out. Thanks!”
“Super easy and so flavorful! My family asked for seconds. Saving this one.”
“Made this last night and it was absolutely loved. Loved how the comforting came together.”
“This family favorite recipe was so flavorful — the hands-off really stands out. Thanks!”
“This fun recipe was will make again — the cheesy really stands out. Thanks!”
“Impressed! Clear steps and so flavorful results. Perfect for busy nights.”