Red Velvet Sandwich Cookies
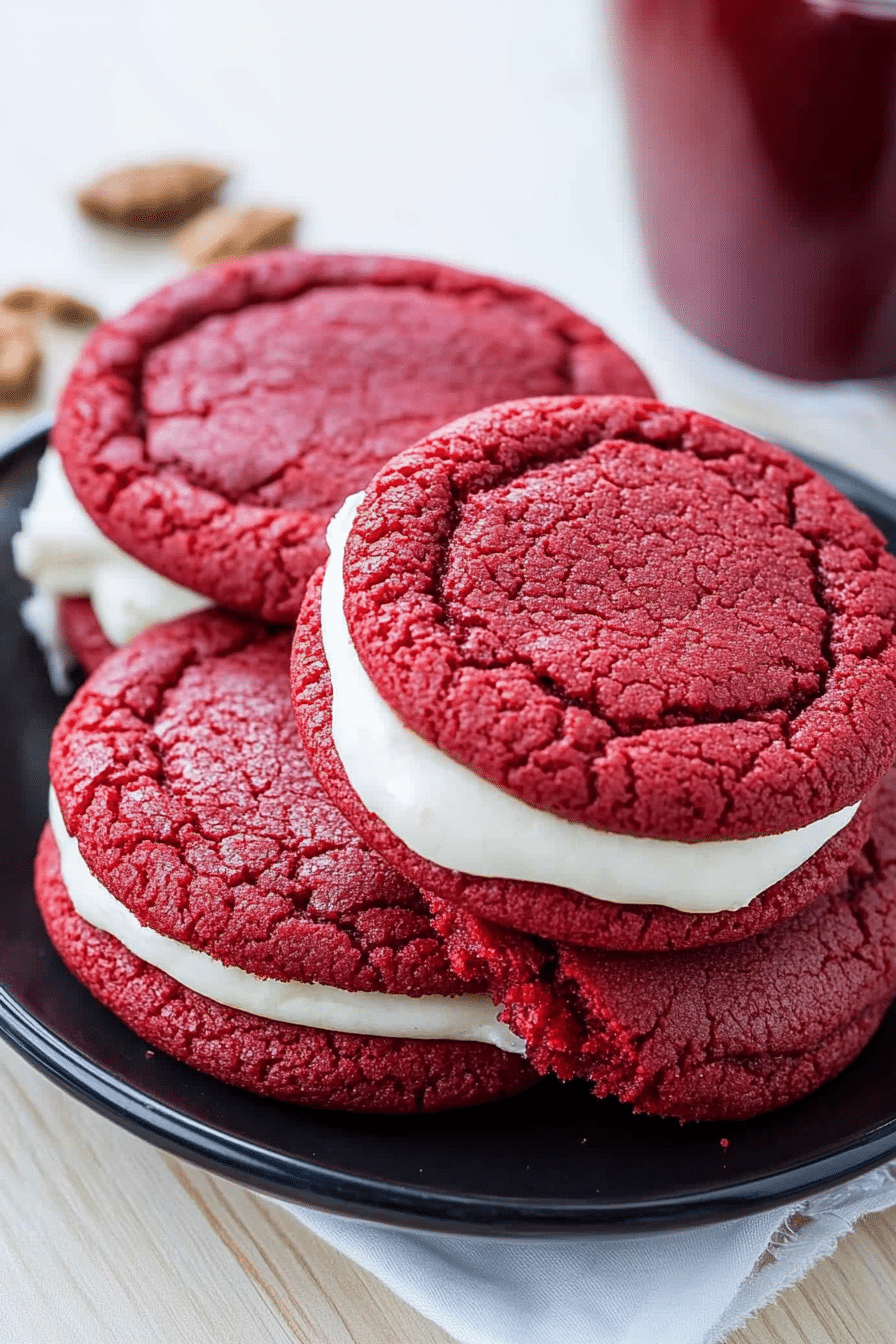
Red Velvet Sandwich Cookies combine the rich cocoa flavor and vibrant color of classic red velvet with a creamy, tangy cream cheese filling. These sandwich cookies are a show-stopping dessert perfect for holidays, parties, or any occasion when you want to impress. With their soft, chewy texture and luscious filling, they’re sure to become a favorite treat in your household.
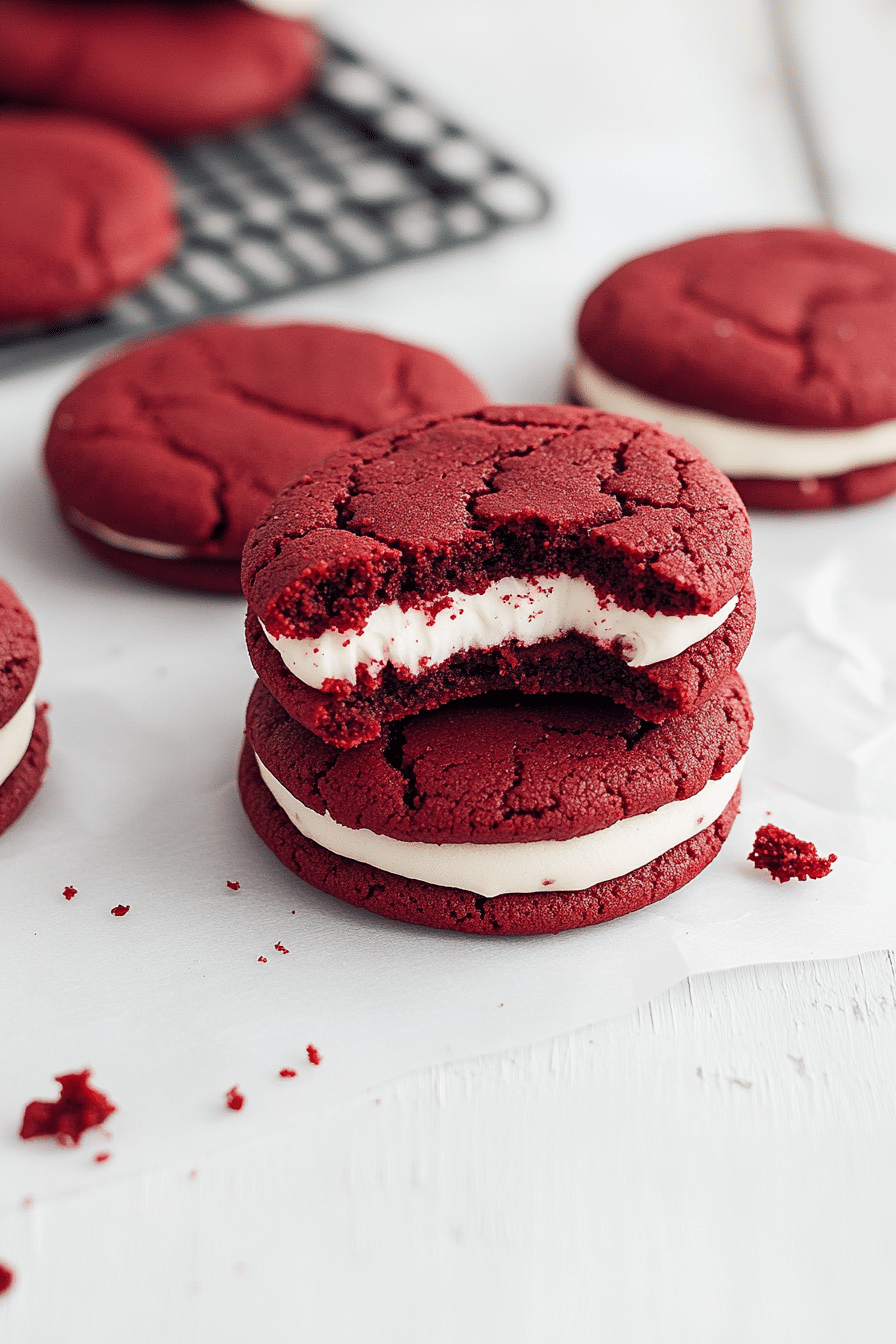
My family adores these Red Velvet Sandwich Cookies, especially during Valentine’s Day or Christmas. The first time I made them, my husband said they reminded him of a fancy bakery treat. Now, the kids insist on helping me assemble the cookies, sneaking tastes of the cream cheese filling as we go. They’ve become a festive tradition and a sweet way to bring everyone together.

Why You’ll Love Red Velvet Sandwich Cookies


•Elegant & Festive: Their striking red color makes them perfect for celebrations.
MORE OF OUR FAVORITE…
•Soft & Chewy: The cookies have a delightful texture that pairs beautifully with the creamy filling.
•Homemade Perfection: Better than store-bought, they’re made with love and care.
•Customizable: Change the filling flavor or decorate for any occasion.
Ingredients Notes For Red Velvet Sandwich Cookies
•Butter: Unsalted butter ensures a rich, creamy cookie base.
•Cocoa Powder: Adds the signature hint of chocolate to red velvet.
•Red Food Coloring: Gives the cookies their vibrant hue—gel food coloring works best.
•Cream Cheese: The key to the smooth and tangy filling.
•Powdered Sugar: Sweetens the filling to perfection.

Recipe Steps
1.Prepare the Dough:
•In a bowl, cream butter and sugar until light and fluffy.
•Add eggs, vanilla, and red food coloring, mixing until combined.
•In a separate bowl, whisk together flour, cocoa powder, baking soda, and salt. Gradually add the dry ingredients to the wet ingredients.
2.Chill the Dough:
•Cover the dough and refrigerate for at least 30 minutes to make it easier to handle.
3.Shape & Bake:
•Preheat the oven to 350°F (175°C).
•Roll the dough into small balls and place on a parchment-lined baking sheet.
•Bake for 8–10 minutes or until edges are set. Let cool completely.
4.Make the Filling:
•Beat cream cheese, butter, and vanilla until smooth. Gradually add powdered sugar and mix until fluffy.
5.Assemble the Cookies:
•Spread or pipe the cream cheese filling onto the flat side of one cookie, then sandwich with another cookie.
6.Chill & Serve:
•Chill the assembled cookies for 20 minutes to set the filling. Serve and enjoy!
Storage Options
•Refrigerator: Store in an airtight container for up to 5 days.
•Freezer: Wrap individually and freeze for up to 2 months. Thaw before serving.
Variations & Substitutions
•Flavor Twist: Add a splash of almond or peppermint extract to the filling.
•Decorative Edges: Roll the edges in crushed candy canes, sprinkles, or mini chocolate chips.
•Gluten-Free: Use a 1:1 gluten-free flour blend.
Frequently Asked Questions
Q: Can I use a box mix for the cookies?
Yes, a red velvet cake mix can be used as a shortcut, but homemade dough offers the best flavor and texture.
Q: How can I make the cookies more festive?
Add sprinkles to the dough or dust the assembled cookies with powdered sugar for an elegant touch.
Q: Can I make these ahead of time?
Absolutely! Prepare and assemble the cookies a day in advance, storing them in the fridge to keep them fresh.
Red Velvet Sandwich Cookies are a delightful, crowd-pleasing treat that’s as fun to make as they are to eat. Whether for a holiday celebration or an indulgent snack, these cookies will win hearts with every bite! ❤️🍪
Red Velvet Sandwich Cookies
Pin This Recipe For Later! Share The Yum On Facebook PrintIngredients
- For the Cookies:
- 1/2 lb 1 cup unsalted butter, softened
- 1 cup granulated sugar
- 1/2 cup brown sugar packed
- 2 large eggs
- 1 teaspoon vanilla extract
- 1 tablespoon red food coloring
- 2 1/2 cups all-purpose flour
- 1/4 cup cocoa powder
- 1 teaspoon baking soda
- 1/4 teaspoon salt
- For the Cream Cheese Filling:
- 4 oz cream cheese softened
- 1/4 cup unsalted butter softened
- 2 cups powdered sugar
- 1 teaspoon vanilla extract
Instructions
- Make the Cookies:
- Preheat Oven:
- Preheat your oven to 350°F (175°C). Line baking sheets with parchment paper or silicone baking mats.
- Cream Butter and Sugars:
- In a large mixing bowl, beat the softened butter, granulated sugar, and brown sugar together until light and fluffy.
- Add Wet Ingredients:
- Beat in the eggs, vanilla extract, and red food coloring until fully combined.
- Mix Dry Ingredients:
- In a separate bowl, whisk together the flour, cocoa powder, baking soda, and salt.
- Combine:
- Gradually add the dry ingredients to the wet mixture, mixing until a dough forms.
- Shape the Cookies:
- Scoop 1 tablespoon of dough for each cookie, roll into balls, and place them on the prepared baking sheets about 2 inches apart. Flatten slightly with your palm.
- Bake:
- Bake in the preheated oven for 10-12 minutes, or until the edges are set. Allow the cookies to cool on the baking sheet for 5 minutes before transferring them to a wire rack to cool completely.
- Make the Cream Cheese Filling:
- Prepare the Filling:
- In a medium bowl, beat the cream cheese and butter together until smooth. Gradually add the powdered sugar and vanilla extract, beating until creamy and spreadable.
- Assemble the Sandwiches:
- Assemble:
- Spread or pipe a layer of cream cheese filling onto the flat side of one cookie. Top with another cookie to create a sandwich. Repeat with the remaining cookies.
- Serve:
- Serve immediately or chill for 15 minutes for a firmer filling.
Featured Comments
“This morning favorite recipe was will make again — the tender really stands out. Thanks!”
“This family-style recipe was so flavorful — the smoky really stands out. Thanks!”
“Made this last night and it was will make again. Loved how the nourishing came together.”
“This vibrant recipe was turned out amazing — the messy-good really stands out. Thanks!”
“This flaky recipe was absolutely loved — the comforting really stands out. Thanks!”
“This crispy recipe was will make again — the light really stands out. Thanks!”
“New favorite here — so flavorful. crowd-pleasing was spot on.”
“This fluffy recipe was absolutely loved — the shareable really stands out. Thanks!”
“Super easy and so flavorful! My family asked for seconds. Saving this one.”
“New favorite here — will make again. grilled was spot on.”