No Bake Peanut Butter Cup Ice Cream Cake
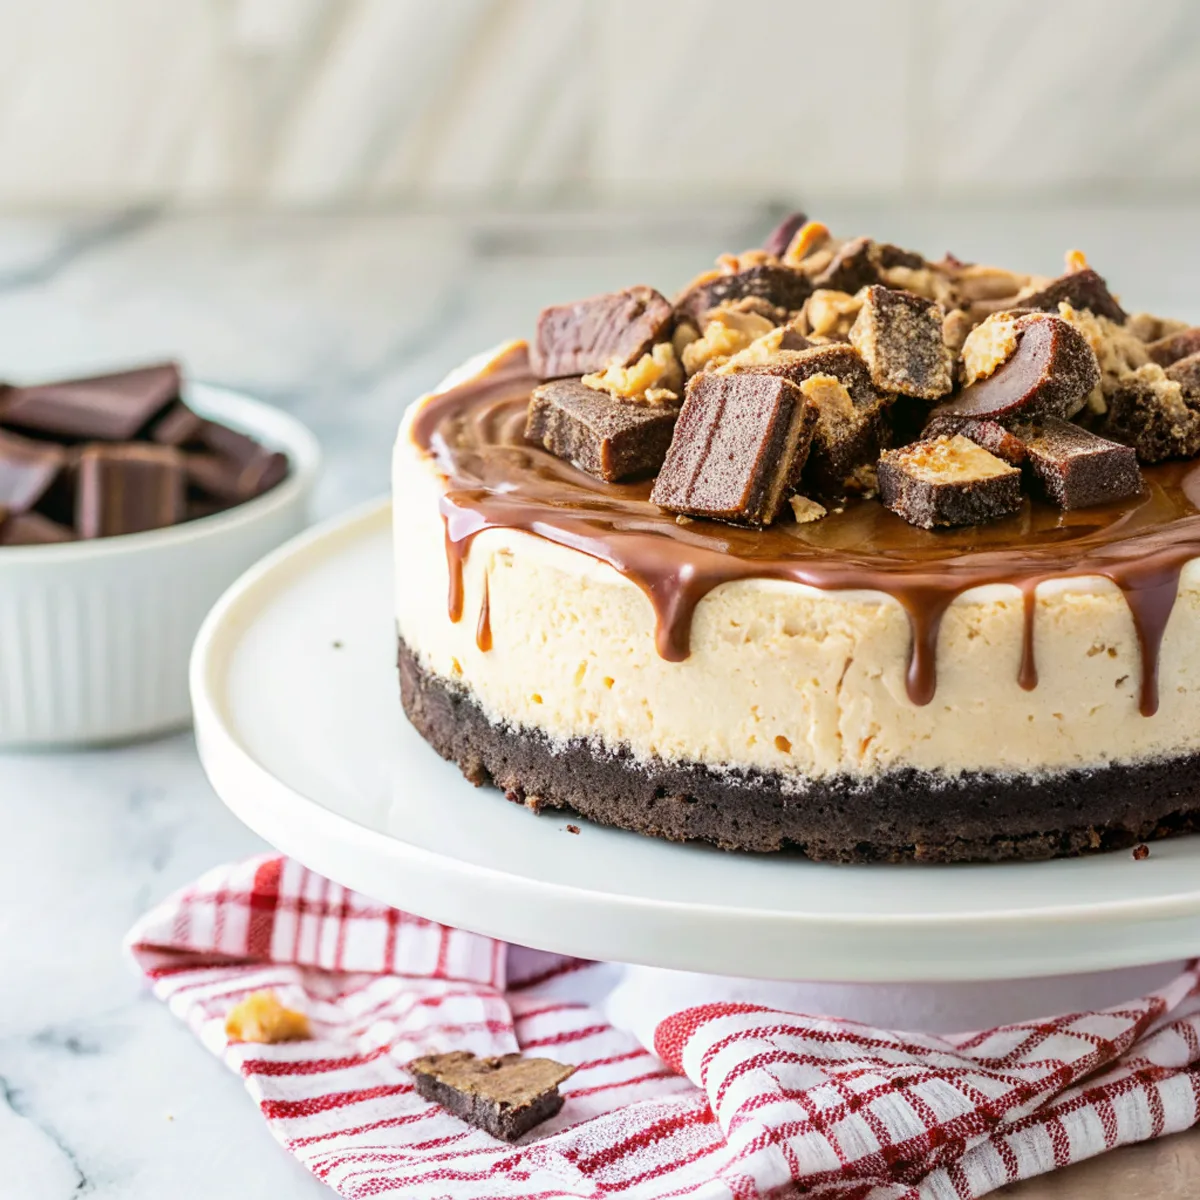
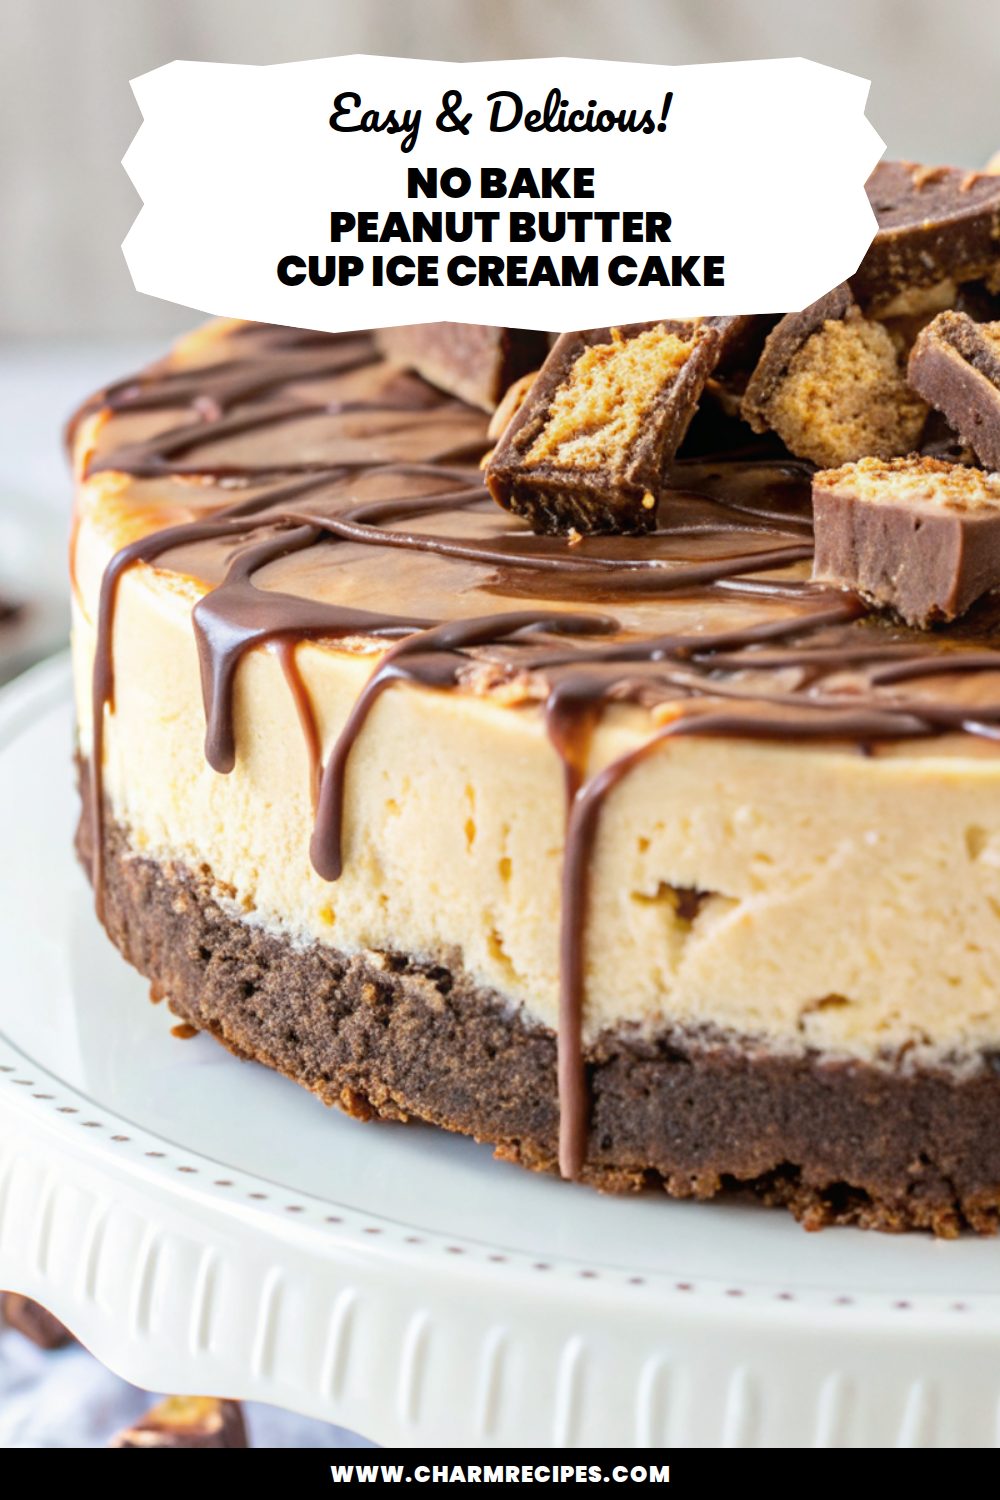
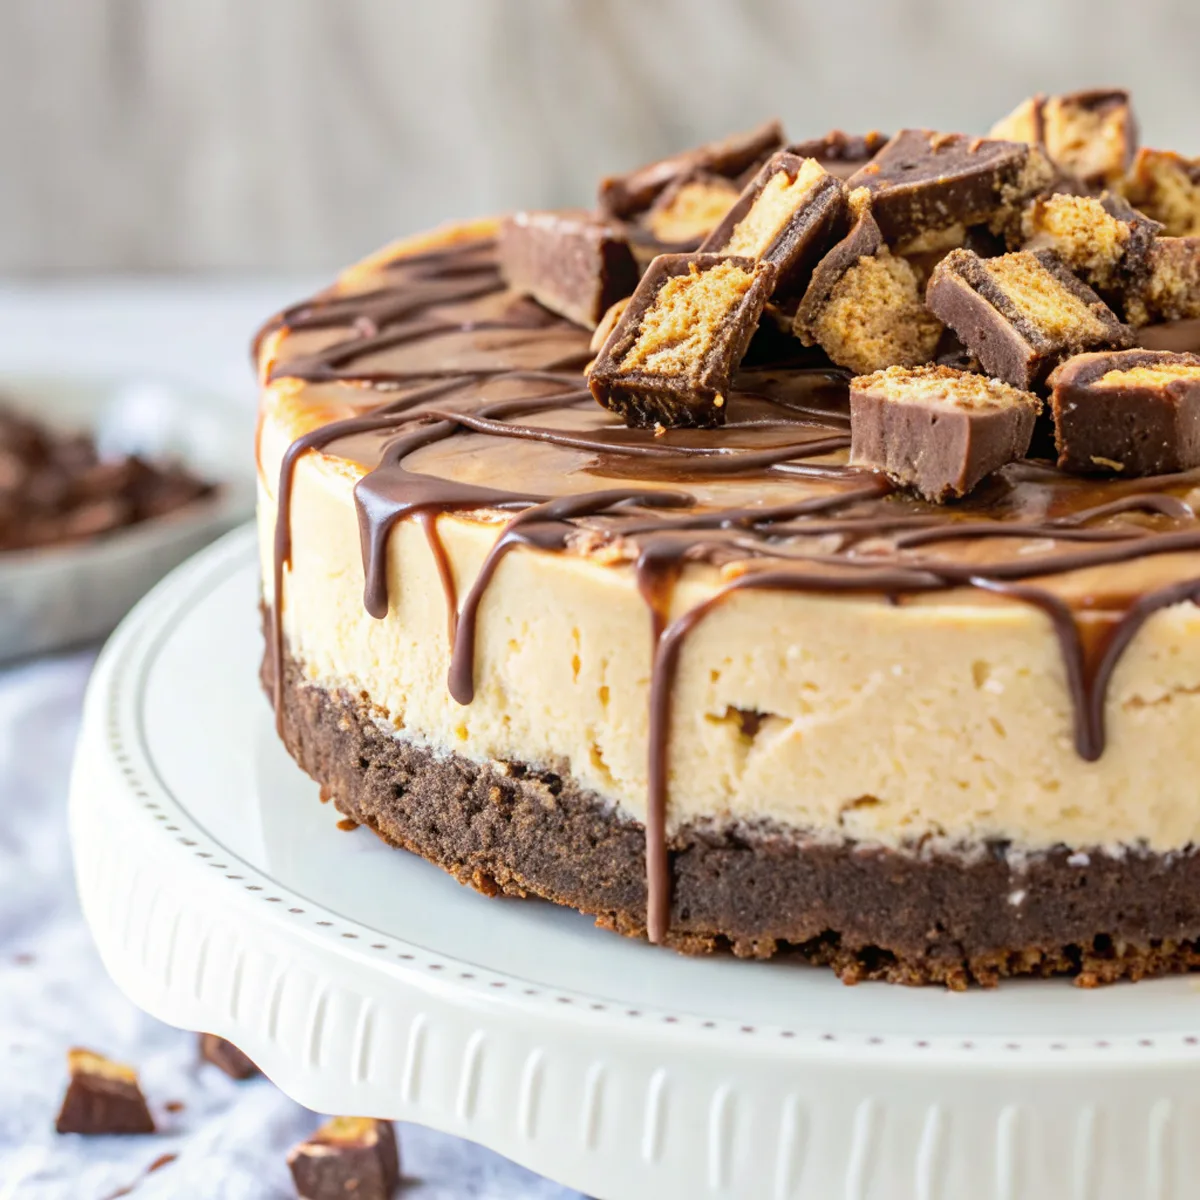
This no-bake peanut butter cup ice cream cake layers a crisp chocolate cookie crust with creamy peanut butter–swirled ice cream and chopped peanut butter cups for a crunchy, salty-sweet finish. It’s rich but not fussy — great when you want a showstopping dessert without baking.
It’s easy to adapt: use store-bought ice cream to speed things up, press the crust into a springform for neat slices, and make it a day ahead so flavors meld and slicing is simple.
Why This No Bake Peanut Butter Cup Ice Cream Cake Works
1. The chocolate cookie crust adds a crunchy, slightly bitter base that balances the sweet, creamy ice cream.
2. Peanut butter folded into the ice cream gives a silky, spreadable layer with a distinct nutty flavor.
3. Chopped peanut butter cups add texture and pockets of chocolate-peanut butter goodness in every bite.
4. No baking and simple assembly make it fast to pull together and easy to scale for guests.
Ingredients




A few pantry staples and quality ice cream are all you need.
MORE OF OUR FAVORITE…
– Chocolate sandwich cookies: Crush to fine crumbs for the crust — Oreos work well; remove filling if you want less sweetness.
– Unsalted butter: Melted to bind the crumbs; add a bit more if your crust feels dry.
– Vanilla or peanut butter ice cream: Softens easily and takes the peanut butter swirl; peanut butter ice cream makes the cake richer.
– Creamy peanut butter: Smooth blends into ice cream best for an even swirl; crunchy gives extra texture if you prefer.
– Mini peanut butter cups: Chopped for folding into layers and sprinkling on top; regular cups can be chopped instead.
– Hot fudge or melted chocolate: For drizzle and a firmer chocolate layer — use good-quality chocolate for best flavor.
– Flaky salt (optional): A light sprinkle enhances the sweet-salty balance.
Substitutions and Variations
– Use graham cracker crumbs or chocolate wafer crumbs for a different crust texture — graham is milder and less chocolatey.
– Swap creamy peanut butter for crunchy to add nutty bits; you’ll get more texture but slightly firmer slices.
– Replace mini peanut butter cups with chopped chocolate bars or chopped Snickers for a different candy profile.
– Make a swirl by warming peanut butter slightly and folding into half the ice cream; fully mixing yields an even peanut butter layer.
– For a lighter cake, use reduced-fat ice cream — expect a softer, less dense finish.
– Make a vegan version with nondairy ice cream and plant-based butter; texture will be a bit icier.
How to Make No Bake Peanut Butter Cup Ice Cream Cake
This is a summary — the full recipe card has exact amounts and detailed timing.
1. Crush cookies to fine crumbs, mix with melted butter, and press firmly into a lined springform or loaf pan; chill briefly to set.
2. Let the ice cream soften at room temperature until spreadable but not melted.
3. Mix some peanut butter into half the softened ice cream to create a peanut-butter-swirl layer (or fully combine for a uniform layer).
4. Spread half the ice cream over the chilled crust, sprinkle with half the chopped peanut butter cups, then add the remaining ice cream and smooth the top.
5. Cover the surface tightly with plastic wrap (press wrap onto the ice cream to reduce ice crystals) and freeze for at least 4–6 hours, preferably overnight.
6. Warm chocolate or hot fudge and drizzle over the frozen cake; add remaining chopped cups and a pinch of flaky salt if using.
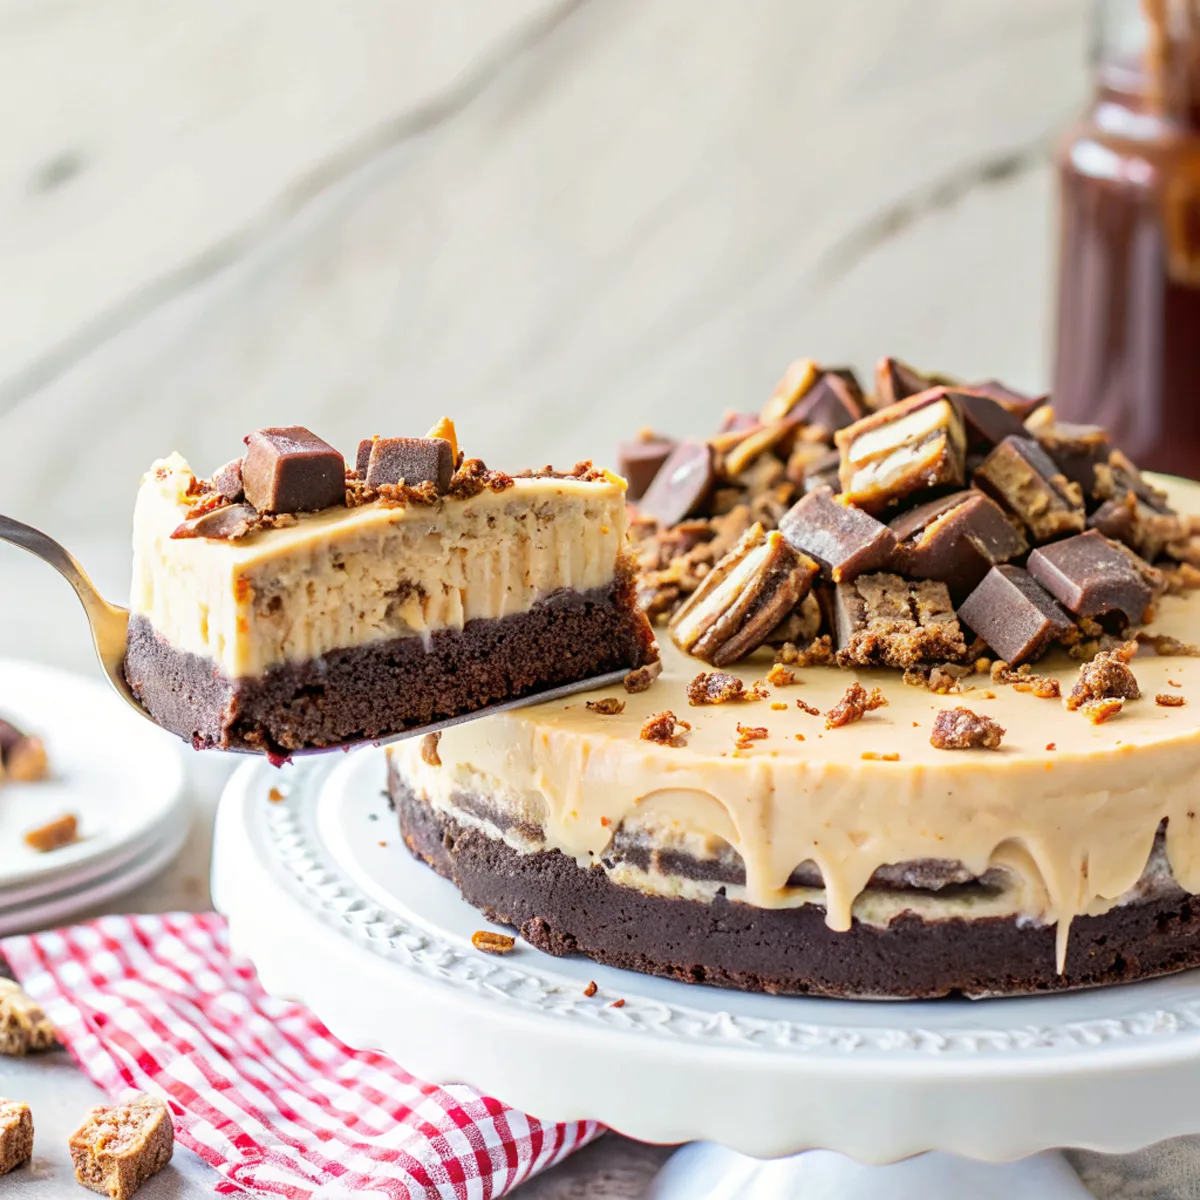
7. Let the cake sit 5–10 minutes at room temperature before slicing for easier, cleaner cuts.
Tips for the Best Results
1. Pack the crust firmly into the pan — use the bottom of a measuring cup for an even layer.
2. Soften ice cream just until spreadable; too soft and layers will blend, too hard and you won’t be able to spread.
3. Press plastic wrap directly onto the ice cream surface before sealing the pan to minimize ice crystals.
4. Use a sharp, warm knife (run under hot water and dry) and wipe between slices for clean cuts.
5. Chill the pan briefly in the freezer after pressing crust to help the first layer set faster.
6. If using a springform, place it on a baking sheet before assembling to make transfer easier.
Common Mistakes
– Crust falls apart: You didn’t use enough melted butter or didn’t press it firmly; re-press with a little more butter and chill.
– Ice cream slides or layers mix: Ice cream was too soft — refreeze slightly, then smooth the next layer.
– Ice crystals on top: Cake wasn’t sealed tightly; press plastic onto the surface and wrap before freezing.
– Toppings sink into the ice cream: Add heavy toppings after the cake has firmed in the freezer.
– Slices are ragged: Knife not warm enough — dip in hot water, dry, and slice in one smooth motion.
Storage
Storing: Keep the cake in the freezer, wrapped tightly with plastic wrap and a layer of foil or in an airtight container to prevent freezer burn and absorb odors.
Freezing: This cake freezes well for up to 1 month. For longer storage, expect more ice crystals and slight texture changes.
Reheating or serving later: Remove from the freezer 10–15 minutes before serving to soften for easier slicing. Leftover slices can be rewrapped and returned to the freezer.
How to Serve No Bake Peanut Butter Cup Ice Cream Cake
– Serve slices with a warm drizzle of hot fudge or salted caramel.
– Add a dollop of whipped cream and extra chopped peanut butter cups for texture.
– Offer coffee or cold brew alongside to cut the richness.
– Plate with a scoop of plain vanilla ice cream for contrast.
– Garnish with flaky sea salt and chopped roasted peanuts for crunch.
More Helpful Notes
– A springform pan makes unmolding easiest; line the bottom with parchment for quick removal.
– If you want neat layers, chill the cake between adding layers for 20–30 minutes.
– Use quality chocolate for the drizzle — it makes a noticeable difference.
– Avoid adding wet toppings (syrups or sauces) until just before serving to keep the cake firm.
– For kids’ parties, skip the flaky salt and add extra chopped cups on top.
Frequently Asked Questions
No Bake Peanut Butter Cup Ice Cream Cake
Ingredients
Chocolate Cookie Crust
- 2 cups chocolate wafer cookie crumbs finely crushed
- 5 tablespoons unsalted butter, melted
- 1 tablespoon dark cocoa powder
- 1/8 teaspoon fine sea salt
Peanut Butter Mousse Ice Cream Layer
- 8 ounces cream cheese, room temperature
- 1 1/4 cups creamy peanut butter
- 2 tablespoons whole milk
- 1 teaspoon vanilla extract
- 1/3 cup powdered sugar for the peanut butter mixture
- 1 1/2 cups heavy whipping cream, cold
- 1/3 cup powdered sugar for the whipped cream
- 1 cup chopped mini peanut butter cups fold-ins
Chocolate Espresso Ganache & Finish
- 1 cup semisweet chocolate chips
- 1/2 cup heavy whipping cream
- 1/2 teaspoon instant espresso powder boosts chocolate flavor
- 1 cup chopped mini peanut butter cups topping
- a pinch flaky sea salt optional, for finishing
Instructions
Preparation Steps
- Line the base of a 9-inch springform pan with parchment. For ultra-clean sides, wrap the inside rim with an acetate cake collar or a strip of parchment.
- Make the crust: Stir cookie crumbs, cocoa, and salt together, then drizzle in melted butter and mix until the crumbs look like wet sand. Firmly press the mixture into the pan to create an even base (use a flat-bottomed glass). Freeze 15 minutes.
- Whip the cream: Chill a mixing bowl and whisk for 5 minutes. Beat the cold heavy cream with 1/3 cup powdered sugar on medium-high to medium-stiff peaks. Refrigerate while you prepare the peanut butter base.
- Peanut butter base: In a separate large bowl, beat cream cheese until completely smooth. Add peanut butter, milk, vanilla, and 1/3 cup powdered sugar; beat until thick, creamy, and no streaks remain. Scrape the bowl well.
- Lighten and fold: Gently fold one-third of the whipped cream into the peanut butter base to loosen it, then fold in the remaining whipped cream just until combined. Fold in 1 cup chopped mini peanut butter cups.
- Fill and set: Spoon the mousse over the cold crust. Tap the pan a few times on the counter to release air pockets, then smooth the top. Freeze uncovered for 20 minutes, cover, and continue freezing until very firm, at least 4 hours or overnight.
- Prepare the ganache: Heat the 1/2 cup cream in a small saucepan or microwave until steaming (not boiling). Pour over chocolate chips in a heatproof bowl, sprinkle in the espresso powder, and let stand 2 minutes. Whisk until glossy and smooth, then cool 5–8 minutes until thick but pourable.
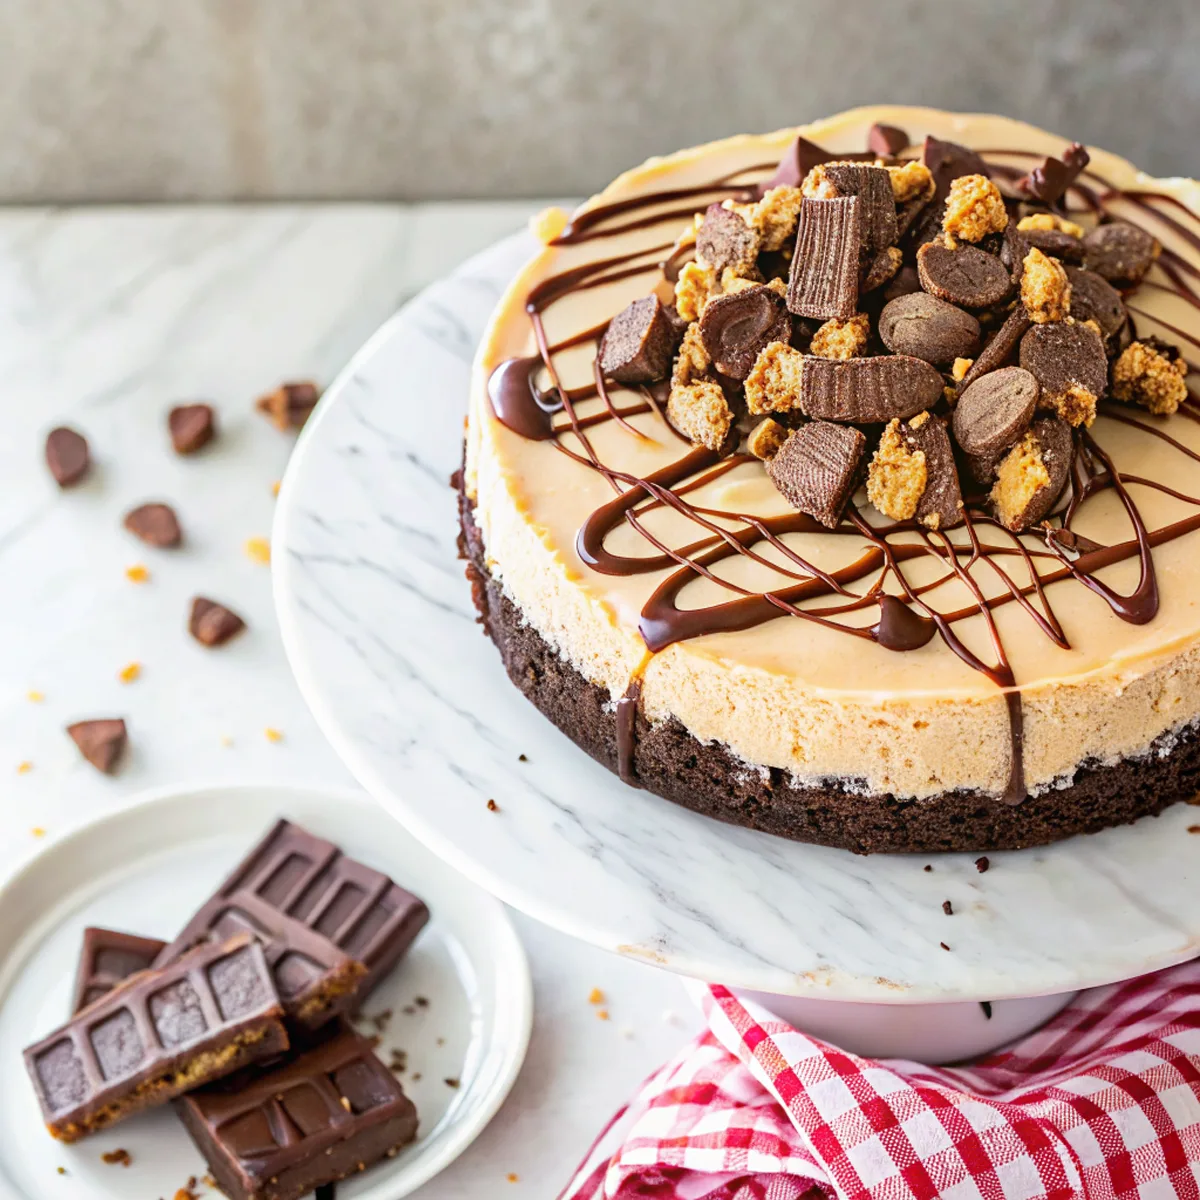
- Unmold and finish: Release the springform ring and peel away the acetate. Transfer cake to a serving plate. Pour ganache onto the center and nudge it toward the edges to create drips. Immediately scatter the remaining 1 cup peanut butter cups over the top and finish with a pinch of flaky sea salt.
- Set and serve: Freeze 15 minutes to set the ganache. For clean slices, warm a sharp knife under hot water, wipe dry between cuts, and let slices stand 10–15 minutes before serving.
Notes
Featured Comments
“Super easy and so flavorful! My family asked for seconds. Saving this one.”
“Made this last night and it was family favorite. Loved how the crowd-pleaser came together.”
“New favorite here — turned out amazing. comforting was spot on.”
“Impressed! Clear steps and family favorite results. Perfect for busy nights.”
“New favorite here — absolutely loved. juicy patty was spot on.”
“Made this last night and it was turned out amazing. Loved how the crowd-pleaser came together.”
“This messy-good recipe was turned out amazing — the vibrant really stands out. Thanks!”
“New favorite here — turned out amazing. wholesome was spot on.”
“This crunchy recipe was turned out amazing — the festive really stands out. Thanks!”
“Super easy and family favorite! My family asked for seconds. Saving this one.”