Double Layer Chocolate Ice Cream Cake
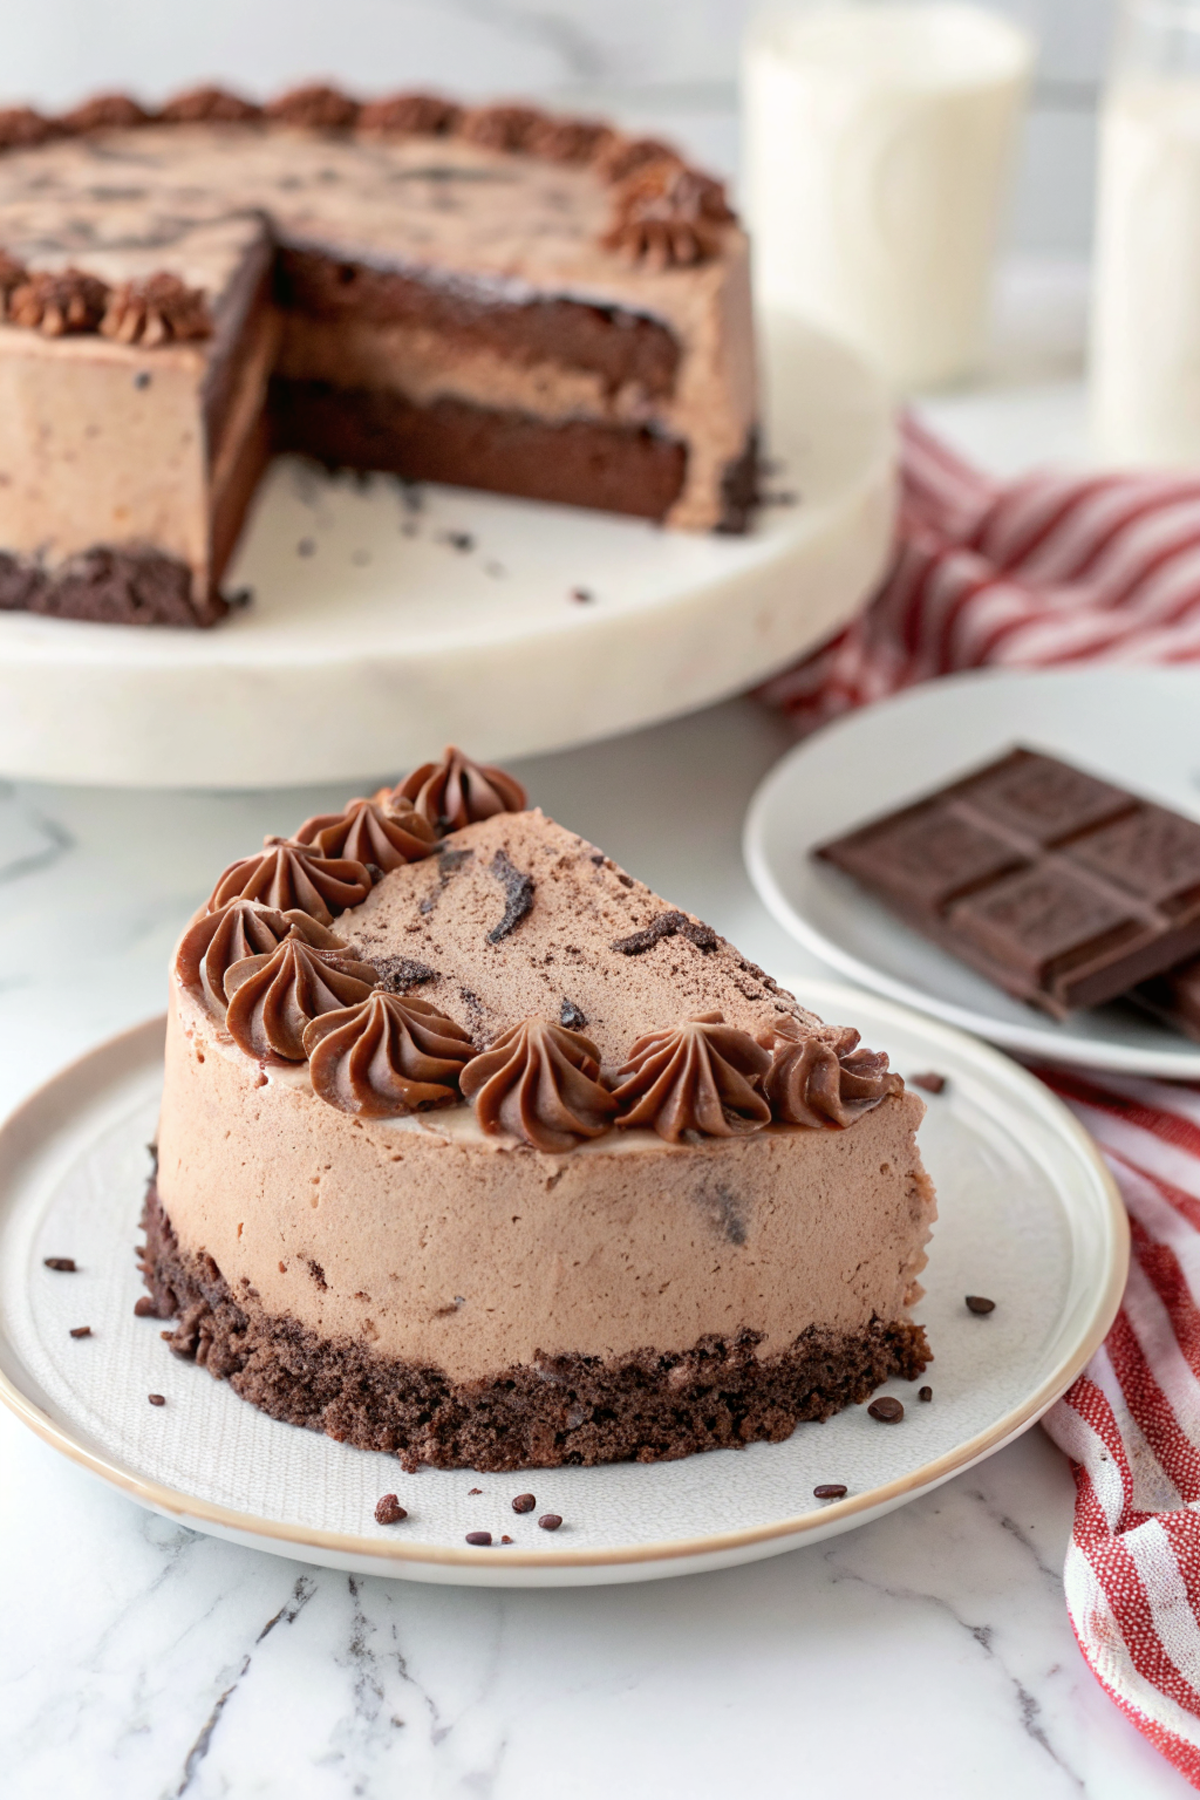
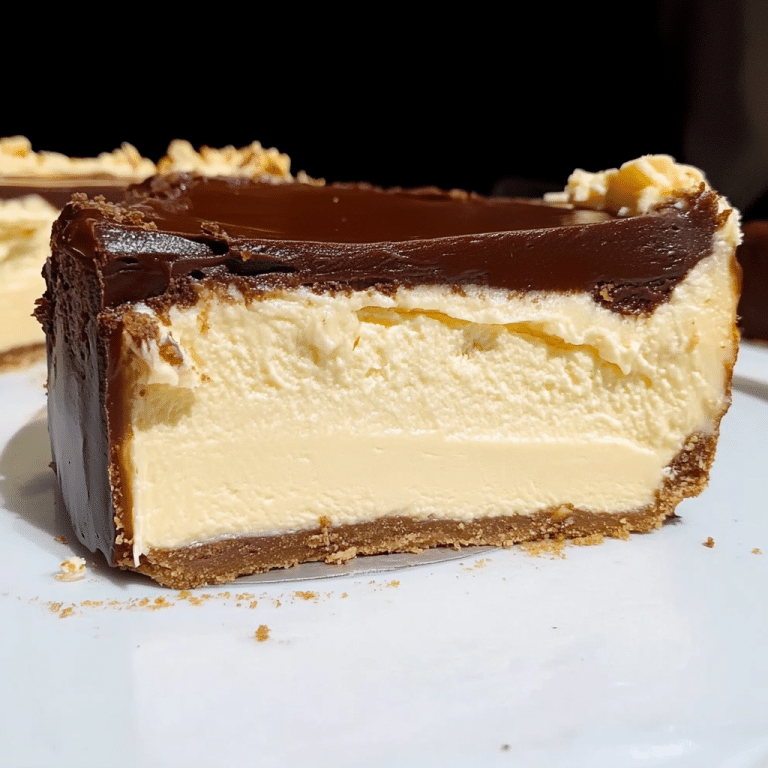
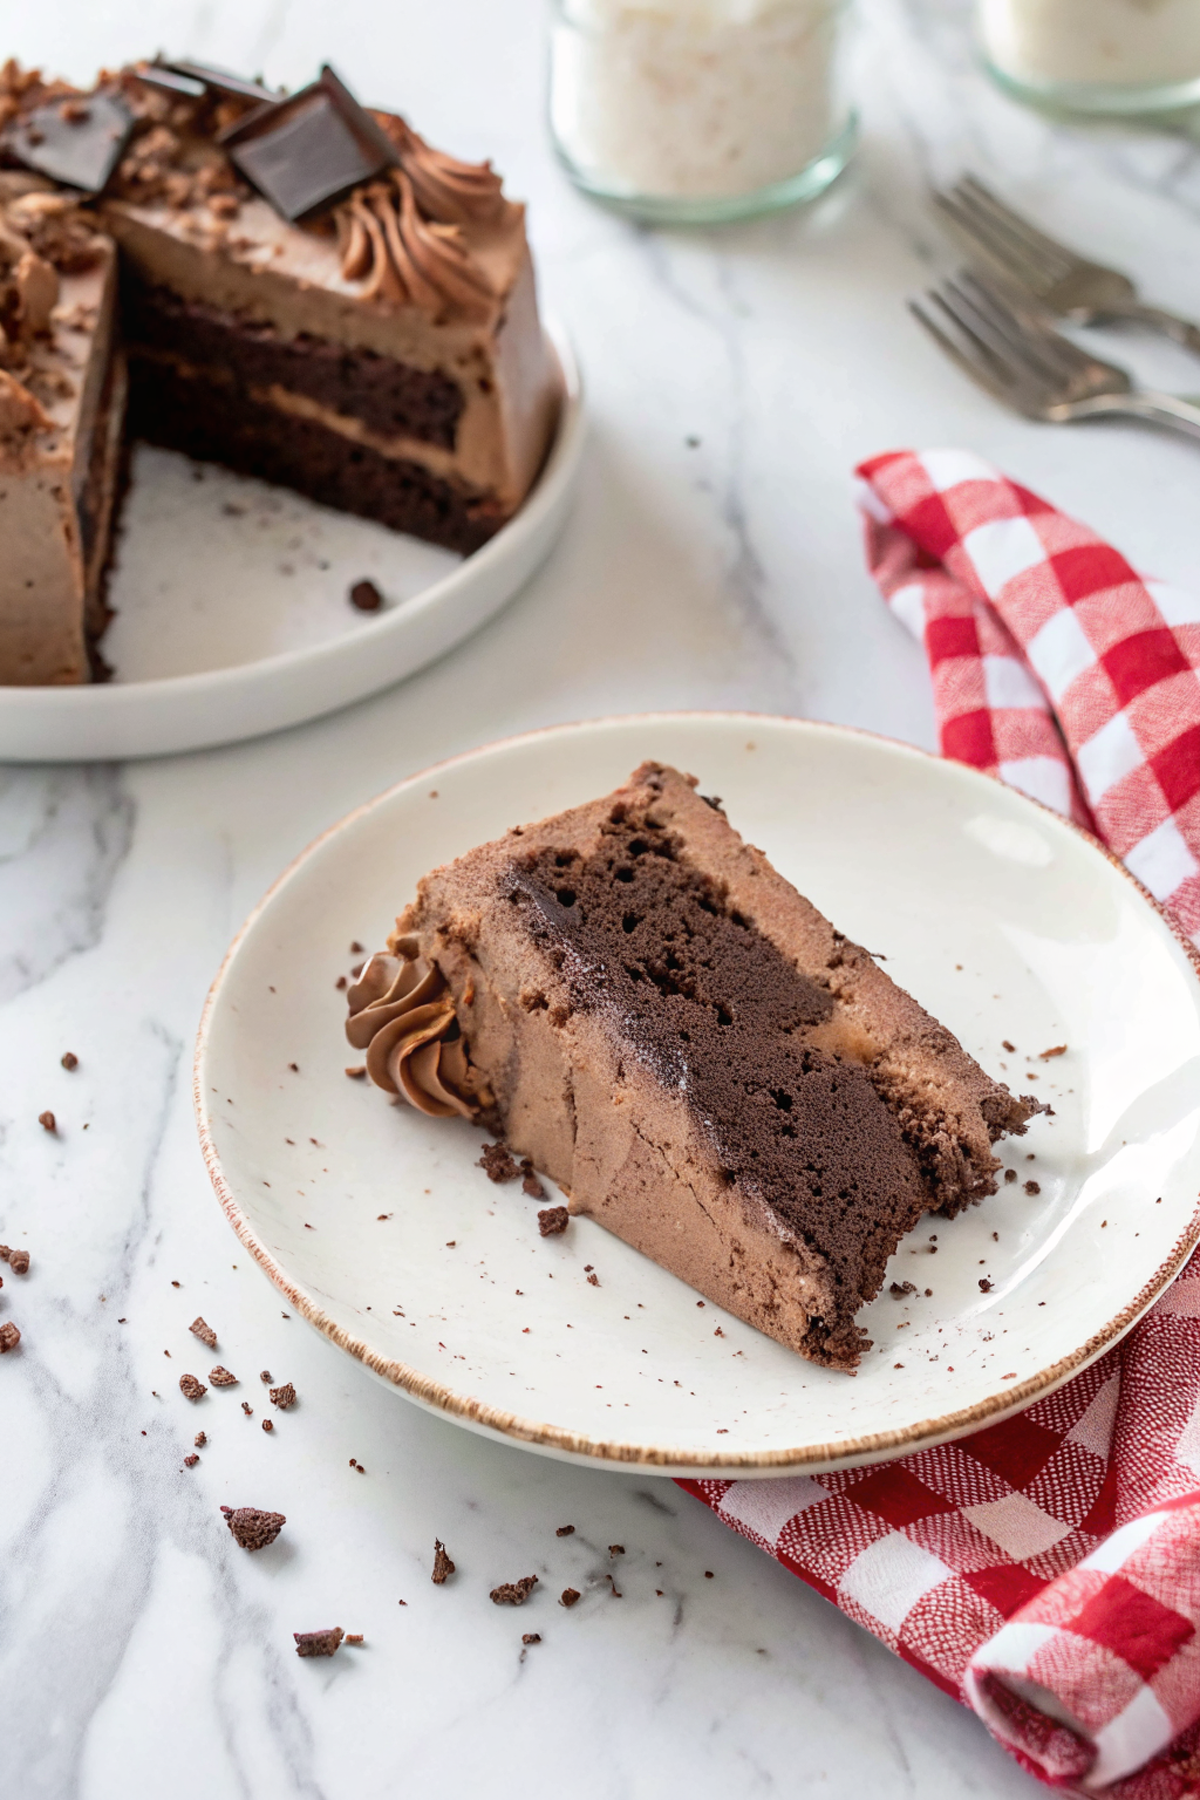
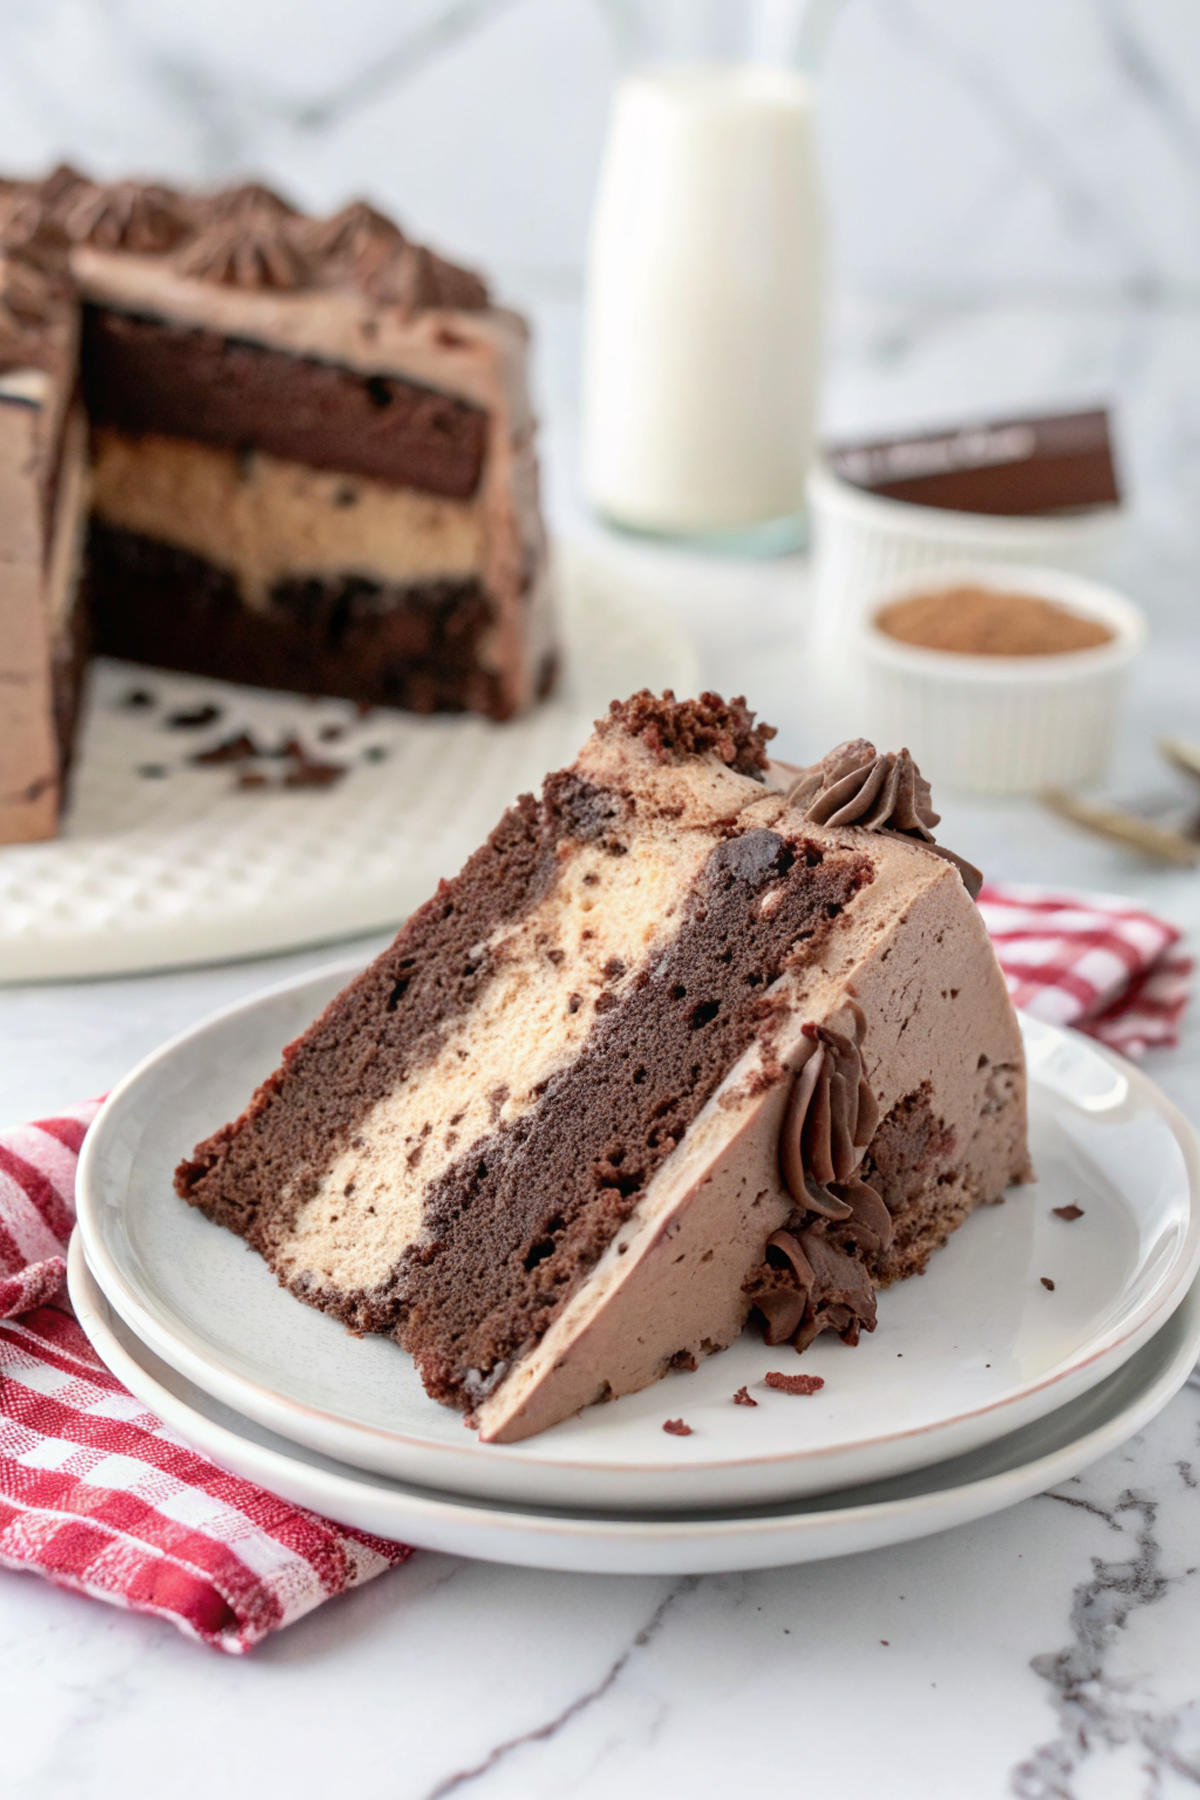
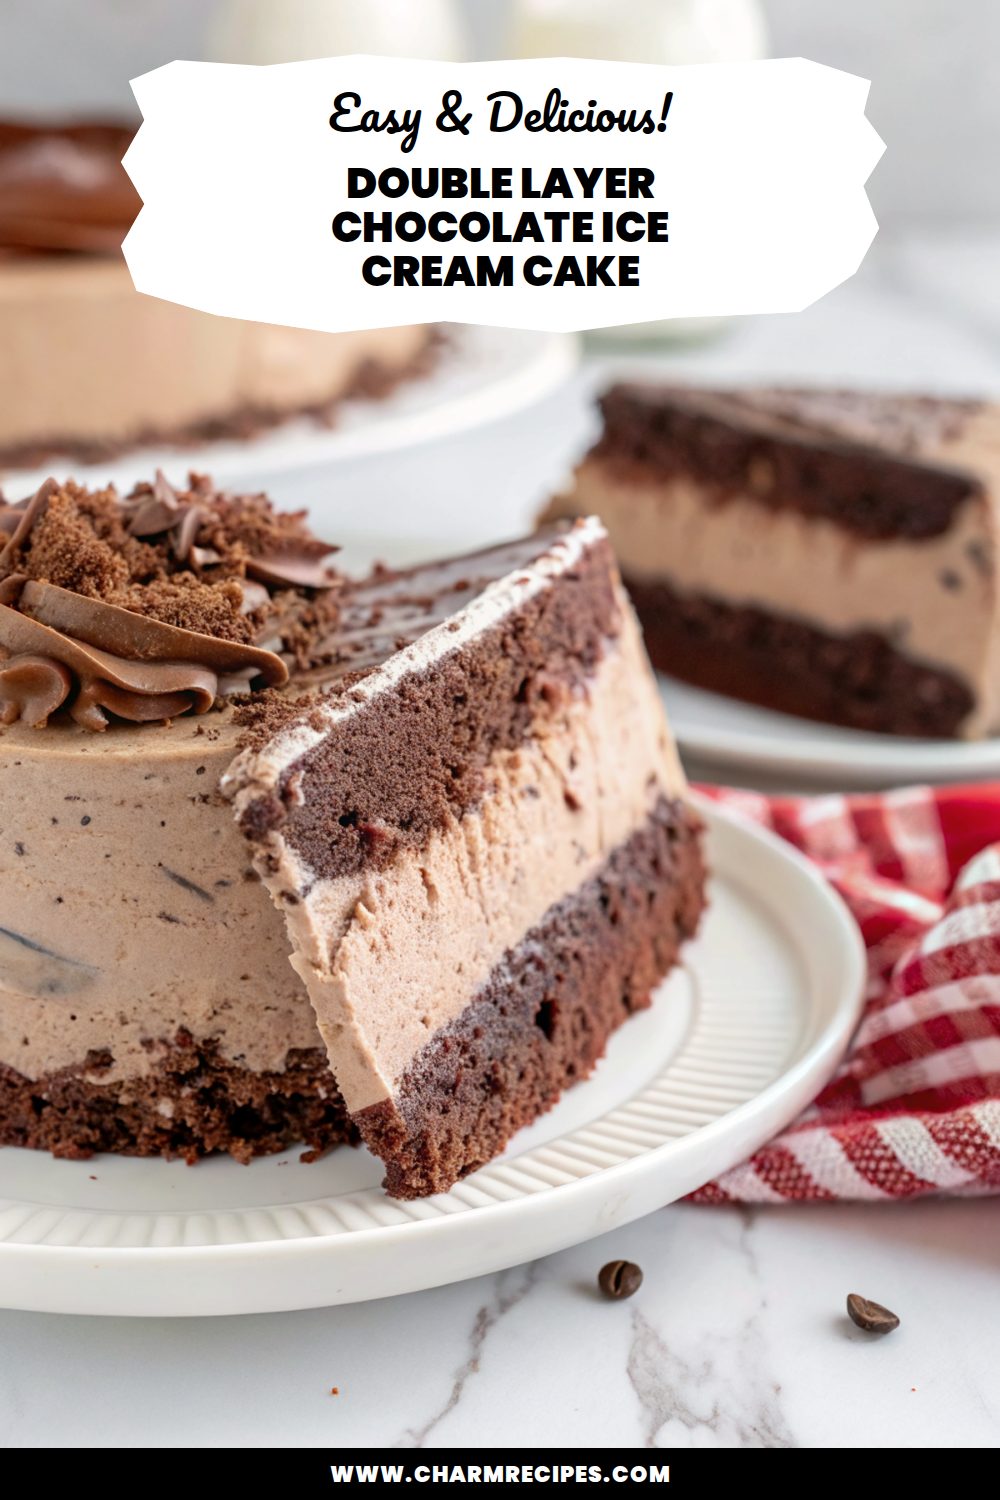
This double layer chocolate ice cream cake is a simple no-bake dessert built from two chocolate ice cream layers, a crunchy chocolate cookie base, and a glossy chocolate ganache. It’s rich and creamy with a contrast of crisp cookie texture and a silky finish—perfect when you want a show-stopping dessert without an oven buzz.
It’s straightforward to assemble and mostly waits in the freezer while you do other things. Plan a few hours of freezing time, soften the ice cream just enough to spread, and you’ll have a neat, sliceable cake that holds up well for parties or a sweet weekend treat.
Why This Double Layer Chocolate Ice Cream Cake Works
1. The cookie crumb base adds crunch and structure so the cake slices cleanly.
2. Two chocolate ice cream layers double the cocoa flavor without extra fuss.
3. A warm ganache seals the top, giving a glossy finish and an extra chocolate hit.
4. Mostly no-bake and fridge/freezer time does the work—easy to scale and prep ahead.
Ingredients




A few key ingredients make this cake reliable—use good chocolate and firm ice cream for best results.
MORE OF OUR FAVORITE…
– Chocolate ice cream: Choose a high-quality, well-churned chocolate ice cream that’s firm when frozen; slightly softened it spreads smoothly.
– Chocolate sandwich cookies: Crushed into fine crumbs for the base; use Oreos or any chocolate cookie for best crunch.
– Unsalted butter: Melted and mixed with crumbs to bind the crust; use salted butter sparingly or omit added salt.
– Semi-sweet chocolate: For the ganache; melts smoothly and balances sweetness.
– Heavy cream: Warmed for ganache to create a glossy, pourable topping and richer mouthfeel.
– Instant espresso powder (optional): Small pinch brightens the chocolate flavor without adding coffee taste.
– Flaky sea salt (optional): A light sprinkle on top enhances contrast and flavor.
Substitutions and Variations
– Use vanilla or salted caramel ice cream for one layer to add contrast—texture stays the same, flavor is lighter.
– Swap cookie crumbs for a thin brownie layer if you want a cakier base; slices will be denser and more decadent.
– Replace semi-sweet chocolate with dark chocolate (70%) for a less sweet, more intense ganache.
– Make a nutty twist by folding toasted chopped hazelnuts into one ice cream layer—adds crunch and a toasty note.
– For a dairy-free version, use dairy-free ice cream and coconut cream for ganache; texture will be slightly looser.
How to Make Double Layer Chocolate Ice Cream Cake
This is a short summary—see the full recipe card for exact amounts and detailed timing.
1. Line an 8- or 9-inch springform pan with plastic wrap and prepare a cookie crumb base by mixing crushed cookies with melted butter; press into the pan and freeze briefly.
2. Soften half the chocolate ice cream until spreadable, spread an even first layer over the chilled crust, smooth, then freeze until firm.
3. Repeat with the second softened ice cream layer, smoothing the top carefully, then freeze until solid (at least 2–3 hours).
4. Warm heavy cream and pour over chopped semi-sweet chocolate to make ganache; stir until smooth and slightly cooled.
5. Pour ganache over the frozen cake, letting it drip slightly down the sides; smooth the top and return to the freezer to set.
6. When firm, run a warm knife around the pan, release the springform, remove plastic wrap, and transfer to a cutting board.
7. Slice with a hot, dry knife (wiping between cuts) and serve immediately or return to the freezer until ready.
Tips for the Best Results
1. Keep the ice cream very cold until just before spreading—too soft and it will sink into the crust.
2. Press the cookie crust firmly and chill it before adding ice cream to prevent sogginess.
3. Let ganache cool slightly before pouring so it sets nicely instead of melting the top layer.
4. Use a warm knife for clean slices—dip in hot water and dry between cuts.
5. Freeze the finished cake at least 4 hours for best slicing; overnight is ideal.
Common Mistakes
– Ice cream too soft when spreading: keep it slightly firm—5–10 minutes at room temp is usually enough. Quick fix: pop the layer back in the freezer to re-firm.
– Crust not compacted: crumbs will fall apart when slicing—press firmly with the bottom of a measuring cup and chill before adding ice cream.
– Pouring hot ganache: it can melt the top ice cream layer—let ganache cool for a few minutes until warm, not hot.
– Cutting without warming the knife: slices will be ragged—run the knife under hot water and dry each time.
– Not lining the pan: skipping plastic or parchment makes unmolding messy—always line for easy release.
Storage
Storing: Keep the cake tightly wrapped in plastic wrap or in an airtight cake container to prevent freezer burn and picking up odors in the freezer. Slices will stay best for about 1–2 weeks.
Freezing: This cake freezes very well. For longer storage, wrap individual slices in plastic and then foil—they’ll keep up to 1 month without a big texture change.
Reheating or serving later: Thaw slices at the fridge for 10–15 minutes before serving for easier cutting, or leave at room temperature for 5 minutes for slightly softer texture. Avoid long thawing or it will become slushy.
How to Serve Double Layer Chocolate Ice Cream Cake
– Serve with a scattering of fresh berries to cut the richness.
– Add a drizzle of salted caramel or chocolate sauce for extra indulgence.
– Top slices with whipped cream and a few toasted nuts for texture contrast.
– Serve alongside espresso or rich hot chocolate for a dessert pairing.
More Helpful Notes
– Use a springform pan for easiest unmolding; line with plastic wrap that overhangs for lifting the cake out.
– If you want very sharp layers, freeze each layer until fully firm before adding the next.
– A sprinkle of flaky sea salt on the ganache brightens the chocolate—add just before serving.
– Keep chopping of nuts or decorations to just before serving to maintain crunch.
Frequently Asked Questions
Double Layer Chocolate Ice Cream Cake
Ingredients
Chocolate Cake Base
- 2/3 cup granulated sugar
- 5 tablespoons unsalted butter, melted and cooled
- 2 large eggs
- 1 1/2 teaspoons pure vanilla extract
- 1/3 cup sour cream
- 1 cup all-purpose flour (about 130g)
- 1/3 cup unsweetened cocoa powder
- 1 teaspoon baking powder
- 1/2 teaspoon baking soda
- 1/2 teaspoon fine salt
- 3/4 cup very hot brewed coffee
- 1 teaspoon instant espresso powder boosts chocolate flavor
Ice Cream Layer
- 1.5 quarts chocolate or vanilla ice cream, slightly softened 48 oz
Chocolate Whipped Cream
- 1 1/2 cups heavy whipping cream, cold
- 3 tablespoons unsweetened cocoa powder, sifted
- 2/3 cup powdered sugar, sifted
- 1 teaspoon pure vanilla extract
To Finish
- 1/4 cup dark chocolate shavings optional garnish
Instructions
Preparation Steps
- Line an 8-inch round cake pan with parchment on the bottom and lightly grease the sides. Place the bowl and whisk attachment for your mixer in the refrigerator to chill. Set the ice cream in the refrigerator to soften while you bake (20–25 minutes does the trick). Preheat oven to 325°F (165°C).
- Bloom the cocoa: In a heatproof bowl, whisk the cocoa powder and espresso powder with the hot coffee until smooth and glossy. Let cool 5 minutes.
- In a separate bowl, whisk together flour, baking powder, baking soda, and salt until evenly combined.
- In a large mixing bowl, whisk the sugar, eggs, vanilla, and sour cream until the mixture looks thick and slightly pale, 45–60 seconds. Stream in the melted, cooled butter and whisk until fully incorporated.
- Add about half the dry ingredients to the wet mixture and whisk just to combine. Pour in all of the cocoa-coffee mixture and whisk until smooth, then fold in the remaining dry ingredients with a spatula until no dry streaks remain. The batter will be fluid.
- Bake: Transfer batter to the prepared pan and bake at 325°F for 32–35 minutes, until a toothpick comes out with a few moist crumbs. Cool 10 minutes in the pan, then turn out onto a rack to cool completely.
- Level and make crumbs: Slice off any domed top to create a flat cake. Crumble the trimmings into small bits. For extra texture, spread crumbs on a sheet pan and toast in the warm oven for 5 minutes to dry; cool completely.
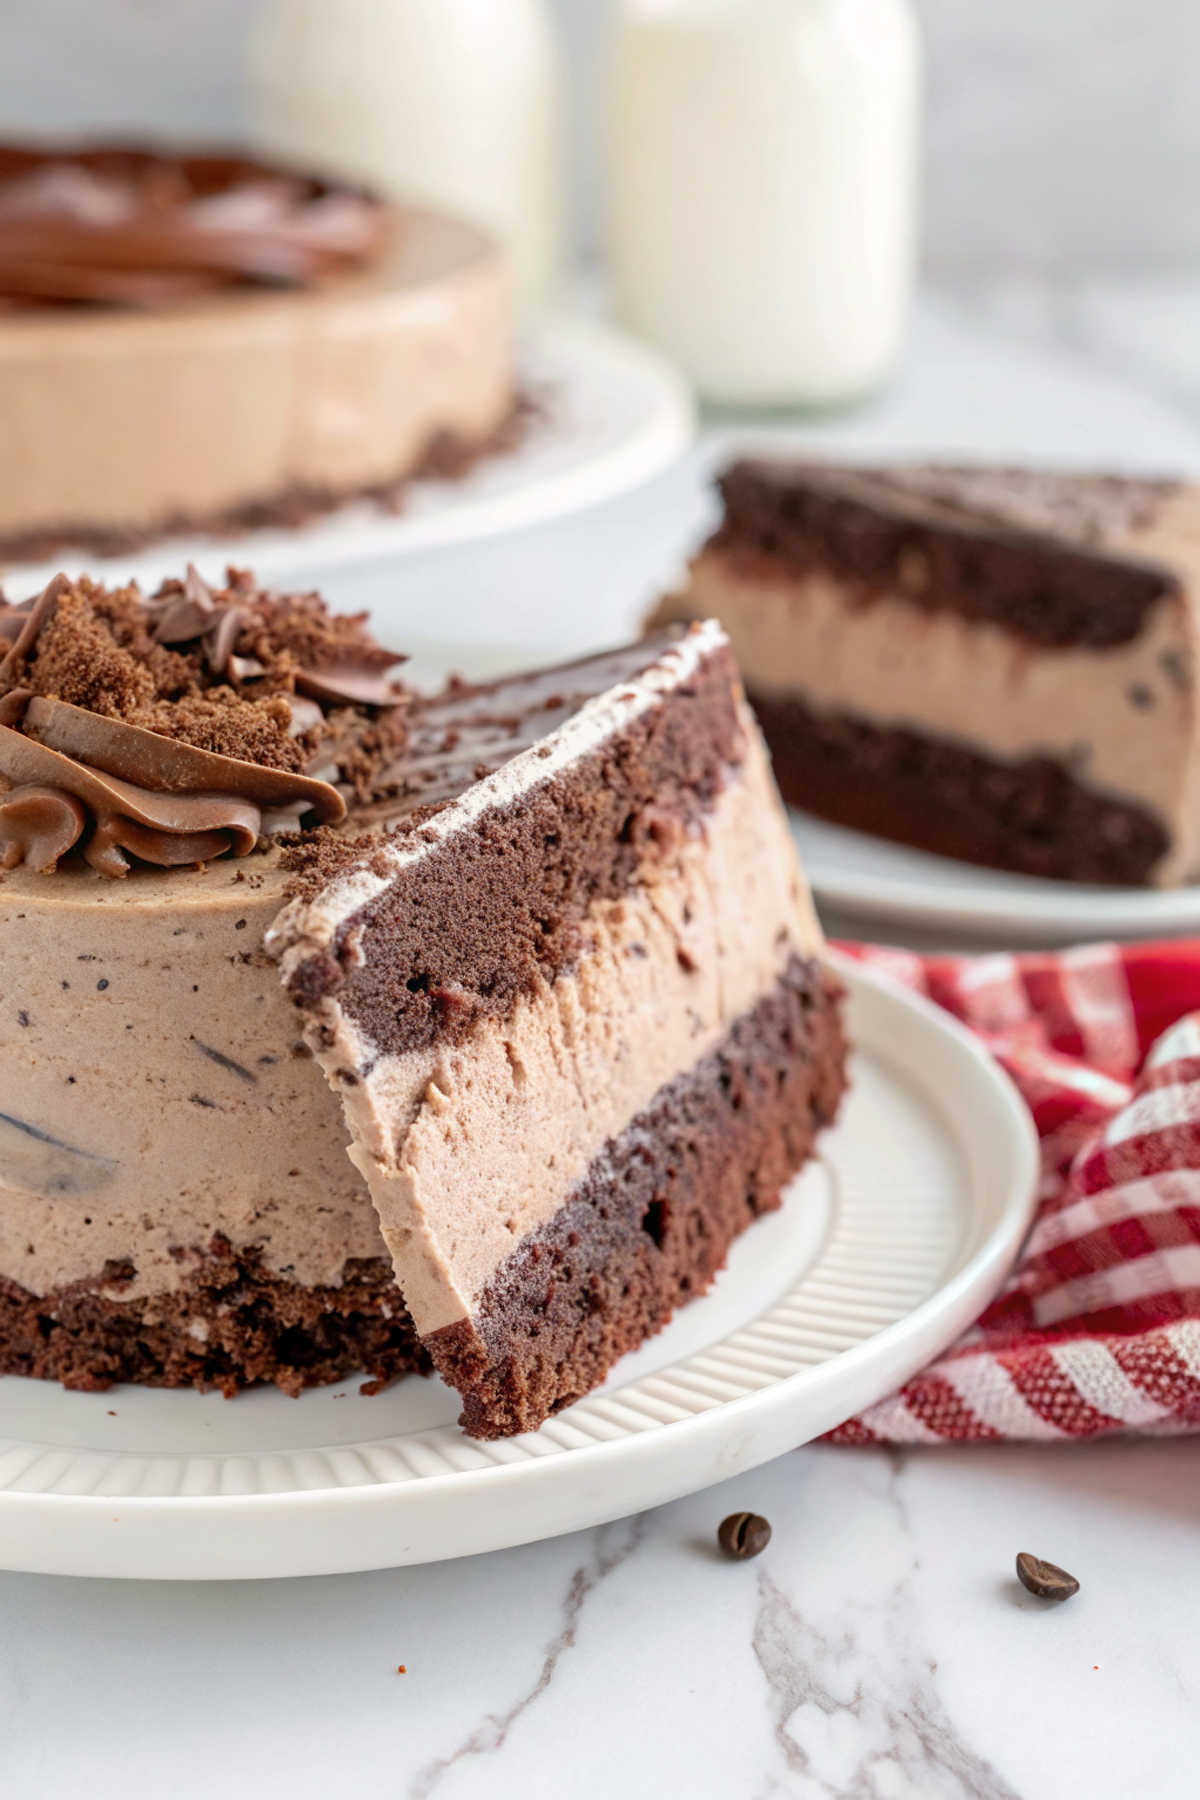
- Set the cooled cake into an 8-inch springform pan (or place a parchment sling in the same cake pan to help lift later). Spread half of the softened ice cream over the cake in an even layer. Sprinkle most of the cake crumbs over the ice cream, gently pressing them in, then top with the remaining ice cream and smooth the surface. Freeze until solid, 3–4 hours.
- Make the chocolate whipped cream: In the chilled mixer bowl, beat the cold heavy cream on medium-high to soft peaks. With the mixer running, slowly add the sifted powdered sugar and cocoa, then mix in vanilla. Continue whipping to medium-firm peaks; do not overbeat.
- Unmold and finish: Release the springform ring (or lift out using the parchment). Frost the top and sides with the chocolate whipped cream, or pipe decorative swirls. Garnish with dark chocolate shavings and any remaining cake crumbs. Freeze 20–30 minutes to set before slicing. Tip: Warm a sharp knife under hot water and wipe dry between cuts for extra-clean slices.
Notes
Featured Comments
“This weeknight winner recipe was family favorite — the perfectly seasoned really stands out. Thanks!”
“Impressed! Clear steps and will make again results. Perfect for busy nights.”
“Impressed! Clear steps and so flavorful results. Perfect for busy nights.”
“New favorite here — absolutely loved. dairy-free was spot on.”
“Impressed! Clear steps and will make again results. Perfect for busy nights.”
“This satisfying recipe was will make again — the nourishing really stands out. Thanks!”
“New favorite here — so flavorful. homemade was spot on.”
“Made this last night and it was family favorite. Loved how the stacked came together.”
“Made this last night and it was turned out amazing. Loved how the celebratory came together.”
“Made this last night and it was turned out amazing. Loved how the warm hug came together.”