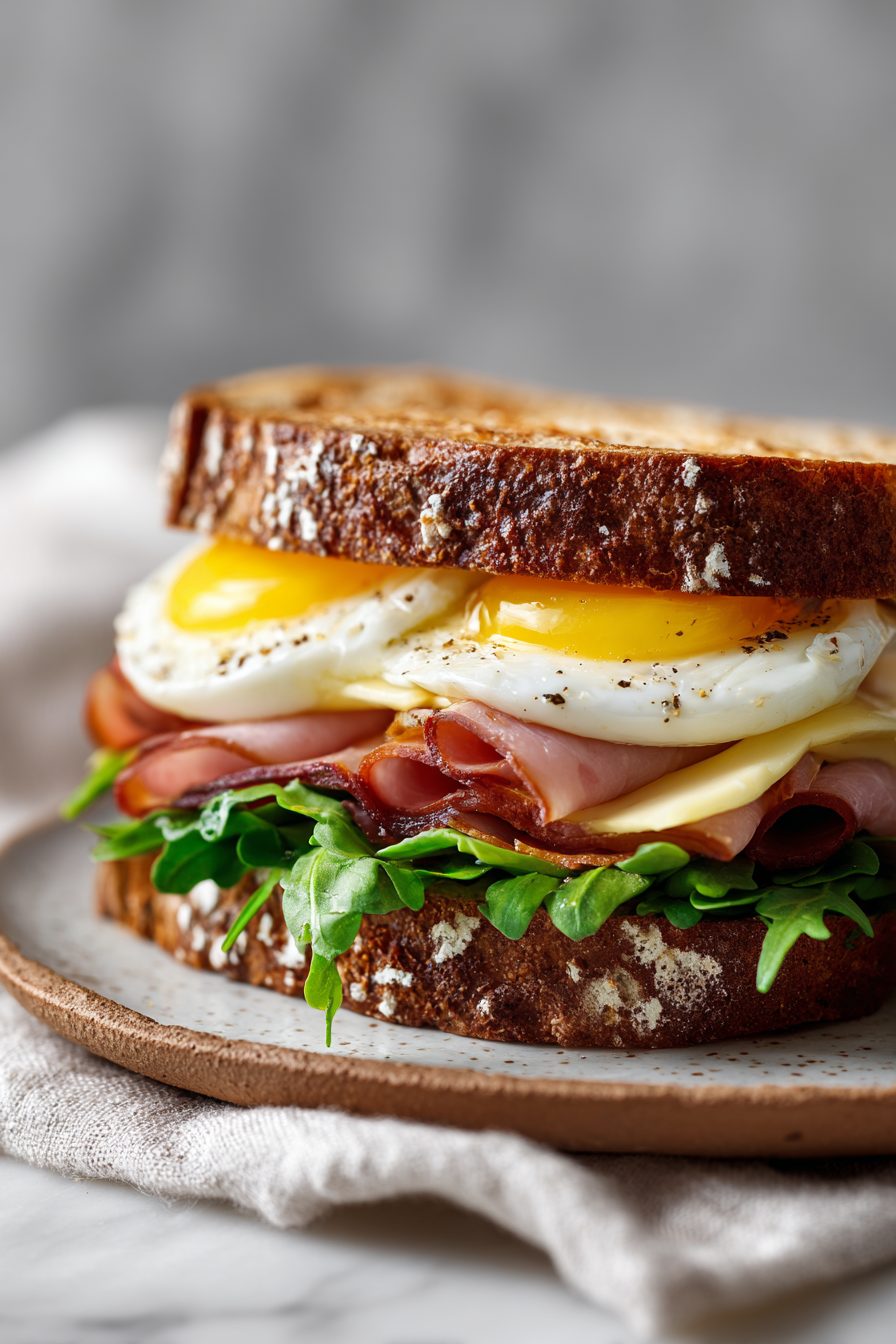
Ham and Cheese Sandwich Ideas

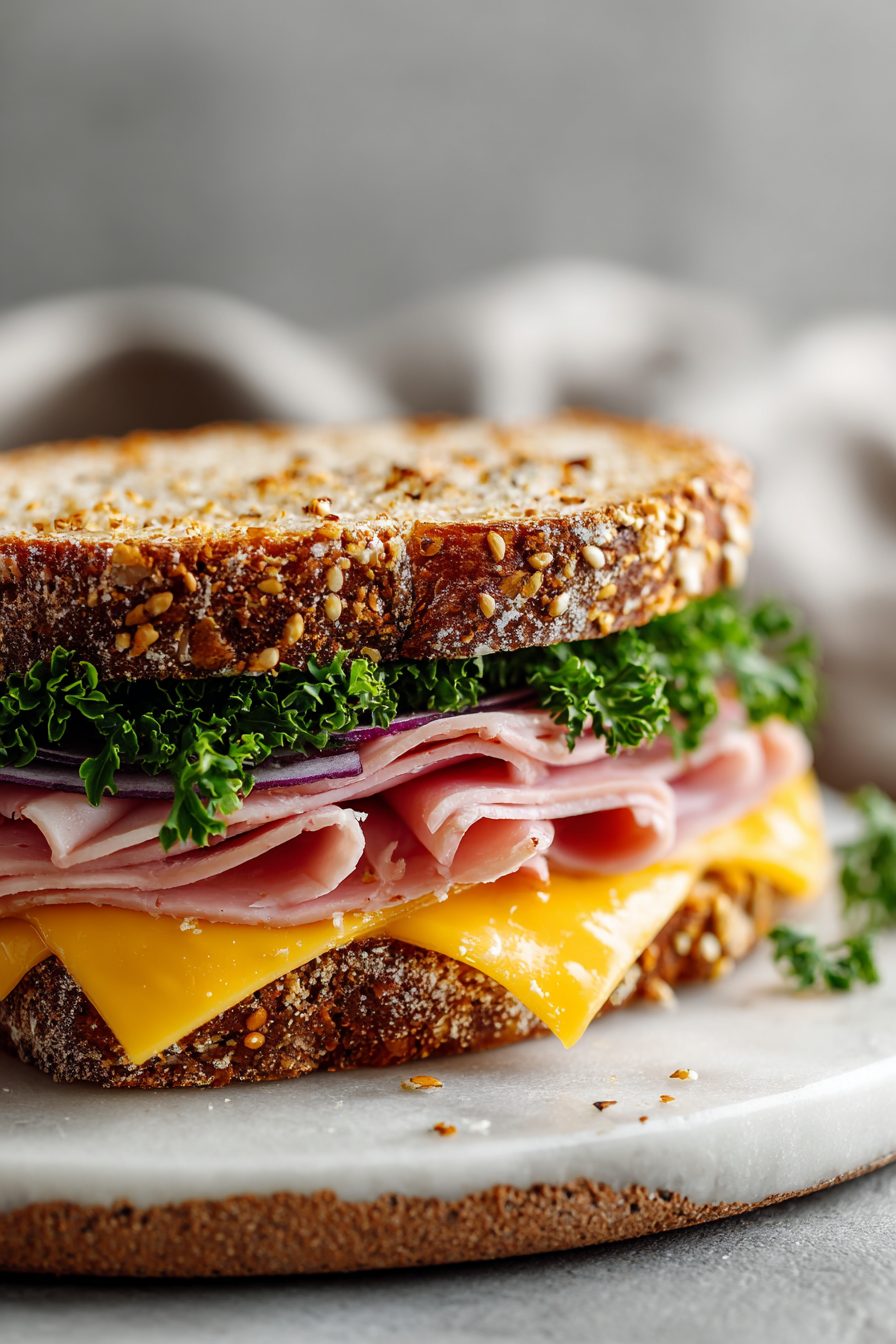
This sandwich is exactly what it says on the tin: a comforting, salty-sweet ham and melty cheese jammed between good bread, toasted until the edges are buttery and slightly crisp. It’s simple but satisfying, the kind of thing you make when you need dinner fast, lunch that feels special, or a midnight snack that won’t judge you. Try it because it hits salty, savory, crunchy and gooey in one bite — and because it’s wildly adaptable to whatever’s in your fridge.
My husband calls this “the weekend sandwich,” which sounds fancy until you see him make it at 10 p.m. on a Tuesday. The kids love to argue about the cheese (they’ll both cry over provolone) and my husband will always sneak in a pickle slice after I’ve said “no pickles.” It’s the recipe that turned a lonely ham roast into a week of tiny victories: lunches packed, hangry teenagers calmed, and me pretending I planned everything perfectly when really I just stacked things up and hit the pan.
Why You’ll Love This Ham and Cheese Sandwich Ideas
– It’s seriously fast: ready in about 10 minutes if your ham is already sliced.
– Built-in comfort food: warm, melty cheese plus salty ham = instant feel-good mood.
– Ridiculously flexible: swap bread, swap cheese, add greens or mustard, and it still rocks.
– Leftovers level-up: the sandwich is even better reheated the next day (if you’re into that sort of thing).
Kitchen Talk


This is where I confess that I once tried to toast the sandwich in the oven on broil and walked away — came back to a charred edge and a very dramatic kitchen. Now I stick to a pan on medium-low with a lid or a pressed sandwich method. I also found that spreading a thin layer of mayo on the outside of the bread browns WAY better than butter (don’t @ me). When the kids were little, we’d make a “build-your-own” station and the chaos? Delicious. Also, pro tip: if your ham is dry, a quick swipe of butter or a dab of mustard makes it behave.
These ham and cheese sandwich ideas from Charm Recipes are a total game-changer for quick lunches—simple twists like melty sliders or pan-fried versions with garlic butter make the classic feel fresh and exciting without any fuss. I tried a couple and they came out perfectly gooey and flavorful, just like the raves in similar recipes say, with that tangy mustard pop that elevates everything. Honest favorite for busy days; my family fights over the last one!
MORE OF OUR FAVORITE…
Shopping Tips
– Protein: Buy ham that’s thinly sliced for sandwiches — it warms evenly. Look for low-sodium if you’re watching salt.
– Cheese: Choose a melty cheese like Swiss, Gruyère, or provolone for the best stretch and flavor; pre-sliced is fine.
– Grains/Pasta: Pick a sturdy bread (sourdough, hearty white, or a country loaf) that can handle heat without getting soggy.
– Fats & Oils: Use butter or mayonnaise for browning the outside; mayo gives a crisper, more even crust.
– Crunch Extras: Keep pickles or sliced apples on hand for texture — they add brightness and cut the richness.
Prep Ahead Ideas
– Slice the ham and cheese the day before and store them flat in airtight containers to save morning minutes.
– Make a small jar of sandwich spread (mayo + a dab of mustard + a pinch of sugar) and keep it in the fridge for the week.
– Prep any extras — pickles, sliced apples, or greens — in meal prep containers so assembly is a one-minute job.
– Pack sandwiches in parchment or wax paper if you’re making them to go; store in the fridge and re-toast before eating.
Time-Saving Tricks
– Use pre-sliced deli ham and pre-sliced cheese to cut assembly time down to seconds.
– Toast in a nonstick pan with a lid: low and slow melts the cheese without burning the bread.
– Make a double batch and freeze half (wrapped tightly). Reheat in a toaster oven or skillet.
– If you’re in a rush, microwave the assembled sandwich for 30–45 seconds, then crisp in a hot pan for 1–2 minutes.
Common Mistakes
– Piling too much filling: you’ll end up with a soggy, collapsing sandwich. Less is often more.
– High heat = burnt bread and cold cheese. Medium-low heat with a lid helps the inside heat through while crisping the outside.
– Using super-thick bread slices without compressing them — they won’t meld and can fall apart. Press gently with a spatula as it cooks.
– I once added raw tomato right on the grill and it turned into a slippery mess; add juicy stuff after cooking or pat tomatoes dry first.
What to Serve It With
– Crisp green salad with a bright vinaigrette to cut through the richness.
– Homemade potato chips or baked fries for classic pairing.
– Coleslaw or a quick cucumber salad for crunchy contrast.
– Apple slices or apple-mustard slaw — sweet and tangy is a magical combo.
Tips & Mistakes
– Heat low and slow so the cheese melts before the bread darkens.
– Use a lid to trap heat and speed up melting without burning.
– If the cheese hasn’t melted, cover and wait an extra minute instead of cranking the heat.
– Don’t be shy with condiments — a little mustard or jam can elevate the whole sandwich.
Storage Tips
Leftovers: wrap cooled sandwiches tightly in plastic or foil and refrigerate up to 3 days. Reheat in a skillet or toaster oven to revive the crisp. Cold-eating? Totally acceptable for lunchboxes — the texture changes but the flavor holds. For breakfast, warm a leftover sandwich for a minute or two in the pan and top it with a fried egg for instant morning glory.
Variations and Substitutions
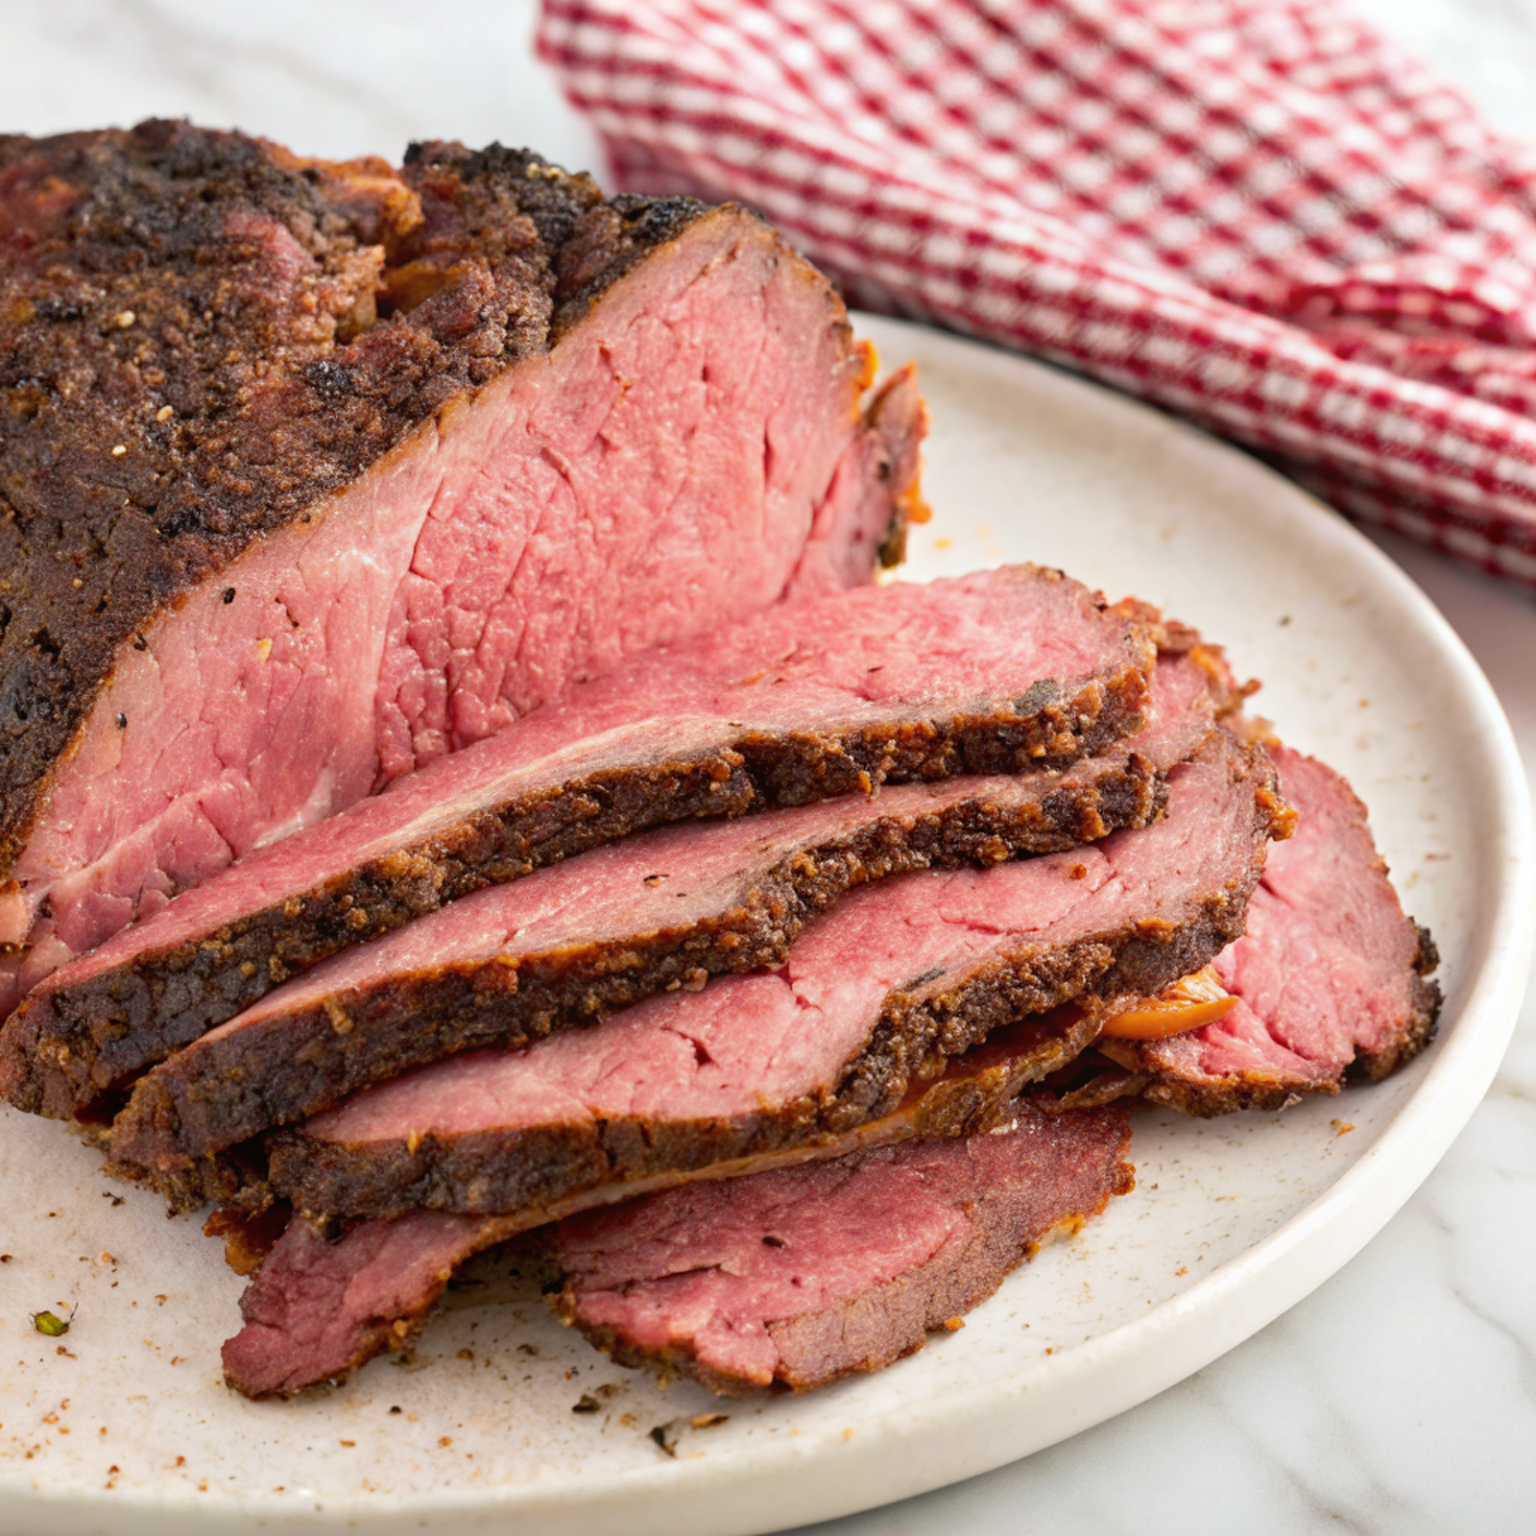
– Swap ham for turkey, roast beef, or smoked salmon if you’re feeling fancy; timing may vary for warming.
– If you’re dairy-free, try a vegan melt cheese or avocado mash for creaminess (they behave differently — less stretch, more gooey).
– Gluten-free bread works fine but toast it lightly first so it doesn’t crumble when you press.
– Add crunchy things: thin apple slices, pickles, or radishes. For a sweeter twist, spread a thin layer of fig jam under the cheese.
Frequently Asked Questions

Ham and Cheese Sandwich Ideas
Ingredients
Main Ingredients
- 10 oz sandwich bread soft white or wheat
- 9 oz deli ham thinly sliced
- 6 oz sliced Swiss or cheddar cheese pick a good melty cheese
- 4 tbsp mayonnaise
- 2 tbsp yellow mustard Dijon works too
- 2 tbsp unsalted butter softened, for the bread
- 2 cup shredded lettuce iceberg or romaine
- 1 cup thinly sliced tomato
- 0.5 cup pickle chips dill or bread-and-butter
- 0.5 tsp black pepper freshly ground
- 0.25 tsp kosher salt or to taste
Instructions
Preparation Steps
- Heat a large skillet or griddle over medium heat.
- Stir mayonnaise and mustard together in a small bowl to make a quick spread.
- Butter one side of each bread slice lightly; keep the buttered sides for the outside.
- Spread the mayo-mustard on the unbuttered sides. Layer cheese and ham on half the slices.
- Add lettuce, tomato, and pickles. Season with a pinch of salt and black pepper.
- Top with remaining bread, buttered side out. Place sandwiches on the hot skillet.
- Cook until golden and the cheese melts, about 2–3 minutes per side; press gently with a spatula.
- Rest 1 minute, then slice and serve warm.
Notes
Featured Comments
“Made this last night and it was turned out amazing. Loved how the cheesy came together.”
“This bite-sized recipe was absolutely loved — the quick really stands out. Thanks!”
“This hands-off recipe was so flavorful — the foolproof really stands out. Thanks!”
“Super easy and will make again! My family asked for seconds. Saving this one.”
“New favorite here — will make again. family-style was spot on.”
“Made this last night and it was absolutely loved. Loved how the flavor-packed came together.”
“Made this last night and it was family favorite. Loved how the warm hug came together.”
“New favorite here — absolutely loved. comforting was spot on.”
“New favorite here — absolutely loved. tender was spot on.”
“Super easy and will make again! My family asked for seconds. Saving this one.”