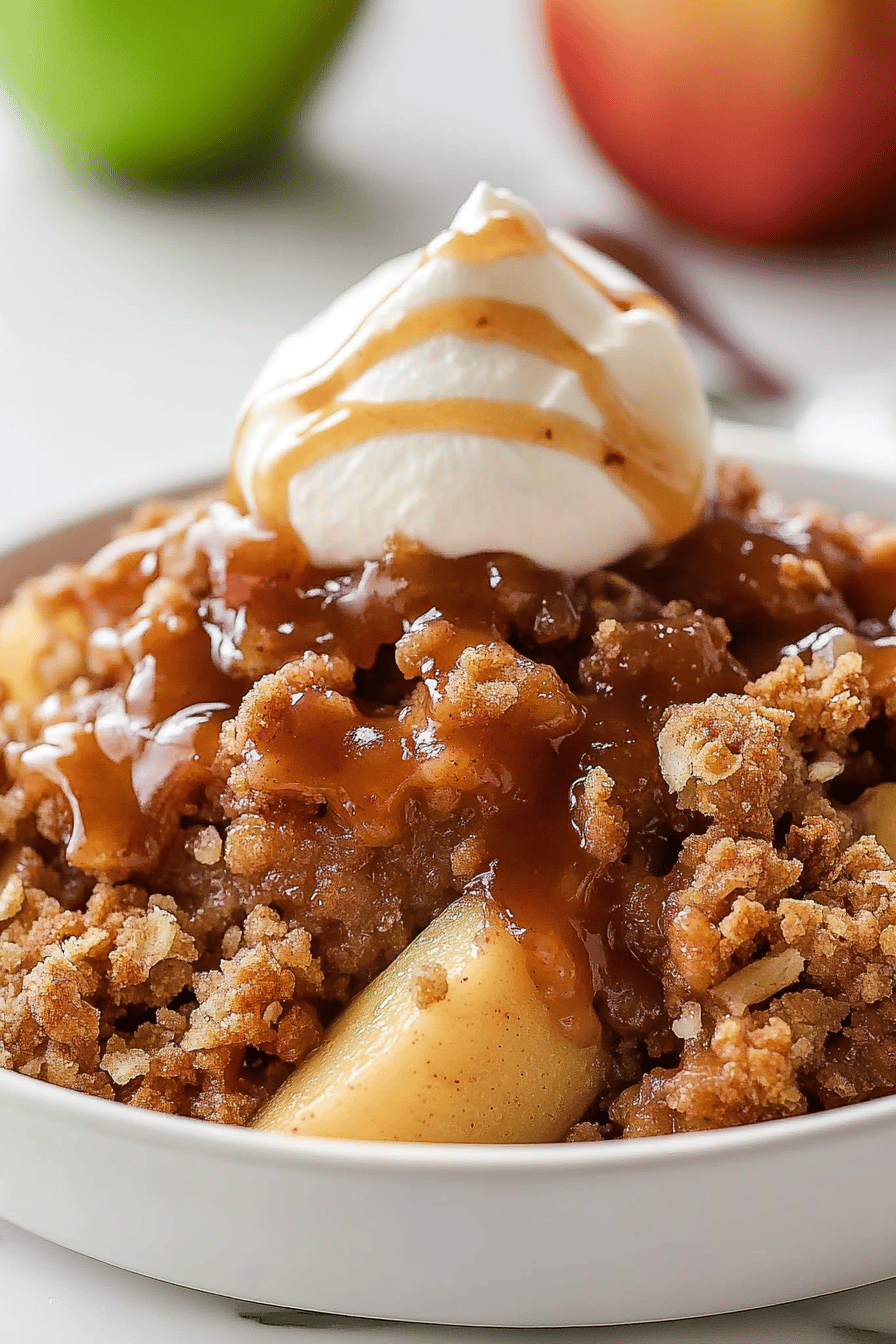
Easy Old-Fashioned Apple Crisp Recipe
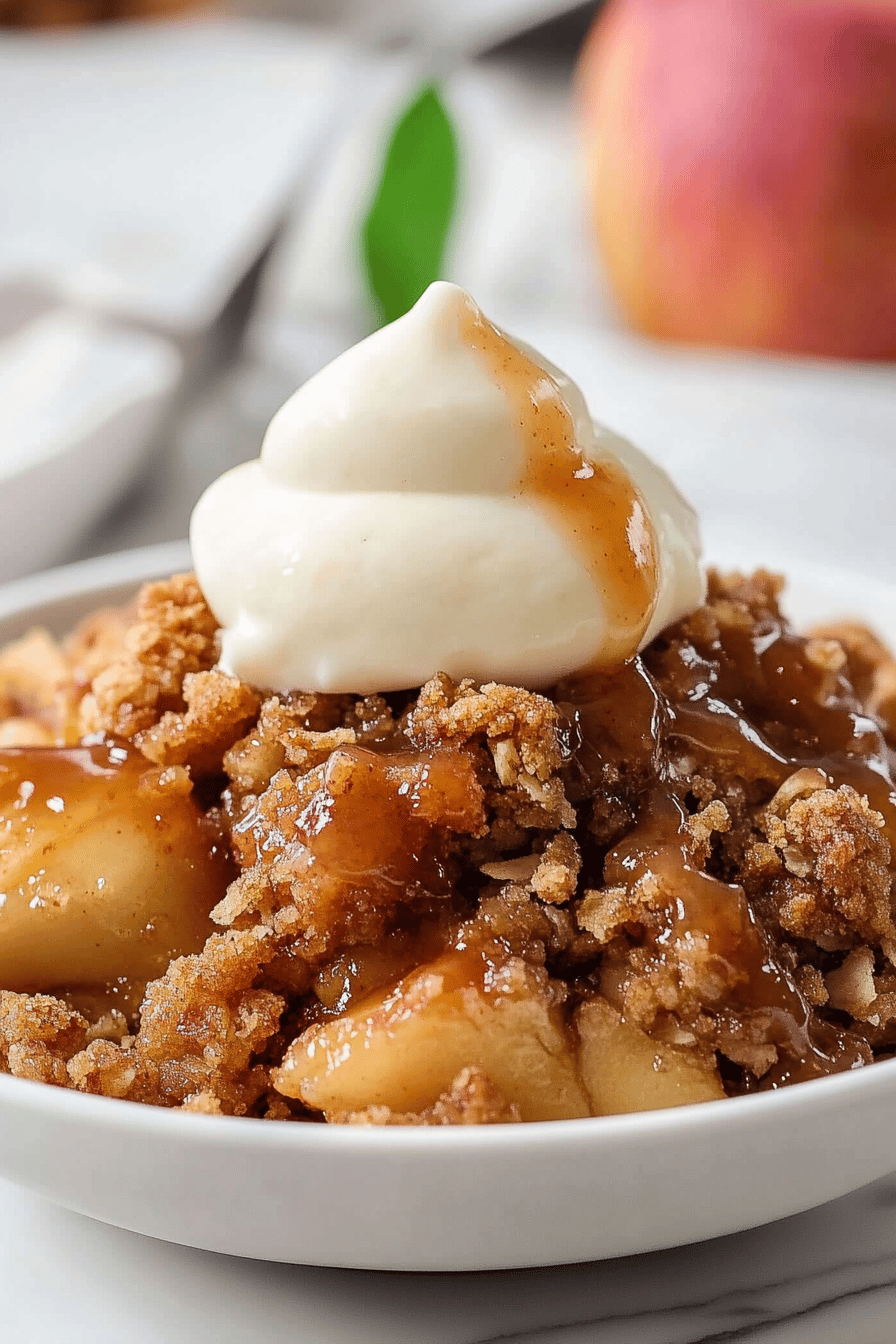
There’s nothing quite like the comforting aroma of an easy old-fashioned apple crisp recipe wafting through your home. This dessert is a timeless classic, revered for its simplicity and heartwarming flavors. Whether you’re hosting a family gathering or simply indulging in a sweet treat, this recipe delivers a satisfying crunch and tender, spiced apples in every bite.
As a child, autumn evenings at my grandmother’s house were often capped off with a warm bowl of apple crisp. She’d pluck the freshest apples from the tree in her backyard, and we’d watch as she expertly peeled and sliced them. The anticipation built as the sweet, cinnamony aroma filled the kitchen. To this day, recreating this recipe brings back fond memories of family and tradition.
Why You’ll Love This Recipe
This recipe is perfect for anyone who loves a quick and easy dessert. With a delightful combination of textures and flavors, it’s hard not to fall in love at first bite.
- Simplicity: With just a few pantry staples, you can whip up this apple crisp in no time.
- Adaptable: Modify it easily to meet dietary preferences without losing its charm.
- Comforting: It’s a classic that brings warmth to cold nights and joy to any occasion.
Ingredients Notes
MORE EASY DESSERT RECIPES...


Choosing the right ingredients is essential for the best results. Here’s a breakdown of what you’ll need and some tips to consider:
MORE OF OUR FAVORITE…
- Apples: Opt for a mix of tart and sweet varieties for a balanced flavor. Granny Smith and Honeycrisp work well.
- Flour: Use all-purpose flour or go gluten-free with almond flour for a nutty twist.
- Sugar: Brown sugar adds richness, but you can substitute with coconut sugar for a healthier option.
- Cinnamon: Freshly ground cinnamon will enhance the aroma and taste significantly.
- Butter: Cold, unsalted butter gives the topping its delightful crumble.
Recipe Steps
Step 1
Preheat your oven to 350°F (175°C). Grease a baking dish with butter to prevent sticking and enhance the flavor.
Step 2
Peel, core, and slice the apples. Toss them in a bowl with sugar and cinnamon until well coated. Spread them evenly in the prepared baking dish.
Step 3
In another bowl, combine flour, brown sugar, and oats. Add diced cold butter and mix with your fingers until crumbly.
Step 4
Sprinkle the crumble mixture over the apples, ensuring an even layer for the perfect crisp topping.
Step 5
Bake for 45 to 50 minutes or until the topping is golden brown and the apples are tender. Cool slightly before serving.
Storage Options
To store leftovers, let the crisp cool completely before covering tightly and refrigerating for up to five days. For longer storage, you can freeze the apple crisp in an airtight container for up to two months. Reheat in the oven at 350°F (175°C) until warmed through.
Variations & Substitutions
If you’re looking to make this dish gluten-free, consider using almond or oat flour. For a dairy-free version, substitute the butter with coconut oil or a vegan butter alternative. You can also add nuts like pecans or walnuts for extra crunch and flavor.
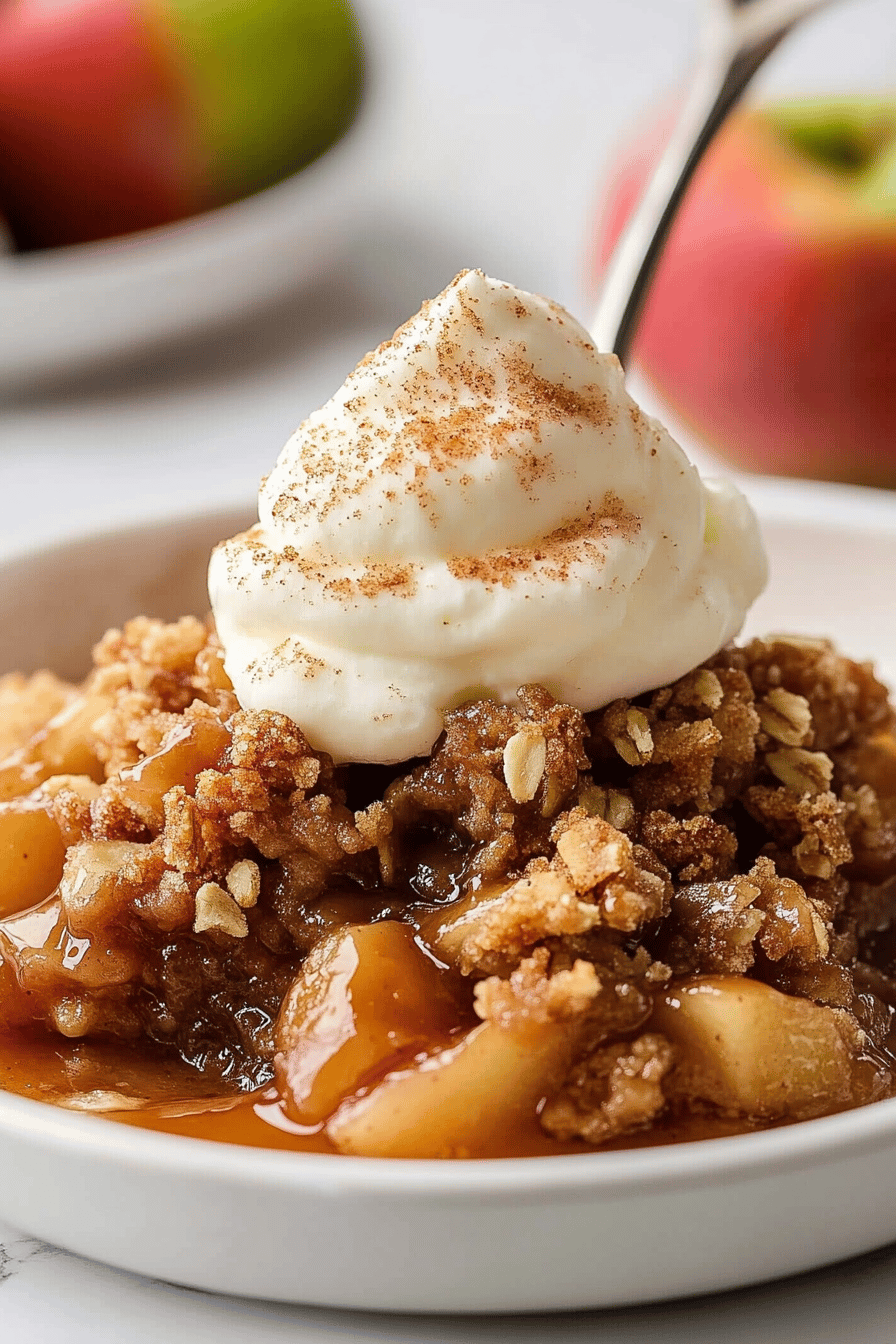
Serving Suggestions
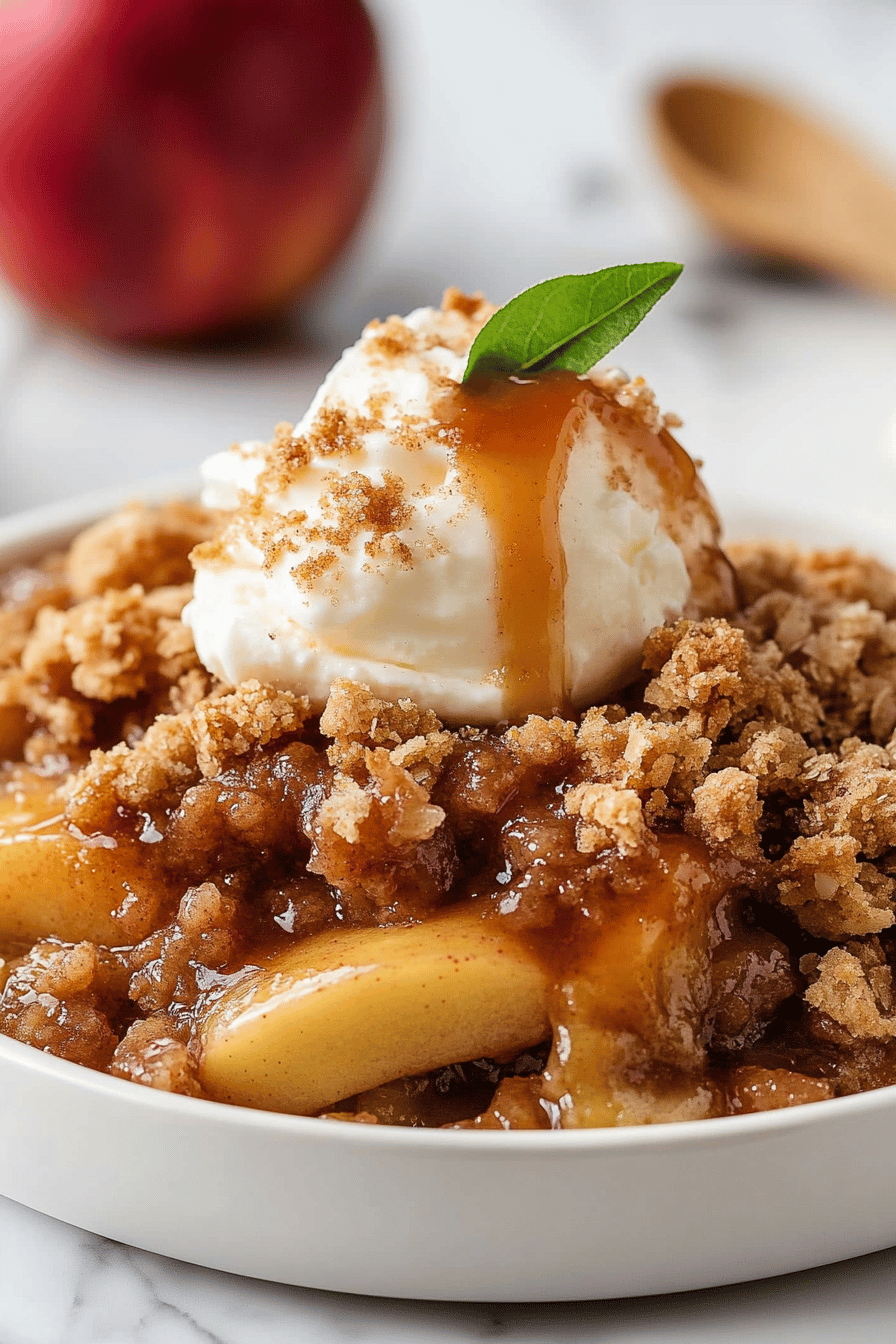
This apple crisp is versatile and can be enjoyed in many settings. Serve it warm with a scoop of vanilla ice cream for dessert, or enjoy it cold for breakfast with a dollop of yogurt. It’s perfect for celebrations, holidays, or as a cozy weeknight treat.
Frequently Asked Questions
Can I use other fruits? Absolutely! This recipe is flexible. Try using pears, peaches, or berries for a refreshing twist. Keep in mind that different fruits have varying moisture levels, so adjust the sugar and baking time accordingly.
Is it possible to make this recipe vegan? Yes, you can! Swap out the butter for coconut oil or a plant-based margarine. Ensure to use brown sugar that’s certified vegan, and you’ll have a delightful vegan dessert.
How can I make the topping extra crispy? For an even crispier topping, consider adding 1/2 cup of chopped nuts or a tablespoon of flaxseeds. Additionally, baking the crisp in the top third of the oven can help achieve that perfect golden brown texture.
Easy Old-Fashioned Apple Crisp Recipe
Ingredients
Main Ingredients
- 6 cups sliced and peeled baking apples such as Granny Smith
- 0.75 cup granulated sugar
- 0.5 cup all-purpose flour
- 0.5 cup old-fashioned oats
- 0.75 cup packed brown sugar
- 1 teaspoon ground cinnamon
- 0.5 cup butter softened
- 0.25 teaspoon salt
- 1 tablespoon lemon juice
Instructions
Preparation Steps
- Preheat your oven to 350°F (175°C).
- In a large bowl, toss the sliced apples with lemon juice and granulated sugar. Spread evenly in a 9x13 inch baking dish.
- In a separate bowl, combine the flour, oats, brown sugar, cinnamon, and salt. Cut in the softened butter until the mixture resembles coarse crumbs.
- Sprinkle the crumb mixture evenly over the apples.
- Bake in the preheated oven for 45 minutes or until the topping is golden brown and the apples are tender.
- Allow to cool slightly before serving. Enjoy your homemade apple crisp with vanilla ice cream or whipped cream.
Notes
Nutrition
Featured Comments
“Made this last night and it was family favorite. Loved how the tender came together.”
“Impressed! Clear steps and absolutely loved results. Perfect for busy nights.”
“Impressed! Clear steps and turned out amazing results. Perfect for busy nights.”
“This simple recipe was so flavorful — the speedy really stands out. Thanks!”
“This warming recipe was family favorite — the satisfying really stands out. Thanks!”
“Super easy and absolutely loved! My family asked for seconds. Saving this one.”
“Super easy and so flavorful! My family asked for seconds. Saving this one.”
“Super easy and absolutely loved! My family asked for seconds. Saving this one.”
“Made this last night and it was turned out amazing. Loved how the creamy came together.”
“New favorite here — will make again. flavorful was spot on.”