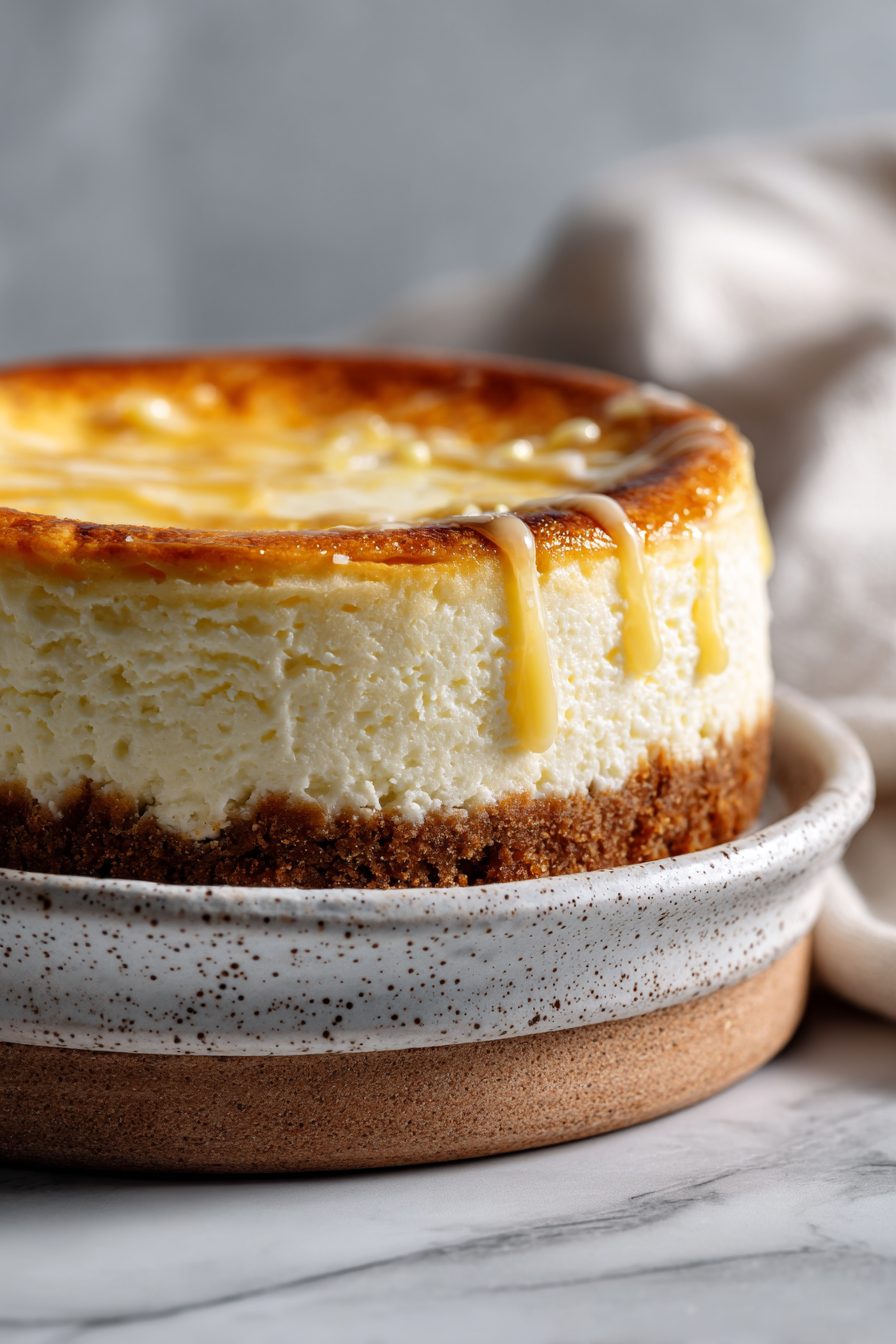
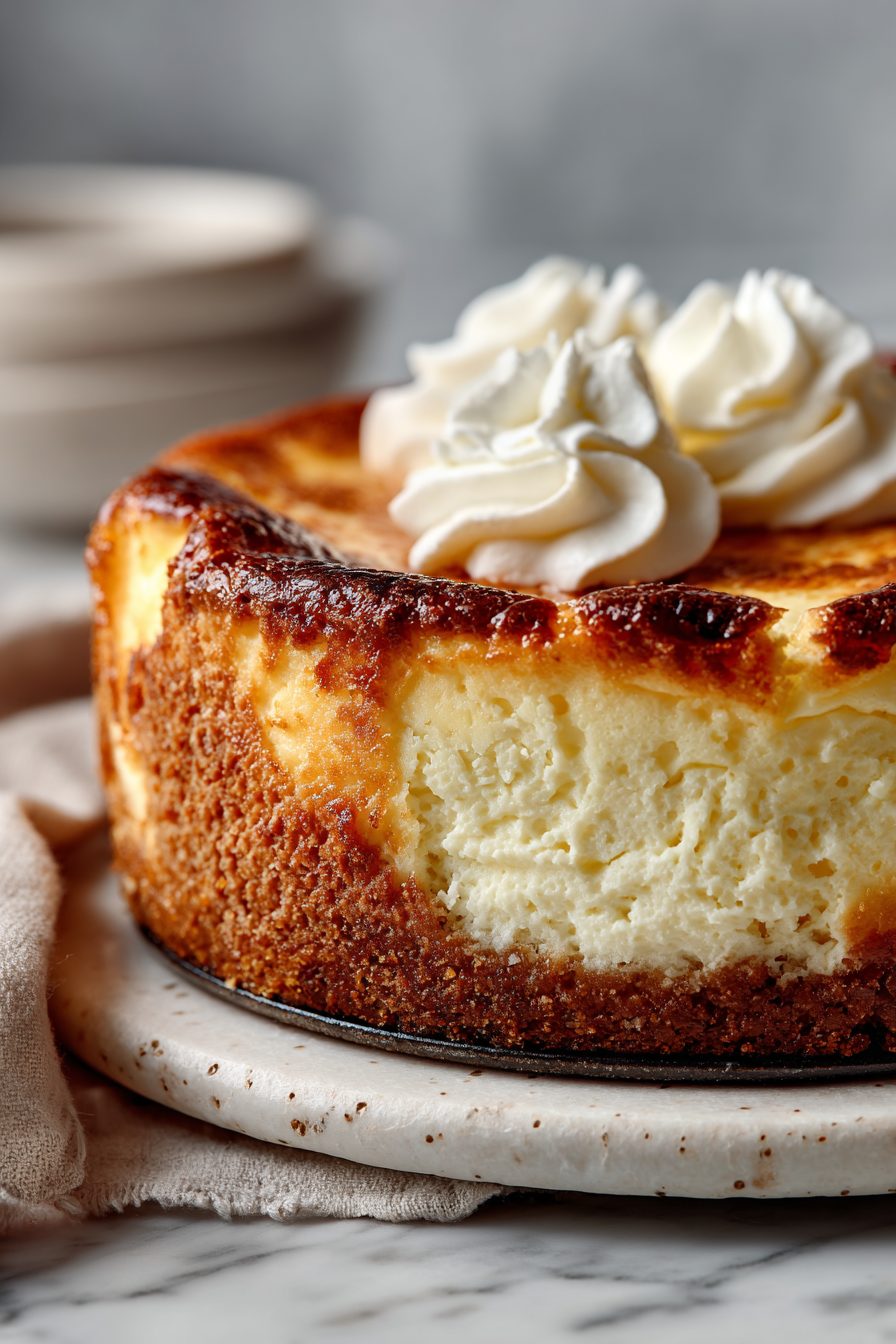
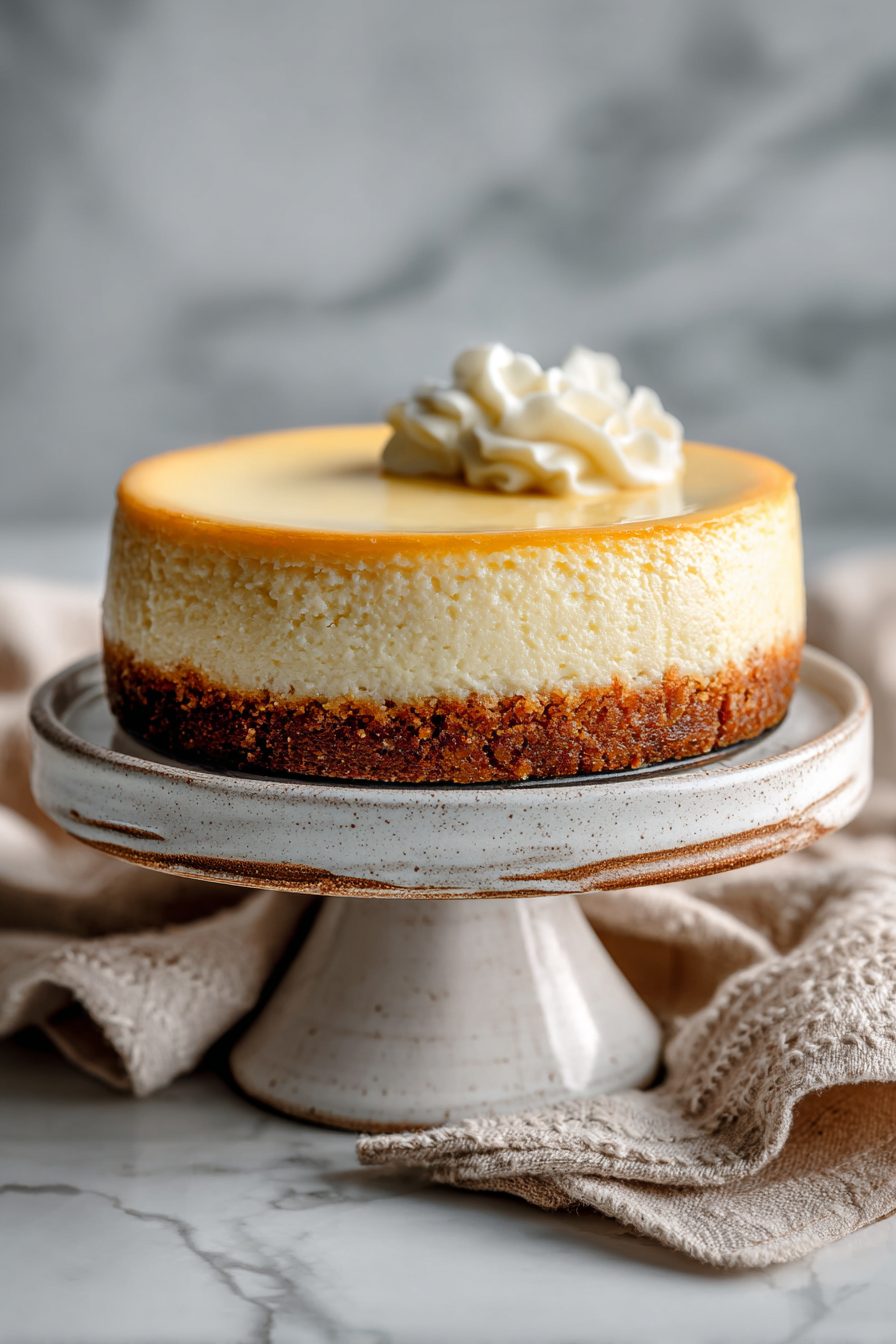
Easy Instant Pot Cheesecake Recipes
I have no shame admitting this: I once burned a whole springform pan trying to do a water bath on my stove at midnight. Instant Pot saved me (and my sanity). This is my go-to Instant Pot cheesecake — creamy, barely fussy, and forgiving enough for my chaotic weeknights. It sets beautifully, skips the soggy bottom panic, and gives you that silky texture without babysitting an oven for hours.
My husband declared this “the adult cake” the first time I served it with lemon zest and a sloppy caramel drizzle. The kids pick at the stray crumbs like it’s candy. It’s become our weekend treat and a “sorry-I-had-a-day” dessert. I’ll make the crust ahead, stash the pan in the fridge, and somehow it turns a cranky afternoon into a cozy living-room moment with bad TV and better dessert.
Why You’ll Love This Easy Instant Pot Cheesecake Recipes
– It’s ultra-creamy without the oven drama — the pressure method keeps things moist and even.
– Fast-ish: you get a set cheesecake in about an hour of active time, plus chill time.
– Ridiculously forgiving — fewer cracks, fewer worries about overbaking.
– Great for parties — make it ahead, chill it, and nobody will know how little panic you had.
– Perfect blank canvas: berries, caramel, chocolate, or just a proud fork.
Kitchen Talk
MORE EASY DESSERT RECIPES...

I’ll be honest — my first Instant Pot cheesecake had a weird dent because I bumped the pot while it was still wobbly on cool-down. Now I wrap the bottom of my springform with foil, use a trivet, and hover like a nosy crow until the natural release is mostly done. Also: room-temperature cream cheese is the small miracle here. I once tried cold blocks straight from the fridge and the batter looked like cottage cheese. Live and learn.
MORE OF OUR FAVORITE…
Shopping Tips
– Cheese: Buy full-fat cream cheese in blocks (not the tub). It gives the best texture and stability.
– Eggs: Large eggs at room temperature mix more smoothly; cold eggs can make the batter lumpy.
– Baking Basics (Flour/Sugar/Leaveners): Use regular granulated sugar or superfine if you want it extra smooth — no weird molasses or brown unless you’re doing a brown-sugar twist.
– Fats & Oils: Unsalted butter for the crust is the classic; swap coconut oil if you need dairy-free crust support.
– Flavor Boosts (vanilla/zest): Real vanilla extract and a little lemon zest punch up the flavor more than fake extracts.
Prep Ahead Ideas
– Make the crust the day before: press it into the pan, chill it, and keep it wrapped in the fridge.
– Soften and portion cream cheese ahead in a covered bowl so it’s relaxed and mixable when you’re ready.
– Assemble the batter and cover it overnight in the fridge if you’re short on morning time; bring it back to room temp before cooking.
– Store in an airtight container or wrapped with plastic wrap (pressing directly on the surface is fine) to prevent fridge smells from sneaking in.
Time-Saving Tricks
– Use pre-made graham cracker crumbs or blitz crackers in the food processor for a fast crust.
– Microwave cream cheese in short bursts (10–15 seconds) to soften if you forgot to take it out.
– Line the springform with parchment for an easier release — less chipping, less drama.
– Don’t rush the chill: even when tempted, a quicker cool will bite you later with a wobbly center.
Common Mistakes
– Overmixing the batter: more air = more cracks. Mix until smooth but stop when it’s just combined.
– Opening the pot too soon: I learned this after a collapsed middle; give it that NPR time so it finishes gently.
– Water getting into the pan: always wrap the pan’s bottom in foil — I once rescued a ruined crust by baking it a touch longer in the oven.
– Undercooking: it should look slightly jiggly in the center, not liquid; gentle carryover cooking finishes it.
What to Serve It With
– Fresh mixed berries and a dusting of powdered sugar for bright contrast.
– Salted caramel or chocolate ganache if you want to go decadent.
– A small cup of espresso or a fizzy Prosecco to balance the richness.
– A quick lemon compote or macerated strawberries when fruit’s in season.
Tips & Mistakes
– Let cream cheese and eggs come to room temp for the smoothest batter.
– No, you don’t want to overwhip — no extra air.
– If it cracks, slather it with whipped cream or a fruit topping and call it “rustic.”
– Wrap the pan bottom in foil; trust me.
Storage Tips
Store slices in an airtight container in the fridge for up to 4–5 days; it actually slices cleaner after a day and is totally fine cold for breakfast (no judgement). To freeze, wrap the whole cake or individual slices tightly in plastic and foil, freeze for up to a month, and thaw overnight in the fridge.
Variations and Substitutions
– Crust swaps: graham crackers, Oreos (yes, please), or gluten-free cookies all work.
– Dairy swaps: for a lighter or dairy-ish option, try Neufchâtel or cream cheese mixed with Greek yogurt, but texture changes.
– Sweeteners: swap part of the sugar for honey or maple in small amounts — it’ll darken the crust and shift the flavor.
– Toppings: sour cream swirl, fruit compote, chocolate ganache, or toasted nuts — I often switch based on what’s in the pantry.
Frequently Asked Questions
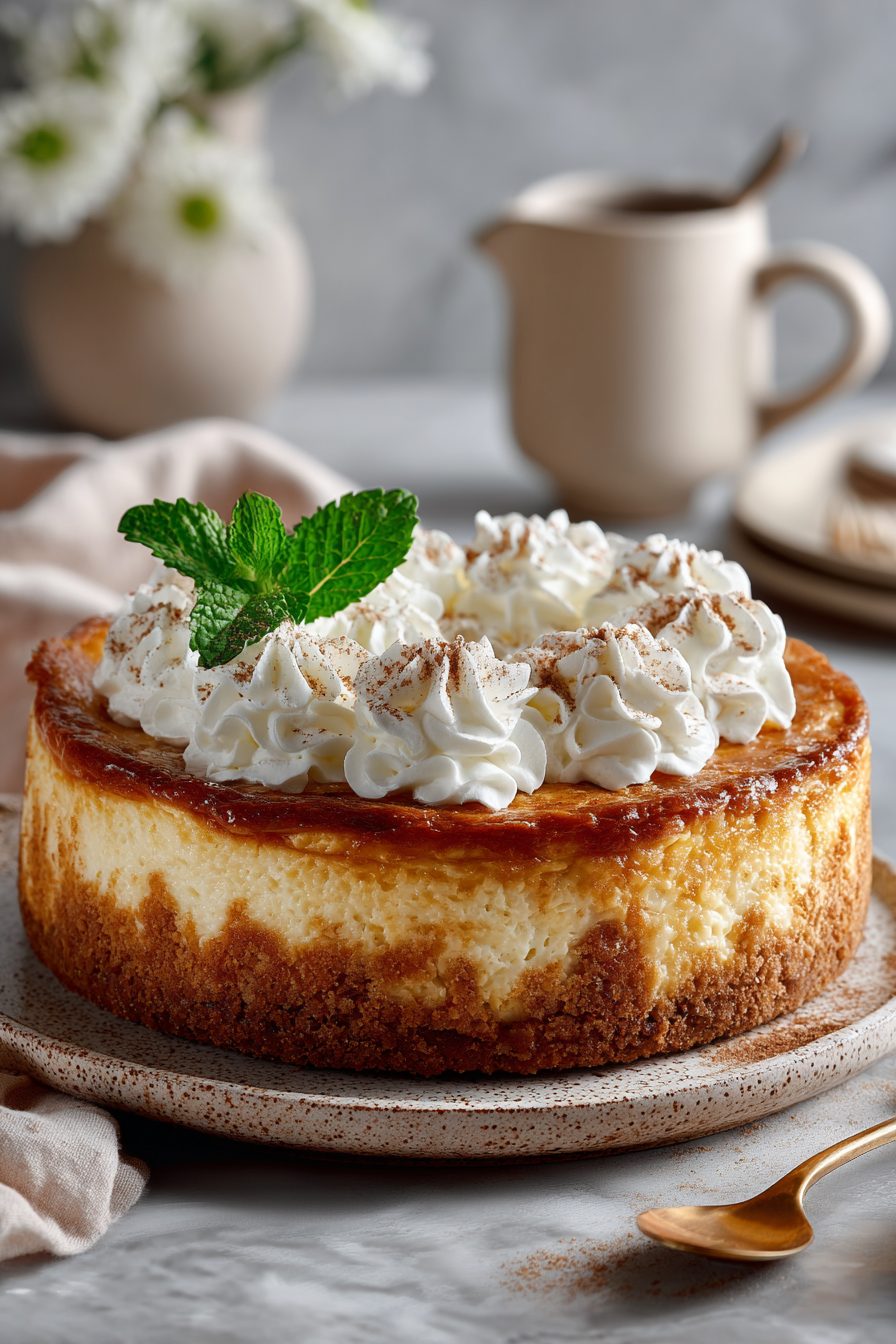
Easy Instant Pot Cheesecake Recipes
Ingredients
Main Ingredients
- 1.6 cup graham cracker crumbs
- 2.5 tbsp granulated sugar for crust
- 5.5 tbsp unsalted butter, melted
- 24 oz cream cheese, softened
- 0.7 cup granulated sugar for filling
- 0.55 cup sour cream, room temperature
- 1.25 tsp vanilla extract
- 1.25 tbsp cornstarch
- 0.75 tsp lemon zest optional but brightens flavor
- 0.25 tsp fine salt
- 2 large eggs room temperature
- 1 egg yolk room temperature
- 1 cup water for the Instant Pot
Instructions
Preparation Steps
- Line a 7-inch springform pan with parchment on the bottom. Wrap the outside tightly in foil.
- Stir graham crumbs, 2.5 tbsp sugar, and melted butter until evenly moistened.
- Press crust into the pan, slightly up the sides. Freeze 10 minutes to set while you make the filling.
- Beat cream cheese on medium until smooth and fluffy, about 1 minute. Scrape the bowl.
- Add 0.7 cup sugar and cornstarch. Mix on low until combined and silky, then scrape the bowl again.
- Blend in sour cream, vanilla, lemon zest, and salt on low just until smooth.
- Mix in eggs and yolk one at a time on low, stopping as soon as they disappear. Tap bowl to release bubbles.
- Pour filling over the chilled crust. Smooth the top and tap the pan a few times. Cover the pan loosely with foil.
- Add 1 cup water to the Instant Pot. Set in the trivet and make a sling with a long strip of foil.
- Lower the pan onto the trivet. Seal, cook on High Pressure for 35 minutes. Let pressure release naturally 10 minutes, then quick-release any remaining steam.
- Blot the lid if wet, uncover the pan, and cool 1 hour on a rack. Chill at least 4 hours, preferably overnight, before slicing.
Notes
Featured Comments
“This stacked recipe was turned out amazing — the fresh catch really stands out. Thanks!”
“Made this last night and it was turned out amazing. Loved how the nourishing came together.”
“Impressed! Clear steps and will make again results. Perfect for busy nights.”
“New favorite here — so flavorful. vibrant was spot on.”
“Super easy and family favorite! My family asked for seconds. Saving this one.”
“Super easy and family favorite! My family asked for seconds. Saving this one.”
“Impressed! Clear steps and will make again results. Perfect for busy nights.”
“Impressed! Clear steps and absolutely loved results. Perfect for busy nights.”
“Impressed! Clear steps and turned out amazing results. Perfect for busy nights.”
“This crispy recipe was turned out amazing — the cheesy really stands out. Thanks!”