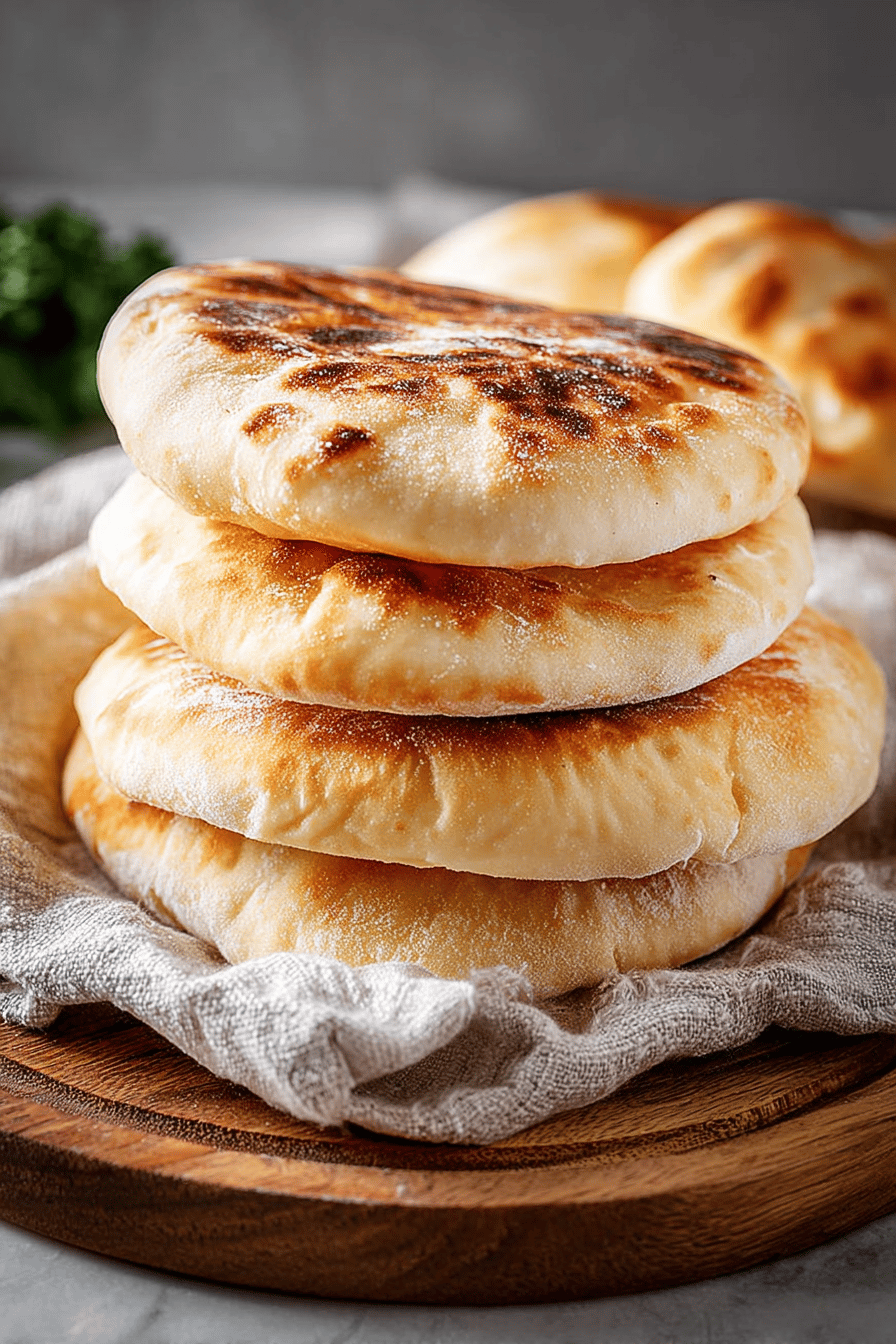
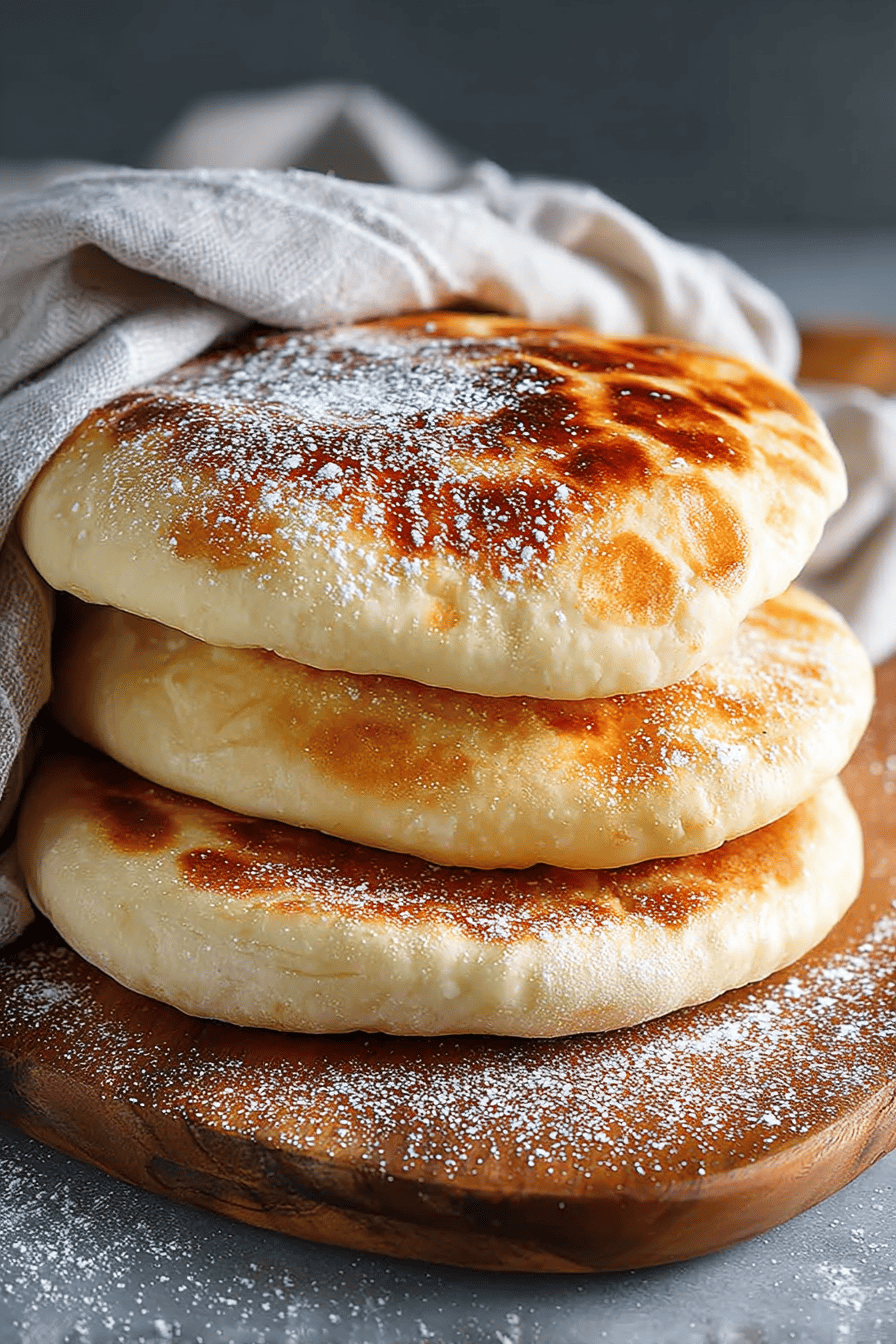
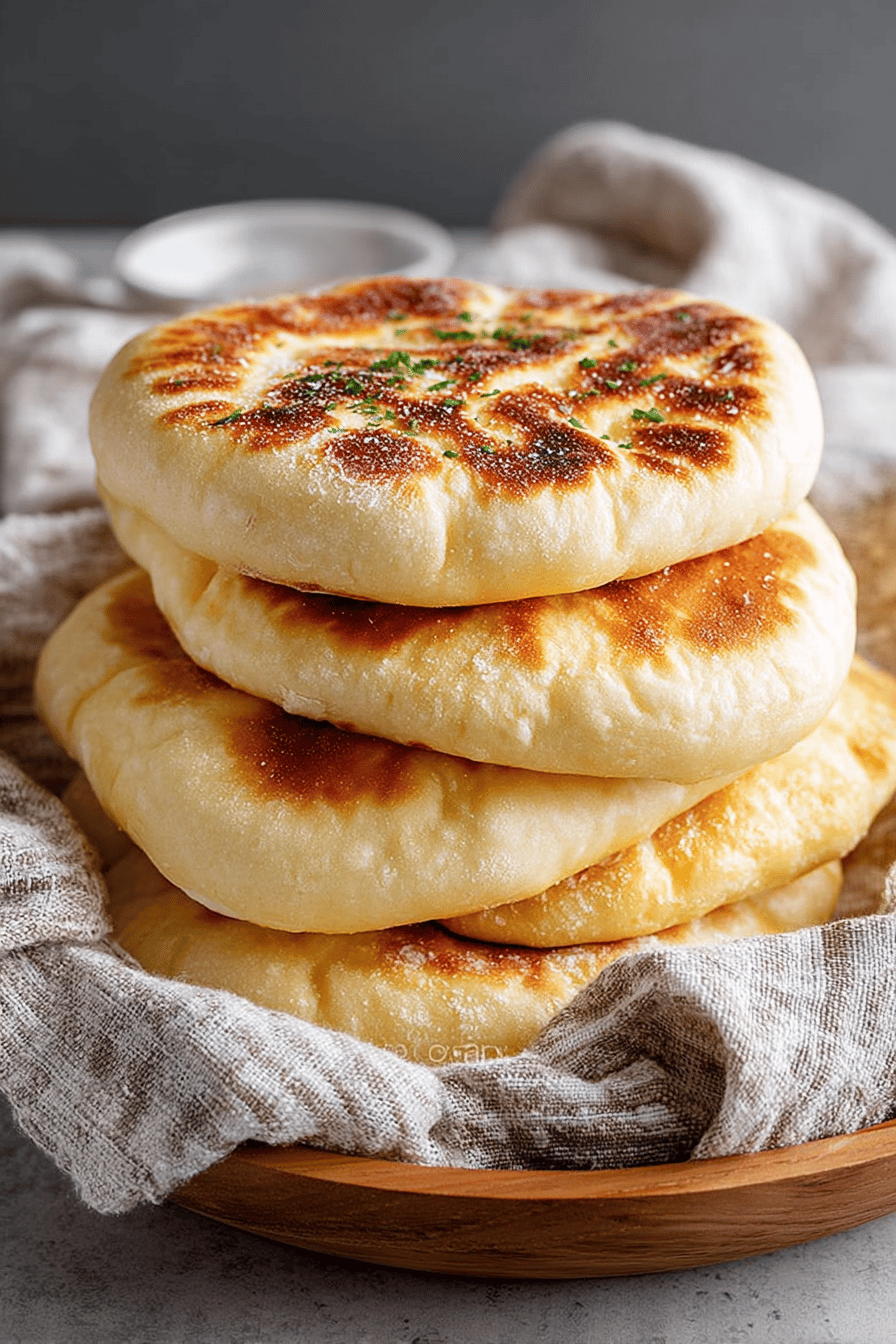
Easy Homemade Pita Bread Recipe
There’s something wild about making your own pita bread at home. It’s this simple dough that puffs up into these magical little pockets you can stuff with just about anything — falafel, hummus, your favorite salad, or leftover roasted veggies. It’s one of those recipes that feels fancy because it’s homemade but honestly? It’s pretty forgiving and downright fun to make, even if your kitchen ends up covered in flour. Give it a shot, and I swear your lunch game will never be the same.
My husband freaks out about these pitas. Like legitimately, every time I pull a fresh batch out of the oven, he’s hovering, ready to stuff one full with chicken shawarma or avocado and goat cheese. Our little kiddo? Yep, pita bread is his go-to finger food, which means half the pita disappears before it even hits the table. Honestly, it’s become a legit staple around here. Sometimes I don’t even make a full meal, just a big pita spread with good stuff, and we’re happy campers.
Why You’ll Love This Easy Homemade Pita Bread Recipe
– Pita that actually puffs up and creates those perfect little pockets. No sad, flat discs here.
– It’s made with just a few simple ingredients you probably already have (flour + yeast magic!).
– Gives you total street food vibes without leaving your kitchen, plus it’s crazy cheap.
– Flexible — bake fresh or freeze and toast later.
– Little flour mess? Yeah, it’s totally worth it.
How to Make It

Okay, first thing — start by mixing your yeast with warm water and a pinch of sugar. Watch it foam up like some kind of alchemy trick. While you wait on that, toss your flour and salt in a big bowl. When the yeast’s bubbly and alive, dump it in with a splash of olive oil and start stirring. If it’s sticking too much, sprinkle a little more flour, but don’t go crazy or you’ll end up with tough pita. Then knead it right there on your counter until it’s smooth and bouncy — I usually bounce it for about 8 minutes while telling myself I’m a dough whisperer.
This pita bread recipe was such a fun and easy weekend project with the kids! The pitas puffed up beautifully and tasted so fresh—way better than store-bought. We’ll definitely be making these again for our weekly sandwich night!
This pita bread recipe was a total win in our house! The instructions were super easy to follow, and the pitas puffed up beautifully—my kids even helped roll them out. We’ll definitely be making these again for sandwich night!
MORE OF OUR FAVORITE…
After that, cover the dough with a damp kitchen towel and let it chill somewhere warm until it doubles, which takes like an hour if your house is cozy. This is the moment I try not to peek too often because dough’s temperamental, you know? Next, you roll it out into rounds, about 1/4 inch thick. More thickness means less puff, less thickness means crispy-to-the-point-of-fragile.
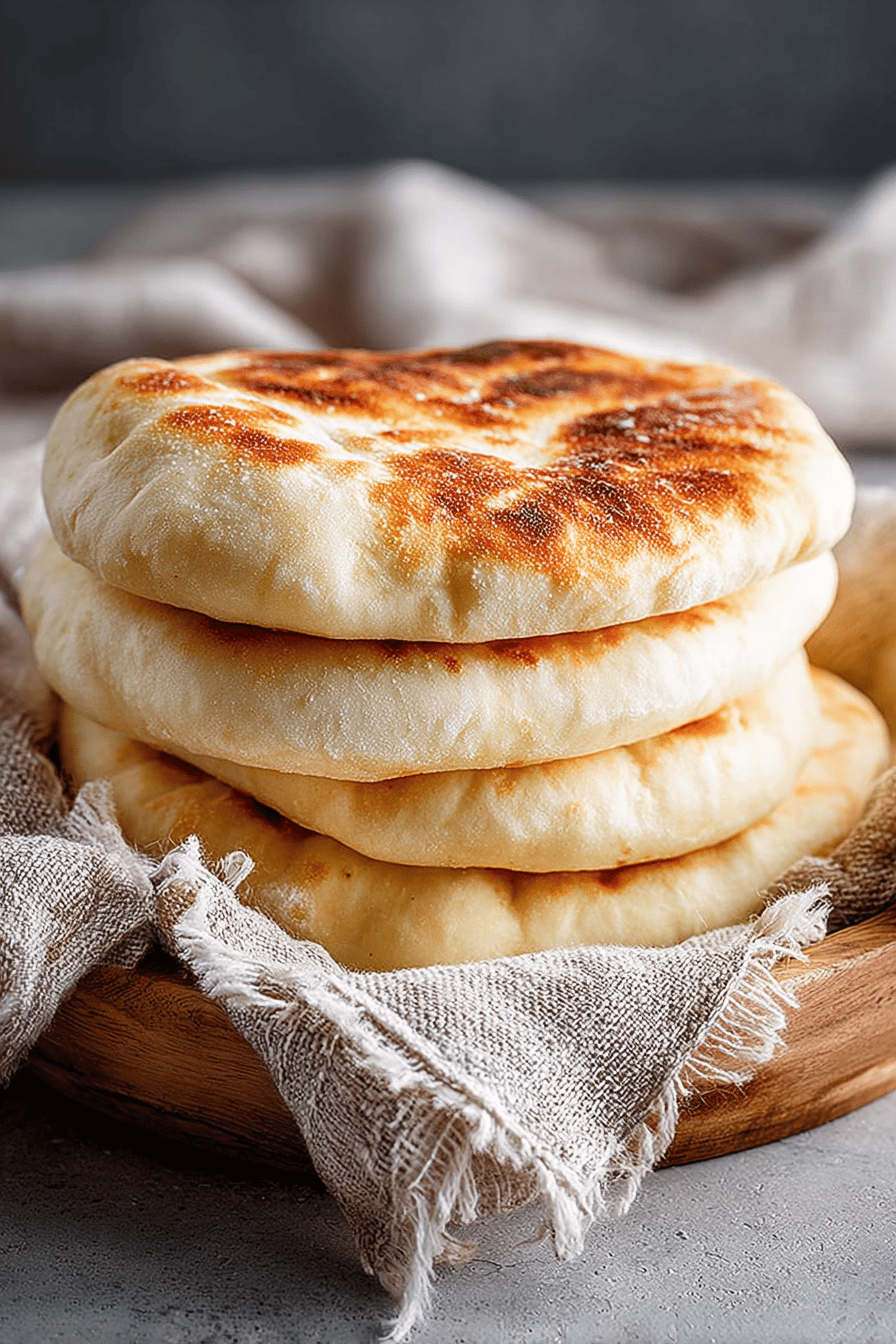
Heat a heavy skillet or cast iron on medium-high and cook each pita until it puffs up and gets those golden brown spots — usually about 1-2 minutes per side. It feels like a tiny party when they start puffing. If you mess up the temperature, no biggie, just keep adjusting till they cooperate.*
Ingredient Notes
– Flour: All-purpose flour works great, but I’ve tried whole wheat for a nuttier flavor. It’s denser, so expect less puff.
– Yeast: Active dry yeast is your best pal here. Make sure it’s fresh or your dough’s gonna be sad and flat.
– Sugar: Just a pinch to kickstart that yeast — don’t skip it or you might wait forever.
– Olive Oil: Optional but super worth it for a softer, tastier crust. I sometimes forget and regret it instantly.
– Salt: Enhances the flavor big time. No salt = boring pita. Trust me.
Recipe Steps
1. Dissolve yeast and sugar in warm water; let it get frothy (about 5-10 minutes).
2. Mix flour and salt in a bowl.
3. Add yeast mix and olive oil to the flour, stir until it becomes dough.
4. Knead on a floured surface for around 8 minutes until smooth and elastic.
5. Cover with damp towel and let rise for 1 hour until doubled.
6. Punch dough down and divide into equal pieces; roll into 1/4 inch rounds.
7. Heat skillet over medium-high, cook each round 1-2 minutes per side until puffed and golden.
8. Wrap warm pitas in a towel to keep soft.
What to Serve It With
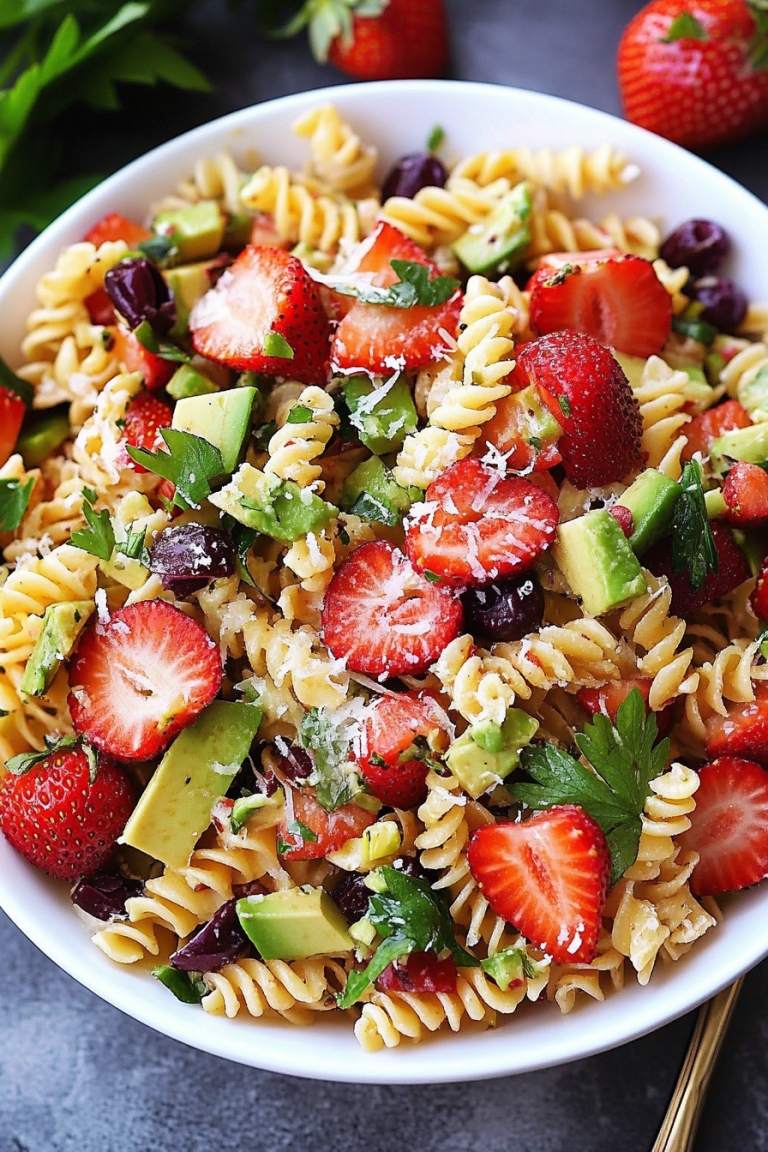
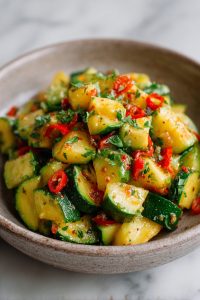
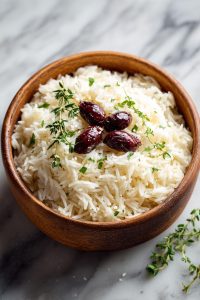
These pitas are the perfect canvas for anything – I’m talking hummus smeared thick, grilled chicken shawarma, crunchy cucumber salad, smoky baba ganoush, or even just layered with cheese and veggies. They are killer with Mediterranean spreads or just dipped in garlic butter. On lazy days, I load one up with scrambled eggs and hot sauce for breakfast — zero shame in that, breakfast-for-dinner fans unite!
Tips & Mistakes
Don’t skimp on rolling them evenly — uneven thickness means some pitas puff, some stay flat. If your pan isn’t hot enough, no puff. Too hot? You’ll burn the outside before it inflates. Also, if you skip the resting time, the dough won’t rise well and your pitas will be dense and sad. Finally, don’t over-flour the surface or your pita ends up tough, not tender.
Storage Tips
If you have leftovers (rare, because they get eaten fast), wrap them tightly in plastic wrap and stash in an airtight container or resealable bag in the fridge for up to 3 days. You can warm them in a hot skillet or toaster oven — trust me, reheated pita is another level. Cold pita? Still good for sandwiches or dipping, no shame. Freeze extras if you want to save for later — just thaw and warm up before eating.
Variations and Substitutions
If you’re feeling fancy, toss some za’atar or garlic powder into the dough. Whole wheat or spelt flour swaps in fine, but expect less puff and a chewier texture. I’ve swapped honey for sugar occasionally, which adds a nice mellow sweetness. No olive oil on hand? Use melted butter or even avocado oil. I once tried baking them instead of skillet-cooking, and while it works, the skillet method gives way better puff and crisp.
Frequently Asked Questions
Easy Homemade Pita Bread Recipe
Ingredients
Main Ingredients
- 3 cups all-purpose flour
- 1 cup warm water around 110°F
- 1 package active dry yeast 2 1/4 teaspoons
- 1 teaspoon sugar
- 1 teaspoon salt
- 1 tablespoon olive oil
Instructions
Preparation Steps
- In a small bowl, dissolve sugar and yeast in warm water; let stand until frothy, about 5 minutes.
- In a large bowl, combine flour and salt. Add the yeast mixture and olive oil. Mix until a dough forms.
- Turn dough onto a floured surface. Knead until smooth and elastic, about 8 minutes.
- Place dough in a lightly oiled bowl, cover with a damp cloth, and let rise in a warm place until doubled, about 1 hour.
- Preheat oven to 475°F (245°C) with a baking stone or inverted baking sheet inside.
- Punch dough down and divide into 8 equal pieces. Roll each piece into a 6-inch circle.
- Place dough circles on parchment and bake on the hot stone or sheet for 3-5 minutes until puffed and lightly golden.
- Remove pita breads from oven and cover with a clean towel to keep soft. Serve warm or store for later.
Notes
Nutrition
Featured Comments
“Made this last night and it was will make again. Loved how the perfect pair came together.”
“Made this last night and it was will make again. Loved how the perfect pair came together.”
“This simple recipe was so flavorful — the anytime really stands out. Thanks!”
“Impressed! Clear steps and so flavorful results. Perfect for busy nights.”
“This simple recipe was will make again — the flavorful really stands out. Thanks!”
“New favorite here — absolutely loved. simple was spot on.”
“New favorite here — so flavorful. perfect pair was spot on.”
“Super easy and turned out amazing! My family asked for seconds. Saving this one.”
“Impressed! Clear steps and absolutely loved results. Perfect for busy nights.”
“New favorite here — so flavorful. simple was spot on.”