Easy Homemade Bread Recipe
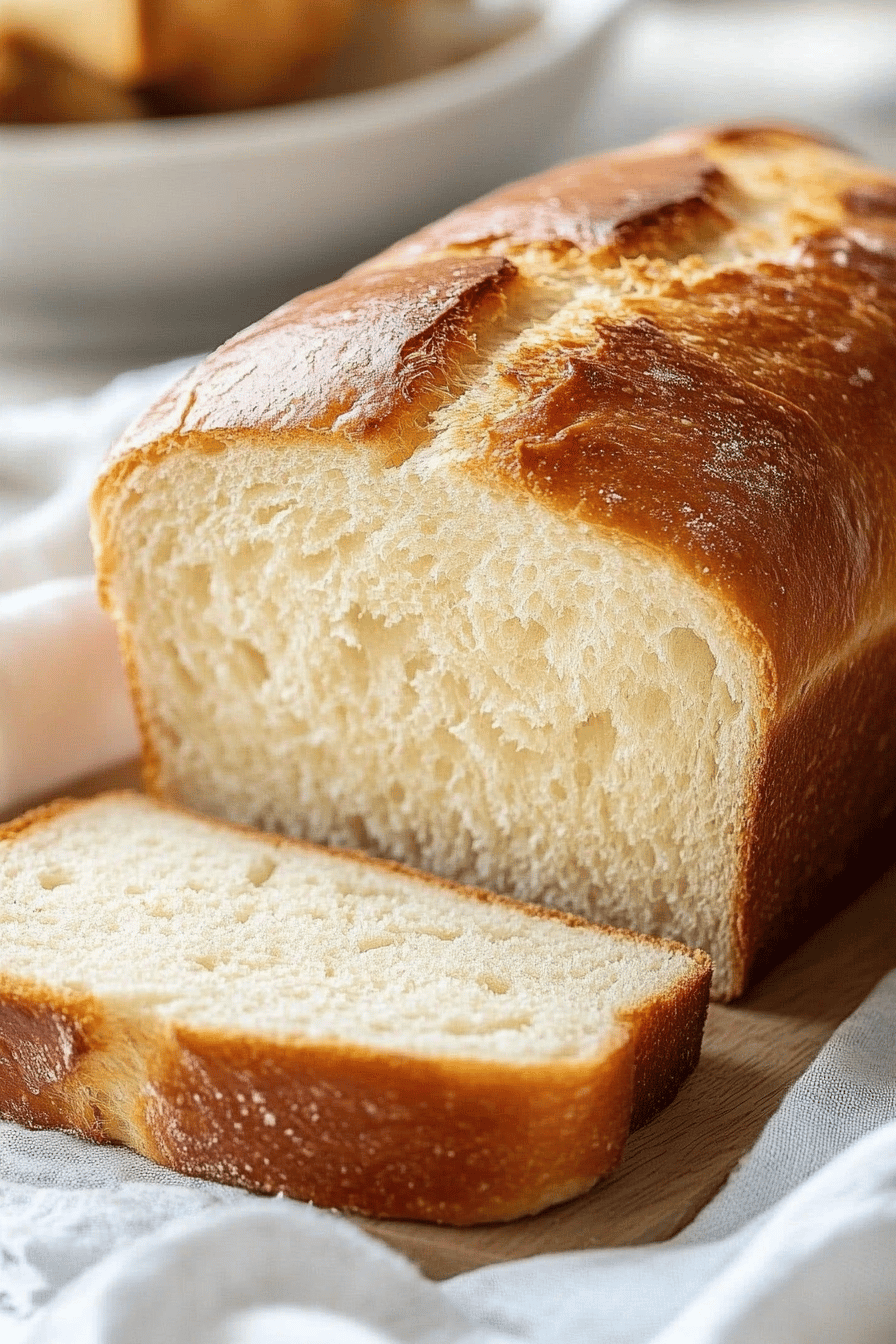
The aroma of freshly baked bread wafting through your home is bliss personified. With this easy homemade bread recipe, you can experience this joy right in your own kitchen. Simple, delicious, and utterly satisfying, this recipe will become your go-to for all your bread baking needs.

I remember the first time I made this bread with my grandmother during a cozy winter afternoon. As the snow fell gently outside, she patiently guided me through each step, sharing tales of her own childhood baking misadventures. By the time we pulled the loaf from the oven, not only did I feel a sense of accomplishment, but also a deep familial connection that transformed a simple recipe into a cherished memory.
Why You’ll Love This Recipe
This bread recipe is a winner because of its simplicity and flexibility. Even if you’re a beginner, you can easily follow the steps and whip up a perfect loaf. The ingredients are pantry staples, meaning you can bake it anytime that carb craving hits. Plus, nothing beats the taste of warm, homemade bread slathered with butter.
Ingredients Notes


Our basic ingredient list includes all-purpose flour, active dry yeast, sugar, salt, and water. For sourcing, opt for high-quality yeast for the best rise. If you’re out of sugar, honey or maple syrup can work as sweeteners to aid yeast activation. Remember, the temperature of the water is crucial in activating the yeast without killing it—it should be lukewarm.
MORE OF OUR FAVORITE…
Recipe Steps
Step 1
Begin by mixing the yeast and sugar with warm water in a large bowl. Let it sit for about five minutes until it becomes frothy—this means the yeast is activated.
Step 2
Gradually add the flour and salt, stirring continuously until a dough forms. Knead this dough on a floured surface for about 10 minutes until it’s smooth and elastic.
Step 3
Place the kneaded dough in a greased bowl, cover with a damp cloth, and let it rise in a warm place for about an hour or until it doubles in size.
Step 4
Once risen, punch down the dough and shape it into a loaf. Transfer it to a greased loaf pan and let it rise again for another 30-40 minutes.
Step 5
Bake in a preheated oven at 375°F (190°C) for 25-30 minutes. The bread is ready when it sounds hollow when tapped on the bottom. Let it cool before slicing.
Storage Options
Store your homemade bread in an airtight container at room temperature for up to three days. For longer storage, wrap it in plastic wrap and aluminum foil before freezing. To reheat, thaw completely and warm it in a preheated oven at 350°F (175°C) for 5-10 minutes.
Variations & Substitutions
For a whole-wheat version, substitute half of the all-purpose flour with whole-wheat flour. Add herbs like rosemary or thyme into the dough for a flavor twist. If you’re vegan, ensure your sweetener alternative, like maple syrup, is plant-based.
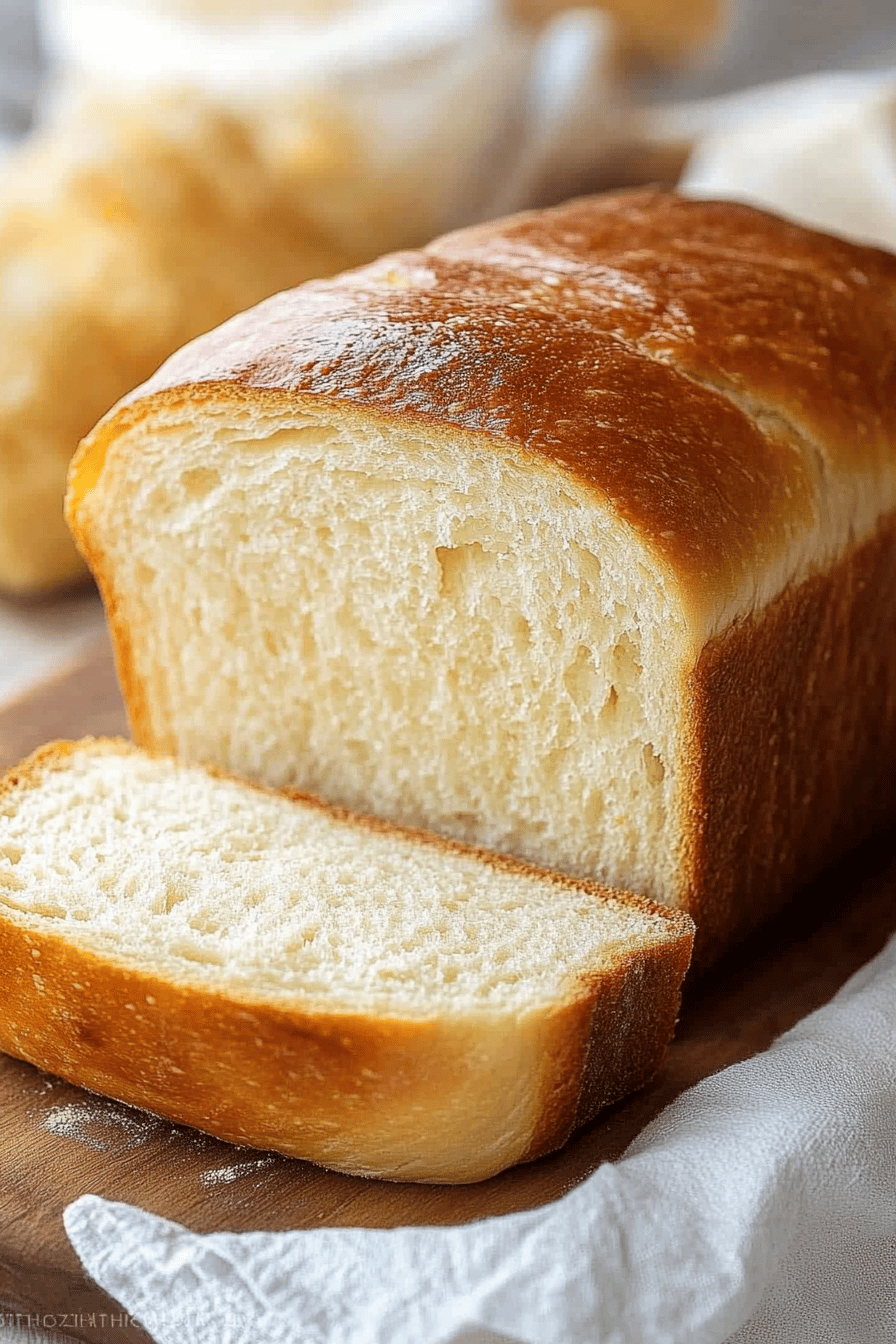
Serving Suggestions
This bread is perfect for breakfast with a spread of jam or butter. Serve it as a side with soups and stews, or use it to make sandwiches for a hearty lunch. Its versatility makes it ideal for any occasion.
Frequently Asked Questions
How can I tell if my bread is fully baked? A sure sign of a fully baked loaf is a golden crust and a hollow sound when you tap the bottom. Using a thermometer, you can also check that the internal temperature reaches about 190°F (88°C).
What if my dough doesn’t rise? Ensure your yeast isn’t expired, and your water is the right temperature—neither too hot (which can kill the yeast) nor too cold. It’s also worth noting that a warm, draft-free environment aids in rising.
Can I use instant yeast instead of active dry yeast? Yes, you can. Instant yeast can be added directly to the dry ingredients without proofing. However, the rising time might be slightly shorter, so keep an eye on your dough.
Easy Homemade Bread Recipe
Ingredients
- 1 cup warm water about 110°F
- 2 1/4 teaspoons active dry yeast 1 packet
- 2 tablespoons granulated sugar
- 1 1/2 teaspoons salt
- 2 tablespoons unsalted butter melted
- 3 cups all-purpose flour plus extra for kneading
Instructions
- Activate Yeast:
- In a large bowl, combine the warm water and sugar. Sprinkle the yeast over the top and let it sit for 5–10 minutes, until foamy.
- Mix the Dough:
- Add the salt, melted butter, and 2 cups of flour to the yeast mixture. Stir with a wooden spoon or dough hook. Add the remaining flour gradually, mixing until a soft dough forms.
- Knead:
- Turn the dough onto a floured surface and knead for 8–10 minutes until smooth and elastic. Add small amounts of flour as needed to prevent sticking.
- First Rise:
- Place the dough in a greased bowl. Cover with a clean towel or plastic wrap and let rise in a warm spot for about 1 hour, or until doubled in size.
- Shape and Second Rise:
- Punch down the dough, shape it into a log, and place in a greased 9x5-inch loaf pan. Cover and let it rise again for about 30 minutes, or until puffed.
- Bake:
- Preheat the oven to 350°F (175°C). Bake for 30–35 minutes, or until the top is golden and the loaf sounds hollow when tapped.
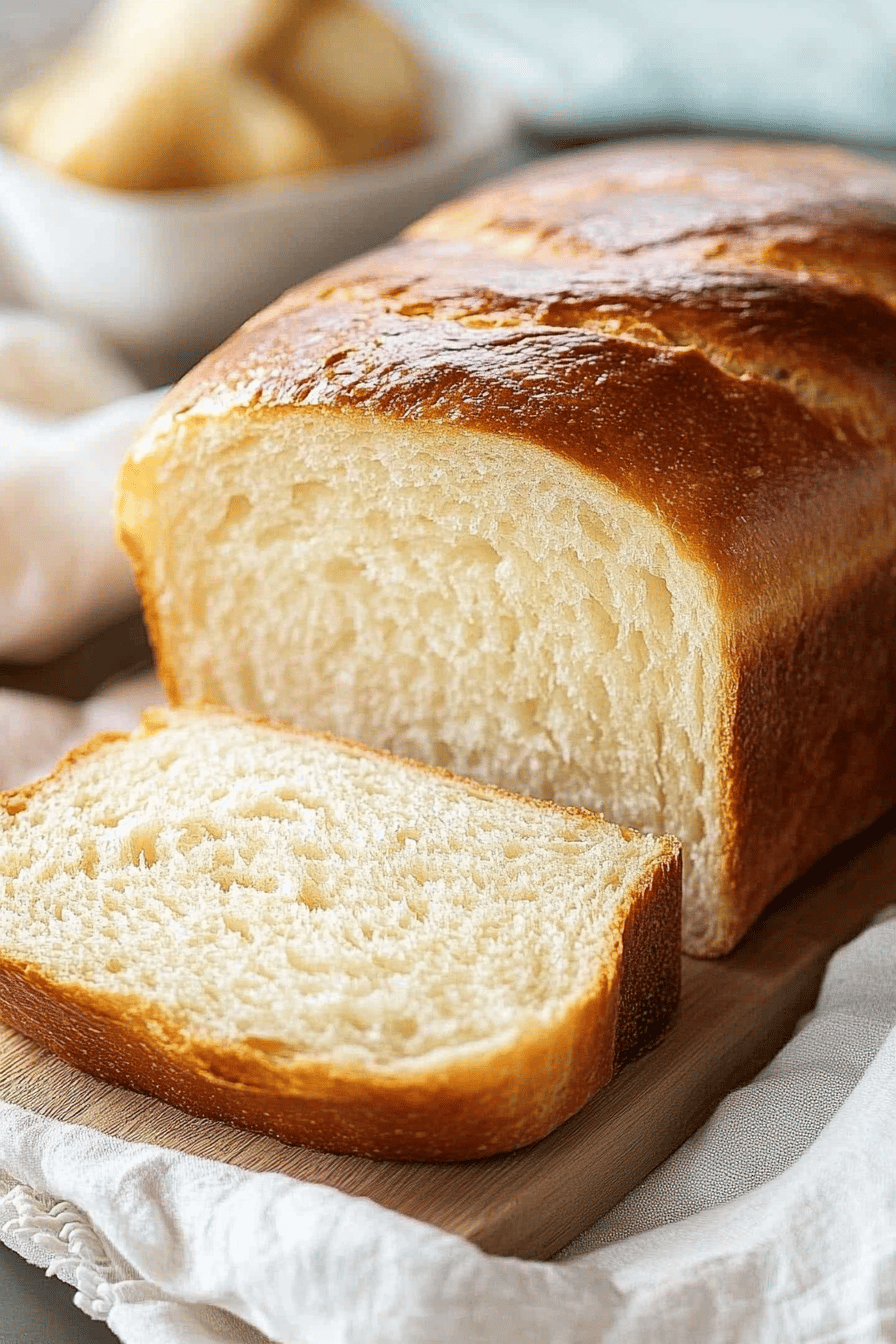
- Cool and Serve:
- Let the bread rest in the pan for 5 minutes, then transfer to a wire rack. For extra softness and shine, brush the top with melted butter while warm.
Notes
Nutrition
Featured Comments
“New favorite here — so flavorful. anytime was spot on.”
“Impressed! Clear steps and absolutely loved results. Perfect for busy nights.”
“New favorite here — turned out amazing. simple was spot on.”
“This simple recipe was will make again — the perfect pair really stands out. Thanks!”
“This anytime recipe was will make again — the perfect pair really stands out. Thanks!”
“Impressed! Clear steps and turned out amazing results. Perfect for busy nights.”
“Made this last night and it was turned out amazing. Loved how the flavorful came together.”
“Impressed! Clear steps and will make again results. Perfect for busy nights.”
“Made this last night and it was will make again. Loved how the anytime came together.”
“Made this last night and it was will make again. Loved how the perfect pair came together.”