Easy Caramelized Onions Guide
Caramelized onions are basically magic. They take the humble onion and transform it into this rich, sweet, melt-in-your-mouth thing that upgrades everything. Whether you’re slapping them on a burger, folding them into eggs, or just eating them straight from the pan (no judgment here), they bring the kind of deep, cozy flavor that feels like a warm hug. The trick isn’t in the ingredients but in the patience. Low and slow is the name of the game, and once you nail that, you’ll wonder how you ever lived without them.
My husband is obsessed with these onions in a way that’s borderline ridiculous. We had a phase where he ate this stuff daily—on toast, in salads, on his sandwich. He’d sneak them into snacks, and honestly, I can’t blame him. Our kid even picks at the onions first before eating the rest of the sandwich, which is a proud parenting moment if you ask me. It started as a side project and now it feels like a staple in the house. I always have a jar in the fridge because you just never know when things need a little caramelized onion love.
Why You’ll Love This Easy Caramelized Onions Guide
– Because you’ll get to skip the “burn it to a crisp” onion disaster and actually make sweet, tender onion gold.
– It’s basically the best excuse to stand at the stove and zone out—sort of like meditation but with more delicious pay-off.
– Once you make it, you’ll want to add it to everything. That’s just how it goes.
– It’s forgiving. Burn a little? No big deal, just scrape it off and keep going.
– Bonus: your house will smell incredible for hours.
How to Make It
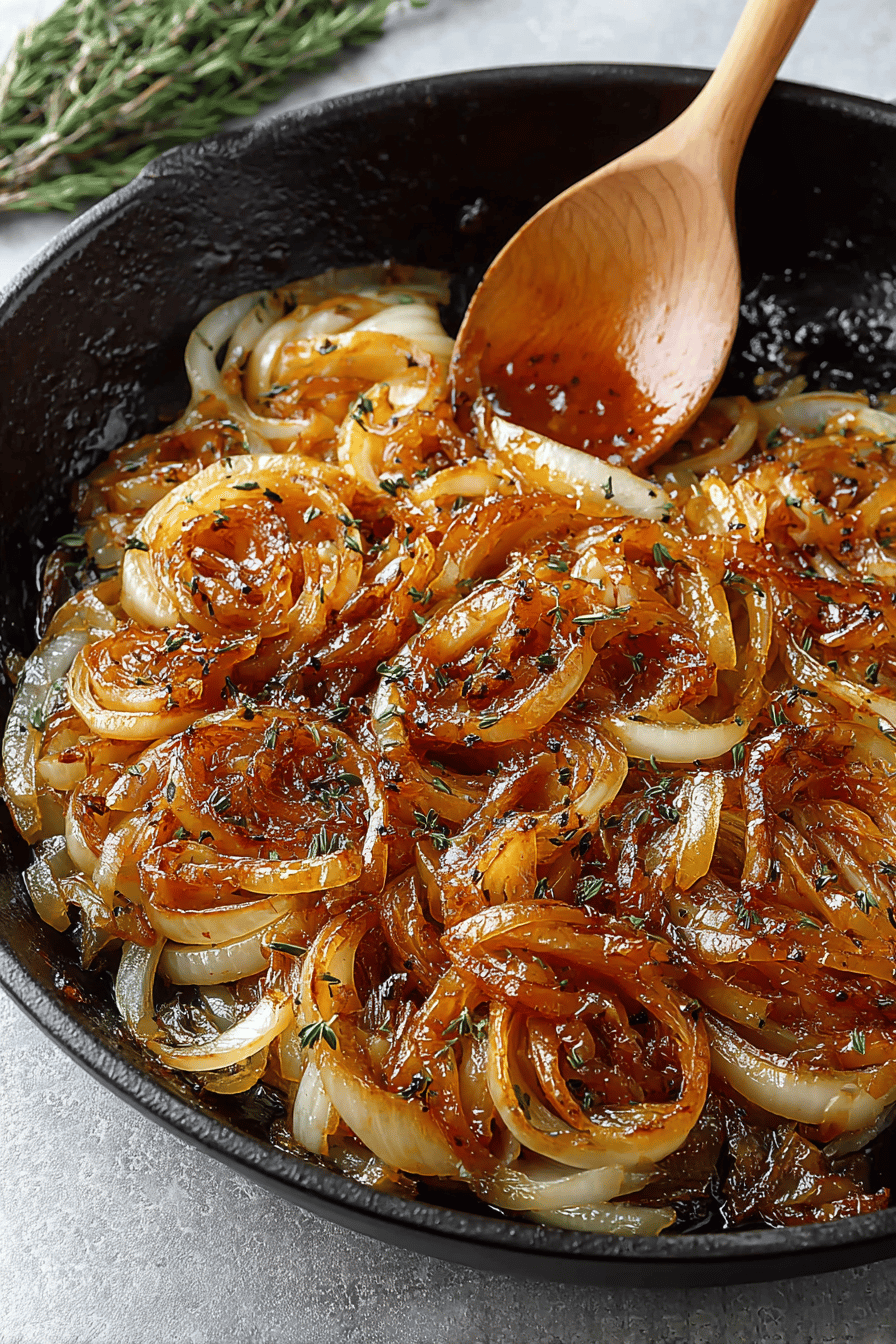
Alright, let’s chat like I’m hanging out in your kitchen. Grab a big pan (cast iron is your best friend here, but any heavy skillet works). Toss in a good splash of oil or butter—don’t skimp because the fat is what’s gonna coax out all that sweet goodness. Heat it up on medium-low. Don’t be in a rush. Just toss in thinly sliced onions and stir them a bit so they get coated but not drowning in oil. Now, the secret sauce is patience. Stir every few minutes. You’ll see them go from raw, to translucent, to a light golden hue. This is when the magic starts—caramelization is building up.
This Easy Caramelized Onions Guide was a total hit in our kitchen! The step-by-step instructions were super clear, and the onions turned out perfectly sweet and golden—my kids even asked for seconds! I'll definitely be making these again to top burgers and sandwiches.
This caramelized onions guide was such a game-changer in my kitchen! The instructions were super easy to follow, and the onions came out perfectly sweet and golden—my kids kept sneaking bites before dinner! Definitely bookmarking this for every burger night.
MORE OF OUR FAVORITE…
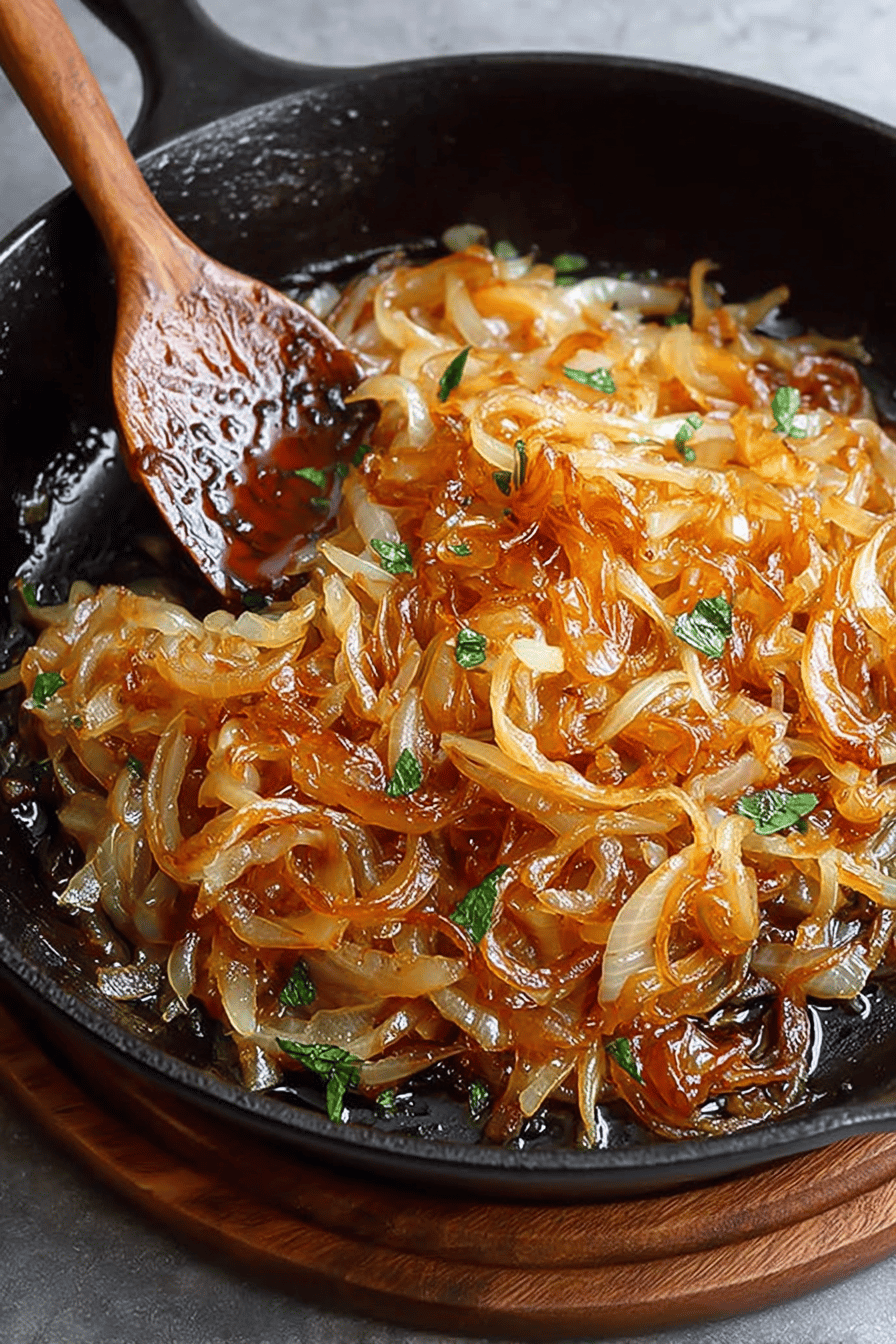
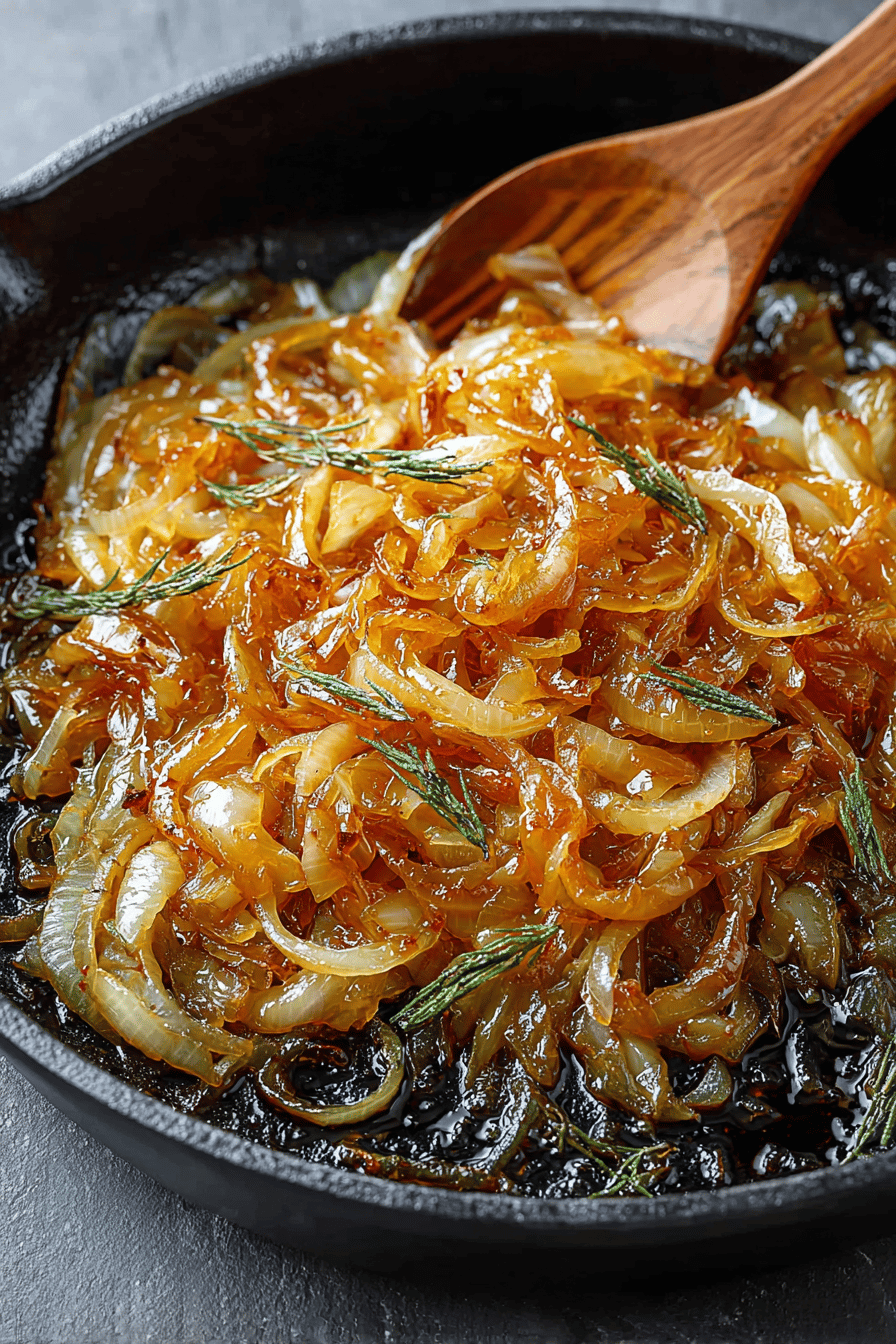
At that point, be careful not to crank the heat or stir every second or the onions won’t brown properly. Just chill, stir occasionally, and watch them slowly darken and shrink. It usually takes about 40 minutes, so maybe pour yourself a little glass of whatever and remind yourself that this is worth it. If your onions start sticking crazy or burning bits show up, add a splash of water or even a pinch of salt to chill things out. By the end, they’ll be this gorgeous, sticky, soft mass of happiness, with a color like honey and flavor that makes you want to cry.
Ingredient Notes
– Onions: Yellow or sweet onions are the MVP here. White onions will work but might not have the same depth. Red onions? Great for color, but a little less sweet.
– Butter or Oil: Butter adds richness and that deep flavor, but a good neutral oil like olive or avocado works fine. Sometimes I do half and half.
– Salt: Just a pinch early on to help draw out moisture and enhance sweetness. Don’t overdo it or they’ll get mushy too fast.
– Sugar (optional): Sometimes when I’m feeling fancy, I toss in a small sprinkle of brown sugar to speed up caramelization. Not needed, but it’s like a little cheat code.
Recipe Steps
1. Slice 3-4 medium onions thinly and evenly—thin slices cook the best.
2. Heat 2 tablespoons of butter or oil in a large pan over medium-low heat until melted and shimmering.
3. Add the onions and a pinch of salt; stir to coat them in the fat.
4. Cook slowly, stirring every 5-7 minutes, scraping any brown bits off the bottom.
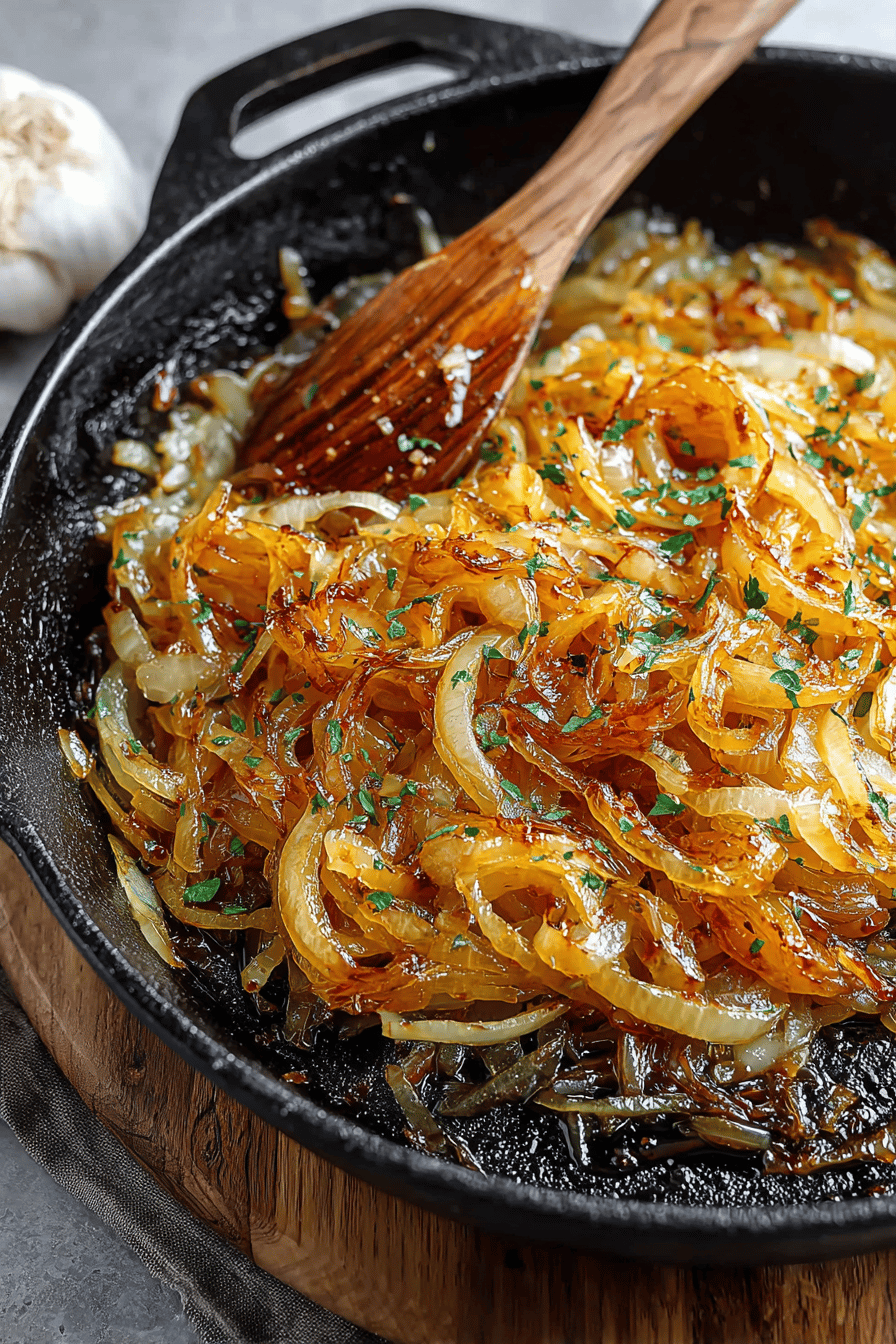
5. When onions turn a golden color around 25 minutes, keep going until they’re deep amber and totally soft (about 35-40 minutes total).
6. Taste and add a tiny sprinkle of sugar or more salt if needed, stir, and cook for another minute.
What to Serve It With
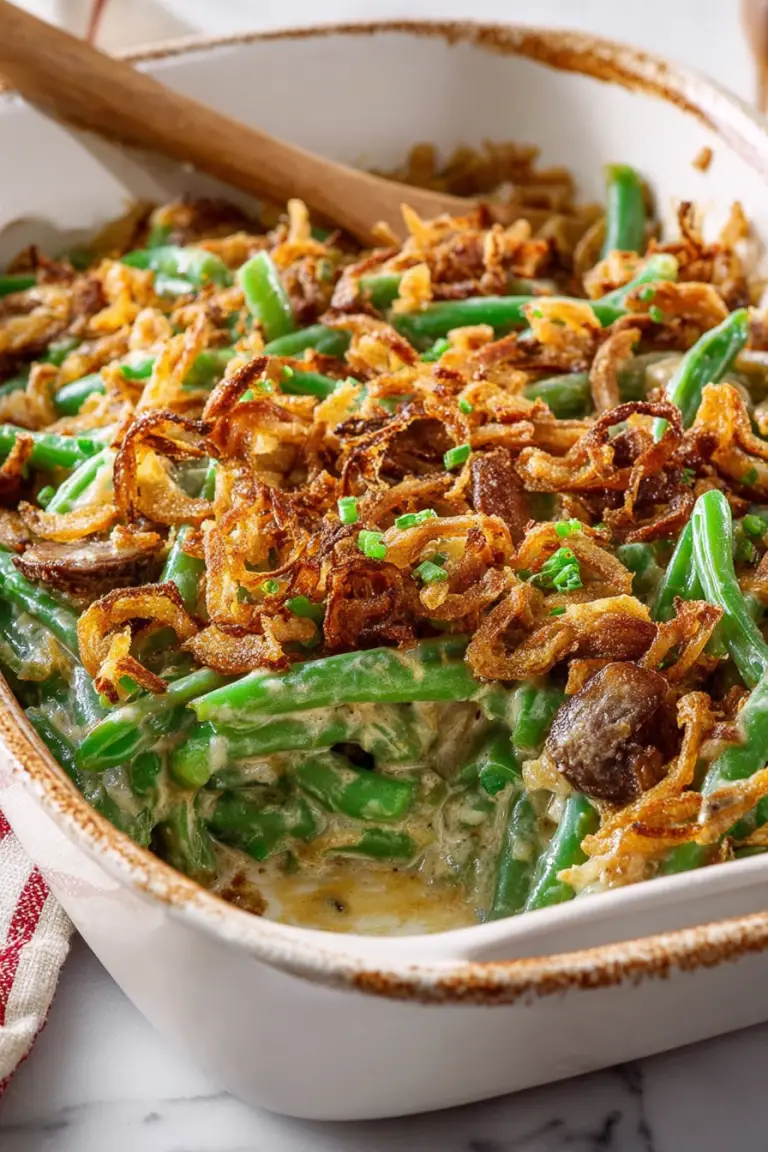
Honestly? Almost everything. Impress your burger-loving friends by topping your patties with a heap of caramelized onions (they’ll thank you). Stir them into mashed potatoes, sprinkle on pizza, fold into scrambled eggs or omelets, or even mix into grilled cheese sandwiches. They’re also killer in soups and stews, adding that sweetness dimension that makes the dish sing. My personal fave? Throw them over roasted veggies or pasta with a big spoonful of Parmesan.
Tips & Mistakes
Keep the heat low enough that the onions aren’t burning but high enough they’re browning slowly. Stir often but not obsessively—get a rhythm going. If your onions are cooking too fast, lower the heat or add a splash of water to loosen any stuck bits. Don’t rush or you’ll end up frying them instead of caramelizing. If they’re soft and sticky but not quite brown, be patient—good things come to those who wait here.
Storage Tips
Store caramelized onions in an airtight container in the fridge for up to 5 days. Cold onions straight from the fridge can be a little chewy but still tasty. Honestly, I’ve dumped them cold on toast or eggs for breakfast many times—no shame whatsoever. You can also freeze them in small portions, but fresh is always best if you can swing it.
Variations and Substitutions
You can swap out regular sugar for brown sugar, honey, or even maple syrup if you want to tweak the sweetness a bit. Butter and oil can be combined or used solo—just avoid super strong-flavored oils that overpower the onions. If you’re out of yellow onions, sweet or red onions will do just fine, but your flavor profile will change a bit (sometimes good, sometimes… well, interesting). Add a splash of balsamic vinegar near the end for a tangy twist.
Frequently Asked Questions
Easy Caramelized Onions Guide
Ingredients
Main Ingredients
- 3 large yellow onions
- 2 tablespoons unsalted butter can substitute with olive oil
- 1 teaspoon salt
- 1 teaspoon sugar helps with caramelization
Instructions
Preparation Steps
- Peel and thinly slice the onions into rings.
- Heat butter in a large skillet over medium heat until melted.
- Add onions to the skillet and sprinkle with salt and sugar.
- Cook onions slowly, stirring occasionally, until golden brown and caramelized, about 40-45 minutes.
- Remove from heat and use immediately or store for later.
Notes
Nutrition
Featured Comments
“This perfect pair recipe was family favorite — the flavorful really stands out. Thanks!”
“This simple recipe was family favorite — the perfect pair really stands out. Thanks!”
“Impressed! Clear steps and absolutely loved results. Perfect for busy nights.”
“New favorite here — family favorite. simple was spot on.”
“This anytime recipe was family favorite — the flavorful really stands out. Thanks!”
“New favorite here — absolutely loved. flavorful was spot on.”
“Impressed! Clear steps and family favorite results. Perfect for busy nights.”
“This flavorful recipe was turned out amazing — the perfect pair really stands out. Thanks!”
“Made this last night and it was turned out amazing. Loved how the simple came together.”
“Made this last night and it was absolutely loved. Loved how the simple came together.”