Easy Homemade Paneer Recipe
This isn’t some fancy-pants recipe from culinary school. This is my Easy Homemade Paneer Recipe — and it’s about to be your new favorite thing. We’re talking fresh, squeaky paneer that YOU made. From scratch! It’s way easier than you think, and seriously, the taste? Forget about that rubbery stuff from the store. This is the real deal.
Honestly, I started making my own paneer because my toddler, Leo, is OBSESSED with Indian food… which, let’s be real, can get pricey at takeout. Plus, who knows what they put in that stuff? So one night, after a particularly disastrous grocery run where they were OUT of paneer (the HORROR!), I was like, “I’m just gonna DO IT.” And you know what? Nailed it. Now Leo claps whenever he sees me pull out the cheesecloth. It’s seriously the cutest thing, and makes me feel like a superhero mom.
Why You’ll Love This Easy Homemade Paneer Recipe
- It’s ridiculously easy. Like, if I can do it while wrangling a toddler and answering work emails, you can definitely do it.
- Say goodbye to rubbery, store-bought paneer. Seriously, this stuff is creamy, squeaky, and melts in your mouth (well, it can melt if you’re cooking it, paneer doesn’t melt in it’s raw form).
- You control the ingredients! No weird preservatives or fillers. Just milk and lemon juice (or vinegar, I’ve been known to use it in a pinch)
- It’s seriously satisfying to make your own cheese. Like, “I AM WOMAN, HEAR ME ROAR” kind of satisfying.
- It’s way cheaper than buying paneer. Hello, savings! More money for ice cream, right?

How to Make It
Okay, so first things first: get yourself a big pot. Like, the biggest one you own. You’re gonna pour in your milk. Whole milk is the way to go, people. Don’t even THINK about skim milk, unless you want sad, crumbly paneer. Trust me, I learned that the hard way.


Now, put that pot on the stove and turn the heat to medium. We’re not trying to boil it just yet, we’re just going for a simmer. And stir it, okay? Don’t be lazy! If you don’t stir, the milk will scorch on the bottom and then your paneer will taste like burnt sadness. Nobody wants that.
MORE OF OUR FAVORITE…
Once it’s simmering, grab your lemon juice. Now, here’s where things get fun. Slowly pour in the lemon juice, stirring gently. You’ll see the milk start to curdle and separate – that’s what we want! If it doesn’t happen right away, add a little more lemon juice. Sometimes my lemons are just… lazy.
Once you’ve got a good separation of curds and whey (ew, right?), take it off the heat. Now grab a colander and line it with cheesecloth. Make sure you have enough cheesecloth to like, gather it up and tie it. Now, carefully pour the curds and whey into the cheesecloth-lined colander.
Gather up the cheesecloth and twist it tight. Squeeze out as much of the whey as you can. The drier the curds, the firmer the paneer. Now, here’s the secret: place the cheesecloth bundle under something heavy. Like, REALLY heavy. I usually use a stack of cookbooks, but you could use a cast iron skillet, a brick… whatever you’ve got! Let it sit there for at least 30 minutes, but longer is better.
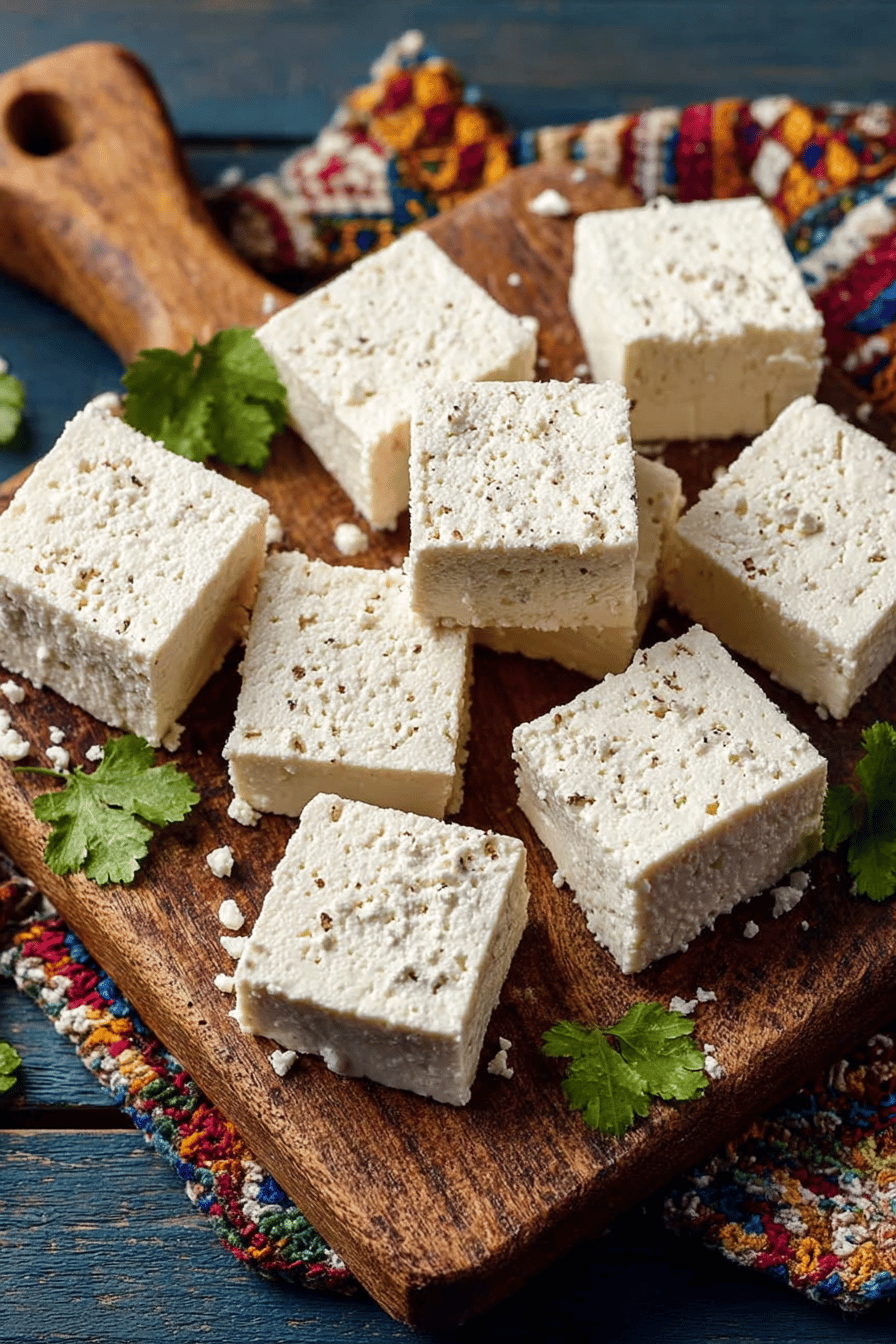
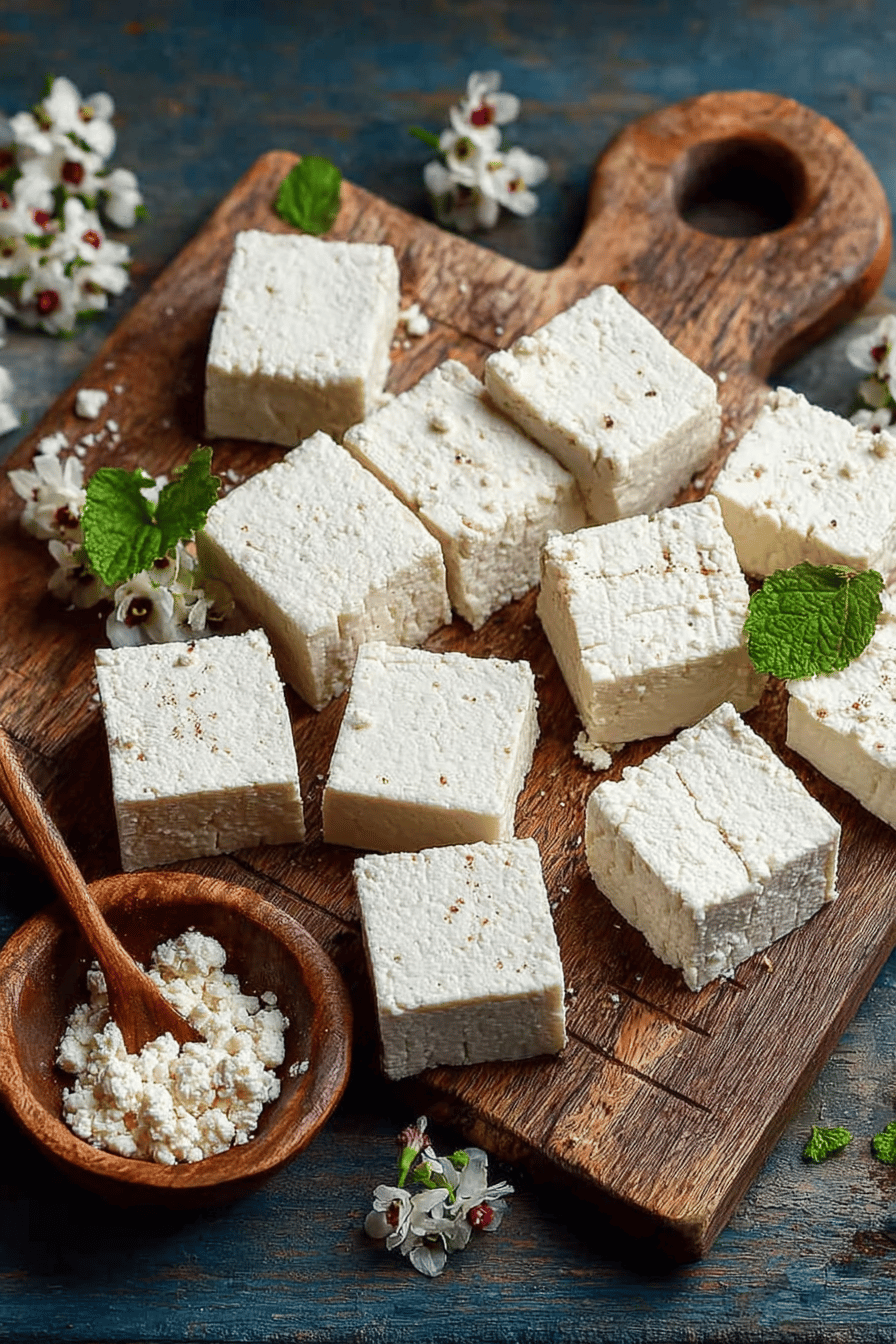
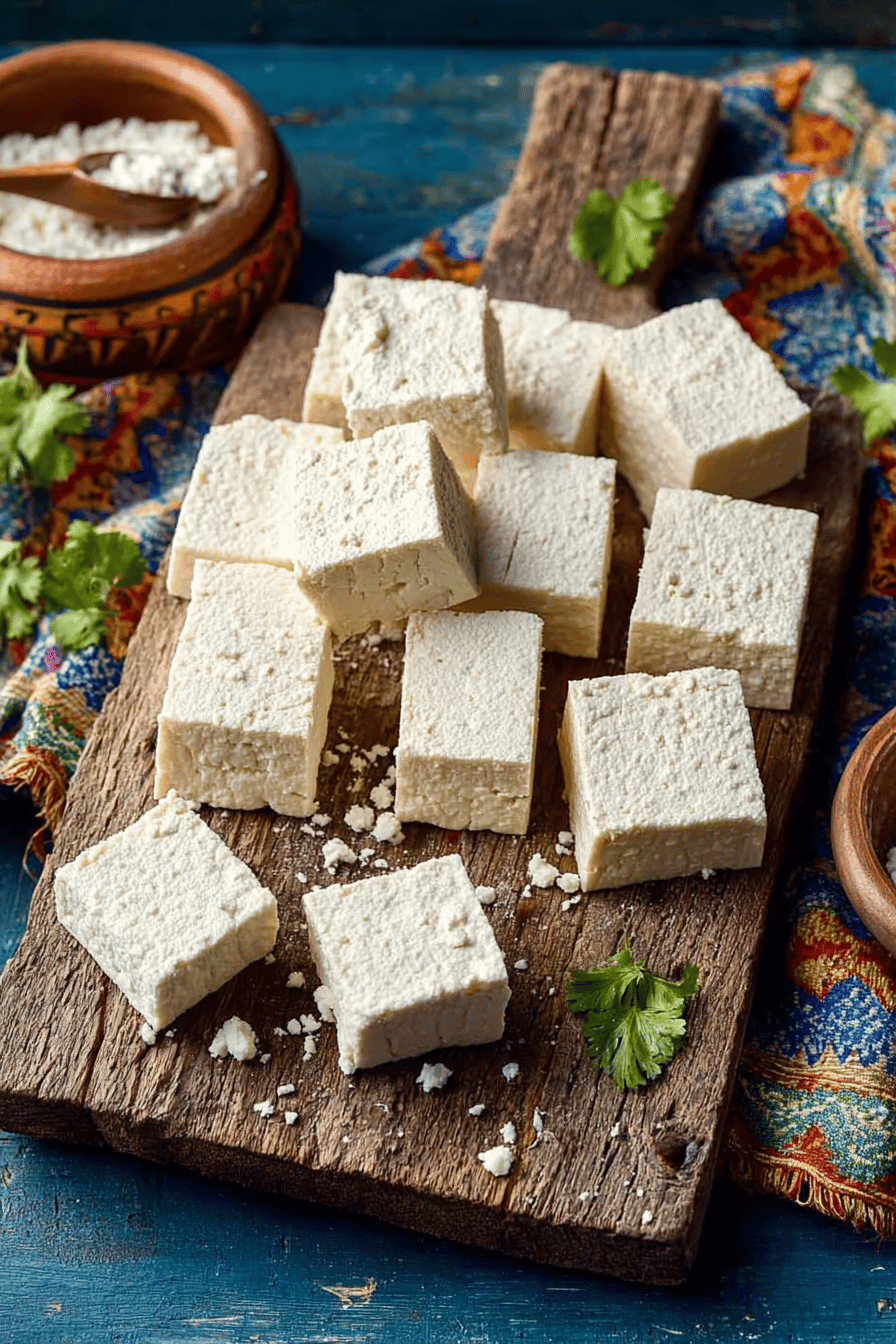
And that’s it! Unwrap your paneer, slice it up, and get cooking! Told ya it was easy.
Ingredient Notes
- Whole Milk: This is non-negotiable. Skim milk will NOT work. I tried it once when I was out of whole milk, and it was a sad, crumbly mess. Don’t be like me.
- Lemon Juice: Fresh is best, but bottled will do in a pinch. I always keep a bottle of lemon juice on hand for emergencies. You can also use white vinegar, but the flavor will be slightly different.
- Cheesecloth: You can find this at most grocery stores. Make sure you have enough to line your colander and gather up the curds. If you don’t have cheesecloth, you could use a clean tea towel, but it might be a little harder to squeeze out all the whey.
Recipe Steps:
- Pour the milk into a large pot.
- Heat milk over medium heat, stirring frequently, until simmering.
- Slowly add the lemon juice, stirring gently, until the milk curdles and separates.
- Remove from heat.
- Line a colander with cheesecloth and pour in the curds and whey.
- Gather the cheesecloth, twist tightly, and squeeze out excess whey.
- Place the cheesecloth bundle under a heavy object for at least 30 minutes.
- Unwrap the paneer and slice.
What to Serve It With
Okay, so paneer is like, the ultimate blank canvas. You can throw it in curries (obviously), but it’s also amazing grilled, pan-fried, or even crumbled into salads. My personal favorite is Palak Paneer, but seriously, the possibilities are endless. Leo likes it just cubed and pan-fried with a little salt, like paneer “fries”. Whatever floats your boat!
Tips & Mistakes
- Don’t boil the milk too fast! Patience, grasshopper. Low and slow is the key.
- Squeeze out as much whey as possible. This will make your paneer firmer. If you don’t squeeze enough out, it’ll be soft and crumbly. Still delicious, but not as versatile.
- Don’t skip the pressing! This is what gives the paneer its shape and texture.
- If your milk isn’t curdling: Add a little more lemon juice or vinegar. Sometimes you just need a little extra push.
- If your paneer is too crumbly: You probably didn’t use enough whole milk or didn’t press it long enough. Try again! Practice makes perfect.
Storage Tips
Alright, so you’ve got leftover paneer (if you’re lucky!). Wrap it tightly in plastic wrap or stick it in an airtight container and stash it in the fridge. It’ll keep for about 3-4 days. And listen, I’m not gonna lie, I’ve totally eaten cold paneer straight from the fridge for breakfast. Don’t judge me. It’s delicious! You can also freeze paneer, but the texture might change a bit. It’ll be a little more crumbly when you thaw it, but it’s still totally usable in curries and other cooked dishes.
Variations and Substitutions
Okay, so here’s where you can get creative.
- Spices: Throw some spices into the milk while it’s simmering for flavored paneer. Turmeric, cumin, or even a little chili powder would be amazing.
- Herbs: Add chopped fresh herbs to the curds before pressing. Cilantro, mint, or parsley would be delicious.
- Different Acids: I’ve used lime juice when I was out of lemons. It’s tangier, but works!
- Salt: I sometimes add a pinch of salt to the milk. Some people swear by it, some don’t. I honestly can’t tell the difference, but hey, why not?
- If you don’t have cheesecloth: Use a clean tea towel, but be careful when squeezing out the whey. It might tear. I had a disaster with an old t-shirt once. Don’t ask.
Frequently Asked Questions
Easy Homemade Paneer Recipe
Ingredients
Main Ingredients
- 8 cups whole milk preferably full-fat for creamier paneer
- 3 tablespoons lemon juice freshly squeezed
- 0.25 teaspoon salt for seasoning
Instructions
Preparation Steps
- Pour the milk into a large pot and bring it to a gentle boil over medium heat, stirring occasionally.
- Add the lemon juice and stir gently. You will notice the milk beginning to curdle.
- Turn off the heat and allow the mixture to sit for 10 minutes to let the curds form fully.
- Line a colander with a cheesecloth and strain the curds from the whey.
- Gather the corners of the cheesecloth to form a bundle and rinse under cold water to remove excess lemon flavor.
- Squeeze out as much water as possible, then shape the paneer into a block and set aside with a weight on top to remove additional moisture.
Notes
Nutrition
Featured Comments
“Made this last night and it was so flavorful. Loved how the anytime came together.”
“Impressed! Clear steps and will make again results. Perfect for busy nights.”
“New favorite here — turned out amazing. simple was spot on.”
“Impressed! Clear steps and will make again results. Perfect for busy nights.”
“Impressed! Clear steps and so flavorful results. Perfect for busy nights.”
“Super easy and so flavorful! My family asked for seconds. Saving this one.”
“This anytime recipe was turned out amazing — the simple really stands out. Thanks!”
“Super easy and will make again! My family asked for seconds. Saving this one.”
“Super easy and turned out amazing! My family asked for seconds. Saving this one.”
“New favorite here — family favorite. perfect pair was spot on.”