Easy 7-Layer Taco Dip Recipe
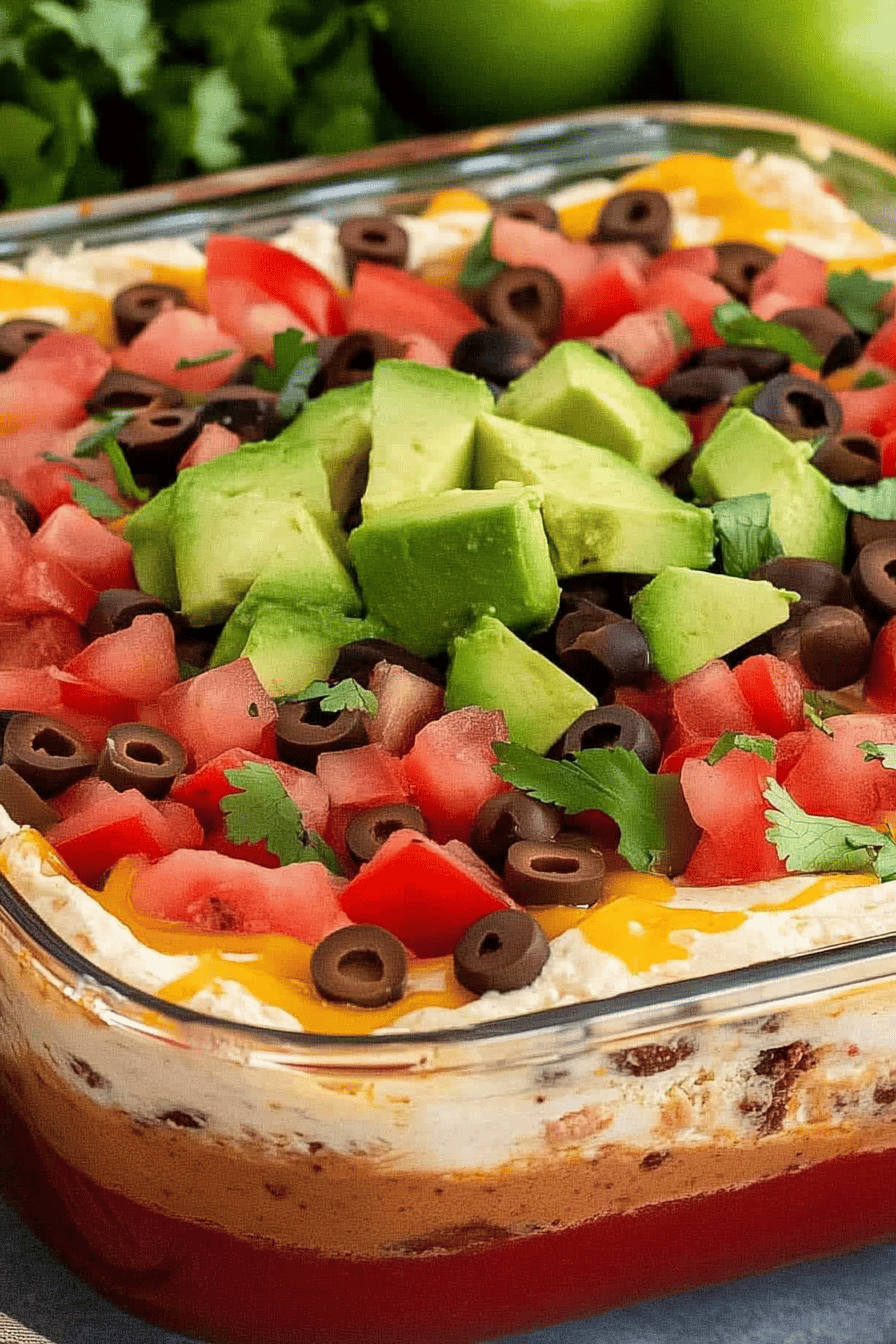
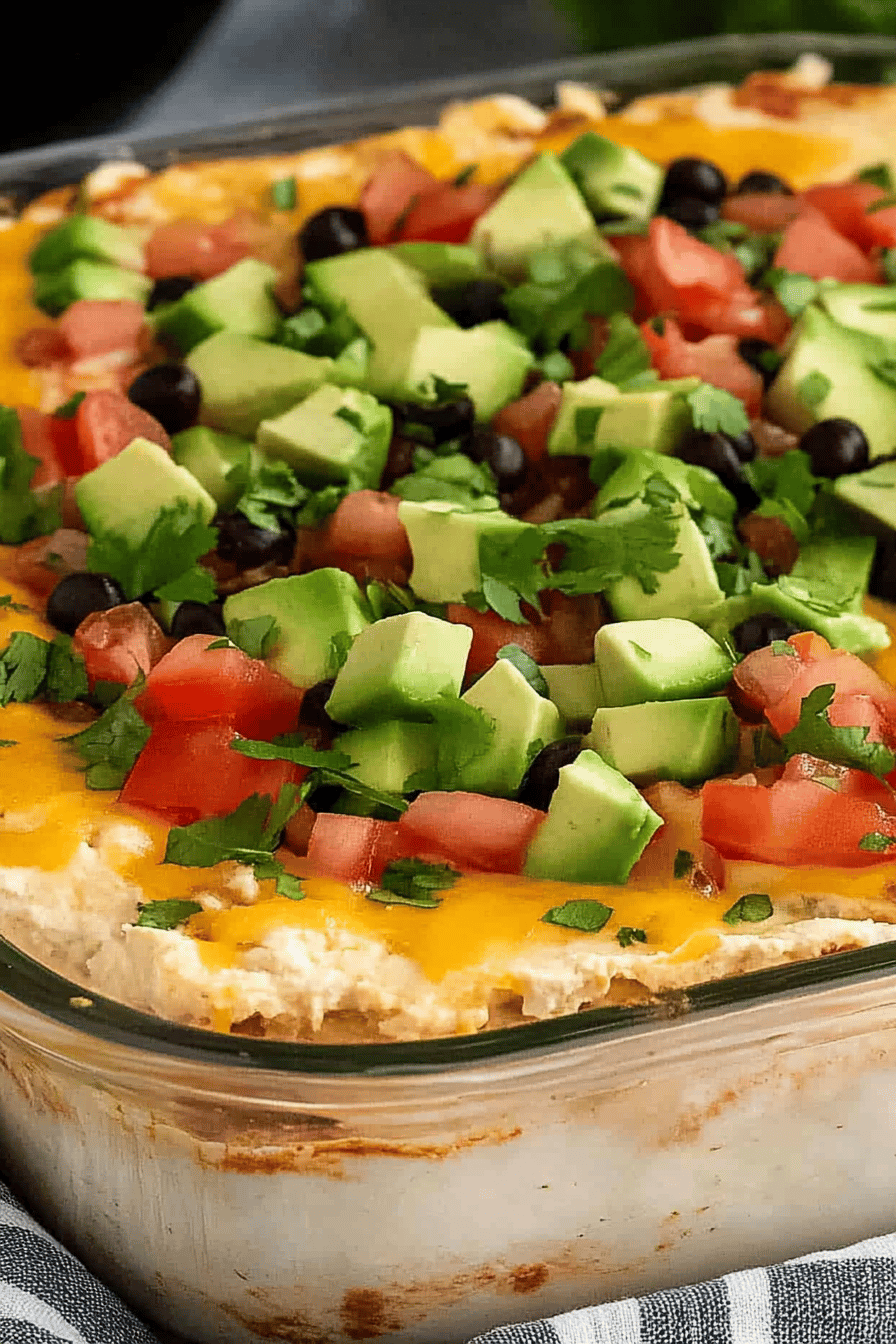
There’s nothing quite like the crowd-pleaser that is an easy 7-layer taco dip when it comes to party appetizers. This dish, vibrant with layers of flavor and color, pulls together quickly and makes hosting a breeze. Its layers of beans, sour cream, guacamole, salsa, cheese, and other delightful toppings will make you the star of any gathering.
Growing up, my family hosted a Cinco de Mayo celebration every year. My mom would craft this exceptional dish that brought everyone together. The creamy texture of the dip paired with crunchy tortilla chips was irresistible. It was a staple at our family gatherings, and now, I happily continue the tradition with my own children, who are already just as fond of it as I was.
Why You’ll Love This Recipe
This recipe is a must-have for several reasons. First, it’s incredibly easy to prepare, ideal for the novice chef or the seasoned host looking for simplicity. Its versatility allows you to tweak ingredients according to personal preference. Not to mention, it’s a feast for the eyes with its vibrant layers, sure to impress any guest. Lastly, it’s a guaranteed hit because everyone loves a good taco, wrapped into a creamy, dippable delight.
Ingredients Notes


To make this dish, you’ll need classic taco ingredients like refried beans, tangy sour cream, fresh guacamole, zesty salsa, shredded cheese, chopped tomatoes, and sliced olives. Opt for ripe avocados to ensure the creamiest guacamole, and consider using freshly grated cheese for the best melting quality. For a refreshing twist, add chopped cilantro and green onions as garnish.
MORE OF OUR FAVORITE…
Recipe Steps
Step 1
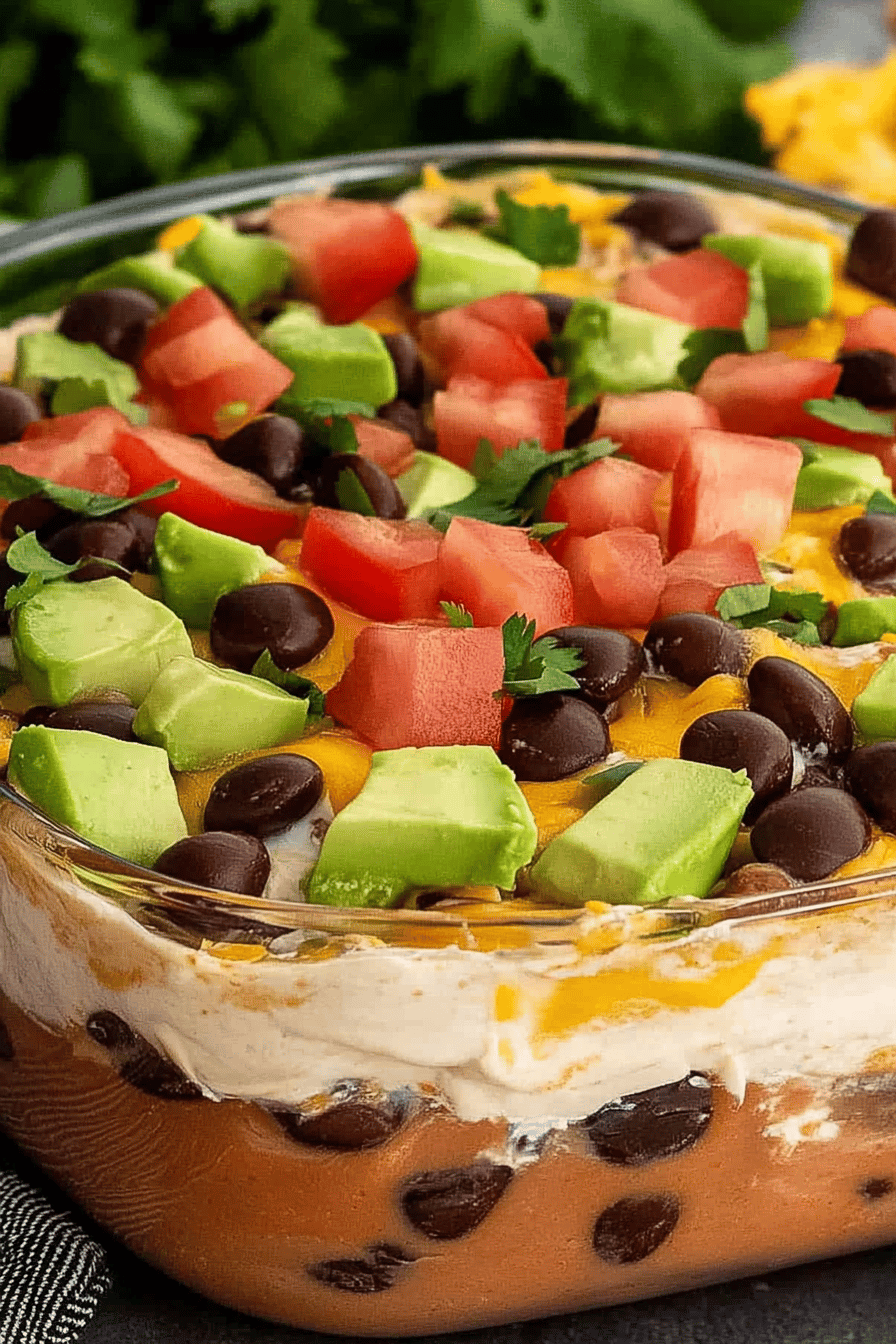
Start by spreading a can of refried beans evenly at the bottom of a large serving dish. This layer gives the dip a sturdy base. Ensure it’s evenly spread to avoid any unintentional mixing with the next layer.
Step 2
Add a generous layer of sour cream over the beans. You can add a bit of taco seasoning into the sour cream for an extra kick. Make sure it’s a smooth, consistent layer for optimal taste.
Step 3
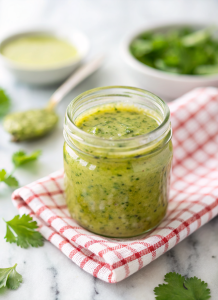
Spoon a layer of fresh guacamole on top of the sour cream, gently smoothing it out. Homemade guacamole, if you have time, really elevates this dish.
Step 4
Layer your favorite salsa on top of the guacamole. Choose chunky salsa for texture and be mindful of not picking a salsa too watery, as it can affect the consistency of your dip.
Step 5
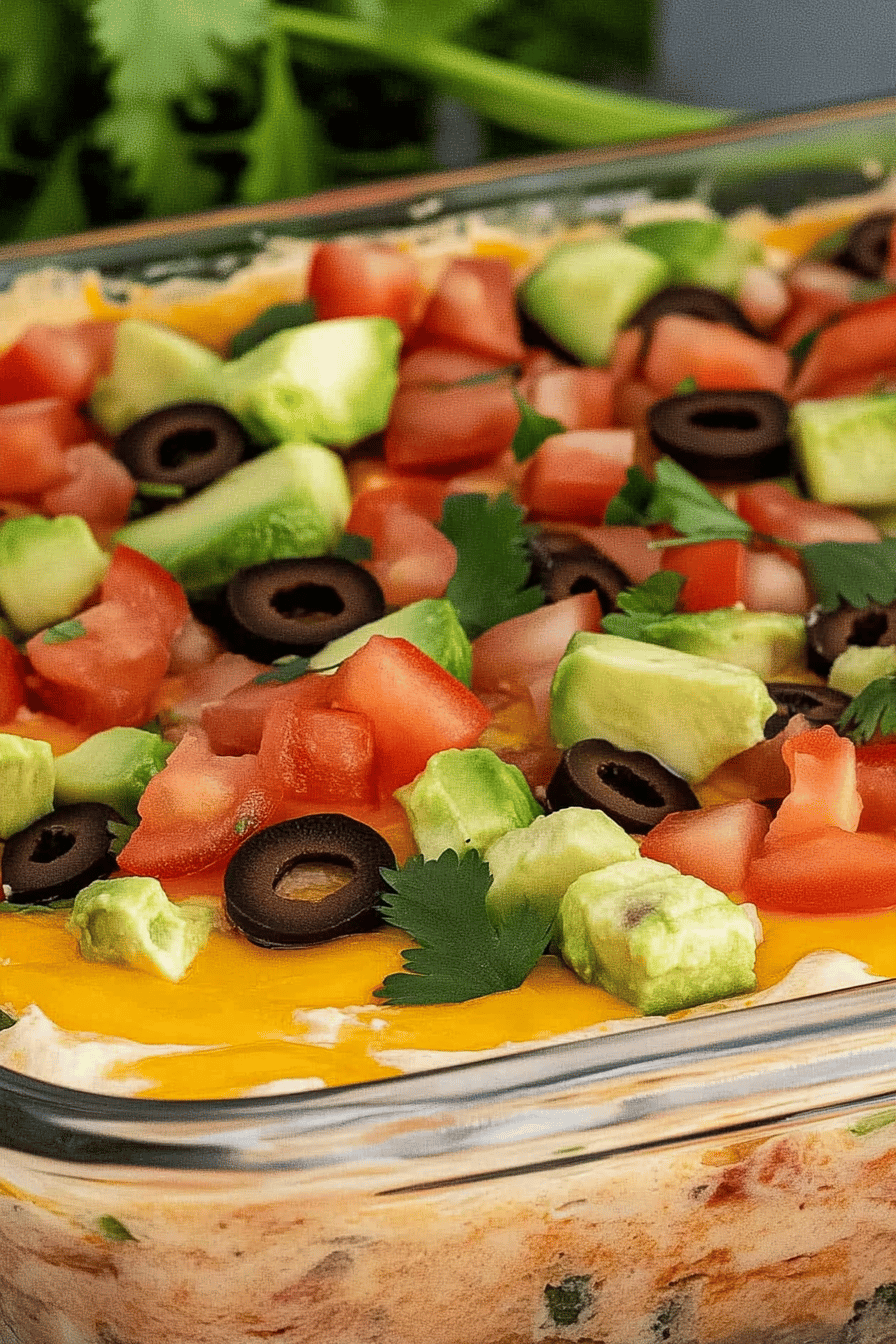
Top the salsa with shredded cheese, then sprinkle diced tomatoes, sliced olives, and chopped green onions. For a burst of flavor, add chopped cilantro as the final touch.
Storage Options
If you have leftovers, cover the dish with plastic wrap and refrigerate. It should last about two to three days. To maintain freshness, store the dip in an airtight container if possible. Freezing isn’t recommended as the texture can change upon thawing.
Variations & Substitutions
For a lighter version, use Greek yogurt in place of sour cream. You can switch up the layers by adding cooked ground beef or turkey to make it more filling. For vegetarians, sticking with the original or adding black beans and corn is perfect. If olives aren’t your thing, omit them or replace them with another favorite topping.
Serving Suggestions
This dip is best served chilled with tortilla chips. It’s perfect for backyard barbecues, game days, or as a starter for any casual get-together. Serve alongside margaritas or chilled beverages for a refreshing combination.
Frequently Asked Questions
Can I make this dip in advance? Yes, absolutely! This dip can be made a day in advance, allowing the flavors to meld together beautifully. Just cover it well and keep it refrigerated until you’re ready to serve.
What type of salsa works best? Opt for a thicker, chunkier salsa for the best results. A watery salsa might make the layers runny. Homemade salsa made with fresh tomatoes, onions, and cilantro can add a personal touch.
Is it possible to make it spicier? Yes, for more heat, add jalapeños to the ingredient list or incorporate a spicy salsa. Assess your guests’ spice tolerance and adjust accordingly to keep it enjoyable for all.
Easy 7-Layer Taco Dip Recipe
Ingredients
Main Ingredients
- 1 cup refried beans canned
- 1 cup sour cream
- 1 cup guacamole store-bought or homemade
- 1 cup salsa mild
- 1 cup shredded cheddar cheese
- 1 cup chopped tomatoes fresh
- 0.5 cup sliced black olives
- 0.5 cup chopped green onions for garnish
Instructions
Preparation Steps
- Spread the refried beans evenly on the bottom of a medium-sized serving dish.
- Layer sour cream over the refried beans evenly.
- Spread guacamole over the sour cream.
- Top the guacamole with salsa.
- Sprinkle the shredded cheddar cheese over the salsa.
- Add a layer of chopped tomatoes.
- Garnish with sliced black olives and chopped green onions.
- Serve immediately with tortilla chips.
Notes
Nutrition
Featured Comments
“Super easy and turned out amazing! My family asked for seconds. Saving this one.”
“Impressed! Clear steps and will make again results. Perfect for busy nights.”
“Made this last night and it was turned out amazing. Loved how the shareable came together.”
“Impressed! Clear steps and absolutely loved results. Perfect for busy nights.”
“Impressed! Clear steps and so flavorful results. Perfect for busy nights.”
“Super easy and so flavorful! My family asked for seconds. Saving this one.”
“Made this last night and it was so flavorful. Loved how the bite-sized came together.”
“Super easy and turned out amazing! My family asked for seconds. Saving this one.”
“Impressed! Clear steps and turned out amazing results. Perfect for busy nights.”
“New favorite here — absolutely loved. crispy was spot on.”