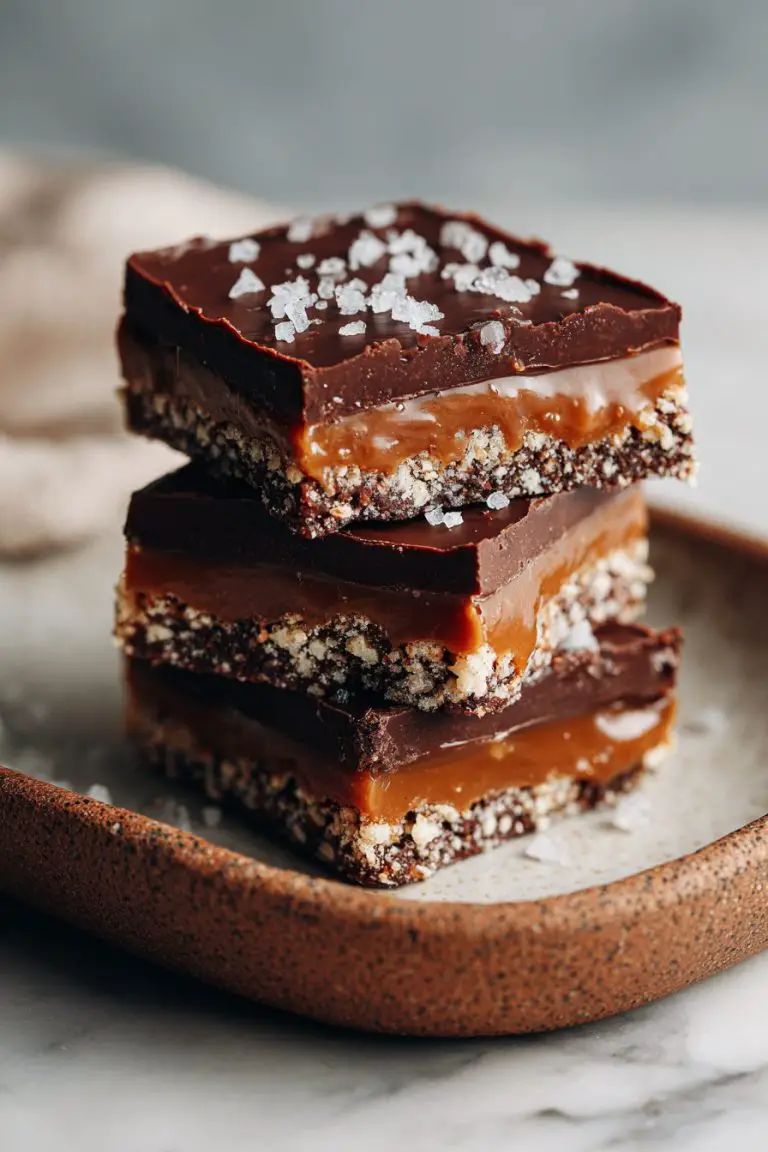
Step-by-Step Guide to Making Old Fashioned Fudge
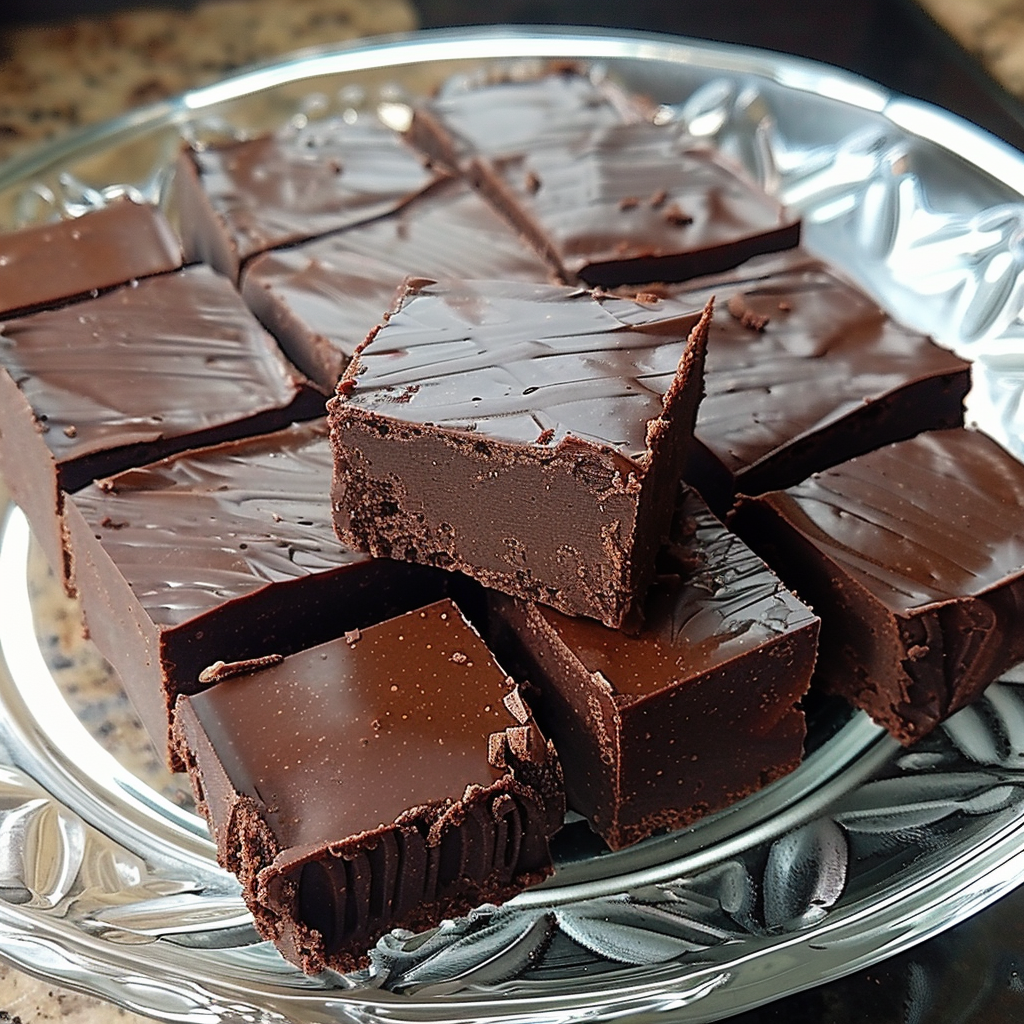
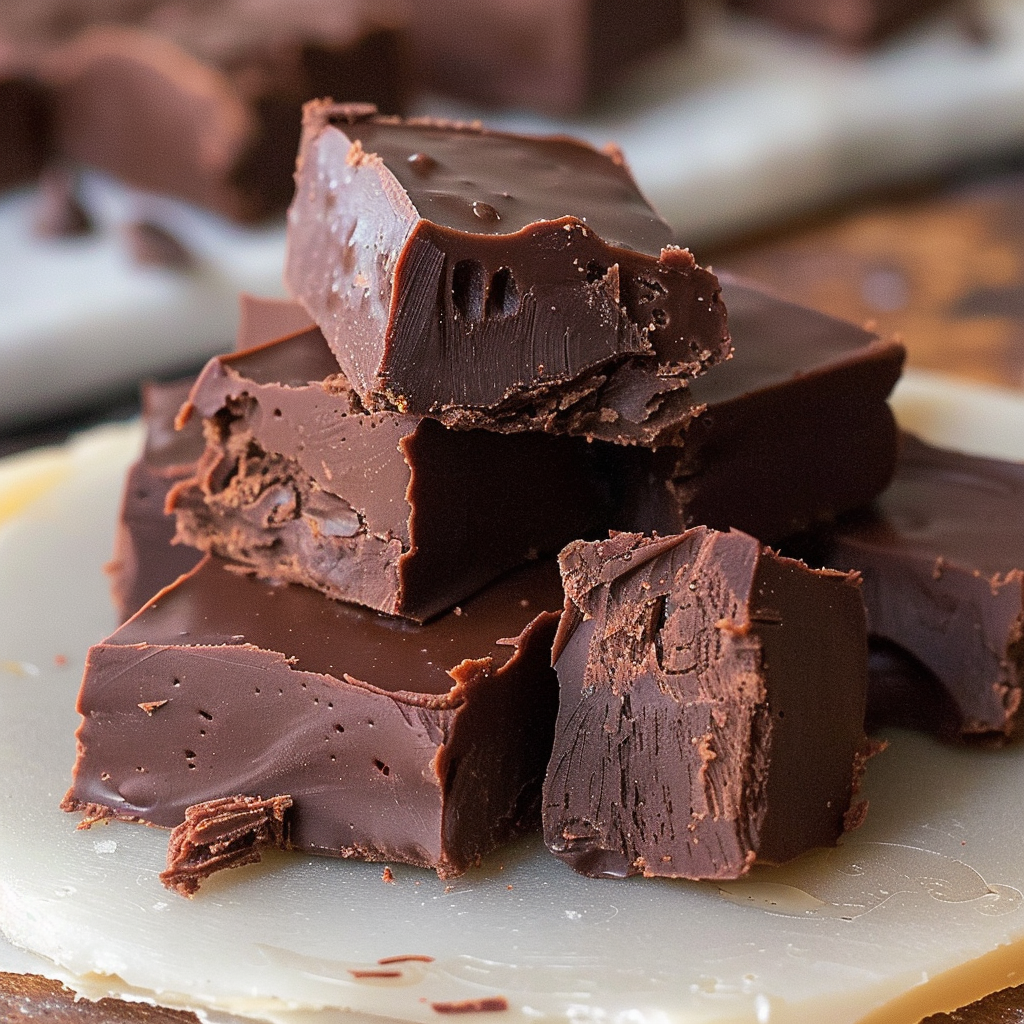
Step back in time with this Nostalgic Indulgence: Old-Fashioned Fudge Recipe, a rich and delectable treat that evokes the warm memories of yesteryear. This classic recipe brings the timeless charm of traditional fudge, made with simple ingredients and a whole lot of love. Perfect for the holidays, special occasions, or just a comforting treat, old-fashioned fudge offers a melt-in-your-mouth texture and a deeply chocolatey taste that’s sure to satisfy any sweet tooth.
WANT TO SAVE THIS RECIPE?
Just drop your email here and I'll send it right away! Plus you'll get new recipes every week. Yes please!
Why You’ll Love This Old-Fashioned Fudge:
- Rich Chocolate Flavor: Made with real cocoa or chocolate, this fudge is a chocolate lover’s dream.
- Creamy Texture: The traditional cooking method results in a smooth, creamy consistency that’s unbeatable.
- Simple Ingredients: Just a few basic pantry staples are all you need to create this delightful confection.
- Nostalgic Experience: Recreating this classic treat is like reliving cherished memories and creating new ones.
Ingredients Notes For Old-Fashioned Fudge:
- Cocoa Powder or Chocolate: Depending on the recipe version, use high-quality cocoa powder or melted chocolate for the best taste.
- Sugar: The base of the fudge, providing sweetness and structure.
- Milk or Cream: Adds richness to the fudge and helps dissolve the sugar for a smooth texture.
- Butter: For added richness and a velvety mouthfeel.
- Vanilla Extract: Enhances the chocolate flavor and adds depth to the overall taste.
Recipe Steps:
- Combine Ingredients: In a heavy saucepan, mix the cocoa powder (or melted chocolate), sugar, and milk (or cream). Stir over low heat until the sugar is fully dissolved.
- Cook the Mixture: Increase the heat to medium, bringing the mixture to a boil. Continue cooking without stirring until it reaches the soft ball stage (about 234-240°F or 112-115°C on a candy thermometer).
- Cool and Beat: Remove from heat and add butter and vanilla. Let the mixture cool slightly, then beat it until it thickens and loses some of its gloss.
- Set the Fudge: Pour the fudge into a greased or lined pan. Allow it to cool completely and set before cutting into squares.
MORE OF OUR FAVORITE…
[pinterest-image message=”Indulge in the rich, creamy taste of Old Fashioned Fudge, a classic treat with a smooth texture and deep chocolate flavor.” image=”https://charmrecipes.com/wp-content/uploads/2024/03/Old-Fashioned-Fudge.png”]
Storage Options:
- Room Temperature: Store the fudge in an airtight container at room temperature for up to 2 weeks.
- Refrigerate: For longer storage, fudge can be refrigerated for up to a month, though it’s best served at room temperature for optimal flavor and texture.
Loading…
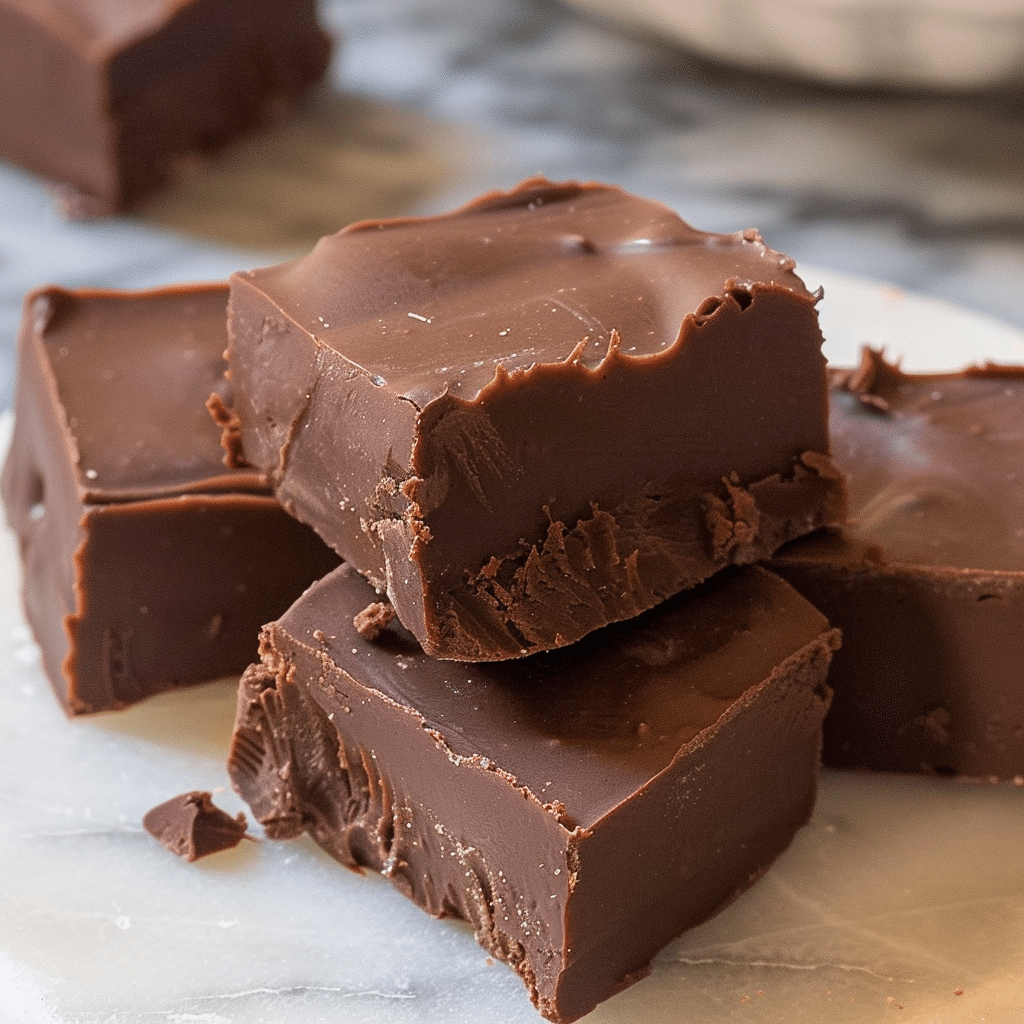
Step-by-Step Guide to Making Old Fashioned Fudge
Pin This Recipe For Later! Share The Yum On Facebook PrintIngredients
- 3 cups granulated sugar
- 3/4 cup unsweetened cocoa powder
- 1/8 teaspoon salt
- 1 1/2 cups whole milk
- 1/4 cup unsalted butter
- 1 teaspoon vanilla extract
Instructions
Prepare the Pan:
- Line an 8x8 inch square pan with parchment paper, leaving an overhang on the sides to lift the fudge out easily after it sets. Lightly grease the parchment paper with butter or non-stick spray.
Mix Dry Ingredients:
- In a heavy-bottomed saucepan, whisk together the sugar, cocoa powder, and salt until thoroughly combined and free of lumps.
Add Milk:
- Stir in the milk until the dry ingredients are moistened. Place the saucepan over medium heat.
Cook the Fudge:
- Cook the mixture, stirring constantly, until it comes to a full boil. Once boiling, reduce the heat to low and continue to simmer without stirring until the mixture reaches the soft ball stage (235°F to 240°F on a candy thermometer), which should take about 5-10 minutes. Avoid stirring during this stage as it can cause the fudge to become grainy.
Cool and Add Butter and Vanilla:
- Remove the saucepan from the heat and add the butter and vanilla extract on top of the fudge mixture, but do not stir. Allow the mixture to cool to about 110°F, or until the pan is warm to the touch, not hot.
Beat the Fudge:
- Once cooled, use a wooden spoon to beat the fudge vigorously until it thickens and starts to lose its gloss. This process may take some time and effort but is crucial for achieving the right texture.
Transfer to Pan:
- Quickly pour the thickened fudge into the prepared pan and smooth the top with a spatula.
Let It Set:
- Allow the fudge to set at room temperature. This can take several hours, but you can expedite the process by placing it in the refrigerator.
Cut and Serve:
- Once set, use the parchment paper overhang to lift the fudge out of the pan. Cut into small squares using a sharp knife. If the knife sticks, dipping it in hot water before each cut can help.
Featured Comments
“Made this last night and it was absolutely loved. Loved how the satisfying came together.”
“Made this last night and it was so flavorful. Loved how the messy-good came together.”
“Super easy and turned out amazing! My family asked for seconds. Saving this one.”
“Super easy and will make again! My family asked for seconds. Saving this one.”
“Made this last night and it was turned out amazing. Loved how the plant-powered came together.”
“Impressed! Clear steps and will make again results. Perfect for busy nights.”
“Super easy and family favorite! My family asked for seconds. Saving this one.”
“Made this last night and it was so flavorful. Loved how the juicy came together.”
“Super easy and family favorite! My family asked for seconds. Saving this one.”
“This festive recipe was family favorite — the versatile really stands out. Thanks!”