Peanut Butter Chocolate Thumbprint Cookies
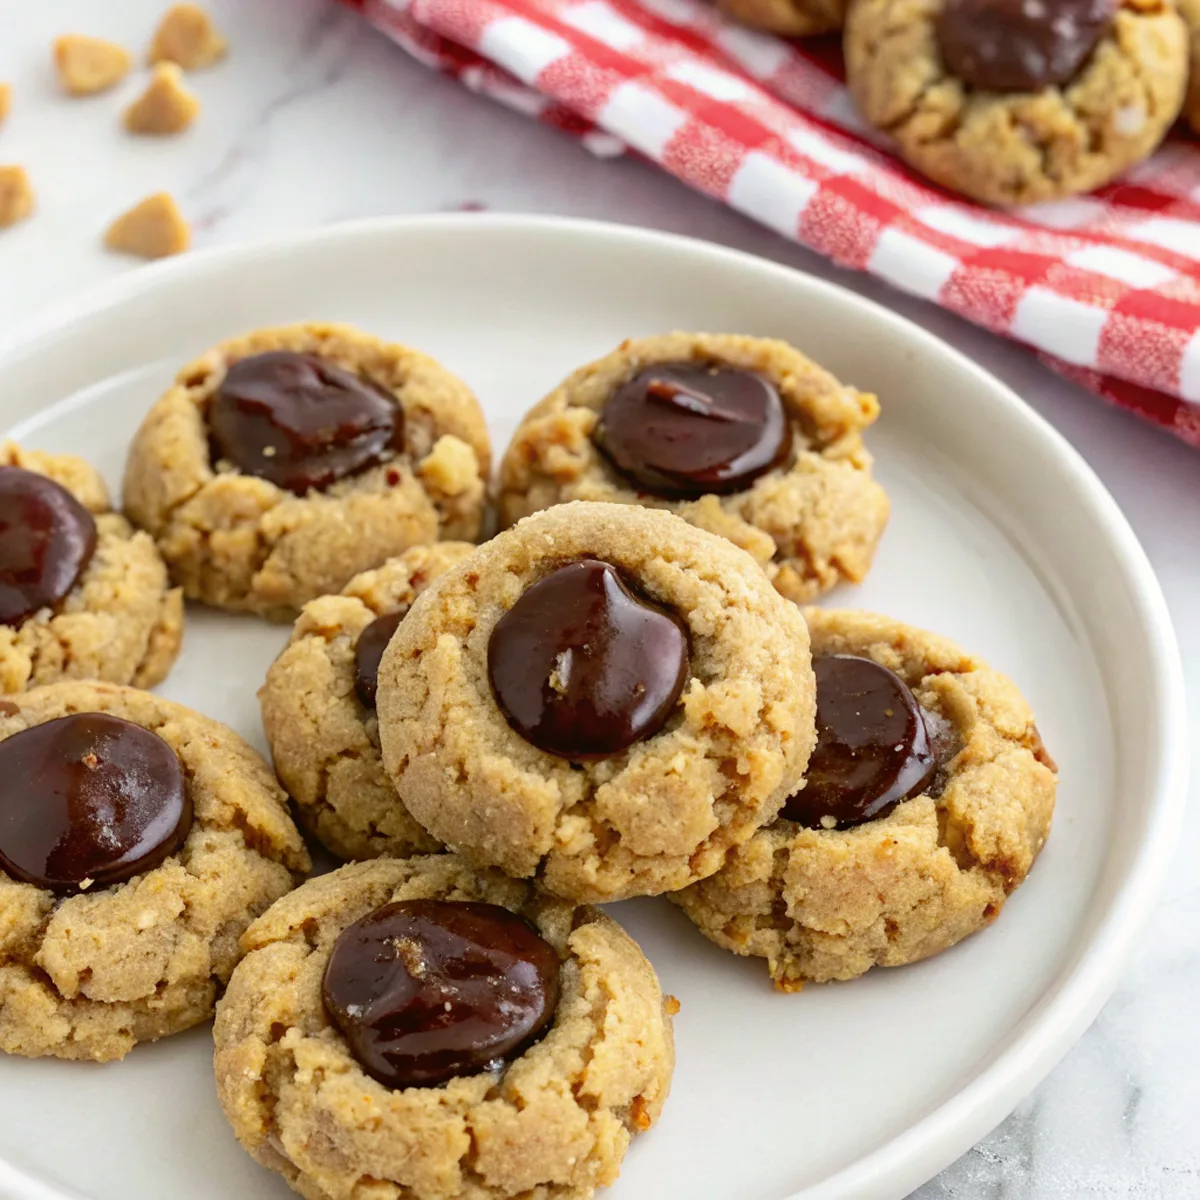
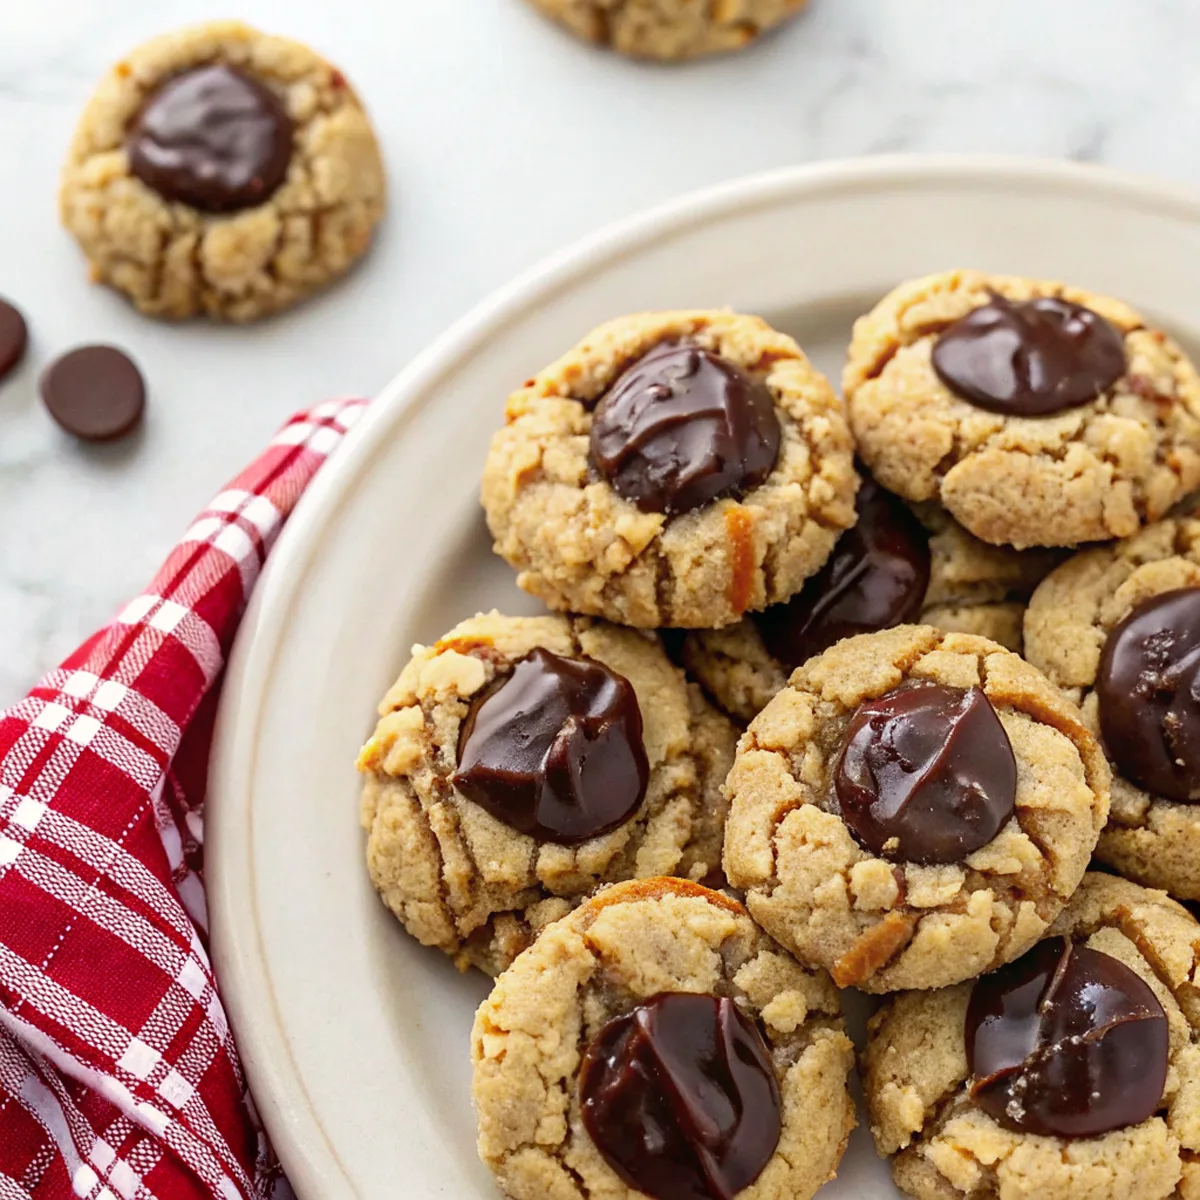
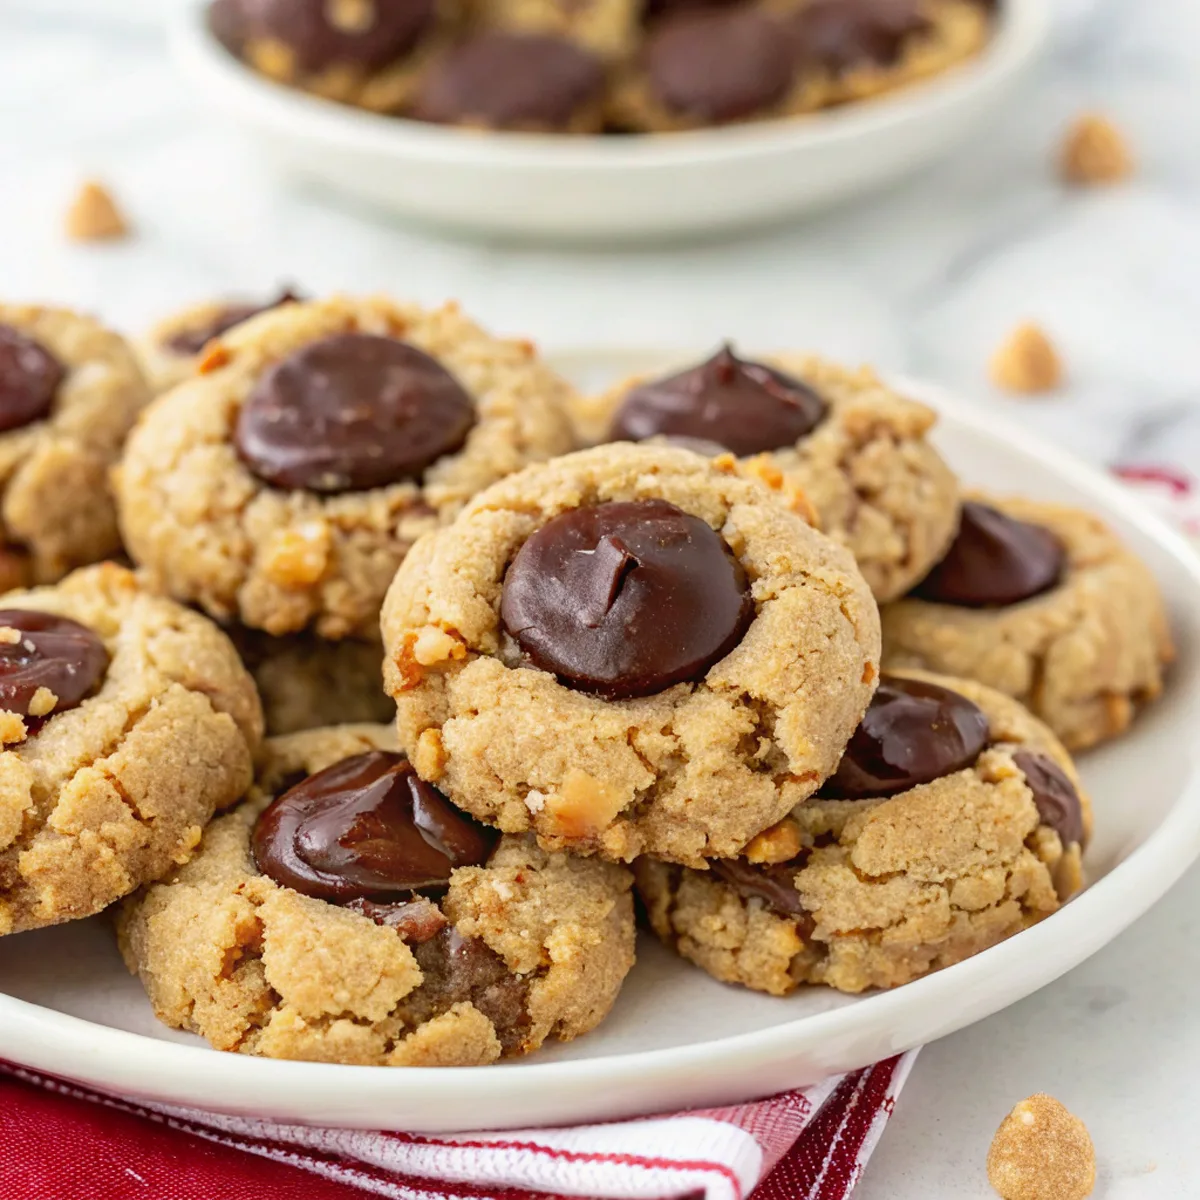
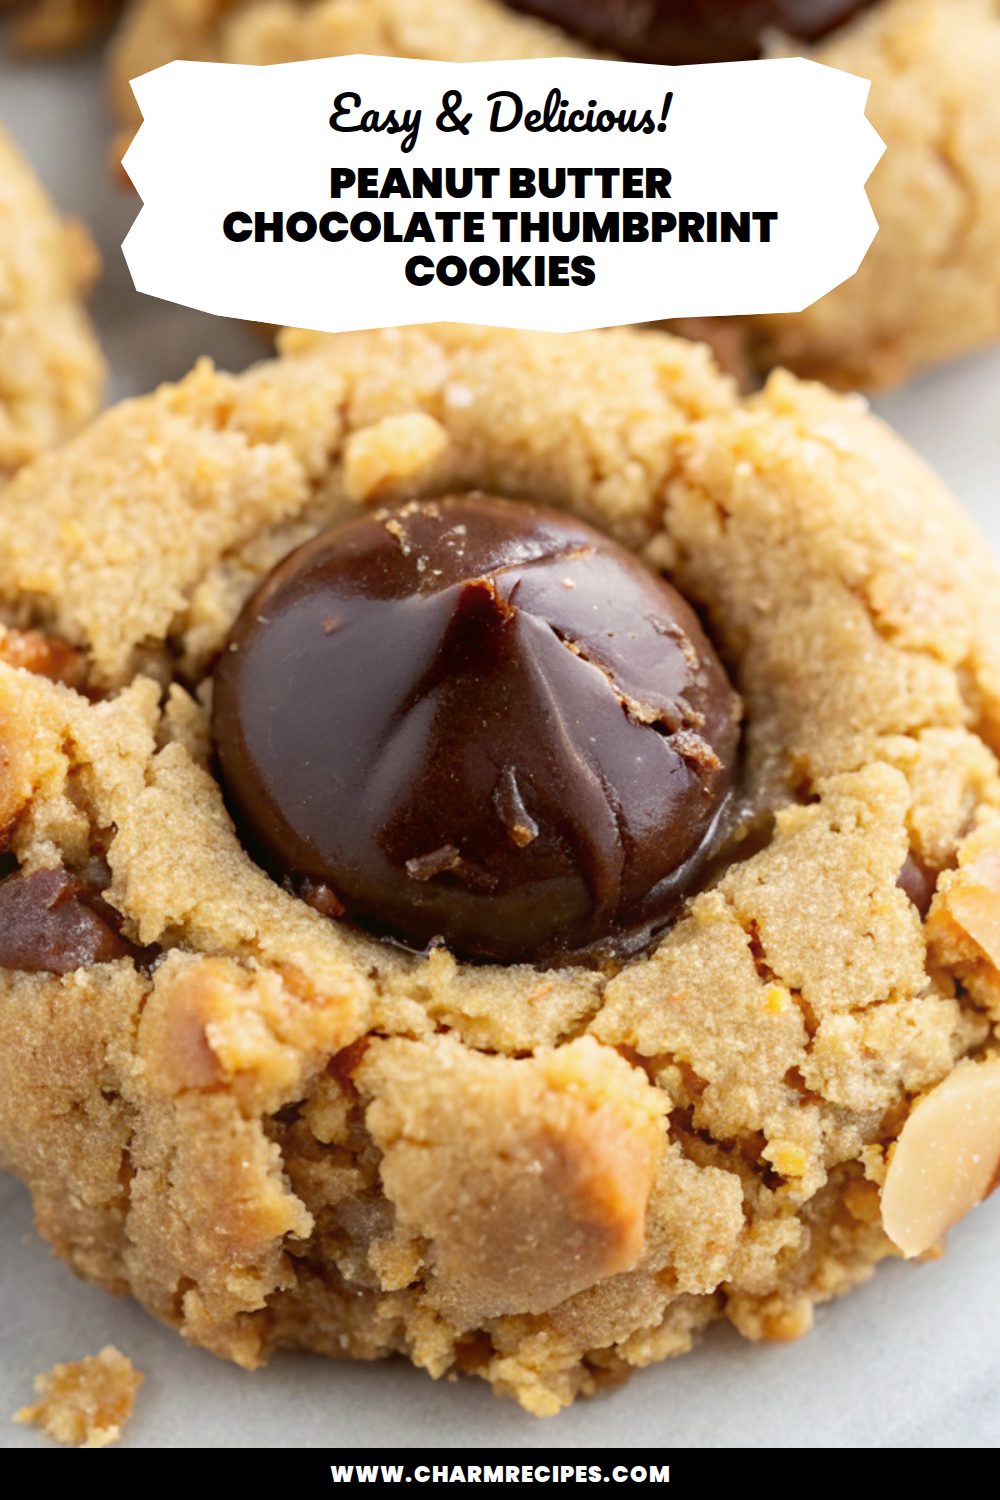
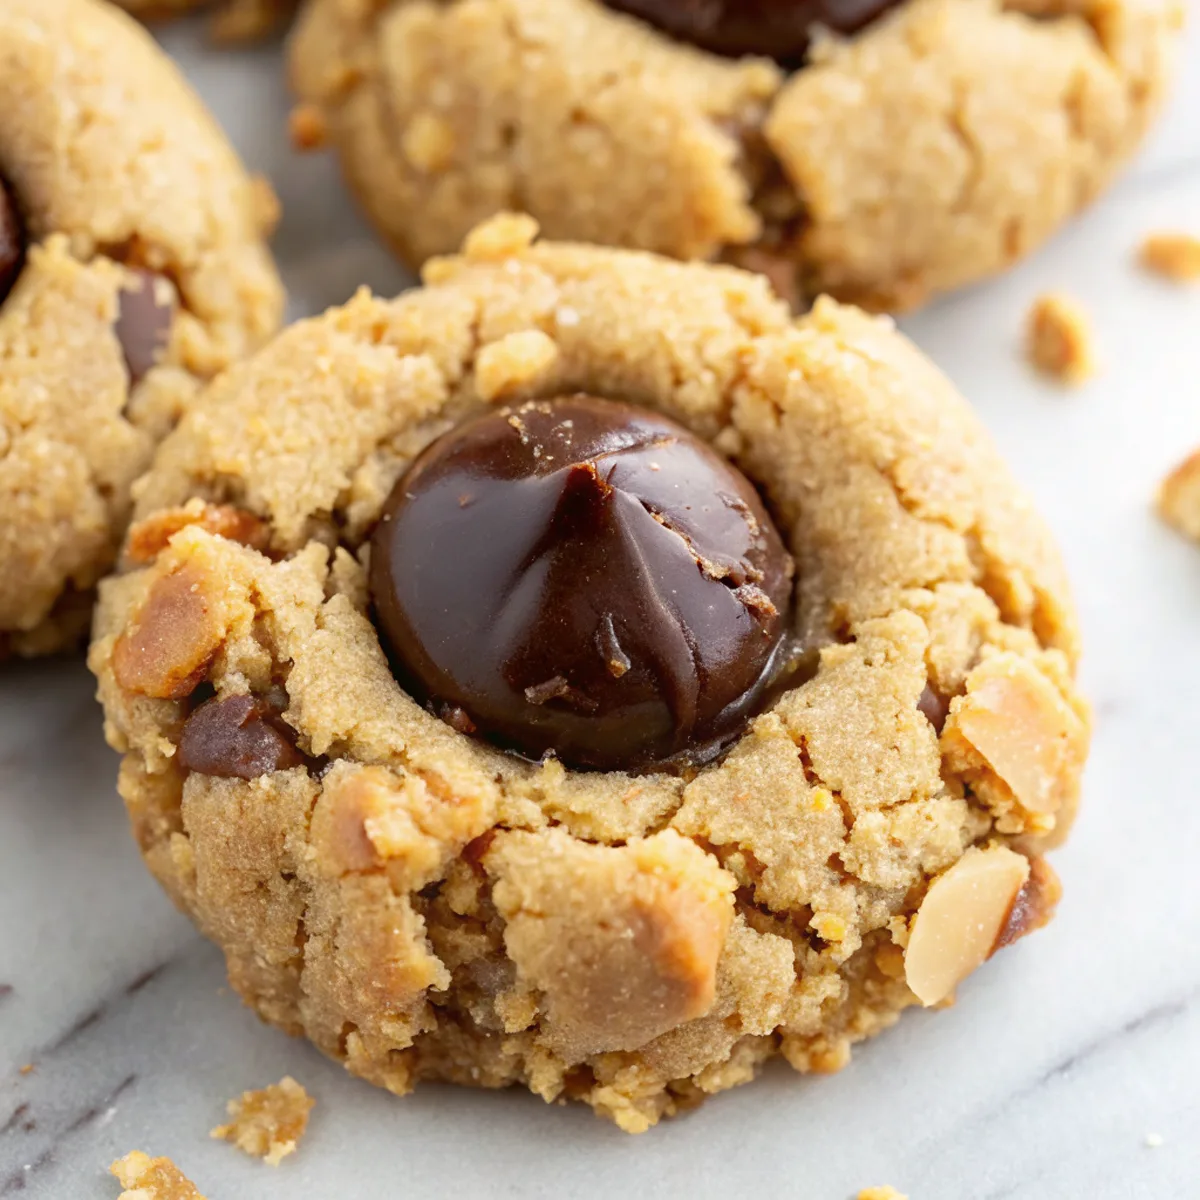
These peanut butter chocolate thumbprint cookies are classic soft-baked peanut butter cookies with a small, glossy chocolate center. They combine a tender, slightly chewy cookie with rich chocolate in the thumbprint cavity — salty, nutty, and just sweet enough. They’re worth making because they’re quick to mix, easy to shape, and always a crowd-pleaser.
They’re forgiving to make at home: the dough holds together well even if your peanut butter is a touch oily, and you can swap the chocolate for jam or Nutella if you like. No special equipment required.
Why This Peanut Butter Chocolate Thumbprint Cookies Works
1. The peanut butter-forward dough gives a pronounced nutty flavor without being greasy.
2. A mix of sugars (if you use both) balances chewiness and a slightly caramelized edge.
3. The shallow thumbprint filled with melted chocolate stays glossy and creates a neat contrast of textures.
4. Dough is easy to roll and chill, so the cookies keep their shape and don’t over-spread.
Ingredients




These are the main ingredients that make these cookies reliable and flavorful.
MORE OF OUR FAVORITE…
– Peanut Butter: Use creamy peanut butter for a smooth texture; natural types are fine but stir well to reincorporate oil.
– Unsalted Butter: Room temperature butter adds richness and helps with spread—soft but not melted is best.
– Sugars: Granulated sugar for structure and a little brown sugar for moisture and caramel notes (or use all granulated for crisper edges).
– Egg: Binds the dough and adds tenderness; one egg usually does the job.
– All-Purpose Flour: Provides structure; measure properly to avoid dense cookies.
– Baking Soda: Small amount gives a gentle lift and helps the cookies spread correctly.
– Chocolate: Semisweet or dark chocolate chips or chopped chocolate for the filling; melts smooth and balances the peanut butter.
Substitutions and Variations
– Swap peanut butter for sunflower seed butter for a nut-free option; flavor shifts slightly but texture is similar.
– Use chunky peanut butter for extra crunch; expect small peanut bits in the dough.
– Replace butter with an equal amount of coconut oil for a dairy-free option; cookies will be slightly softer and more tropical in flavor.
– Fill centers with jam or Nutella instead of chocolate for a fruity or hazelnut twist; jam will be a bit looser.
– Swap brown sugar for coconut sugar for a deeper, caramel-like flavor; cookies may be slightly darker.
– Add a pinch of flaky sea salt on top of each chocolate-filled thumbprint for a nice sweet-salty contrast.
How to Make Peanut Butter Chocolate Thumbprint Cookies
This is a concise walkthrough — the full recipe card has exact amounts and bake times.
1. Preheat oven and line baking sheets with parchment paper.
2. Cream butter, peanut butter, and sugars until light and combined.
3. Beat in the egg and vanilla until smooth.
4. Stir together flour, baking soda, and salt; fold into wet ingredients until a soft dough forms.
5. Roll dough into tablespoon-sized balls, place on the sheet, and press a thumb-sized indentation in the center of each.
6. Bake until edges are set and just beginning to color (cookies will still be soft), then immediately press centers again if needed and add a few chocolate chips or a spoonful of melted chocolate. Let set on the pan briefly, then transfer to a wire rack to cool completely.
Tips for the Best Results
1. Chill the dough 15–30 minutes if it feels too soft — this prevents excessive spreading.
2. Use a cookie scoop for even sizing so bake times stay consistent.
3. Don’t overbake; pull cookies when edges are set but centers are still soft for a tender finish.
4. Press the indent once more right after baking if it puffed up in the oven.
5. Melt chocolate until glossy but not scorched; warm chocolate sets smoother in the cavity.
6. Sprinkle a tiny pinch of flaky sea salt on the chocolate for depth.
Common Mistakes
– Dough too warm and cookies spreading too much: chill the dough or refrigerate the shaped balls for 15–30 minutes before baking.
– Indentations vanish during baking: make shallower dough balls and press the indentation again immediately after baking.
– Chocolate filling too runny: let chocolate cool slightly before adding, or use chocolate chips that hold their shape when set.
– Using oily natural peanut butter without stirring: thoroughly mix the peanut butter so oil doesn’t make the dough greasy.
– Overmeasuring flour (too dense): spoon and level the flour when measuring or weigh it for accuracy.
Storage
Storing: Store cooled cookies in an airtight container at room temperature for up to 4–5 days. Layer with parchment if stacking to keep the chocolate centers from sticking.
Freezing: Dough balls freeze well — place on a tray until firm, then transfer to a freezer bag for up to 3 months. You can also freeze baked cookies in a single layer between parchment for up to 2 months. Thaw at room temperature.
Reheating or serving later: Bring frozen or refrigerated cookies to room temperature before serving. Warm briefly in a low oven (about 300°F / 150°C for 5–7 minutes) to soften the chocolate and refresh the texture.
How to Serve Peanut Butter Chocolate Thumbprint Cookies
– Serve with a glass of cold milk or a cup of coffee for a classic pairing.
– Arrange on a cookie platter with other small cookies for gatherings or holidays.
– Pack in lunchboxes or gift boxes; add parchment between layers to protect the chocolate.
– Warm a cookie briefly and spread onto toast for a quick, indulgent snack.
More Helpful Notes
– If you prefer a firmer chocolate center, chill the filled cookies briefly after topping so the chocolate sets quickly.
– For uniform thumbprints, use the back of a small spoon instead of your thumb.
– Taste your peanut butter first; salt levels vary, so adjust added salt in the dough accordingly.
– If cookies crack on top, they may have been overmixed — gently combine ingredients next time.
Frequently Asked Questions
Featured Comments
“New favorite here — absolutely loved. sweet treat was spot on.”
“This cheesy recipe was absolutely loved — the fluffy really stands out. Thanks!”
“Made this last night and it was will make again. Loved how the cozy came together.”
“New favorite here — so flavorful. crunchy was spot on.”
“Impressed! Clear steps and absolutely loved results. Perfect for busy nights.”
“Super easy and turned out amazing! My family asked for seconds. Saving this one.”
“Impressed! Clear steps and family favorite results. Perfect for busy nights.”
“Impressed! Clear steps and turned out amazing results. Perfect for busy nights.”
“This quick recipe was absolutely loved — the family-style really stands out. Thanks!”
“Made this last night and it was so flavorful. Loved how the toasty came together.”