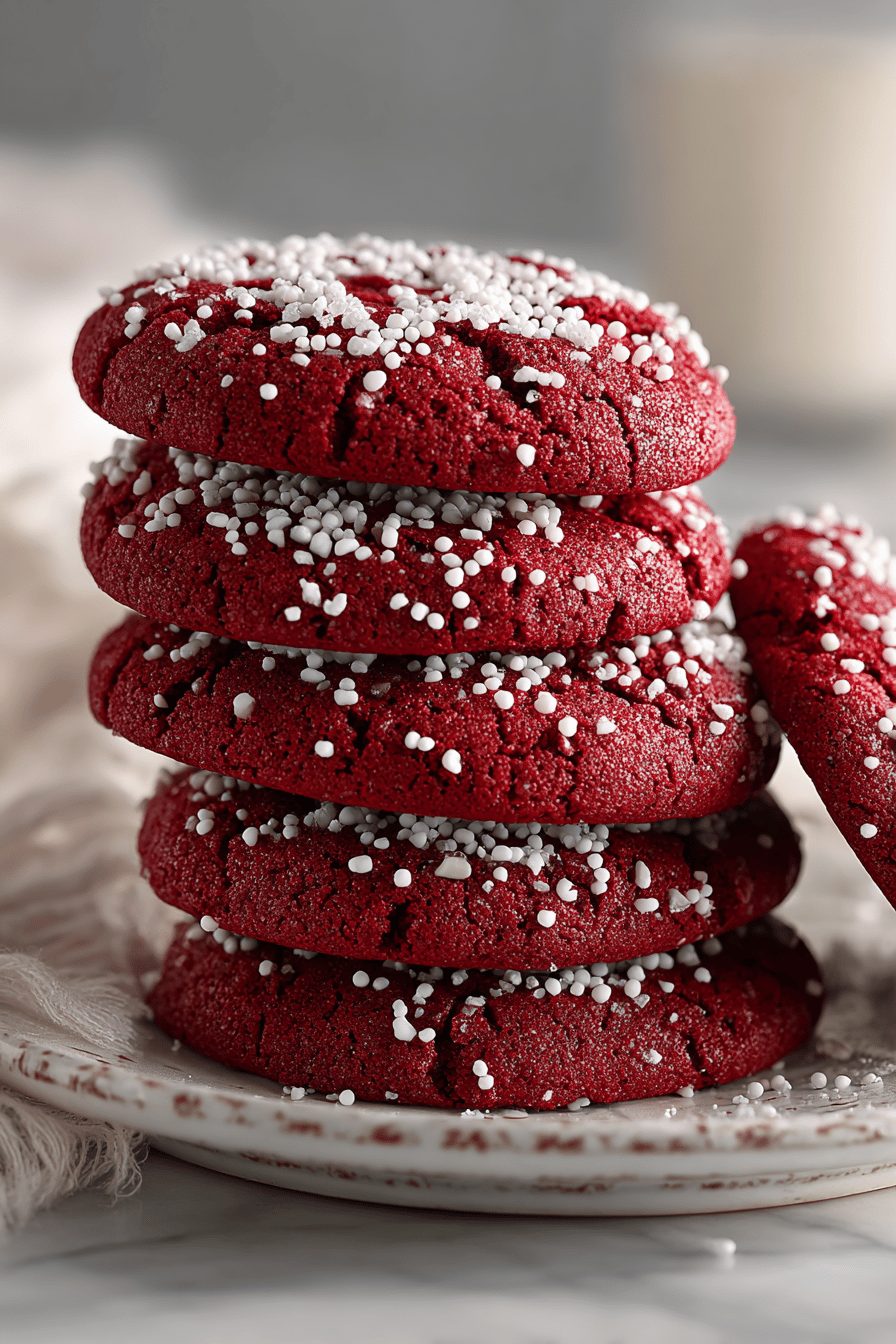
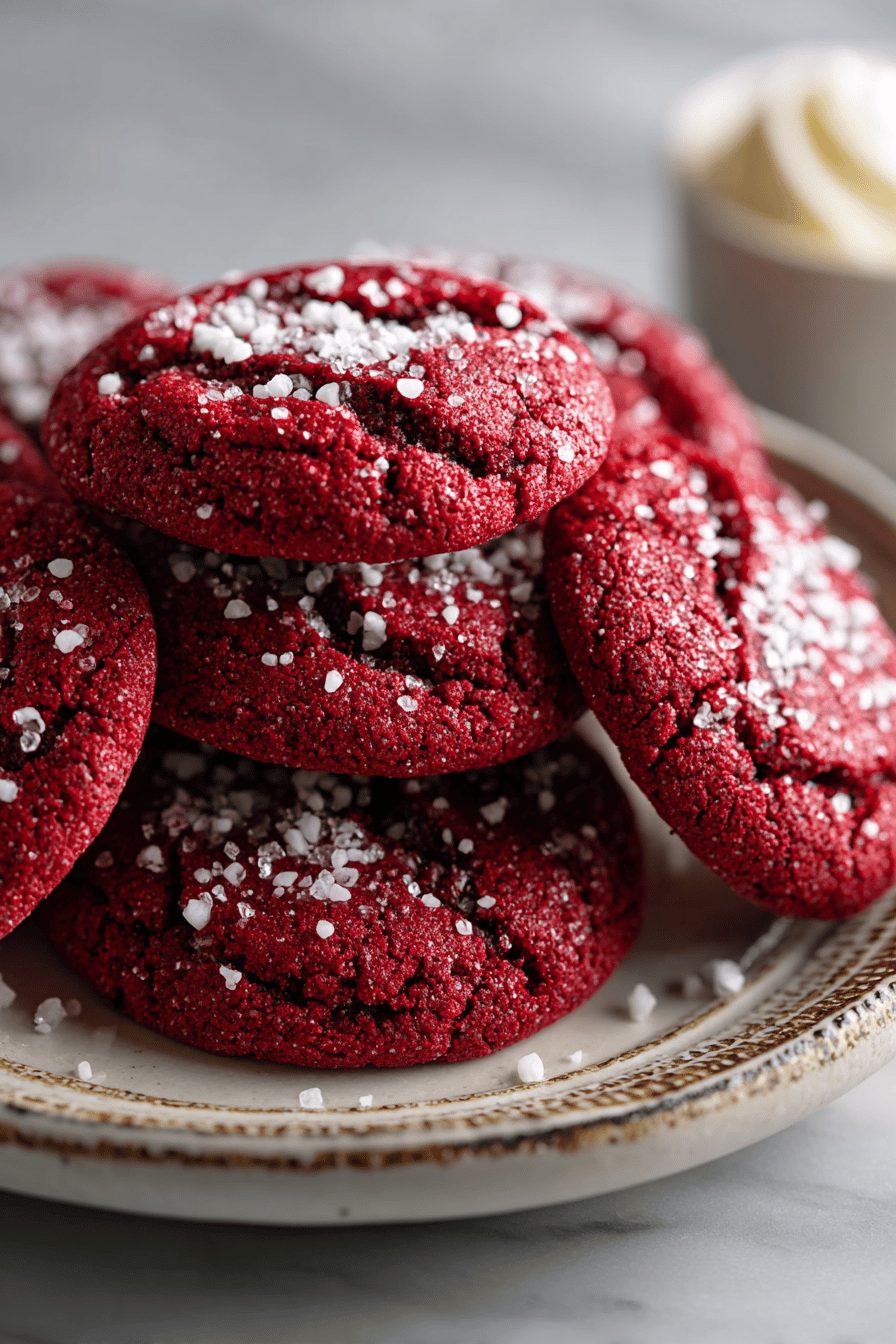
Red Velvet Cookie Delights
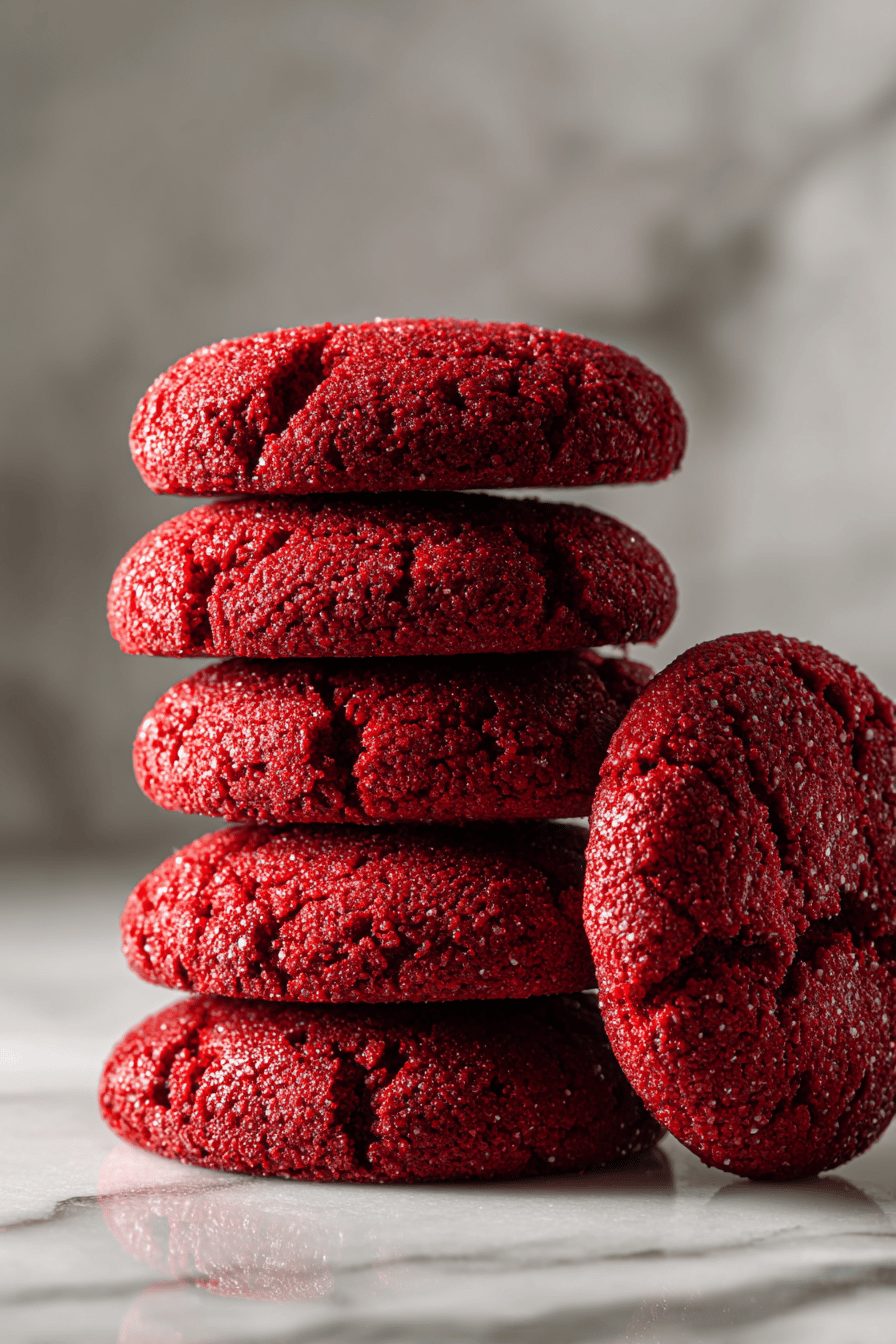
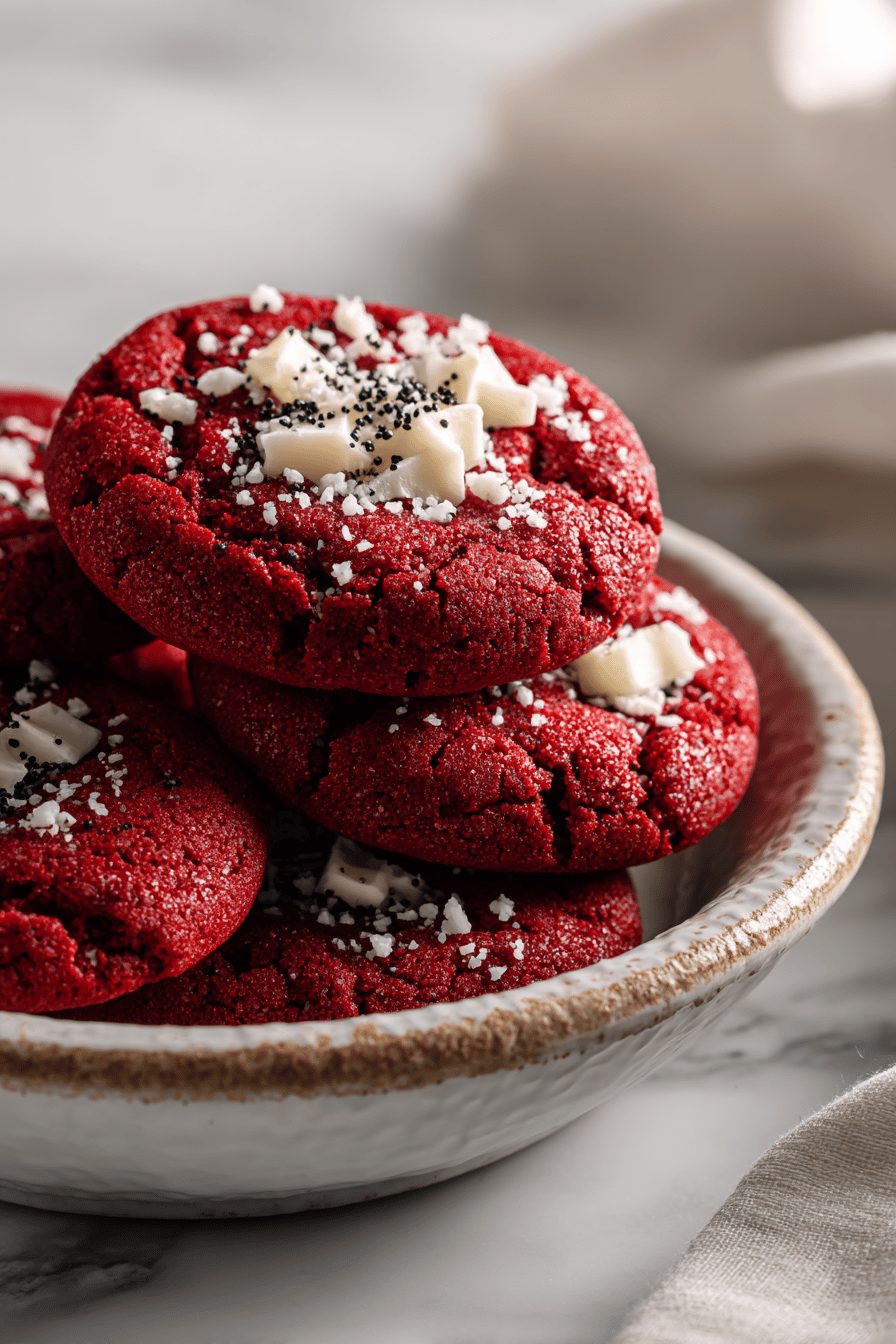
I make these Red Velvet Cookie Delights when I need something that tastes like a celebration but is easy enough for a Tuesday. They’re soft, slightly cakey red velvet cookies with a gooey cream cheese center and little white chocolate pops (or chocolate chips if you’re old-school). They feel fancy but don’t act like it — perfect for when you want impressive dessert vibes without a full cake meltdown.
My husband pretends he’s too busy to sneak one, but I catch him with crumbs on his shirt and a guilty smile. The kids call them “party cookies” and have eaten them for breakfast more than once (no judgment here). This recipe slid into our rotation after a chaotic holiday baking day when I had leftover cream cheese and too much food coloring; now it’s the thing we make for birthdays, school bake sales, and “sorry today was rough” nights.
Why You’ll Love This Red Velvet Cookie Delights
– Soft, cakey cookie texture that still holds together when you pick it up.
– Little molten cream cheese center — tart, silky, and exactly why we show up.
– Bright, nostalgic flavor: cocoa plus a hit of vanilla and that classic red color.
– Easy swaps: white chocolate, semisweet, or nutty add-ins make it your own.
Kitchen Talk
MORE EASY DESSERT RECIPES...

I once tried to speed-bake a full sheet of these at once and ended up with cookie pancakes. Lesson learned: give them breathing room. Chilling the dough helps them keep their shape and gives you time to line up the cream cheese bombs (yes, that’s what I call them). I also experimented with using beet puree for color — it worked but you need a touch more sugar; last-minute swap that saved the batch. If you don’t like dealing with piping, roll little cream cheese balls in advance and pop them into the dough like a secret. Messy, but worth it.
I tried the Red Velvet Cookie Delights recipe and loved how moist and flavorful the cookies were, with a perfect balance of cocoa and sweetness. The cream cheese filling added a lovely tangy surprise that really elevated the treats. These cookies were a hit with my family, and I’ll definitely be making them again!
MORE OF OUR FAVORITE…
Shopping Tips
– Baking Basics: Use all-purpose flour unless you want cakier cookies, and grab baking powder/soda fresh — those little jars lose oomph sitting on the back shelf.
– Fats & Oils: Real butter gives the best flavor; if you must use margarine or a vegan stick, refrigerate the dough longer so they don’t spread.
– Chocolate: White chocolate chips are classic here; if you prefer balance, use semi-sweet chips or chop a bar for chunkier pockets.
– Eggs: Room-temp eggs incorporate better and help the cookies rise evenly; fresh ones make for a fluffier center.
– Flavor Boosts: Pure vanilla extract and a little good-quality cocoa powder make a huge difference — don’t skimp on those.
Prep Ahead Ideas
– Make the cream cheese centers the day before: scoop, roll, and freeze on a sheet tray, then pop them into the dough straight from the freezer.
– Mix the cookie dough and chill it overnight; it firms up, the flavor deepens, and you’ll slice through baking time when guests arrive.
– Store dough in an airtight container or zip-top bag; keep the pre-rolled filling in a separate container to avoid squishiness.
– Evening prep = dough chill; morning bake = scoop and bake. Perfect for last-minute desserts or school treats.
Time-Saving Tricks
– Use a cookie scoop so all the cookies are the same size and bake evenly — less babysitting the oven.
– Freeze little balls of cream cheese ahead so you can assemble quickly when the dough is chilled.
– Bake on lined pans and rotate racks halfway; you’ll avoid hot-spot browning and cleanup is faster.
– Don’t rush the chill time if you want neat cookies — it’s worth the wait.
Common Mistakes
– Overbaking: I once left them in two minutes too long and they lost their gooey center — take them out when edges are set but middles still look soft.
– Too much food coloring: more isn’t always better; it can taste metallic. Use gel color sparingly or try natural beet powder.
– Not chilling dough: they’ll spread into sad flat discs. Chill, even briefly.
– Filling leaks: if the cream cheese is too soft, it’ll melt out. Keep it chilled until the moment you sandwich it in.
What to Serve It With
– A tall glass of cold milk (staple, obviously).
– Vanilla ice cream or a scoop of espresso gelato for grown-up vibes.
– Quick mixed-berry compote spooned over for extra tartness.
– Coffee or a cream-heavy latte for dunking.
Tips & Mistakes
– Use a medium cookie scoop for consistent sizes and bake times.
– If your dough is too sticky, chill it — don’t keep adding flour or the cookies will dry out.
– Salt is your friend: a tiny sprinkle on top before baking makes the sweet pop.
– If the edges brown too fast, lower the oven temp by 15°F and bake a bit longer.
Storage Tips
Store cooled cookies in an airtight container at room temperature for 2–3 days; the center stays soft and a little tangy. For longer life, freeze baked cookies in a single layer on a tray, then transfer to a bag — thaw at room temp and they’re basically fresh. Cold cookies are totally snackable (breakfast, anyone?) and the cream cheese center becomes slightly firmer but still delicious.
Variations and Substitutions
– Swap white chocolate for dark or milk chocolate if you want less sweetness. Personally, I love the contrast of white chocolate against the tangy center.
– Try beet puree for natural coloring — use a little more sweetness if you do.
– For dairy-free: use vegan butter and a plant-based cream cheese; freeze the filling first so it holds up.
– Gluten-free: use a 1:1 gluten-free flour blend and chill the dough longer to hydrate the flour.
– Add-ins: chopped pecans or toasted coconut are great if you want a crunch.
Frequently Asked Questions
Red Velvet Cookie Delights
Ingredients
Main Ingredients
- 0.5 cup unsalted butter, softened room temperature
- 0.65 cup granulated sugar
- 0.4 cup light brown sugar packed
- 3.5 fl oz liquid eggs pasteurized
- 2 tsp pure vanilla extract
- 2.5 tsp red gel food coloring use gel for vibrant color
- 1.25 tsp distilled white vinegar
- 2 tbsp buttermilk
- 1.75 cup all-purpose flour
- 3 tbsp unsweetened cocoa powder
- 0.75 tsp baking soda
- 1 tsp cornstarch for extra softness
- 0.5 tsp fine salt
- 1.25 cup white chocolate chips
Instructions
Preparation Steps
- Preheat the oven to 350°F. Line two baking sheets with parchment paper.
- Whisk flour, cocoa, baking soda, cornstarch, and salt in a medium bowl.
- Cream butter, granulated sugar, and brown sugar until light and fluffy.
- Beat in liquid eggs, vanilla, red food coloring, vinegar, and buttermilk until smooth.
- Add dry ingredients to the bowl. Mix on low just until the dough comes together.
- Fold in white chocolate chips by hand until evenly distributed.
- Chill the dough for about 15 minutes to firm slightly for easier scooping.
- Scoop 1½-tablespoon portions onto the sheets, spacing about 2 inches apart.
- Bake 10–12 minutes, until edges set and centers look soft and puffy.
- Cool on the sheet 5 minutes, then move cookies to a rack to finish cooling.
Notes
Featured Comments
“This satisfying recipe was turned out amazing — the cozy really stands out. Thanks!”
“Made this last night and it was will make again. Loved how the wholesome came together.”
“Super easy and will make again! My family asked for seconds. Saving this one.”
“Impressed! Clear steps and family favorite results. Perfect for busy nights.”
“Impressed! Clear steps and so flavorful results. Perfect for busy nights.”
“Impressed! Clear steps and turned out amazing results. Perfect for busy nights.”
“Super easy and will make again! My family asked for seconds. Saving this one.”
“Impressed! Clear steps and family favorite results. Perfect for busy nights.”
“Impressed! Clear steps and will make again results. Perfect for busy nights.”
“Made this last night and it was family favorite. Loved how the hearty came together.”