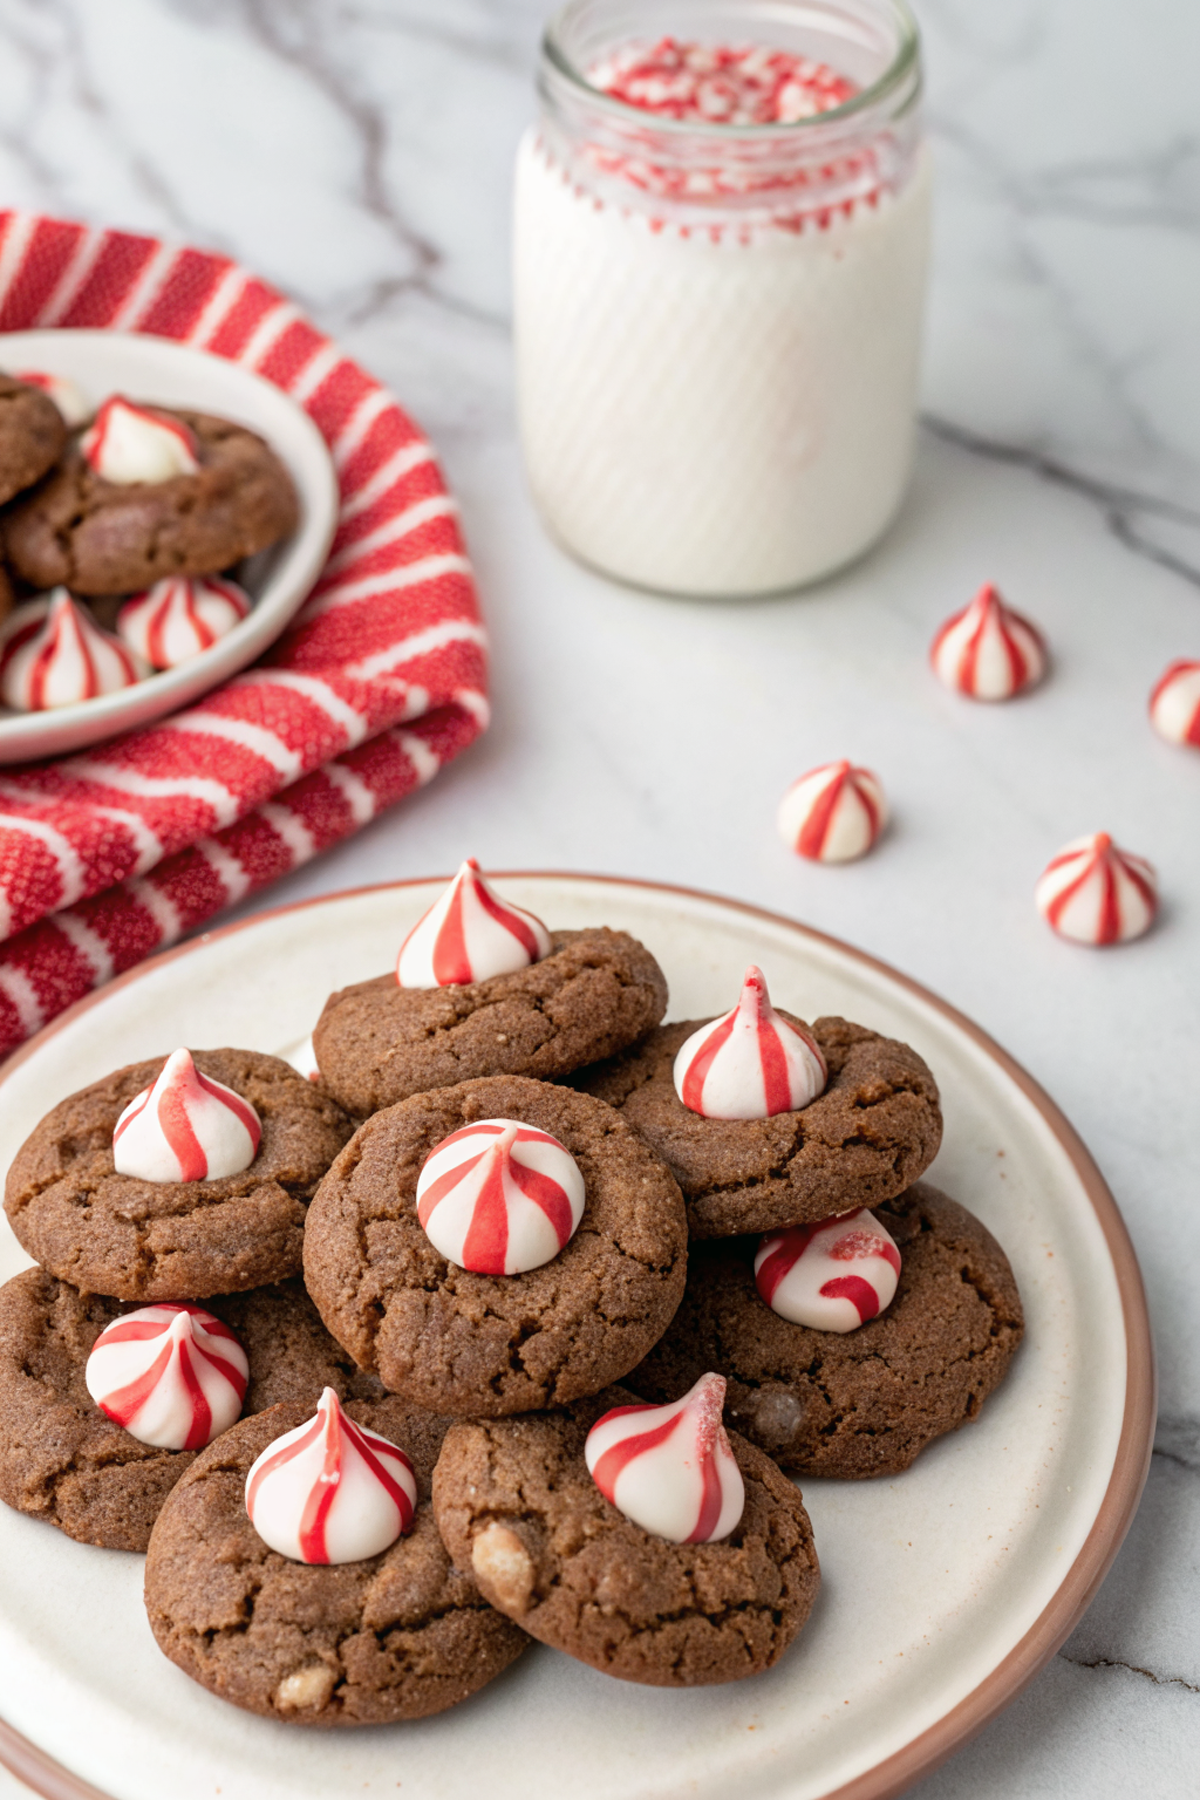
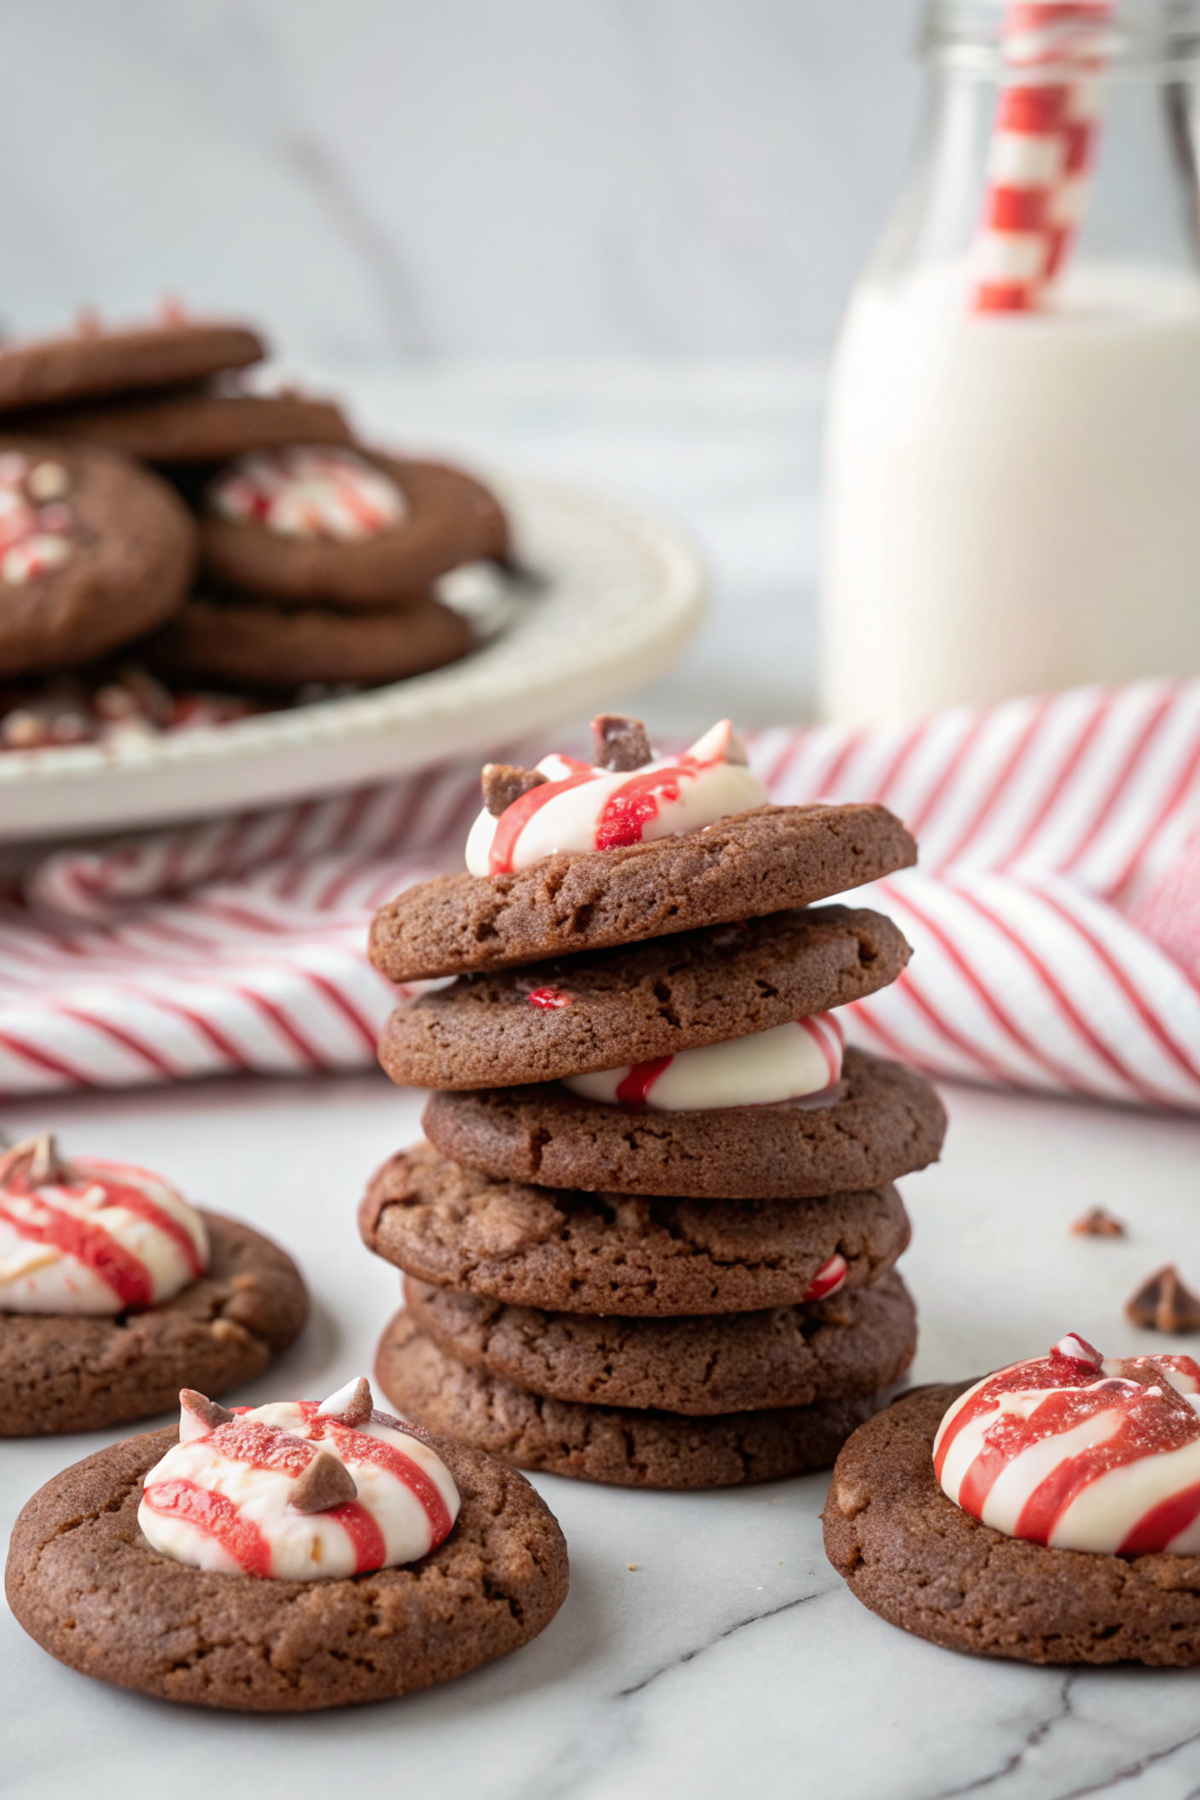
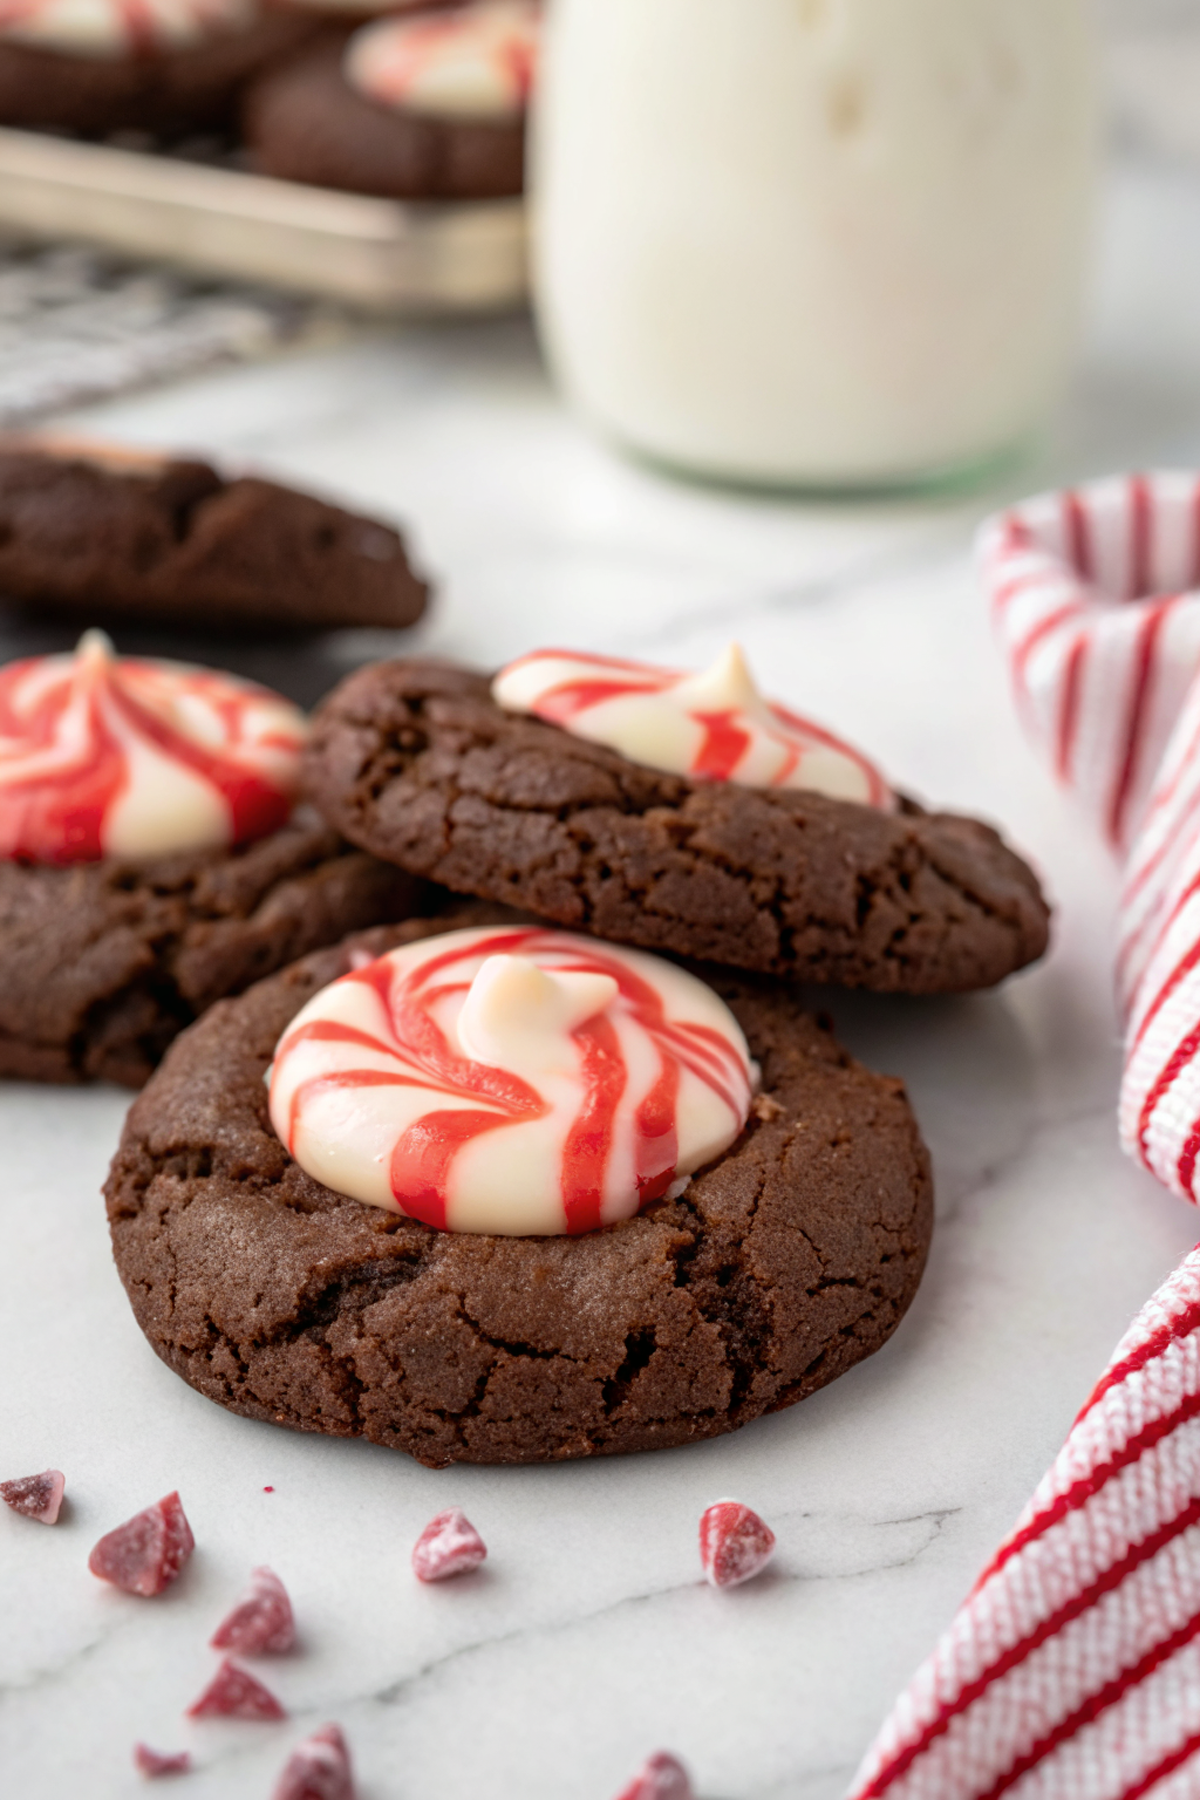
Peppermint Kiss Cookies
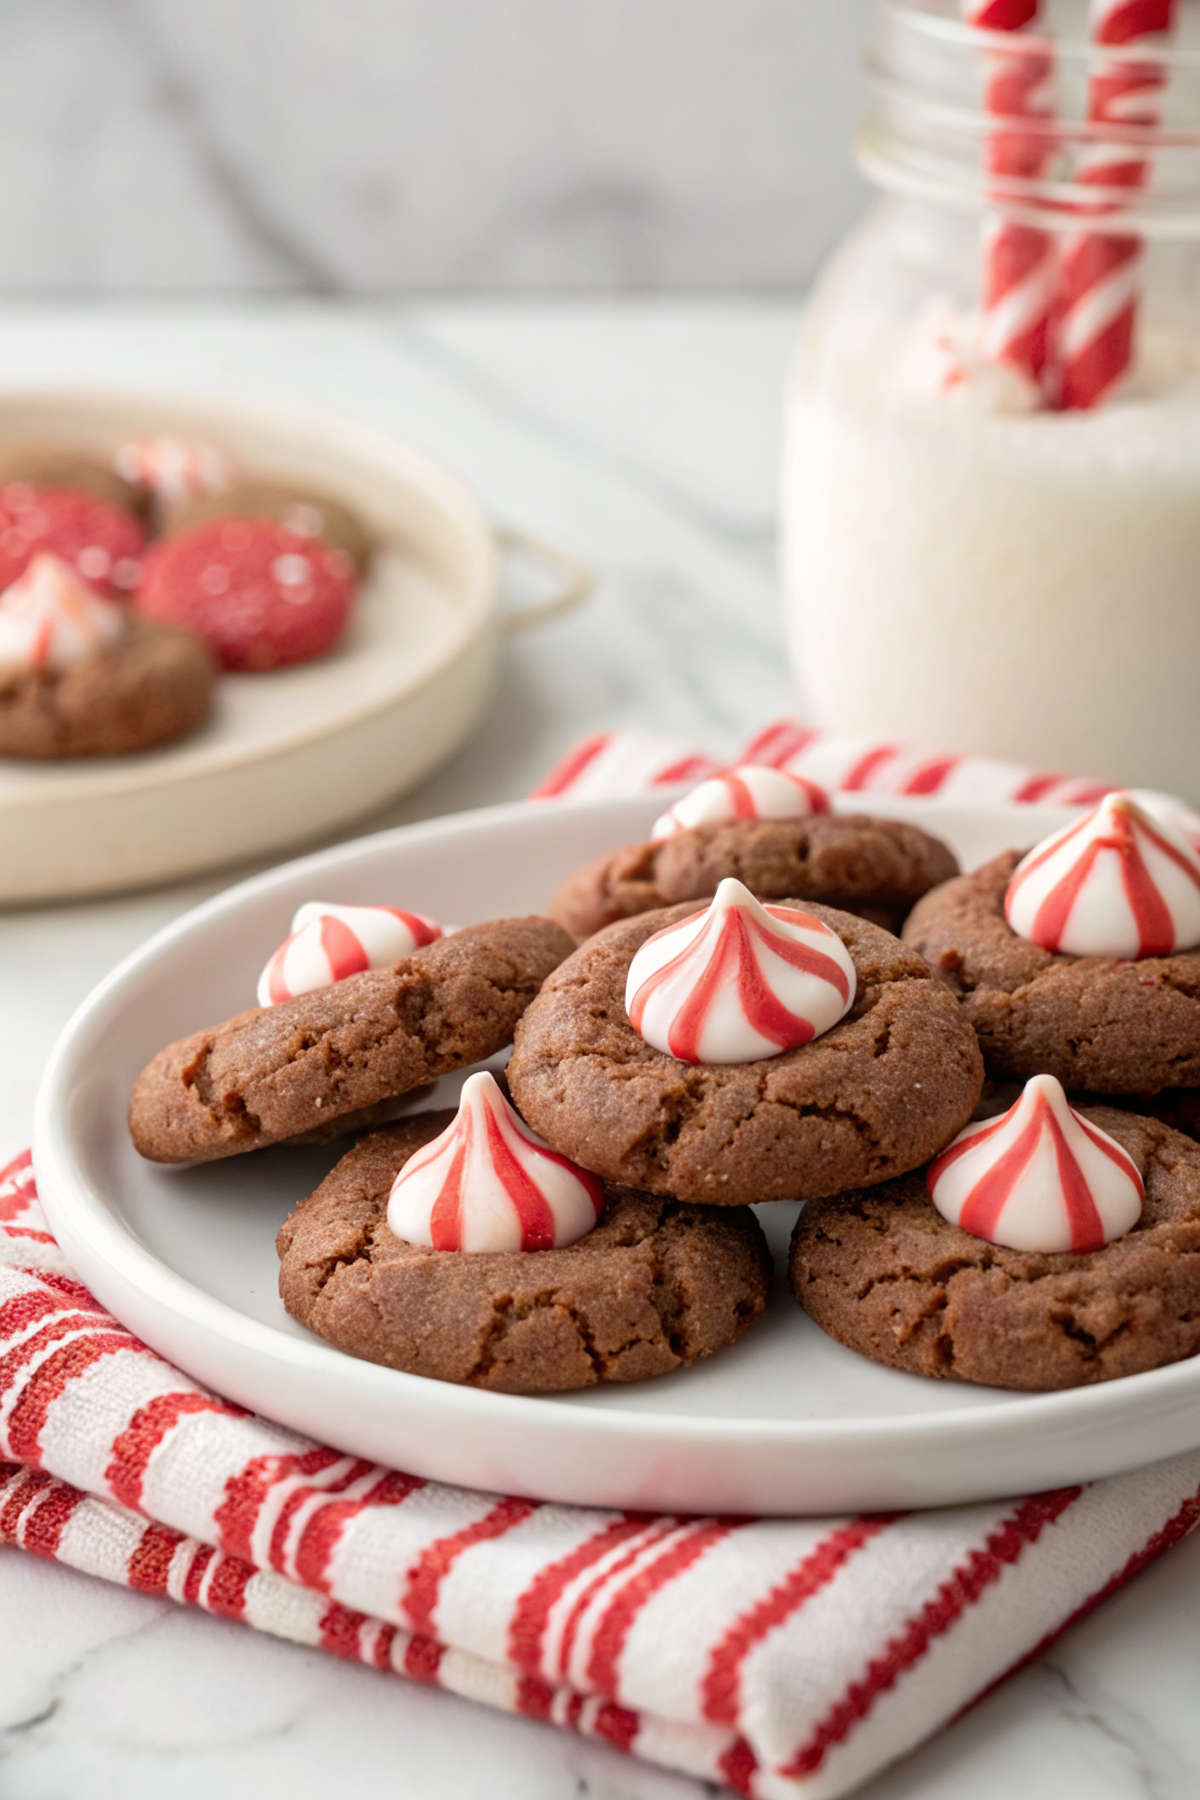
I make these every holiday season like it’s my civic duty — tiny rounds of buttery cookie with a peppermint kiss jammed into the top. They’re sweet, a little crunchy around the edges, and somehow both nostalgic and indulgent. If you like your cookies to taste like a cozy mug of cocoa got married to a candy cane, you’ll get why I keep the recipe on repeat.
My husband calls them “danger cookies” and walks around like he’s on surveillance duty until I promise him one. The kids fight over who gets the last red-and-white sprinkle. Once, I brought a tin to book club and came home with a hole in the lid and only crumbs inside — the ladies showed no mercy. They’re the kind of thing that turns ordinary afternoons into tiny celebrations, and I confess: I’ll hide a couple for late-night snacking because shame is for people without peppermint-chocolate on their plate.
Why You’ll Love This Peppermint Kiss Cookies
– Little bursts of mint in every bite without getting weirdly oily or soggy.
– Fast to pull together — dough comes together in one bowl and you can freeze the extras.
– Kid-friendly decorating (sprinkles, crushed candy cane) makes them holiday-approved and chaos-certified.
– They store and travel well, so they’re perfect for tins, parties, or last-minute hostess gifts.
Kitchen Talk
I’ve learned the hard way that you can absolutely overwork cookie dough and end up with sad, tough discs. Chill the dough if you want puffy centers and pretty edges. Also, pressing the kiss on warm cookies is romantic-looking but dramatic — sometimes the chocolate will just sink into a sad puddle if the cookie is piping hot. My trick: bake, rest 30–60 seconds, then gently set the kiss so it nestles without collapsing the whole cookie. And yes, crushed candy canes are messy, but they taste like Christmas, so I accept the glitter on my counters.
MORE OF OUR FAVORITE…
Shopping Tips
– Baking Basics (Flour/Sugar/Leaveners): Use all-purpose flour unless you’re gluten-free; check that your baking powder isn’t ancient for proper puff.
– Fats & Oils: Real butter gives the best flavor and browning; salted vs. unsalted is your call—adjust added salt if using salted.
– Chocolate: Grab good-quality Hershey’s or specialty peppermint kisses if you want stronger mint-chocolate bites; unwrapped dark chocolate disks work too.
– Eggs: Use large eggs at room temperature for best mixing and rise — cold eggs make the dough seize.
– Sweeteners: Granulated sugar is the classic here; a touch of brown sugar will add chewiness and a deeper flavor if you prefer.
Prep Ahead Ideas
– Make the dough a day ahead and keep it covered in the fridge; it actually tastes better after an overnight chill.
– Portion dough into balls on a tray, freeze them until solid, then dump into a bag so you can bake straight from the freezer. No defrosting necessary — just add a minute or two to the bake time.
– Store prepped sprinkles, crushed peppermint, and kisses in labeled containers so assembly becomes a one-step job for guests or kids.
Time-Saving Tricks
– Use a cookie scoop so your cookies are uniform and bake evenly — no eyeballing required.
– Crush candy canes in a plastic bag with a rolling pin instead of by hand; less cleanup and non-negotiably faster.
– If you’re short on time, refrigerate dough balls instead of the full chill; 15–20 minutes tightens them enough to stop runaway spreading.
Common Mistakes
– Overbaking: cookies will finish cooking from residual heat; pull them when edges are set but centers still soft.
– Pressing the kiss too early: if you press while the cookie is molten, chocolate will sink and get oily — let the cookie cool for a few seconds.
– Using warm butter: soft-but-not-melting is ideal; butter that’s too warm gives flat cookies. I once used “just-soft” butter and ended up with a cookie puddle — learned my lesson with a timer and chill breaks.
What to Serve It With
– Classic cold milk (no explanation needed).
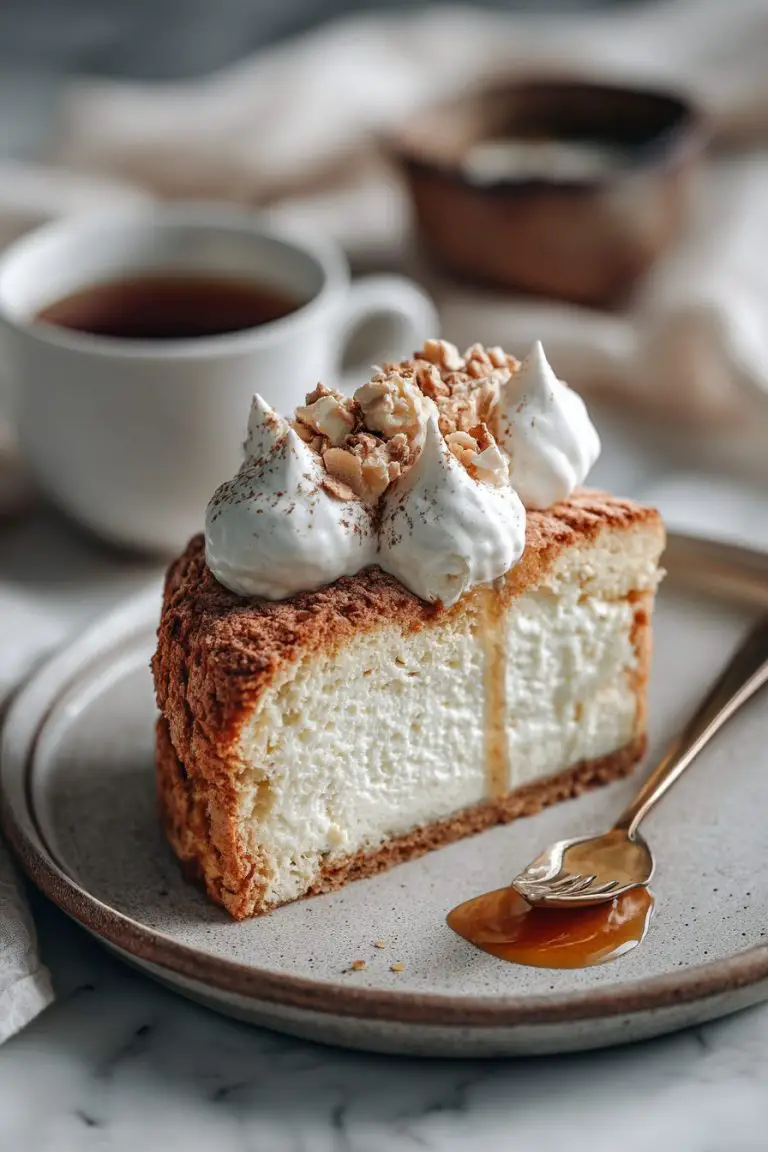
– A hot mug of cocoa or coffee — peppermint pairs beautifully with dark coffee.
– A simple green salad for balance if you’re serving dessert after a heavy meal.
Tips & Mistakes
– Use the middle oven rack for even browning.
– Don’t skimp on chilling if your kitchen is warm — cookies spread like crazy.
– If a cookie looks underdone, let it cool on the pan for a minute; it’ll firm up without drying out.
– Sprinkle right after adding the kiss so the bits stick.
Storage Tips
Stash cooled cookies in an airtight container at room temperature for up to 5 days; they keep their chew if you layer with parchment. Baked cookies freeze well for up to 3 months — thaw on the counter or zap one for 10 seconds in the microwave if you want that melty kiss. Cold cookies are perfectly acceptable for breakfast; no judgment here.
Variations and Substitutions
– Swap peppermint kisses for plain chocolate or caramel-filled ones for a different vibe.
– Want nuttiness? Fold in some chopped toasted almonds or pecans, but press the kiss gently so it doesn’t slip.
– Gluten-free? Try a 1:1 gluten-free baking mix — texture changes, but flavor survives.
– Short on butter? A neutral oil will change the texture (less flaky), so I’d save that for an emergency.
Frequently Asked Questions
Peppermint Kiss Cookies
Ingredients
Cookie Dough
- 14 tablespoons unsalted butter, softened
- 3/4 cup granulated sugar
- 1 1/4 cups packed dark brown sugar
- 1 large egg
- 1 large egg yolk
- 1 1/2 teaspoons pure vanilla extract
- 1/8 teaspoon peppermint extract optional, for a touch more mint
- 2 1/4 cups all-purpose flour
- 2/3 cup unsweetened cocoa powder natural
- 1 teaspoon instant espresso powder enhances chocolate flavor
- 3/4 teaspoon baking soda
- 1/2 teaspoon fine sea salt
For Finishing
- 1/3 cup coarse sanding sugar for rolling
- 36–40 peppermint white chocolate Kisses, unwrapped
Instructions
Preparation Steps
- Place the unwrapped peppermint Kisses on a plate and chill in the freezer for 10–15 minutes so they keep their shape when added to warm cookies.
- Preheat the oven to 325°F. Line two baking sheets with parchment paper.
- In a medium bowl, whisk together the flour, cocoa, espresso powder, baking soda, and salt; set aside.
- In a large bowl with a hand mixer (or stand mixer with paddle), beat the softened butter with granulated sugar and brown sugar on medium-high until very fluffy and slightly lightened, 3–4 minutes. Scrape the bowl as needed.
- Beat in the egg, then the egg yolk until smooth. Mix in vanilla and peppermint extract (if using).
- Add the dry ingredients to the bowl and mix on low speed just until no dry streaks remain. The dough will be soft and thick.
- Let the dough rest at room temperature for 10 minutes to hydrate the cocoa and make scooping easier.
- Scoop dough into 1½-tablespoon portions (about a #40 scoop), roll into balls, then coat in coarse sanding sugar. Arrange 2 inches apart on the prepared sheets.
- Bake one sheet at a time for 10–12 minutes, rotating the pan halfway, until the edges are set and the centers look slightly soft.
- Cool on the pan for 2 minutes, then gently press one chilled peppermint Kiss into the center of each cookie. Let stand on the pan until the chocolate firms up (or slide the pan into the fridge for 5 minutes to speed it along).
- Repeat with remaining dough and candies. Cool completely before storing.
Notes
Featured Comments
“Super easy and will make again! My family asked for seconds. Saving this one.”
“This creamy recipe was turned out amazing — the allergen-friendly really stands out. Thanks!”
“This juicy recipe was absolutely loved — the shareable really stands out. Thanks!”
“Super easy and family favorite! My family asked for seconds. Saving this one.”
“Made this last night and it was turned out amazing. Loved how the savory came together.”
“New favorite here — so flavorful. light was spot on.”
“Made this last night and it was family favorite. Loved how the effortless came together.”
“Impressed! Clear steps and so flavorful results. Perfect for busy nights.”
“This clean recipe was family favorite — the fresh really stands out. Thanks!”
“Made this last night and it was so flavorful. Loved how the simple came together.”