Oreo Chocolate Layer Cake
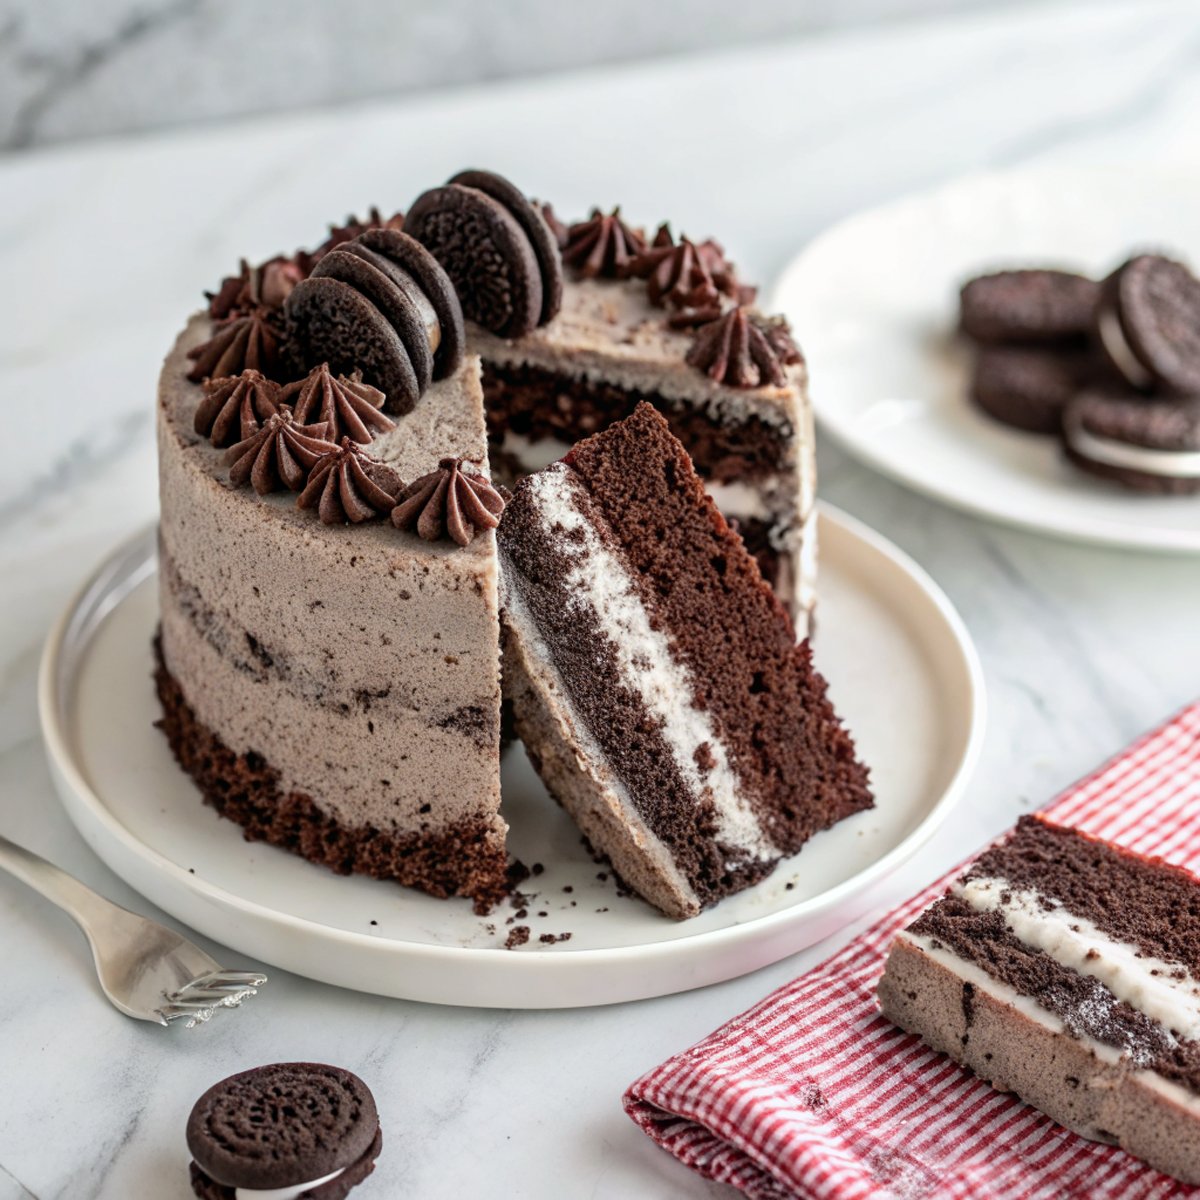
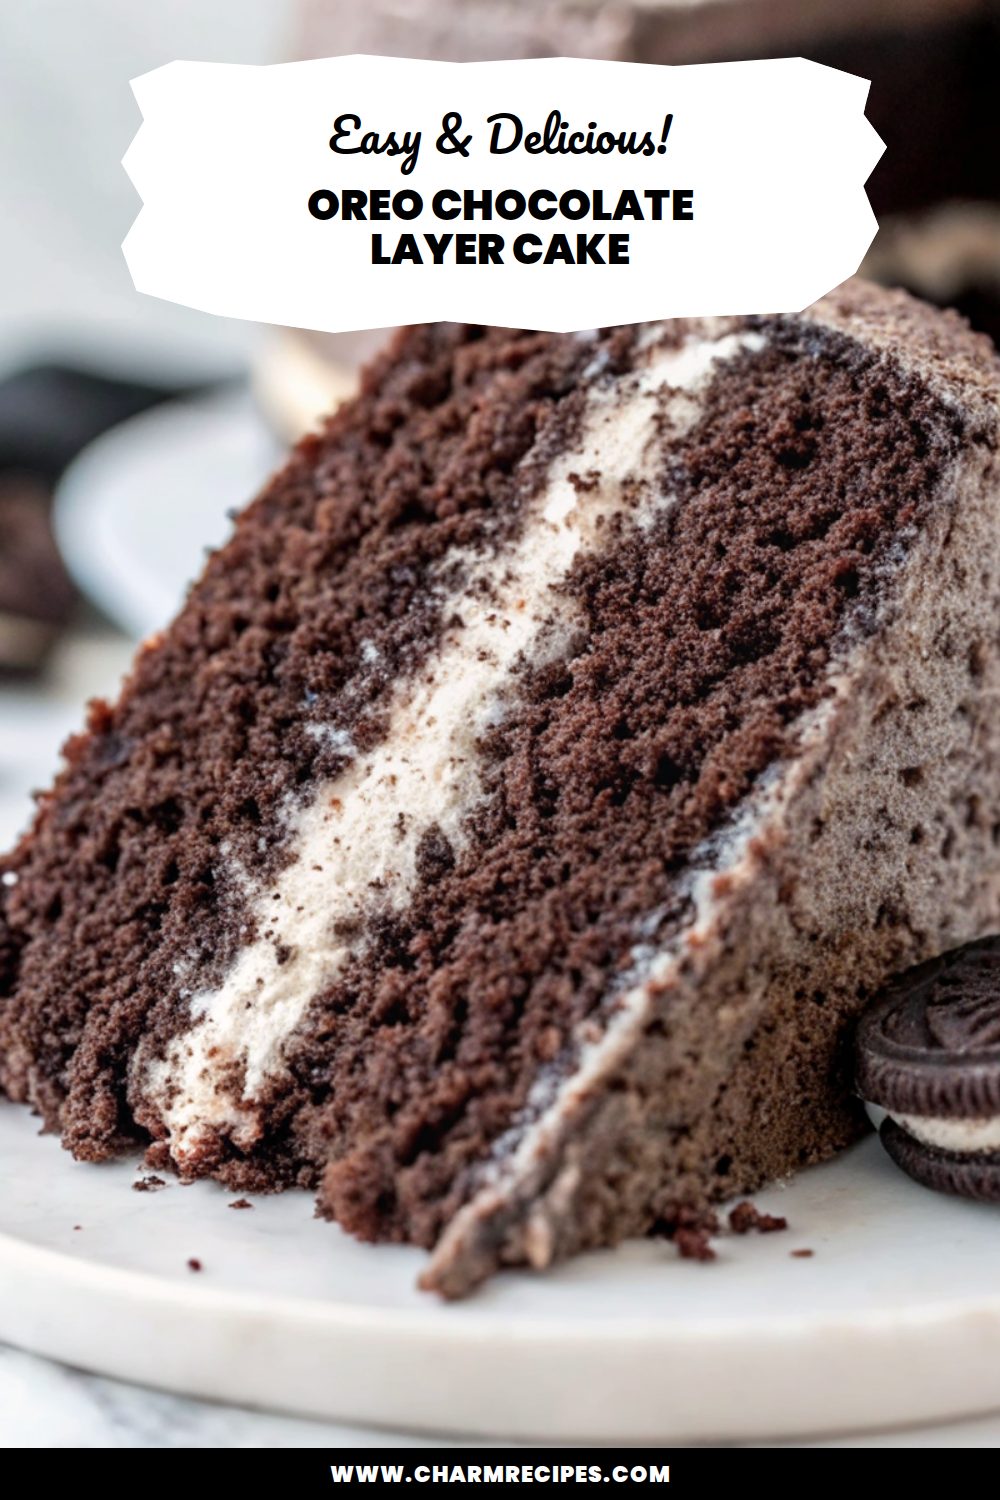
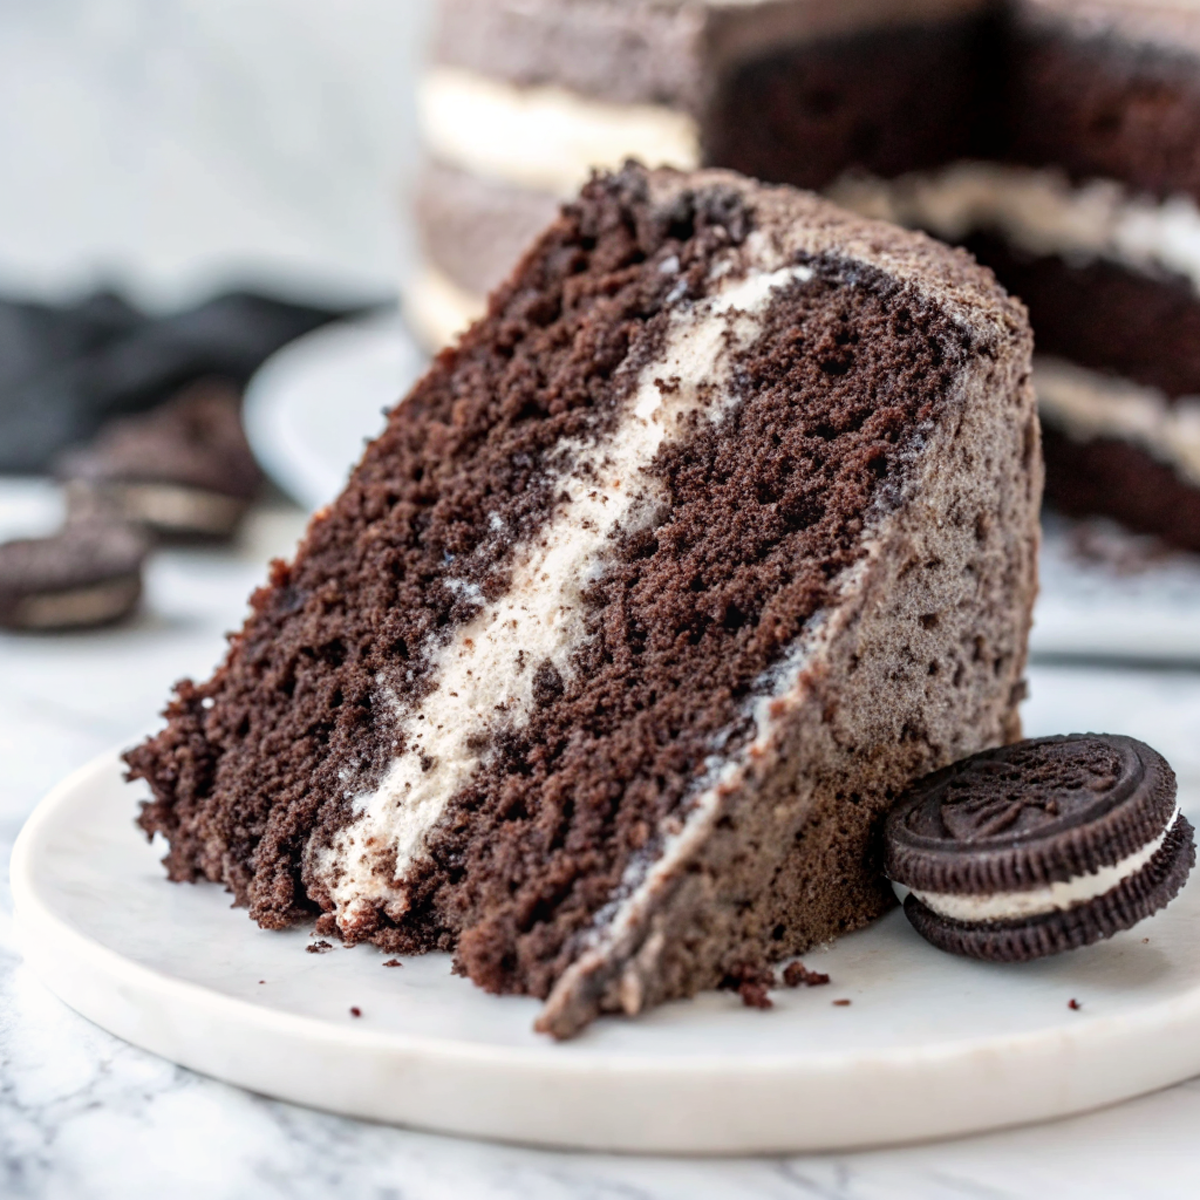
Rich, moist chocolate cake layers studded with crushed Oreos and finished with a creamy cookies-and-cream buttercream — this Oreo Chocolate Layer Cake combines deep chocolate flavor with crunchy cookie bits for texture. It’s indulgent without being fussy, and the Oreo pieces give it a fun, slightly crunchy contrast to the soft cake.
This recipe is forgiving: the batter is straightforward and the frosting comes together quickly. I usually reserve a few whole or chopped Oreos for topping so the cake looks finished without extra effort.
Why This Oreo Chocolate Layer Cake Works
1. The chocolate cake is tender and moist thanks to a touch of buttermilk (or sour cream), which keeps crumbs fine and the crumb soft.
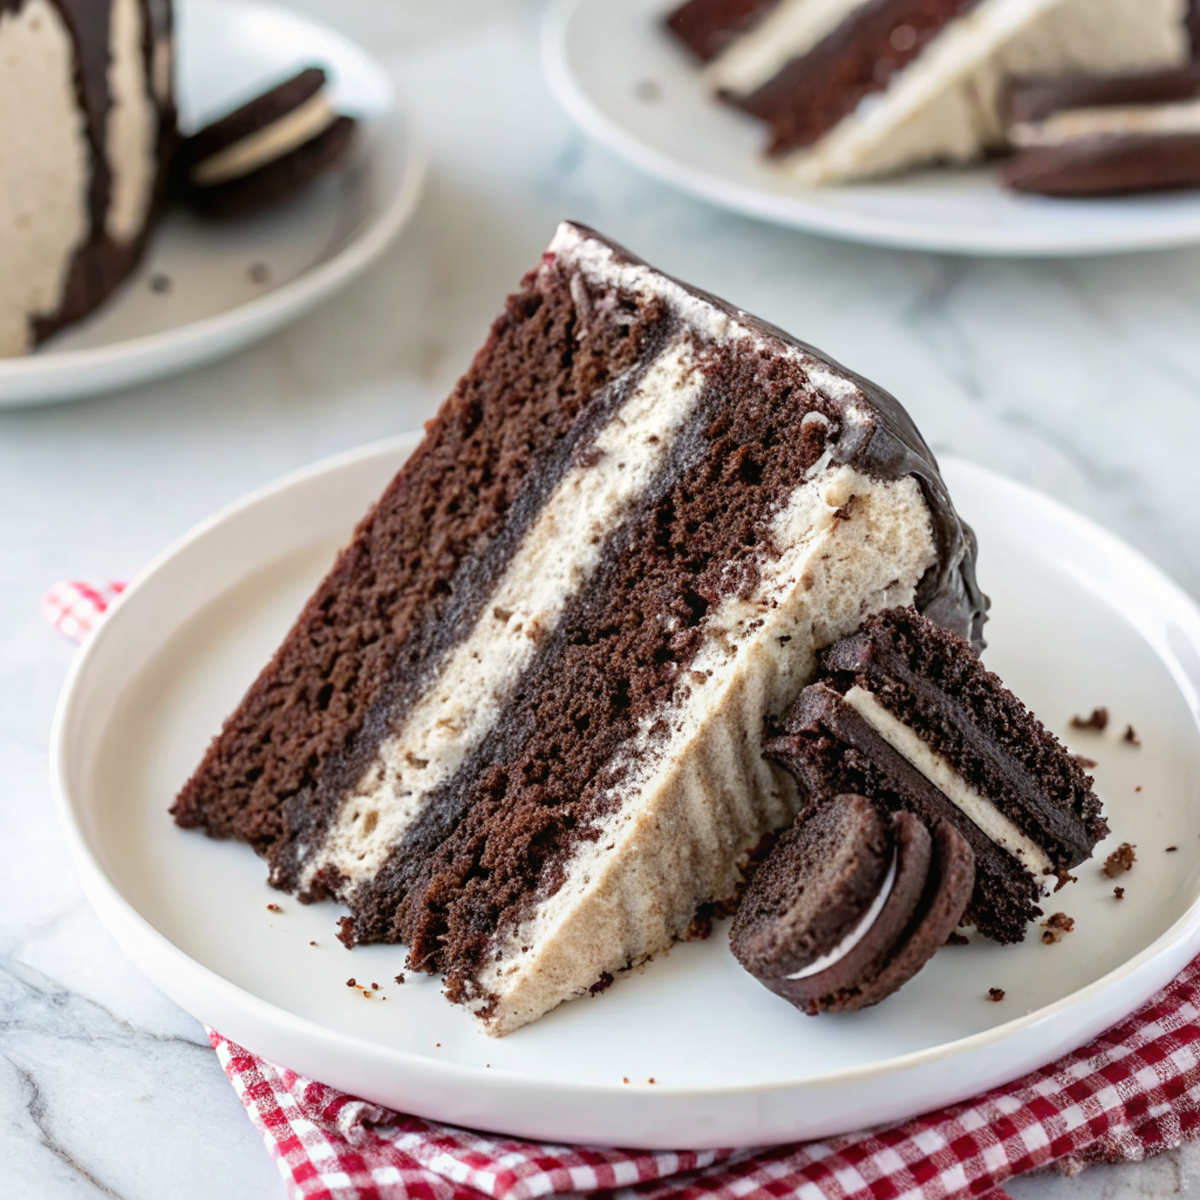
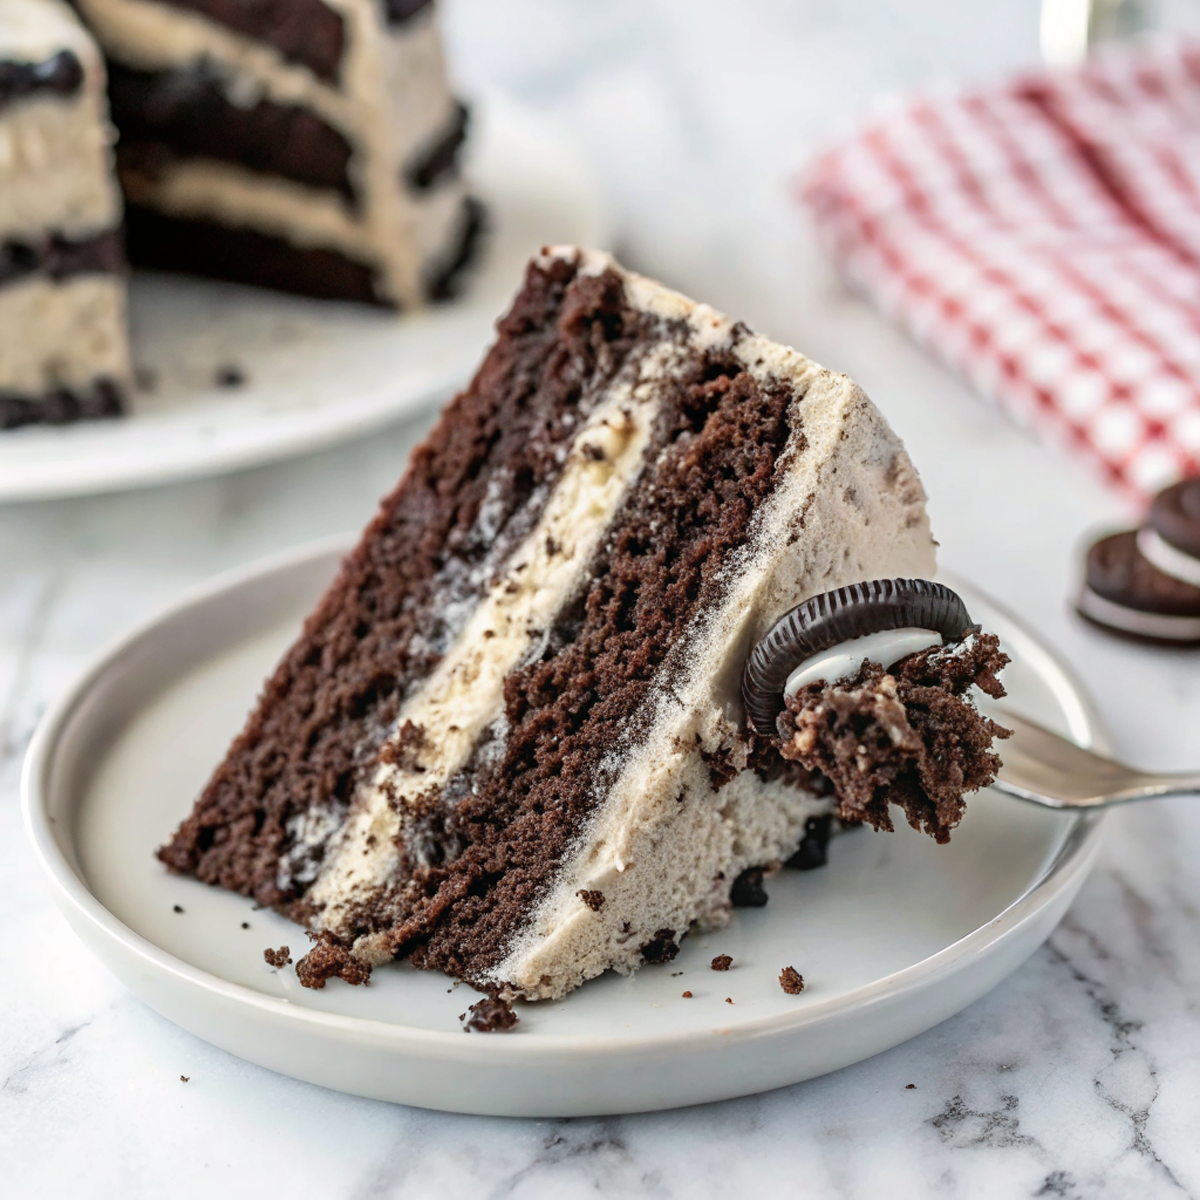
2. Crushed Oreos folded into the batter add a pleasant cookie crunch and little pockets of cream for texture contrast.
3. A simple chocolate or cookies-and-cream buttercream binds the layers and brings extra Oreo flavor without overpowering the cake.
4. Easy to assemble in standard 8- or 9-inch round pans and looks impressive for parties with minimal decorating skill.
Ingredients




All ingredients are pantry-friendly — here’s what matters and why.
MORE OF OUR FAVORITE…
– All-purpose flour: Provides structure; spoon and level for accurate measurement.
– Cocoa powder: Use unsweetened or Dutch-process for deeper chocolate flavor; affects color and bite.
– Sugar (granulated): Sweetens and helps with lift; you can mix brown sugar for a slight caramel note.
– Butter and/or oil: Butter gives flavor; a bit of neutral oil (or a mix) keeps the crumb extra moist.
– Eggs: Add richness and help bind the cake layers.
– Buttermilk or sour cream: Adds acidity that reacts with leavening for tender, moist cake.
– Oreo cookies: Reserve several whole for decoration and crush the rest finely for mixing into batter and frosting.
Substitutions and Variations
– Use whole milk plus 1 tbsp vinegar or lemon juice as a quick buttermilk substitute; texture is similar but slightly less tangy.
– Swap some granulated sugar for light brown sugar for a moister crumb and subtle molasses note.
– Replace half the butter with neutral oil for a softer crumb that stays moist longer.
– Make a chocolate ganache instead of buttercream for a denser, glossier finish — cake will be richer and firmer to slice.
– Use gluten-free 1-to-1 flour blend if needed; cake texture will be slightly crumblier but still tasty.
How to Make Oreo Chocolate Layer Cake
This is a quick summary — follow the recipe card for exact amounts, oven temps, and cooling times.
1. Preheat the oven and prepare two or three round pans by greasing and lining the bottoms with parchment.
2. Whisk dry ingredients (flour, cocoa, leavening, salt) together so the cocoa is evenly distributed.
3. Cream butter and sugar, add eggs one at a time, then beat in vanilla; alternate adding dry mix and buttermilk until smooth.
4. Gently fold in crushed Oreos (leave some larger crumbs for texture) and divide batter evenly into pans.
5. Bake until a toothpick comes out with a few moist crumbs; cool in pans briefly, then transfer to a rack to cool completely.
6. Make the frosting, assemble layers, spread an even crumb coat and chill briefly, then finish with a final frosting layer and garnish with reserved Oreos.
Tips for the Best Results
1. Measure flour by spooning into the cup and leveling — too much flour makes the cake dense.
2. Don’t overmix after adding flour; stop when the batter is homogenous to keep the cake tender.
3. Check doneness a few minutes before the recipe time — ovens vary; cakes are done when the center springs back slightly.
4. Chill the cake briefly after a crumb coat; it makes the final frosting smoother and reduces crumbs.
5. Crush Oreos by hand or pulse briefly so you keep some small chunks for texture rather than a powder.
Common Mistakes
– Overbaking the layers: keeps them moist by checking 5 minutes early and removing when a few moist crumbs cling to a tester.
– Folding in Oreos too aggressively: do it gently to avoid deflating the batter and losing lift.
– Not cooling layers fully before frosting: warm cake will melt the frosting and cause slipping. Chill layers if you’re short on time.
– Using finely pulverized Oreos only: you’ll lose the textural contrast—leave some larger bits.
– Skipping the crumb coat: results in crumb flecking on the final frosting and a less polished finish.
Storage
Storing: Keep the assembled cake covered in the refrigerator for up to 4–5 days. Bring slices to room temperature for 20–30 minutes before serving so the frosting softens and the flavors open up.
Freezing: You can freeze unfrosted layers wrapped tightly in plastic and foil for up to 2 months. Thaw in the fridge overnight before frosting. For assembled cakes, freeze single slices wrapped well for up to 1 month; thaw in the fridge.
Reheating or serving later: For best texture, let chilled cake sit at room temperature 20–30 minutes before eating. Avoid microwaving whole slices (it can make the frosting greasy); if needed, warm briefly (8–12 seconds) to soften.
How to Serve Oreo Chocolate Layer Cake
– Serve with a simple scoop of vanilla ice cream for a classic pairing.
– Dust with cocoa or powdered sugar and add a drizzle of chocolate sauce for extra richness.
– Offer a small bowl of crushed Oreos on the side for guests who want extra crunch.
– Cut into smaller slices for buffet-style serving or celebrations.
More Helpful Notes
– If you want pronounced Oreo flavor in the frosting, pulse some cookies into the buttercream but reserve dry crumbs for decoration to avoid sogginess.
– Use room-temperature eggs and dairy for a smoother, better-emulsified batter.
– If the top of the cake browns too quickly, tent with foil during the last minutes of baking.
– For neater slices, chill the cake well and use a hot, clean knife between cuts.
Frequently Asked Questions
Oreo Chocolate Layer Cake
Ingredients
Chocolate Cake Layers
- 1 1/4 cups (250 g) granulated sugar
- 1/4 cup (50 g) light brown sugar, packed
- 2 cups (260 g) all-purpose flour, sifted
- 1/2 cup (50 g) Dutch-process cocoa powder, sifted
- 1 tablespoon (6 g) black cocoa powder
- 2 teaspoons (8 g) baking powder
- 3/4 teaspoon (3 g) baking soda
- 3/4 teaspoon fine sea salt
- 2/3 cup (160 ml) vegetable oil
- 3 large eggs, at room temperature
- 3/4 cup (180 g) sour cream, at room temperature
- 2 teaspoons (10 ml) pure vanilla extract
- 1 cup (240 ml) hot brewed coffee
Cookies & Cream Frosting and Finish
- 1 3/4 cups (395 g) unsalted butter, slightly softened
- 6 1/4 cups (780 g) powdered sugar
- 4 to 6 tablespoons (60–90 ml) heavy cream
- 2 teaspoons (10 ml) pure vanilla extract
- 1 tablespoon milk powder (optional, boosts creaminess)
- Pinch fine sea salt
- 1 package (14.3 oz/405 g) Oreo cookies, finely crushed Reserve 6–8 cookies for garnish
Instructions
Preparation Steps
- Pulse the Oreo cookies in a food processor to fine crumbs; sift out any large pieces and set aside. Reserve 6–8 whole cookies (or halves) for decorating the top later.
- Make the frosting base first so it can set: In a stand mixer fitted with the paddle, beat the butter on medium-high until very pale and fluffy, 3–4 minutes. Add half the powdered sugar, the milk powder (if using), and a pinch of salt; mix on low to incorporate, then beat on medium for 45 seconds. Add the remaining sugar and 4 tablespoons heavy cream plus vanilla; beat until smooth and spreadable, adding more cream 1 teaspoon at a time if needed. Fold in about 2/3 of the Oreo crumbs by hand to keep the frosting speckled rather than gray. Cover and refrigerate 20 minutes.
- Preheat the oven to 325°F (165°C). Line three 8-inch round cake pans with parchment, grease the sides, and dust lightly with cocoa powder (tap out excess).
- Bloom the cocoa: In a heatproof bowl, whisk the Dutch-process cocoa and black cocoa with 1/2 cup of the hot coffee until smooth and glossy; let stand 5 minutes. Whisk in the remaining 1/2 cup hot coffee.
- In a large bowl, whisk together flour, granulated sugar, brown sugar, baking powder, baking soda, and salt until evenly combined.
- Add oil, eggs, sour cream, and vanilla to the dry mixture. Beat with a hand mixer (or the stand mixer with paddle) on medium speed just until a thick, smooth paste forms, about 30–45 seconds. Scrape bowl and beater.
- Stream in the warm cocoa-coffee mixture on low speed until fully incorporated; the batter will be pourable. Let the batter rest 10 minutes to allow the cocoa to bloom further and bubbles to settle.
- Divide batter evenly among the prepared pans (about 1 2/3 cups per pan). Bake at 325°F for 24–28 minutes, until the centers spring back lightly and a toothpick comes out with a few moist crumbs.
- Cool cakes in pans 10 minutes, then turn out onto wire racks, peel parchment, and cool completely. For easiest assembly, chill layers for 20 minutes after cooling.
- Level the tops if needed. Place the first layer on a board. Transfer about half the frosting to a piping bag fitted with a large round tip (or snip a 3/4-inch opening). Pipe a thick ring around the edge to create a dam, spread a thin layer inside the ring, and sprinkle 1–2 tablespoons of the reserved plain Oreo crumbs over the center. Top with the second layer and repeat. Place the third layer upside down for the flattest top.
- Apply a thin crumb coat over the top and sides, filling any gaps. Chill the cake for 15 minutes to set.
- Finish with a thicker coat of frosting. Press remaining fine Oreo crumbs up the sides to form a crumb-collar. Pipe rosettes on top with an open star tip and nestle reserved Oreo halves into the swirls. Slice with a warm, dry knife for clean edges.
Notes
Featured Comments
“Impressed! Clear steps and turned out amazing results. Perfect for busy nights.”
“Super easy and family favorite! My family asked for seconds. Saving this one.”
“This hands-off recipe was family favorite — the dairy-free really stands out. Thanks!”
“Super easy and will make again! My family asked for seconds. Saving this one.”
“Made this last night and it was family favorite. Loved how the energizing came together.”
“Impressed! Clear steps and absolutely loved results. Perfect for busy nights.”
“Made this last night and it was turned out amazing. Loved how the golden came together.”
“Super easy and absolutely loved! My family asked for seconds. Saving this one.”
“Impressed! Clear steps and will make again results. Perfect for busy nights.”
“Impressed! Clear steps and will make again results. Perfect for busy nights.”