No Bake Chocolate Marshmallow Pie
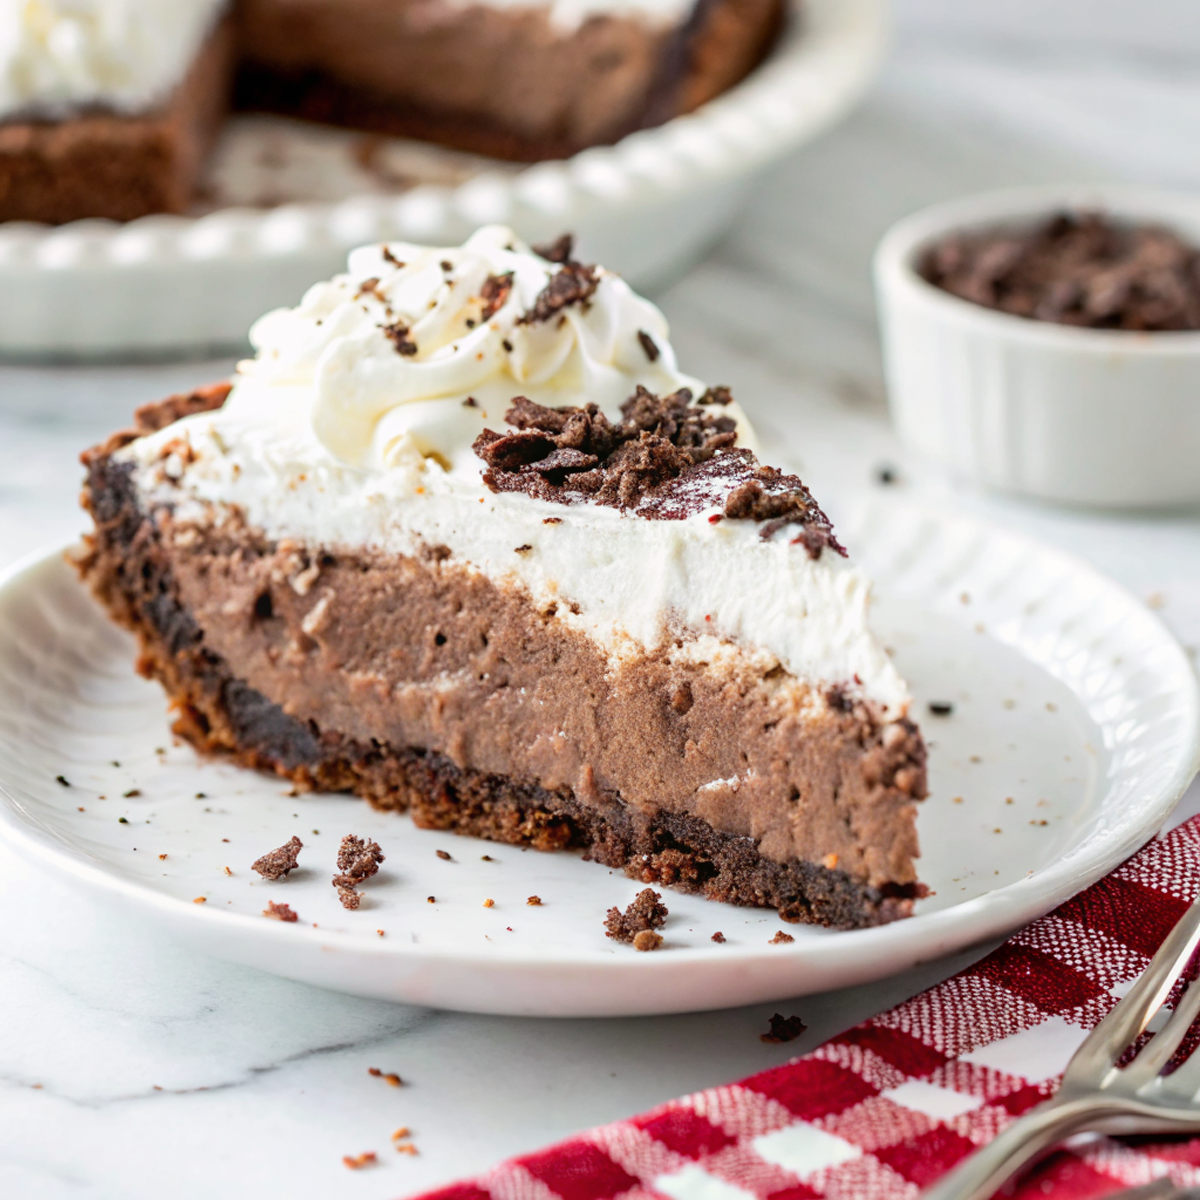
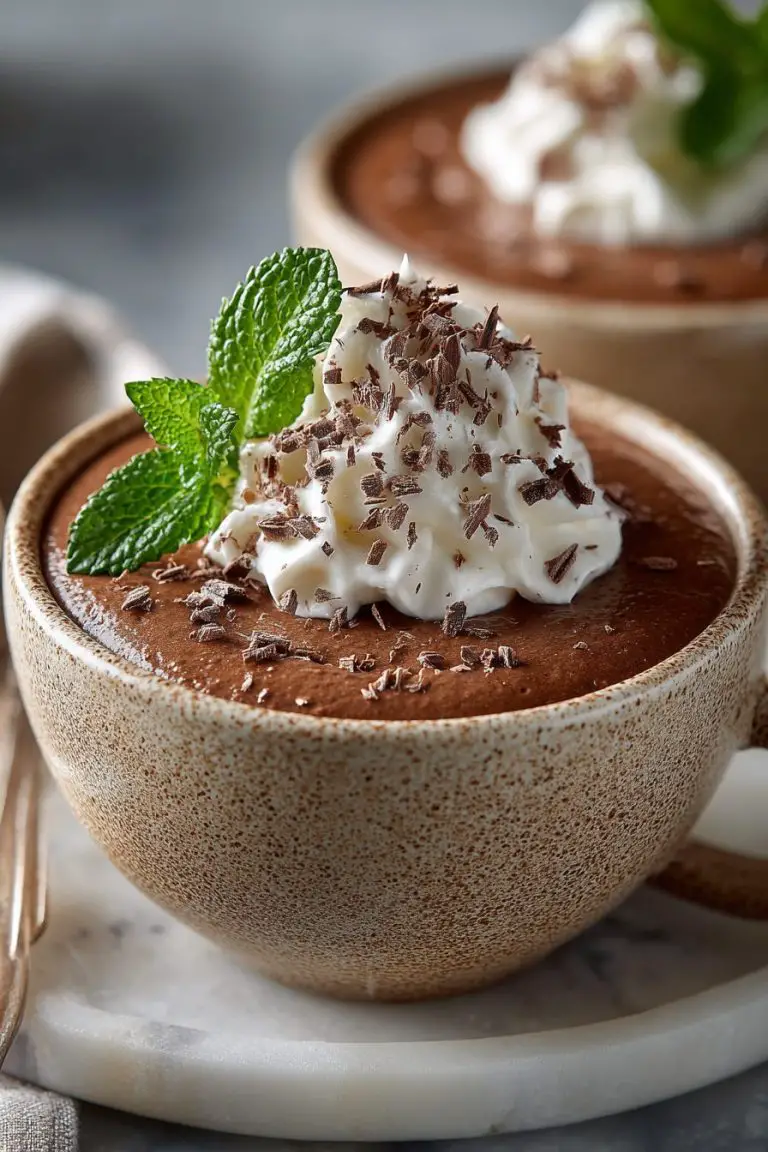
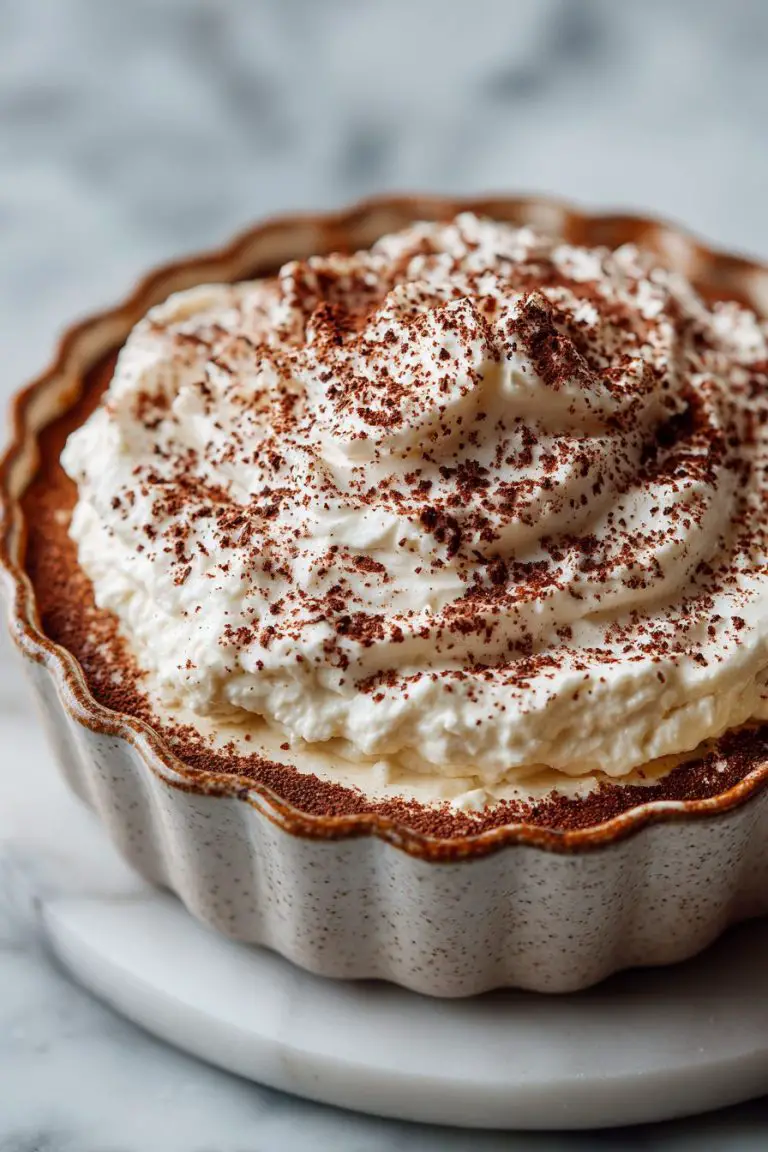
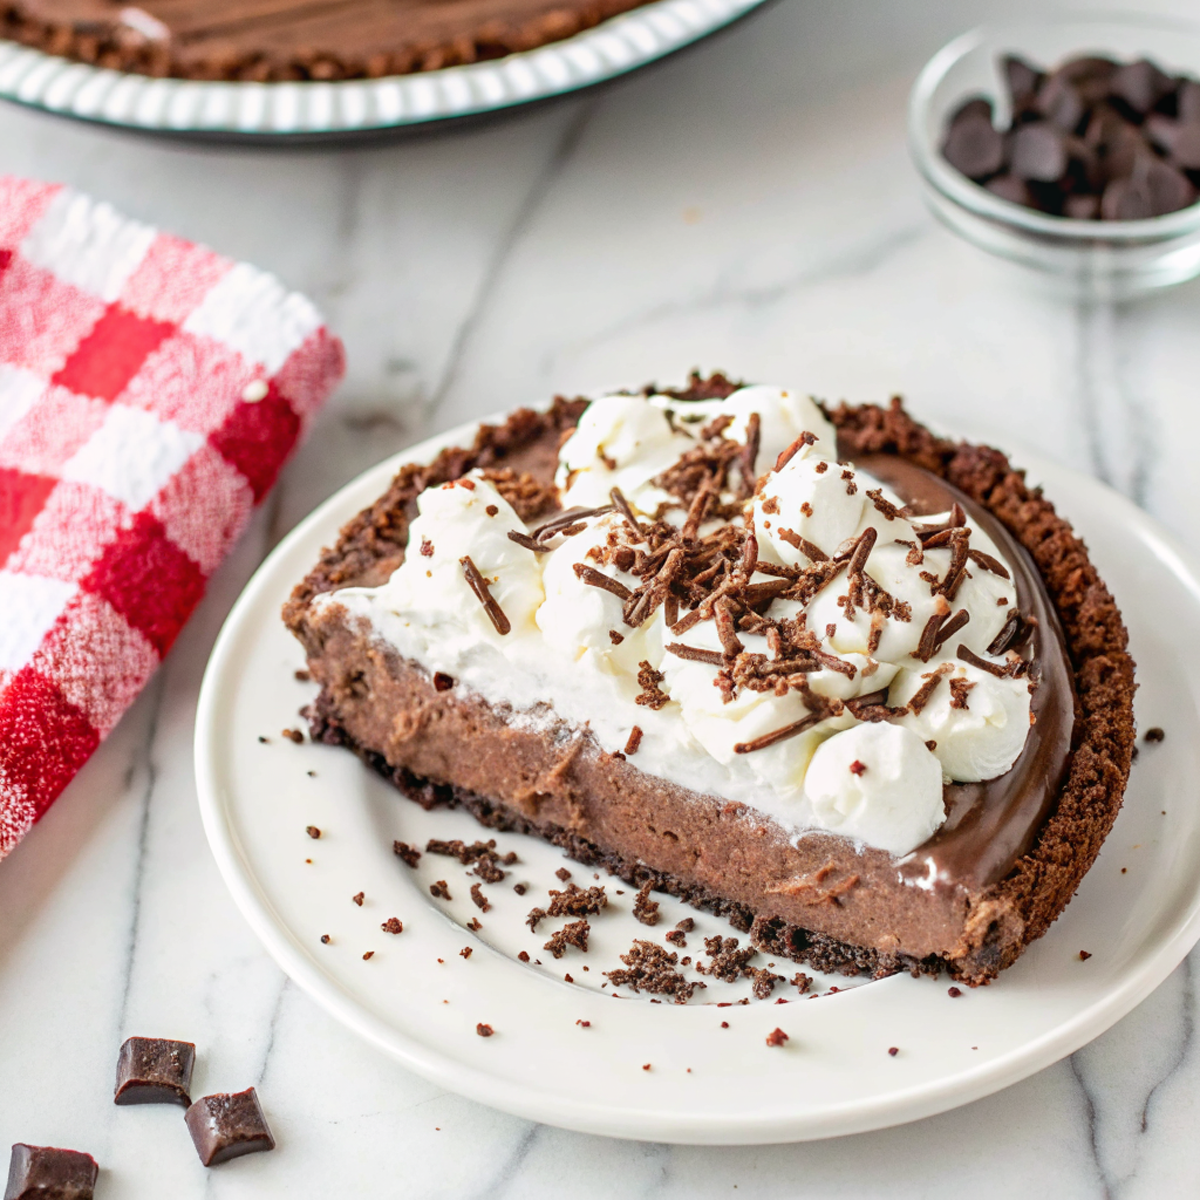
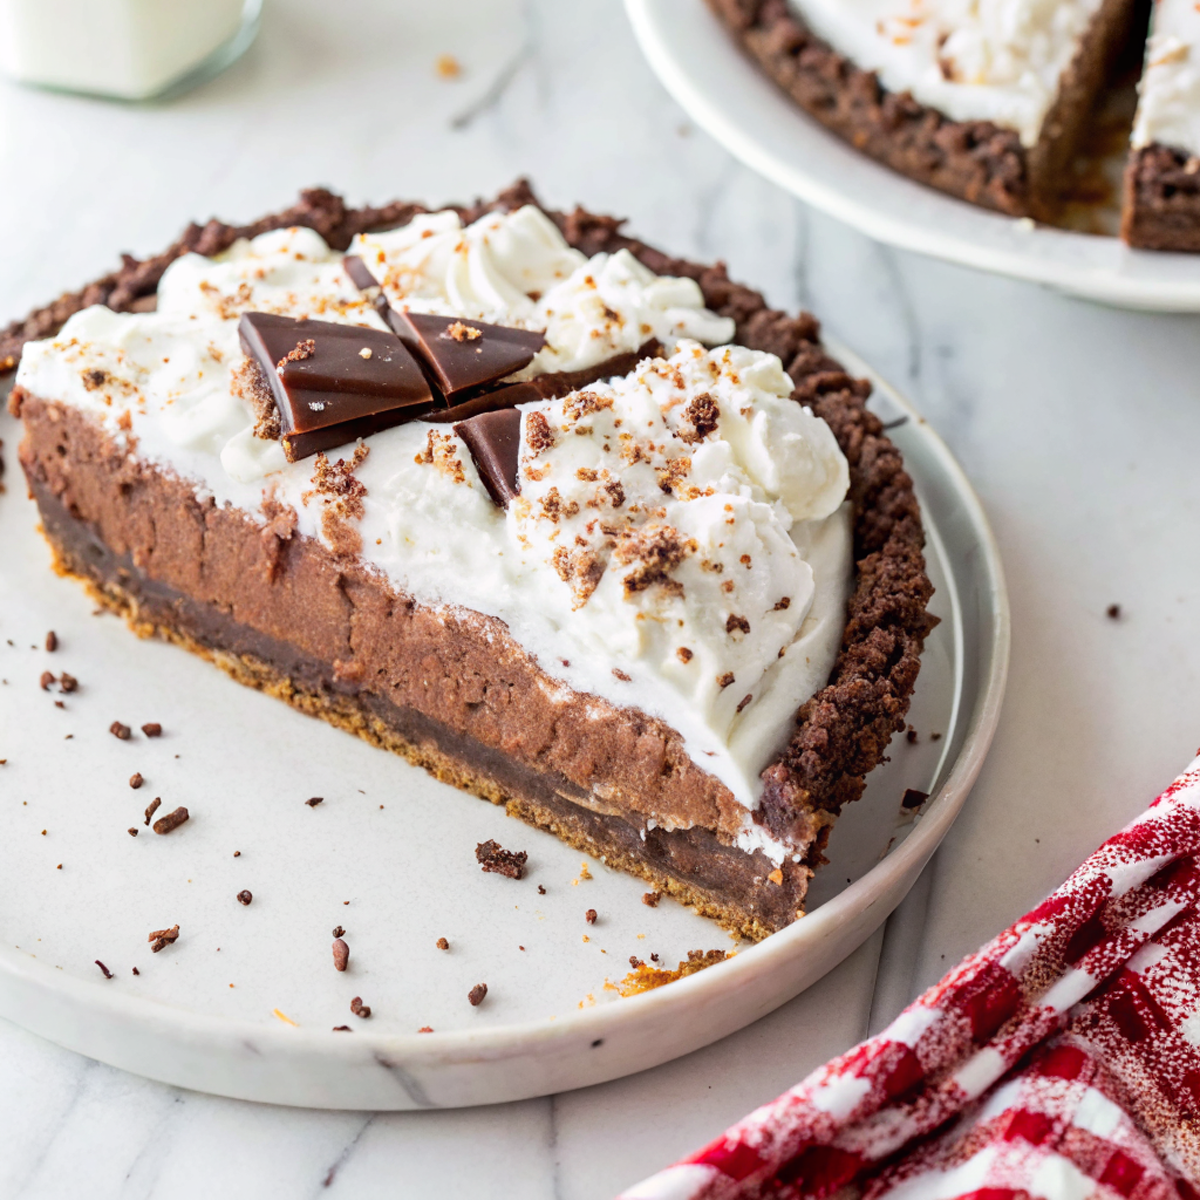
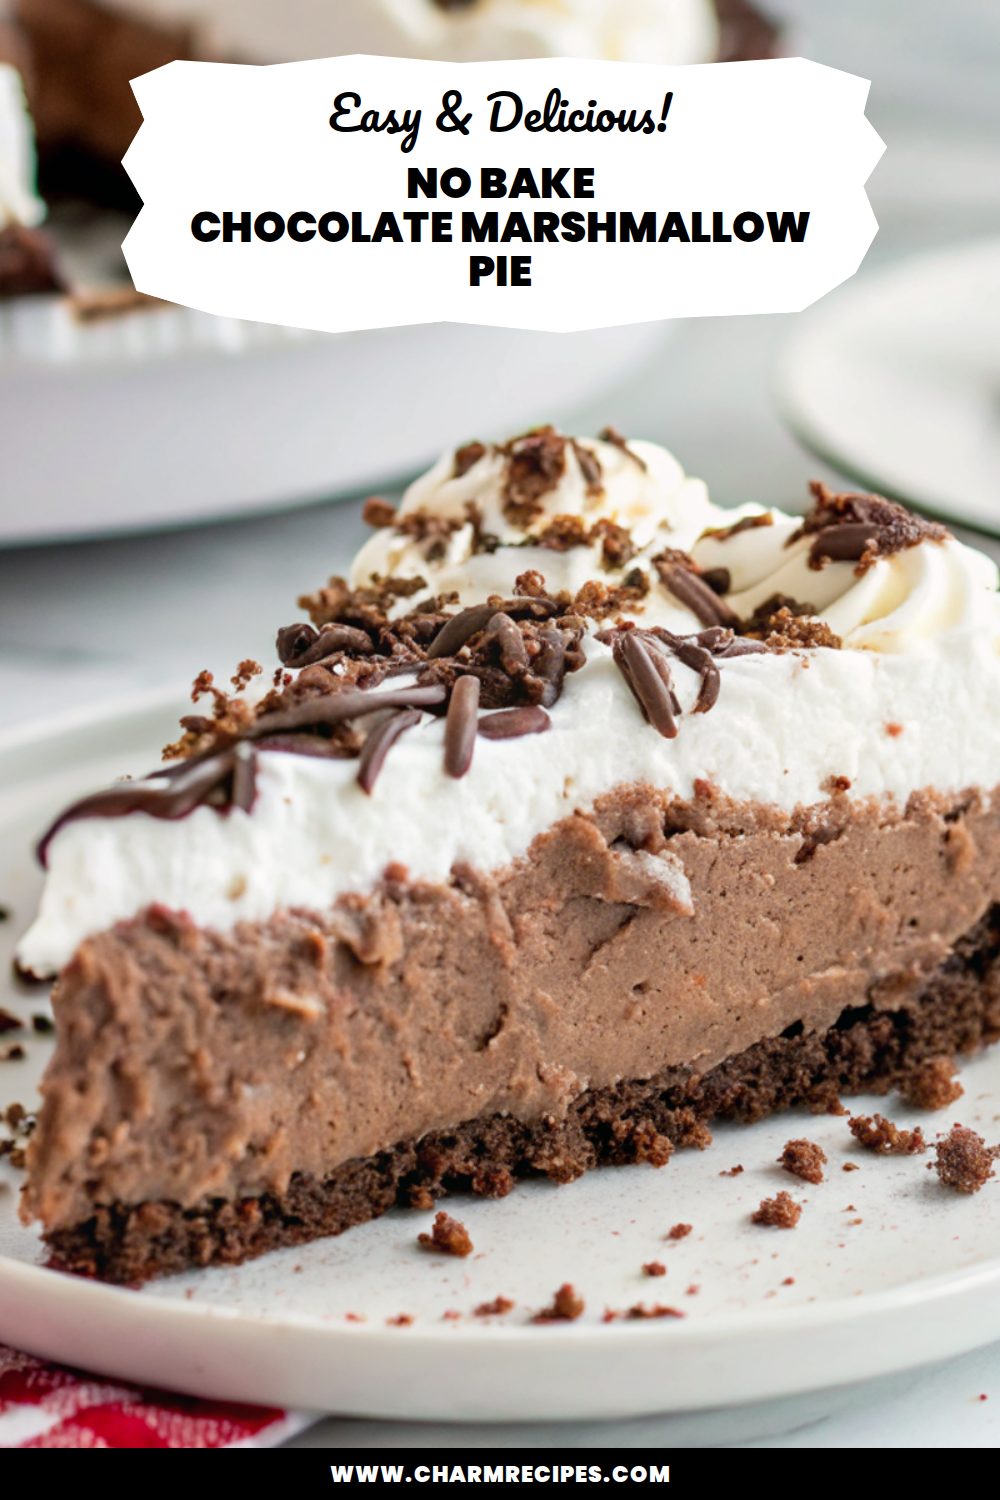
This no bake chocolate marshmallow pie combines a silky chocolate filling with a pillowy marshmallow topping and a crisp cracker crust — rich, sweet, and perfectly textured without turning on the oven. It’s worth making when you want an impressive dessert that comes together quickly and has that classic s’mores-like flavor in a simple pie form.
It’s an easy recipe to adapt: use marshmallow cream for a smooth top or mini marshmallows for a fluffier, slightly toasted finish. Make the crust and ganache ahead, then add the topping just before serving for the best texture.
Why This No Bake Chocolate Marshmallow Pie Works
1. The chocolate ganache sets into a dense, fudgy layer that gives deep cocoa flavor without baking.
2. A marshmallow topping adds a light, airy contrast to the rich filling, keeping each bite balanced.
3. The no-bake method keeps the recipe quick and reliable — no worrying about overbaking.
4. Simple pantry ingredients (chocolate, cream, crackers, marshmallow) produce a dessert that looks and tastes special.
Ingredients




These are the components you’ll want on hand; the full recipe card has exact amounts.
MORE OF OUR FAVORITE…
– Graham cracker crumbs or cookie crumbs: Forms the base — press firmly and use melted butter to bind. Oreo crumbs work for a richer crust.
– Dark or semi-sweet chocolate: The backbone of the filling — chop or use chips for a smooth ganache. Higher cocoa = less sweetness.
– Heavy cream: Heat and pour over chocolate to make the ganache; full-fat cream gives the best texture.
– Butter: Adds shine and firmness to the ganache and helps the crust set.
– Marshmallow creme or mini marshmallows: Fluff for an easy spreadable topping, or mini marshmallows can be melted and browned for a toasty finish.
– Vanilla and salt: A splash of vanilla brightens the filling; a pinch of salt balances sweetness.
– Optional garnish (flaky salt or cocoa): A little salt or cocoa powder on top enhances flavor and presentation.
Substitutions and Variations
– Use an Oreo crust instead of graham for a chocolate-on-chocolate pie; it’s richer and a bit firmer.
– Swap dark chocolate for milk chocolate to make the filling sweeter and creamier.
– Marshmallow creme gives a glossy, stable topping; melted mini marshmallows give airier texture and can be toasted.
– Fold a few tablespoons of cream cheese into the ganache for a slightly tangy, mousse-like filling.
– Stir a teaspoon of instant espresso into the ganache to deepen the chocolate flavor without tasting like coffee.
– Make individual tartlets in a muffin tin for faster chilling and easier serving; reduce chilling time accordingly.
How to Make No Bake Chocolate Marshmallow Pie
This is a summary — see the full recipe card for exact amounts and timing.
1. Mix cracker crumbs with melted butter and press into a 9-inch pie pan; chill until firm.
2. Heat heavy cream until just simmering and pour over chopped chocolate; let sit 1–2 minutes, then stir until smooth to make ganache.
3. Stir in butter and vanilla into the ganache, then pour into the chilled crust and smooth the top. Chill until the filling is set (a few hours).
4. Prepare the marshmallow topping: spread marshmallow creme directly, or melt mini marshmallows with a little butter/cream until smooth.
5. Spread the marshmallow topping over the cooled ganache, spreading evenly.
6. Optional: use a kitchen torch to lightly brown the marshmallow surface, or place briefly under a broiler if your pan is oven-safe (watch closely). Chill briefly to set the topping before slicing.
Tips for the Best Results
1. Chop the chocolate finely so the hot cream melts it evenly for a silky ganache.
2. Chill the crust well before adding the ganache to prevent sogginess.
3. Allow the ganache to cool slightly before adding the marshmallow topping so it won’t sink or melt into the filling.
4. If torching the marshmallow, keep the torch moving and a few inches away to avoid burning.
5. Use a warm knife (run under hot water and dry) for clean slices.
Common Mistakes
– Undercooked ganache (too thin): let it cool and thicken in the fridge before topping; if very thin, add a little more chopped chocolate and rewarm gently.
– Marshmallow topping weeps or slides: spread it on cooled — not warm — ganache and chill promptly to set.
– Soggy crust: press crumbs firmly and fully chill; use slightly more butter if crumbs won’t hold together.
– Overtoasting marshmallows: use short bursts with a torch or keep broiler time extremely brief and watch constantly.
– Uneven slices: chill well and wipe the knife between cuts for neat pieces.
Storage
Storing: Keep the pie covered in the refrigerator for up to 3–4 days. A pie dome or plastic wrap works well to prevent the marshmallow topping from drying out.
Freezing: You can freeze slices wrapped tightly in plastic and foil for up to 1 month. Thaw in the refrigerator overnight; note the marshmallow texture may soften slightly after freezing.
Reheating or serving later: Serve chilled or let sit at room temperature 15–20 minutes before serving for a softer ganache. Avoid warming the pie — that will melt the marshmallow topping.
How to Serve No Bake Chocolate Marshmallow Pie
– Slice with a warm knife and serve chilled or slightly softened at room temperature.
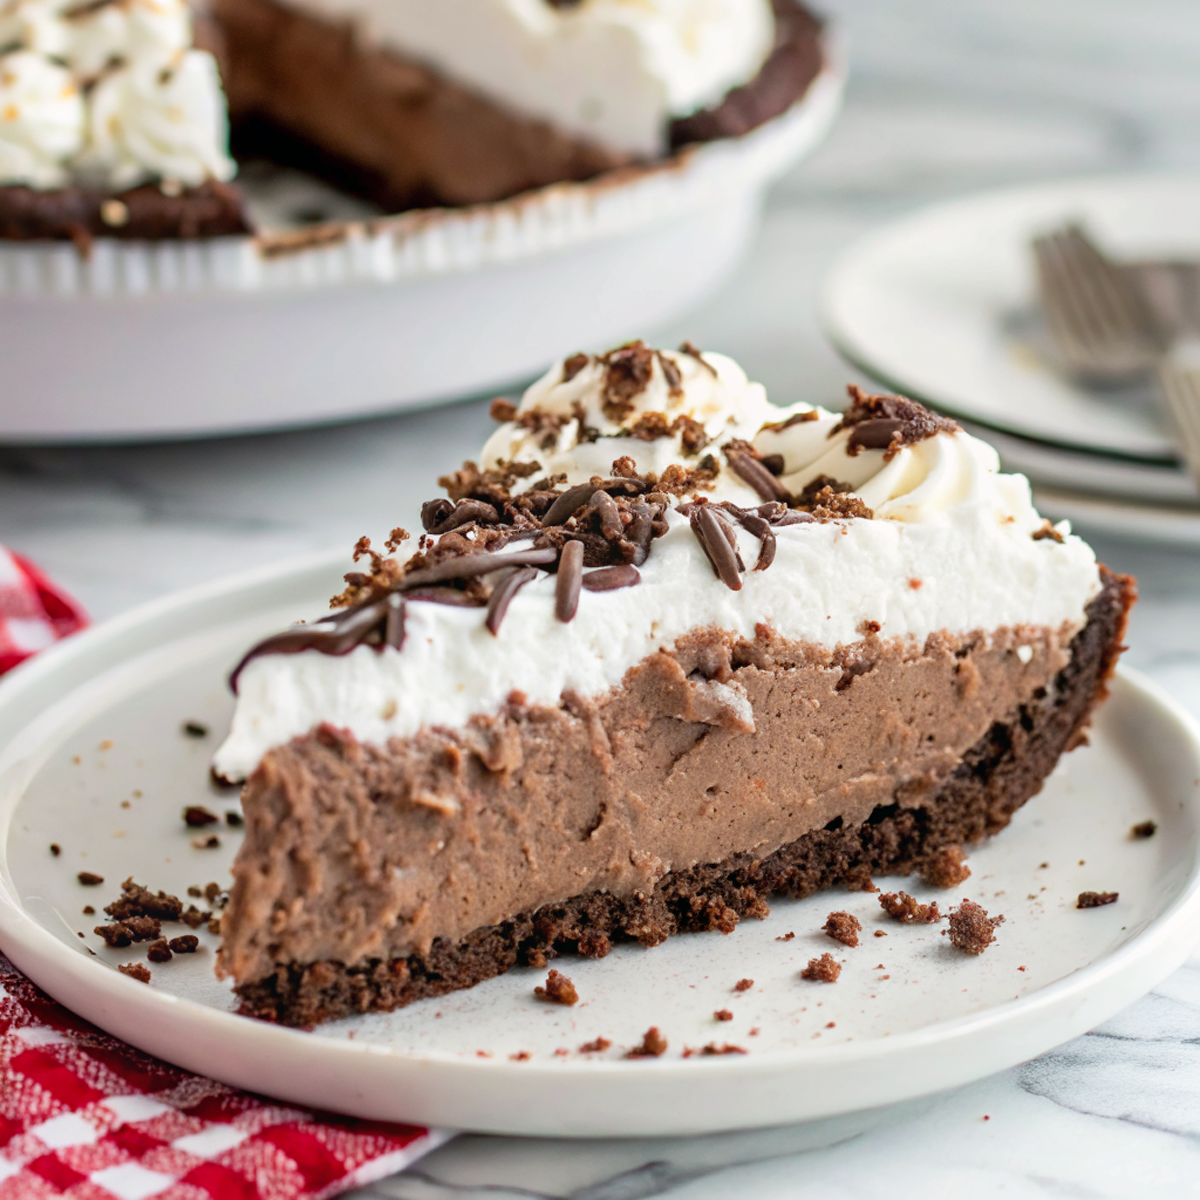
– Add a dollop of whipped cream and a sprinkle of cocoa or shaved chocolate.
– Serve with fresh berries or a drizzle of salted caramel for contrast.
– Pair with coffee or a cold milk for a classic combo.
More Helpful Notes
– Use good-quality chocolate you enjoy eating; it makes a big difference in ganache flavor.
– If using mini marshmallows, add a tablespoon of cream or butter when melting to keep the topping spreadable.
– Let the ganache firm up enough to support the marshmallow layer so the topping doesn’t sink.
– For cleaner serving, chill the pie until the ganache is well set, especially if you plan to torch the top.
Frequently Asked Questions
No Bake Chocolate Marshmallow Pie
Ingredients
Oreo Crust
- 28 cookies chocolate sandwich cookies, finely crushed
- 6 tablespoons unsalted butter, melted
Chocolate Marshmallow Filling
- 6 ounces dark chocolate, finely chopped (for ganache)
- 1/4 cup heavy whipping cream (to warm for ganache)
- 8 ounces full-fat cream cheese, at room temperature
- 3 tablespoons granulated sugar
- 1 jar marshmallow creme (7 ounces)
- 1/2 teaspoon instant espresso powder
- 1 teaspoon pure vanilla extract
- 2 ounces dark chocolate, very finely chopped (stir-in)
Whipped Cream Topping & Finish
- 1 1/2 cups heavy whipping cream, cold
- 1/3 cup powdered sugar
- 2 cookies Oreo cookies, crushed (optional garnish)
Instructions
Preparation Steps
- Chill a large metal mixing bowl and beaters in the freezer for 10 minutes. Line a 9-inch springform pan with a round of parchment on the base and lightly butter or spray the sides.
- Make the crust: Place the cookies in a zip-top bag and crush to fine crumbs with a rolling pin (or use a food processor). Stir the crumbs with the melted butter until evenly moistened. Press firmly into the bottom and about 1 inch up the sides of the pan. Freeze for 15 minutes to set while you prepare the filling.
- Start the ganache: Warm 1/4 cup heavy cream in a small saucepan over low heat just until steaming, 1–2 minutes (do not boil). Pour over 6 ounces finely chopped chocolate in a heatproof bowl. Let stand 2 minutes, then stir until smooth and glossy. Cool to room temperature, about 10 minutes.
- Whip the cream: In the chilled bowl, beat 1 1/2 cups cold heavy cream with the powdered sugar on medium-high until stiff peaks form, 2–3 minutes. Scoop about 1 generous cup into a separate bowl for topping; keep chilled. The remaining whipped cream will be folded into the filling.
- Make the marshmallow base: Beat the cream cheese and granulated sugar on medium-high until completely smooth and fluffy, 1–2 minutes. Mix in the vanilla, espresso powder, and marshmallow creme until silky with no streaks.
- Finish the filling: Whisk the cooled chocolate ganache into the marshmallow base until fully combined. Fold in half of the reserved whipped cream for the filling to lighten, then gently fold in the rest just until no white streaks remain. Stir in the remaining 2 ounces of finely chopped chocolate for texture.
- Assemble and chill: Spoon the filling into the cold crust and smooth the top. Tap the pan lightly on the counter to release air pockets. Refrigerate until set, 2–3 hours (or 1 hour in the freezer for a faster set).
- Top and serve: Swirl the reserved whipped cream over the chilled pie and finish with crushed Oreo cookies if using. For the cleanest slices, warm a knife under hot water and wipe between cuts.
Notes
Featured Comments
“This cozy recipe was will make again — the vibrant really stands out. Thanks!”
“This sweet treat recipe was so flavorful — the shareable really stands out. Thanks!”
“Impressed! Clear steps and family favorite results. Perfect for busy nights.”
“Impressed! Clear steps and so flavorful results. Perfect for busy nights.”
“Super easy and will make again! My family asked for seconds. Saving this one.”
“Made this last night and it was so flavorful. Loved how the hearty came together.”
“Super easy and will make again! My family asked for seconds. Saving this one.”
“New favorite here — absolutely loved. buttery was spot on.”
“New favorite here — absolutely loved. flavorful was spot on.”
“Impressed! Clear steps and family favorite results. Perfect for busy nights.”