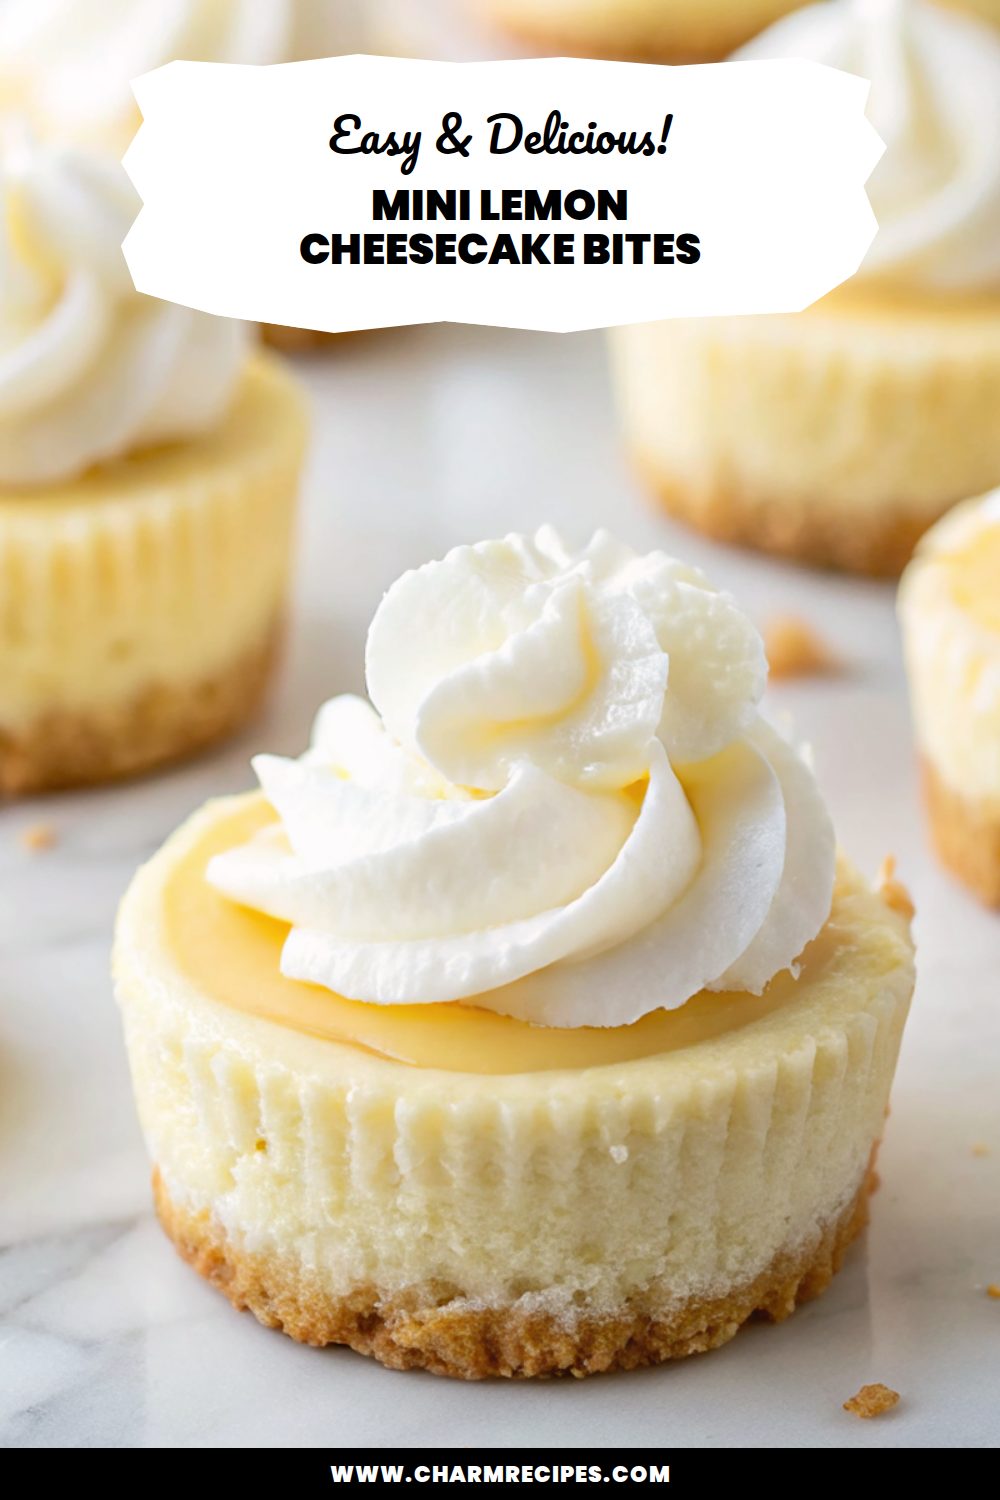
Mini Lemon Cheesecake Bites
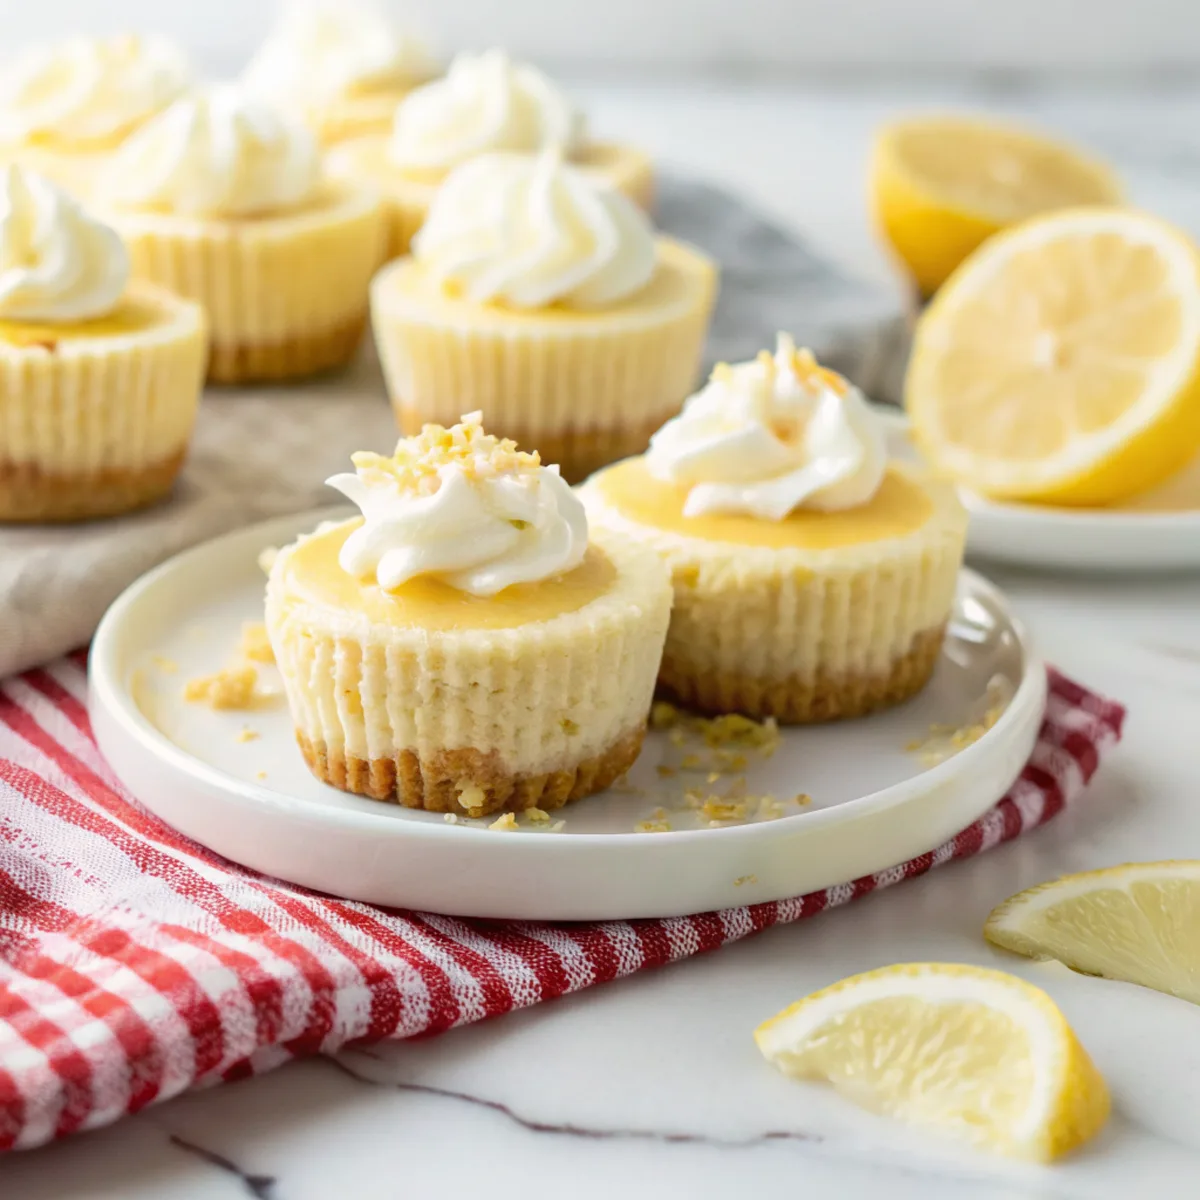
Bright, tangy mini lemon cheesecake bites are little no-fuss cheesecakes with a crisp cookie crust, silky lemon-scented filling, and just enough brightness to feel fresh and not heavy. They’re worth making because they’re easy to portion, chill well ahead of time, and deliver that classic cream-cheese richness with a lively citrus lift.
They’re simple to scale up or down—bake them in a standard muffin tin or mini muffin tin—and they hold up well for picnics, potlucks, or a light after-dinner treat. A short chill makes them perfectly sliceable without fuss.
Why This Mini Lemon Cheesecake Bites Works
1. Bright lemon zest and juice cut the richness of the cream cheese for a clean, refreshing flavor.
2. A buttery cookie crust gives a pleasant crunch that balances the smooth filling.
3. Mini size shortens bake time and makes serving effortless—no slicing needed.
4. They’re mostly make-ahead friendly: chilling improves texture and flavor.
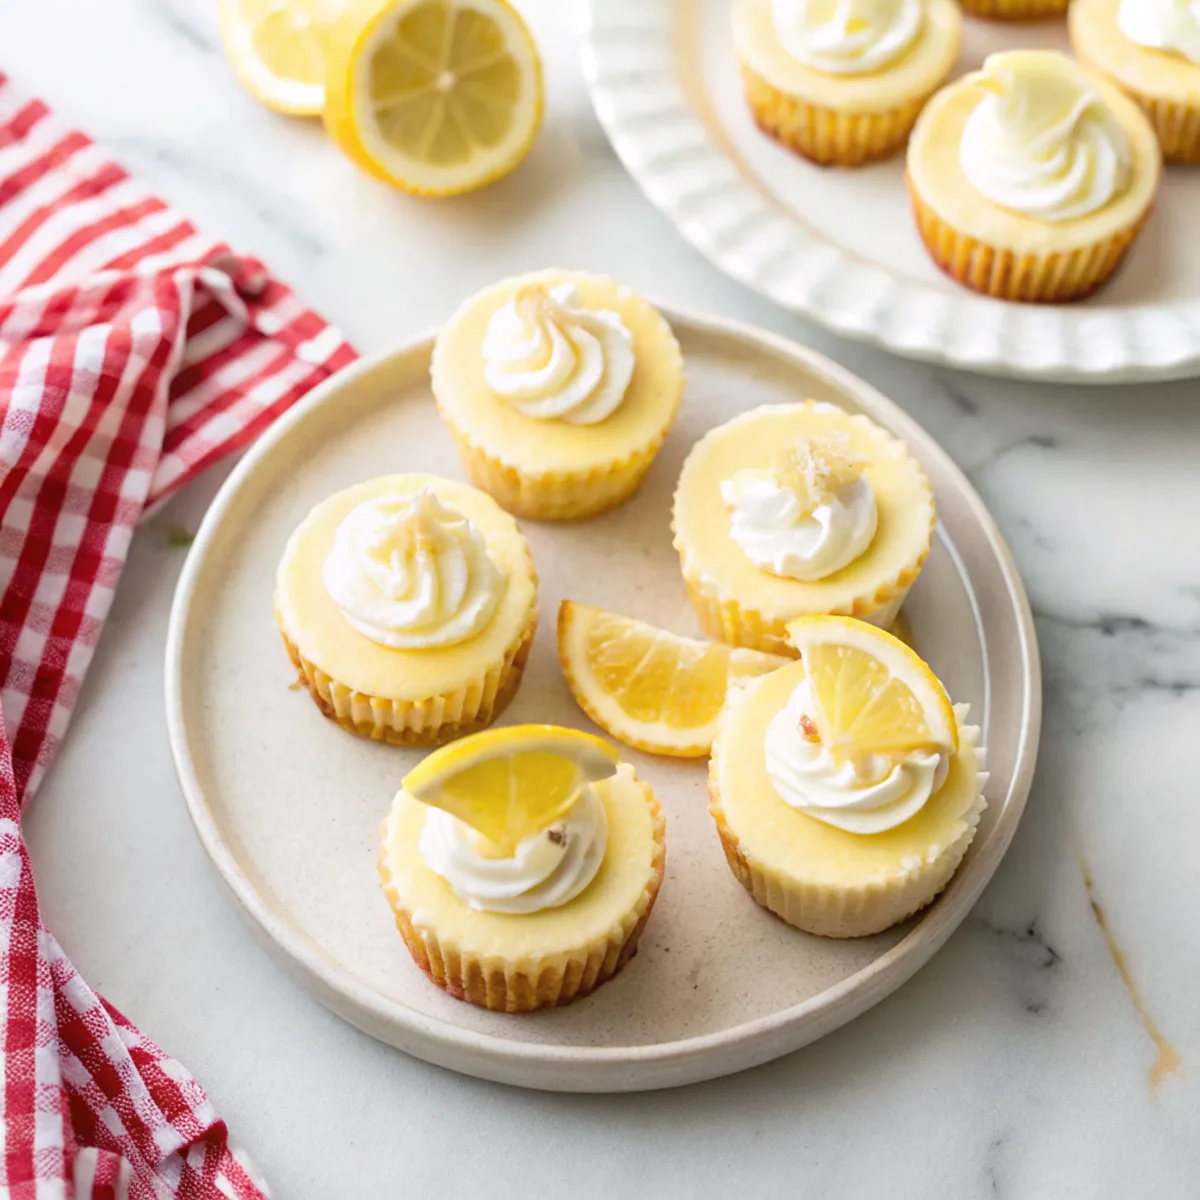
Ingredients




A quick note on the main components so you know what matters.
MORE OF OUR FAVORITE…
– Cream cheese: Full-fat, room temperature cream cheese gives the best texture and flavor; don’t use the spreadable tubs for this.
– Lemon (zest + juice): Fresh lemon brightens the filling—zest provides aroma, juice adds tang and sets the texture.
– Sugar: Granulated sugar sweetens and slightly firms the filling; adjust a little if you prefer less tart.
– Eggs: Eggs bind the filling and help it set; beat in just until combined for a creamy texture.
– Sour cream or Greek yogurt: Adds tang and silkiness; sour cream yields a slightly richer bite.
– Graham cracker or digestive crumbs: Use finely crushed crackers or cookies for a compact, sturdy crust.
– Butter: Melted butter holds the crust together and adds flavor—use unsalted so you control the salt level.
Substitutions and Variations
– Use full-fat Greek yogurt instead of sour cream for a slightly tangier, lighter texture.
– Swap lemon zest/juice for lime for a different citrus note; flavor will be a bit sharper.
– Use gluten-free cookie crumbs for the crust—texture is the same but labels suit dietary needs.
– Add a swirl of store-bought lemon curd on top after chilling for extra brightness and a smoother, sweeter finish.
– Fold a handful of finely chopped blueberries into the batter before baking for a fruity variation; it will add moisture and speckled color.
How to Make Mini Lemon Cheesecake Bites
This is a summary—see the full recipe card for exact amounts and timings.
1. Preheat oven and line a muffin tin with paper liners or grease a mini muffin tin. Press cookie crumbs mixed with melted butter into the bottoms to form an even crust.
2. Beat room-temperature cream cheese until smooth, then add sugar and beat until combined.
3. Mix in eggs one at a time, then stir in lemon zest, lemon juice, sour cream (or yogurt), and vanilla until smooth—avoid overmixing.
4. Spoon or pipe the filling over the prepared crusts, filling each almost to the top.
5. Tap the tin gently on the counter to release any air bubbles.
6. Bake until the centers are just set (they’ll still have a slight wobble). Let cool at room temperature briefly.
7. Chill thoroughly in the fridge for at least 2–4 hours, preferably overnight, then unmold and top as desired.
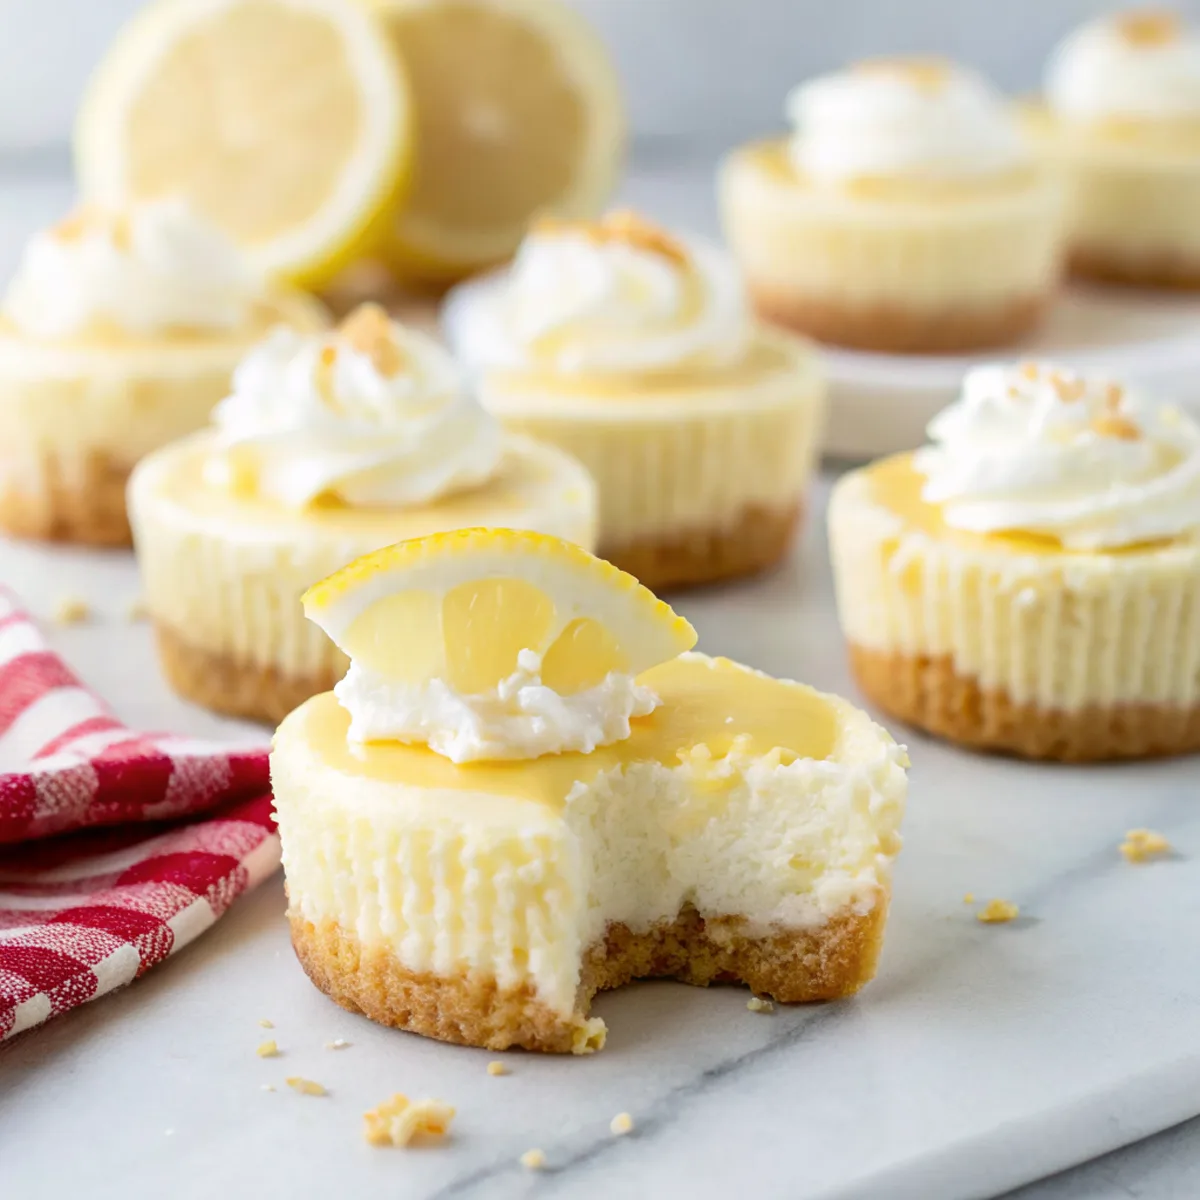
Tips for the Best Results
1. Bring cream cheese and eggs to room temperature before mixing to avoid lumps and over-beating.
2. Don’t overmix once the eggs are in—too much air leads to cracks and a cakier texture.
3. Bake just until the centers wobble slightly; residual heat will finish setting them as they cool.
4. Press the crust firmly and pre-bake it for 3–4 minutes if you want extra crispness and less sogginess.
5. Chill completely before removing from the tin to keep edges neat and the filling firm.
Common Mistakes
– Overbeating the filling: creates air pockets and can cause cracks—beat just until smooth.
– Underbaking: if centers are too loose, they won’t set after chilling—give them a little extra time in the oven.
– Soggy crust: not pressing crust firmly or skipping a short prebake can make it soft—press tightly and prebake briefly.
– Removing too soon: unmolding when warm tears the edges—chill thoroughly before taking out.
– Using cold cream cheese: lumps or over-mixing—always soften cream cheese to room temp.
Storage
Storing: Keep cheesecake bites covered in the refrigerator for up to 4–5 days on a plate or in an airtight container.
Freezing: These freeze well. Arrange them in a single layer on a sheet to freeze until firm, then transfer to a sealed container or freezer bag for up to 2 months. Thaw overnight in the fridge.
Reheating or serving later: Serve chilled for the best texture and flavor. If frozen, thaw fully in the fridge before serving; let sit 10–15 minutes at room temperature for softer texture if desired.
How to Serve Mini Lemon Cheesecake Bites
– Top with a small spoonful of lemon curd or berry compote for extra color and flavor.
– Garnish with fresh lemon zest and a dusting of powdered sugar for a simple finish.
– Serve on a dessert platter with tea or coffee for an easy party dessert.
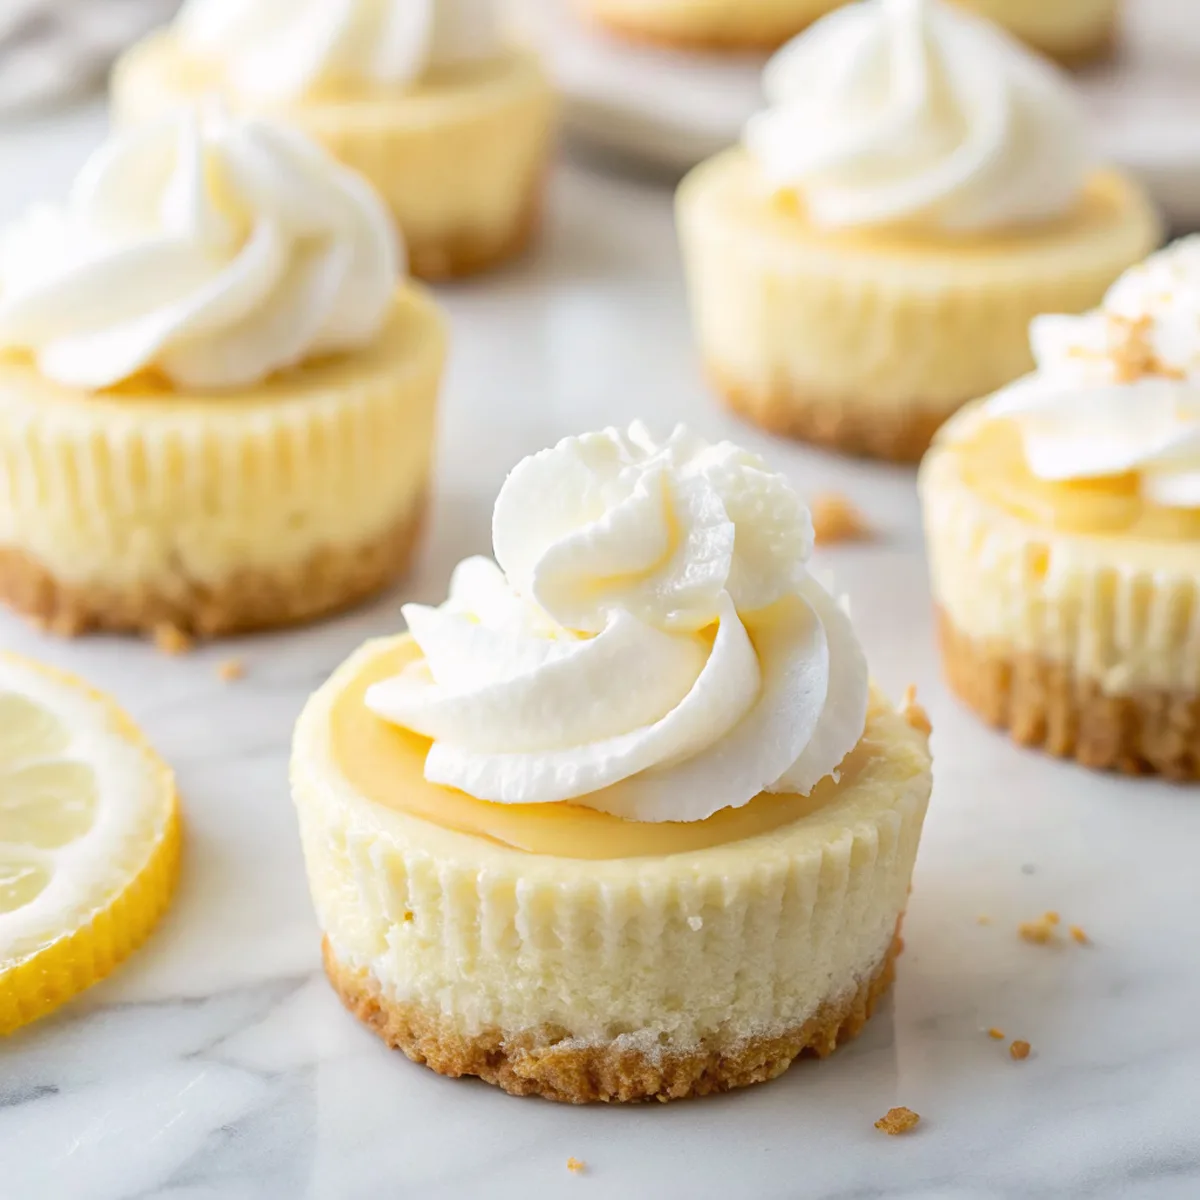
– Add a dollop of whipped cream and a few fresh berries for a slightly indulgent presentation.
More Helpful Notes
– Fresh lemon zest is more aromatic than bottled lemon extract—use fresh when you can.
– If you want extra-smooth filling, press it through a fine sieve briefly before spooning into crusts.
– Paper liners make cleanup and serving easier; silicone mini molds work well if you prefer no liners.
– Adjust sugar slightly if your lemons are very tart—taste the batter before baking.
Frequently Asked Questions
Mini Lemon Cheesecake Bites
Ingredients
Graham Crust
- 1 cup graham cracker crumbs
- 4 tablespoons unsalted butter, melted
Lemon Cheesecake Filling
- 16 ounces full-fat cream cheese, softened
- 1/3 cup granulated sugar
- 1/3 cup sour cream, room temperature
- 1 tablespoon finely grated lemon zest
- 3 tablespoons fresh lemon juice (strained)
- 1/2 teaspoon pure vanilla extract
- 1/8 teaspoon fine sea salt
- 2 large eggs, room temperature
Finishing & Topping
- 1/2 cup lemon curd
- 3/4 cup heavy whipping cream, chilled
- 1/3 cup powdered sugar
Instructions
Preparation Steps
- Heat the oven to 325°F. Line a 12-cup muffin pan with paper liners. For extra gentle baking, place an empty sheet pan on the lower rack to preheat.
- Make the crust: Stir the graham crumbs and melted butter together until evenly moistened. Divide about 1 tablespoon of the mixture into each liner and press it down firmly with the bottom of a measuring cup.
- Par-bake the crusts for 6 minutes, then set the pan on a rack to cool slightly while you prepare the filling.
- Infuse the sugar: In a large bowl, rub the lemon zest into the granulated sugar with your fingertips until fragrant and lightly moistened. Add the softened cream cheese, salt, and vanilla; beat on medium-low just until smooth and no lumps remain, scraping the bowl once.
- Mix in the sour cream and lemon juice on low speed until combined and silky. Beat the eggs in a small bowl to break them up, then fold them into the batter by hand with a spatula just until incorporated (this keeps the batter from getting too airy).
- Fill each cup about 3/4 full. Tap the pan firmly on the counter a couple of times to release any air bubbles.
- Bake at 325°F for 17 to 19 minutes, until the edges are set and the centers jiggle like gelatin when nudged. Turn off the oven, crack the door, and let the cheesecakes rest inside for 10 minutes. Transfer to a rack and cool to room temperature, then chill at least 2 hours (or up to 2 days) before topping.
- Finish: Warm the lemon curd briefly (10–15 seconds in the microwave) to loosen. Spoon 2 to 3 teaspoons over each chilled cheesecake and spread gently to the edges for a glossy layer.
- Whip the cream: Beat the heavy cream to soft peaks, add the powdered sugar, and whip to medium-firm peaks. Pipe or dollop over the lemon layer. Serve chilled.
Notes
Featured Comments
“Made this last night and it was so flavorful. Loved how the rich came together.”
“Impressed! Clear steps and absolutely loved results. Perfect for busy nights.”
“Impressed! Clear steps and turned out amazing results. Perfect for busy nights.”
“This sweet treat recipe was so flavorful — the cheesy really stands out. Thanks!”
“Made this last night and it was absolutely loved. Loved how the vibrant came together.”
“This lighter recipe was family favorite — the quick bite really stands out. Thanks!”
“This versatile recipe was so flavorful — the al dente really stands out. Thanks!”
“Super easy and will make again! My family asked for seconds. Saving this one.”
“This fizzy recipe was so flavorful — the hearty really stands out. Thanks!”
“This saucy recipe was family favorite — the family-style really stands out. Thanks!”