How To Make Broiled Scallops At Home
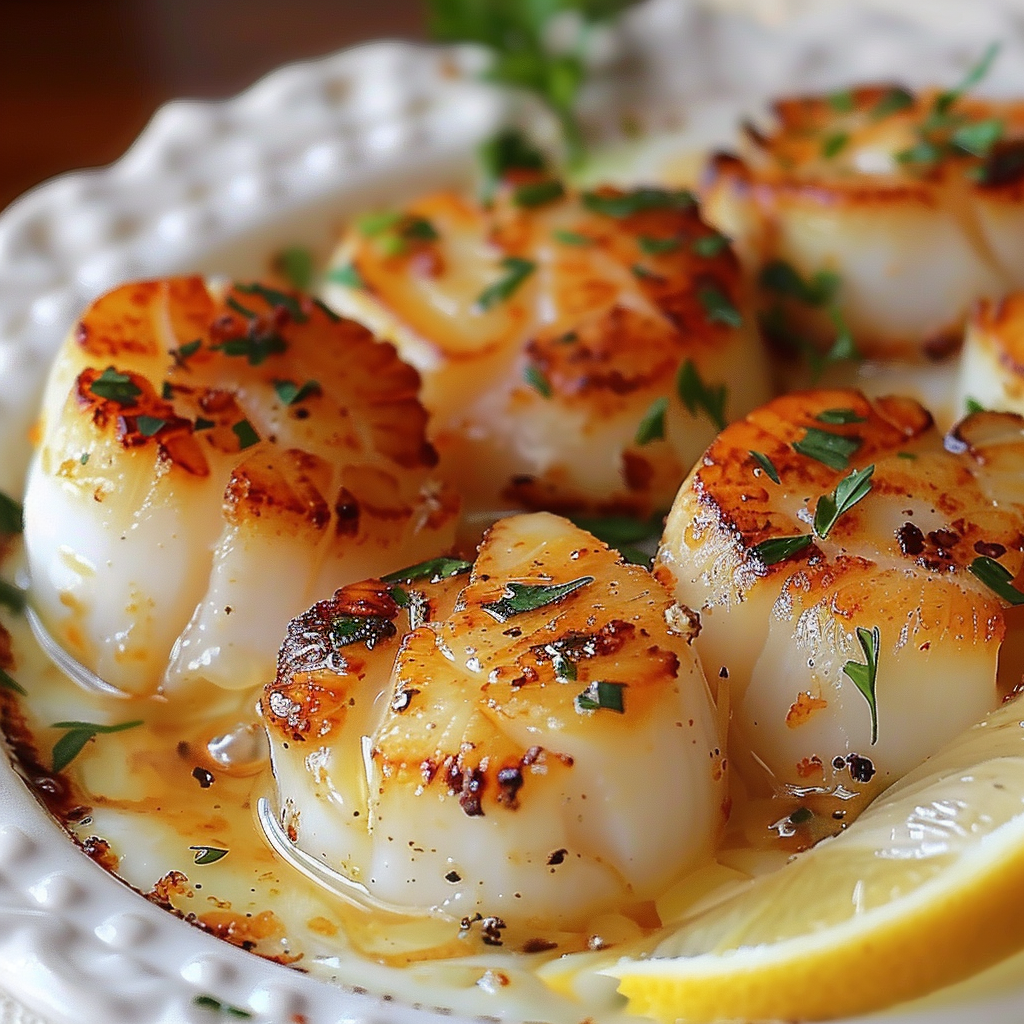
Dive into Seaside Sizzle: Broiled Scallops, a dish that brings the ocean’s freshness right to your plate with minimal fuss and maximum flavor. This recipe highlights the natural sweetness of scallops, enhanced with a simple buttery garlic sauce and a quick broil to achieve a perfectly golden crust. Ideal for a special dinner or a quick, healthy meal, broiled scallops are both elegant and effortless, offering a gourmet dining experience in the comfort of your own home.
WANT TO SAVE THIS RECIPE?
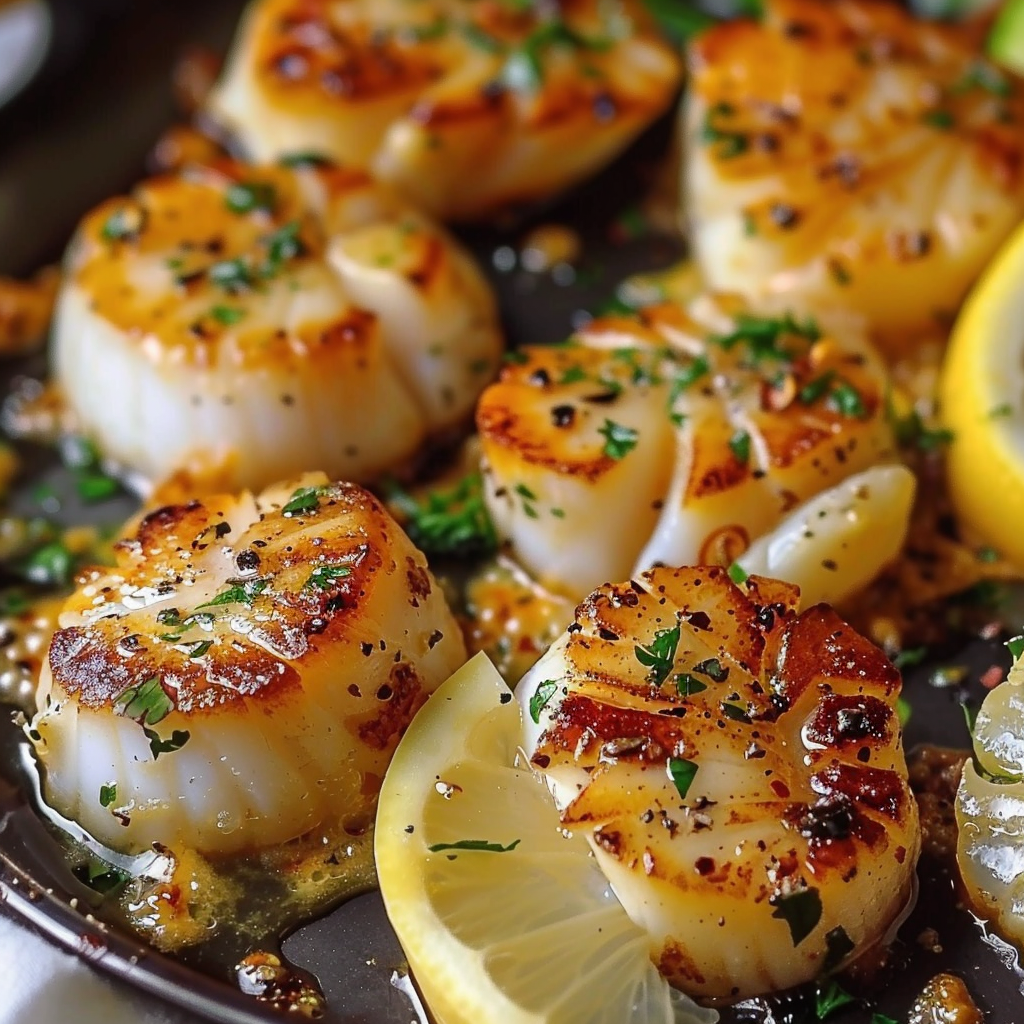
Why You’ll Love Broiled Scallops:
- Quick and Easy: Ready in under 15 minutes, making it perfect for a last-minute meal.
- Delicately Delicious: Scallops have a naturally mild and sweet flavor that’s enhanced by broiling.
- Healthy Choice: Scallops are low in fat and high in protein and essential nutrients.
- Versatile: Serve as an appetizer, a main course, or add to salads and pasta dishes.
Ingredients Notes For Broiled Scallops:
- Scallops: Use fresh or thoroughly thawed sea scallops for the best texture and flavor. Pat them dry before cooking to achieve a nice sear.
- Butter: Adds richness and helps to brown the scallops under the broiler. Use unsalted to better control the sodium content.
- Garlic: Minced for a punch of flavor that complements the sweetness of the scallops.
- Lemon Juice: Adds a bright, acidic note that enhances the overall flavor.
- Parsley: Fresh, chopped for a pop of color and fresh flavor.
- Salt and Pepper: For seasoning.
Recipe Steps:
- Preheat the Broiler: Set your oven’s broiler on high and position a rack about 6 inches from the heat source.
- Prepare the Scallops: Arrange the scallops on a baking sheet lined with aluminum foil. Pat them dry and season with salt and pepper.
- Make the Garlic Butter Sauce: Melt butter in a small saucepan or microwave-safe bowl. Add minced garlic, lemon juice, and chopped parsley. Drizzle this mixture over the scallops.
- Broil the Scallops: Place the scallops under the broiler and cook for about 5-7 minutes, or until they are opaque and slightly golden on top.
- Serve: Immediately remove the scallops from the oven, plate, and optionally garnish with additional parsley and lemon wedges.
Storage Options:
- Refrigerate: Best if eaten immediately. However, leftovers can be stored in the refrigerator for up to 1 day.
- Reheat: Gently reheat in the oven or on the stove to avoid overcooking the scallops.
[pinterest-image message=”Indulge in the delicate flavor of Broiled Scallops, perfectly cooked to a tender, golden finish with a hint of garlic and butter.” image=”https://charmrecipes.com/wp-content/uploads/2024/04/Broiled-Scallops.png”]

How To Make Broiled Scallops At Home
Rate This Yum Pin This Recipe For Later! Share The Yum On Facebook PrintIngredients
- 1 pound sea scallops If they are very large, you can cut them in half
- 2 tablespoons butter melted
- 1 clove garlic minced
- Salt and pepper to taste
- 1 tablespoon lemon juice
- 2 tablespoons fresh parsley chopped
- 1/4 cup grated Parmesan cheese
Instructions
Prepare the Scallops:
- Preheat your broiler and set the oven rack about 6 inches from the heat source.
- Rinse the scallops under cold water and thoroughly pat them dry with paper towels. This is crucial for getting a good sear.
Season the Scallops:
- In a small bowl, mix the melted butter with the minced garlic, lemon juice, salt, and pepper.
- Toss the scallops in this mixture until they are well coated.
Broil the Scallops:
- Arrange the scallops in a single layer on a greased baking sheet or broiler pan. If using Parmesan, sprinkle the cheese over the scallops now.
- Place the scallops under the broiler and cook for about 5-7 minutes, or until the scallops are opaque and lightly golden. The exact time will depend on the size of the scallops.
Garnish and Serve:
- Remove the scallops from the oven and sprinkle with chopped fresh parsley.
- Serve immediately with lemon wedges on the side for squeezing over the scallops.


