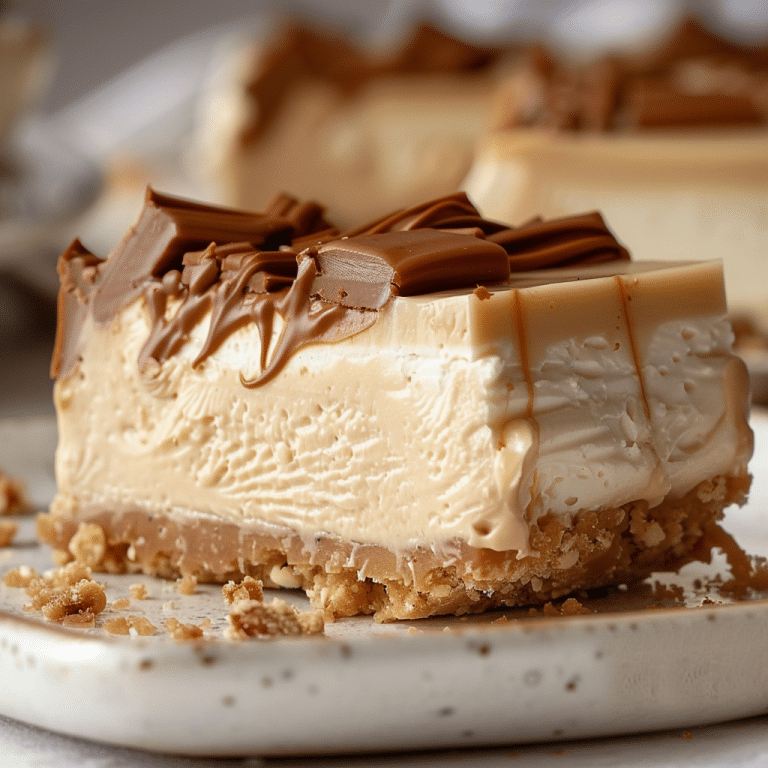
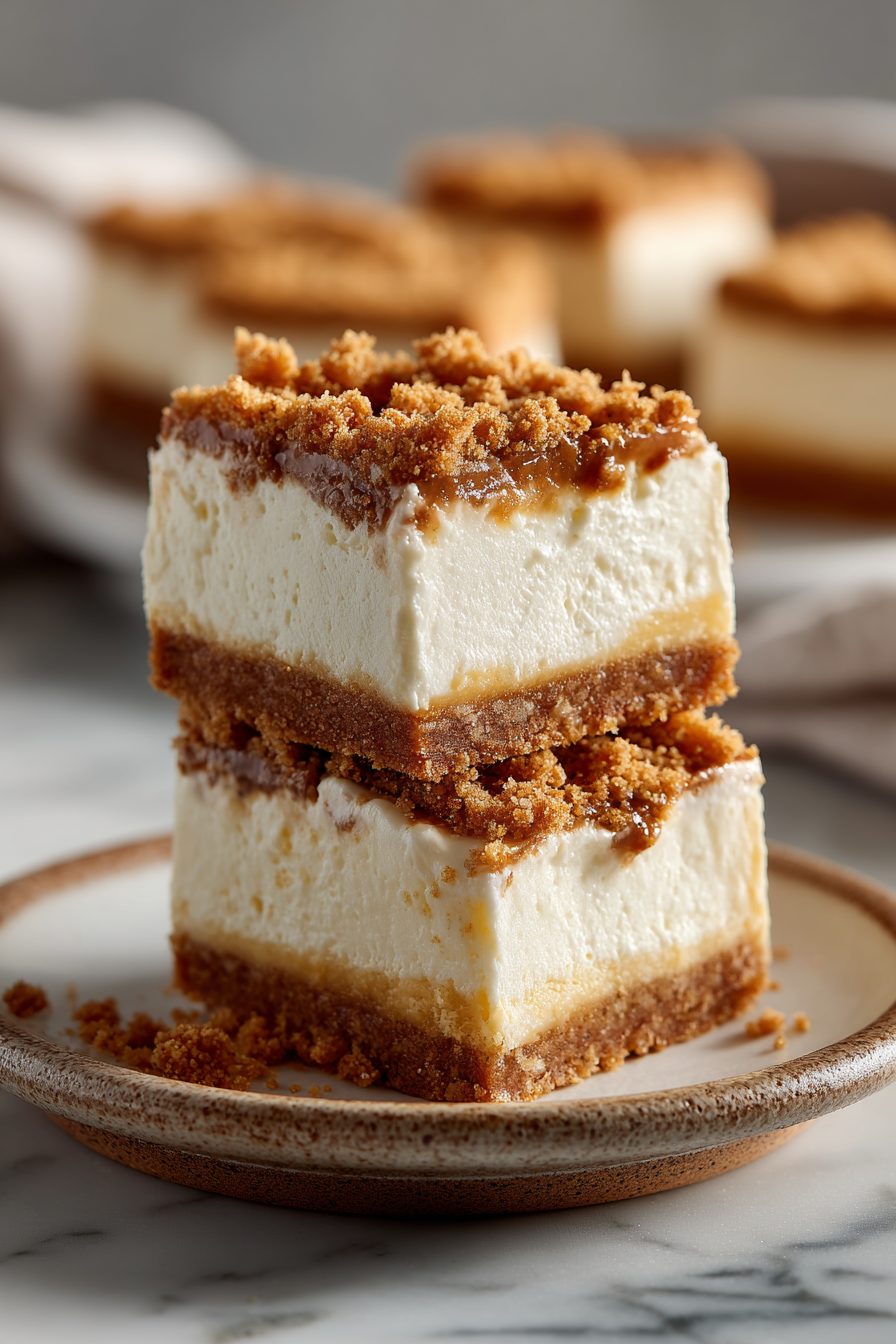
Graham Cracker Cheesecake Bars Recipe
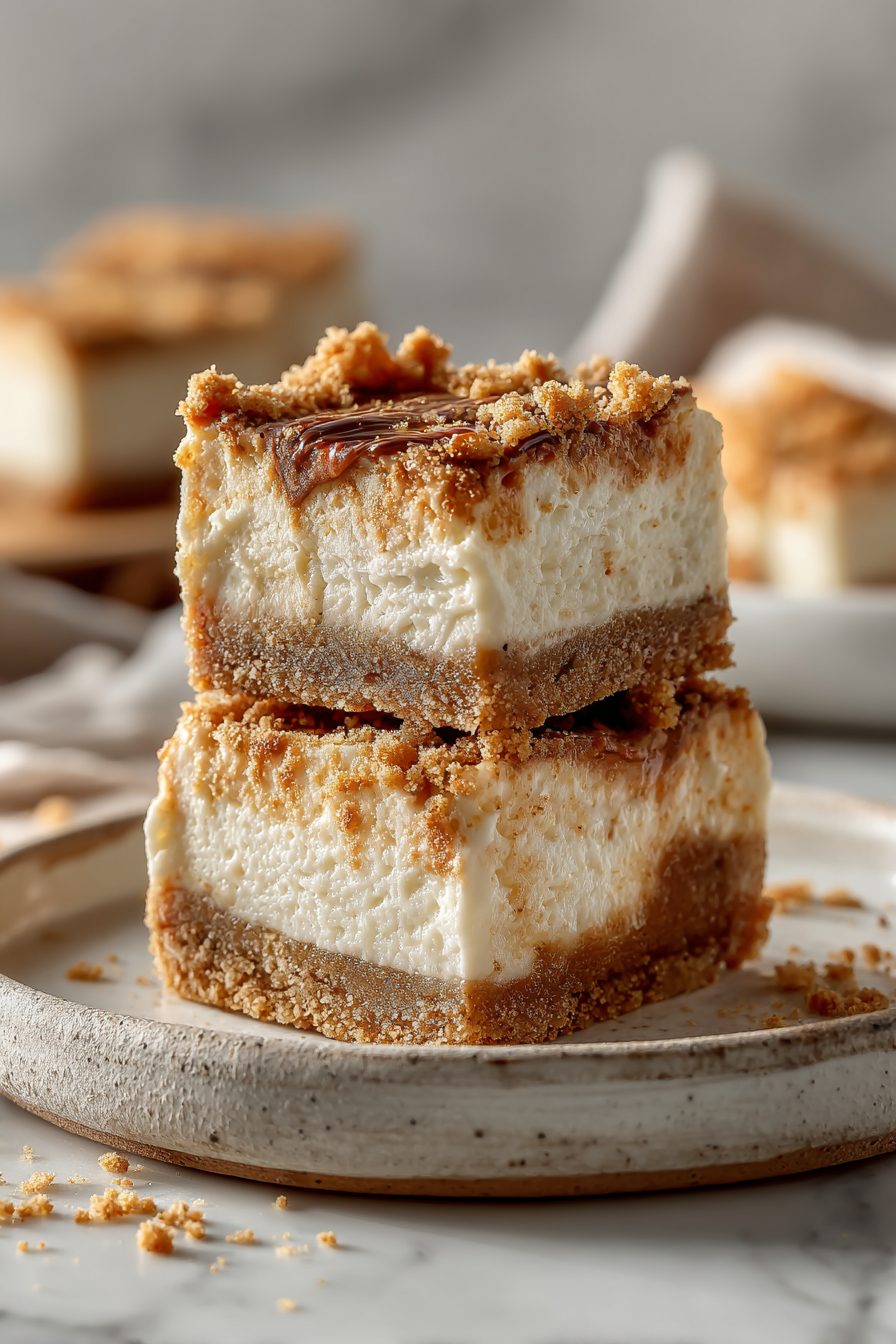
This is the kind of dessert that shows up at our kitchen counter like it was always meant to be there — gooey cream cheese with a whisper of lemon, a buttery graham cracker base that snaps just enough, and a top that browns into tiny caramelized nooks. It’s basically cheesecake in bar form: portable, less fussy than a full cheesecake, and somehow perfect for the chaos of real life (kids, dogs, forgotten school lunches, you know the drill).
My husband calls these “the bars” and brings one to bed like it’s a peace offering when I’m hangry. True story: I made a pan of these on a Sunday afternoon and our tiny kiddo announced they were getting married to the graham cracker crust. Now anytime someone asks what they want for dessert, it’s the universal answer. It’s become our go-to for birthdays, last-minute guests, or when we need to bribe someone with sugar to help unload the dishwasher.
Why You’ll Love This Graham Cracker Cheesecake Bars Recipe
– Portable and cut-and-serve friendly — no worries about a wobbly whole cheesecake.
– All the classic cheesecake flavor with less time and less intimidation.
– Crunchy, buttery crust meets silky, tangy filling — texture drama in every bite.
– Great for making ahead and perfect for when you need dessert that travels without collapsing.

Kitchen Talk
These bars are forgiving in that gloriously domestic way. I once forgot to soften the cream cheese properly and ended up blitzing it with a hand mixer until it surrendered — still turned out delicious after a longer bake. Also: I like to pulse the grahams with a little brown sugar for depth. If you’re half-watching a kid’s show while baking like me, don’t panic if the top gets a teensy bit too golden — it still tastes like victory.
MORE OF OUR FAVORITE…
Shopping Tips
– Baking Basics: Buy a box of graham crackers (or a sleeve of graham crumbs if you prefer convenience); pick plain or honey depending on how sweet you want the crust.
– Fats & Oils: Use real butter for the crust — it makes the texture and flavor sing; salted or unsalted is fine, just adjust any extra salt.
– Dairy: Full-fat cream cheese gives the creamiest result; avoid low-fat versions if you want that classic tang and texture.
– Eggs: Room-temperature eggs blend more smoothly into the filling, so take them out of the fridge 30 minutes before you start if you can.
– Flavor Boosts: Pure vanilla extract and a little lemon zest lift the filling from “nice” to “can’t-stop-eating.”
Prep Ahead Ideas
– Make the crust the day before: press it into the pan, cover tightly, and keep it in the fridge so you just pour and bake the filling the next day.
– Mix the cheesecake filling a day ahead and store it in an airtight container; bring to room temp and re-whisk gently before baking to remove any stiffening.
– Use a rimmed baking sheet to catch spills when transporting or placing the pan in the oven; keeps your oven cleaner and your nerves calmer.
Time-Saving Tricks
– Use pre-made graham crumbs to skip crushing crackers by hand — life-changing on weeknights.
– Warm your cream cheese in short bursts in the microwave (10–15 seconds) if you forgot to take it out early.
– Bake in a glass pan if you want a slightly faster bake; metal browns a bit quicker, so watch the edges.
Common Mistakes
– Overmixing the filling can introduce air and cause cracks — mix until smooth, not until you’ve gone full workout.
– Underbaking makes slices gummy; overbaking dries them out — aim for slightly jiggly in the center.
– Skipping the chill: cheesecake bars need time to set, or they’ll be too soft to cut cleanly. I learned this after trying to serve warm bars — chaos, crumbs everywhere.
What to Serve It With
– Fresh berries or a quick berry compote to cut the richness.
– Whipped cream or lightly sweetened mascarpone for extra decadence.
– A simple espresso or cold brew to balance the sweet — brunch-approved.
Tips & Mistakes
– Let the pan cool on a wire rack before chilling to avoid soggy crusts.
– If your crust seems loose, press it firmly with the bottom of a measuring cup.
– Salt is your friend: a pinch in the crust brightens the butter and graham flavors.
– Don’t try to rush the chill — impatient slicing is regretful.
Storage Tips
Keep leftover bars covered in the fridge for up to 5 days; they actually firm up and slice cleaner after a night in the cold. Yes, you can eat them cold for breakfast — no shame here. Freeze individual squares on a sheet, then bag them for longer storage; thaw in the fridge or eat straight from frozen if you like an ice-cream-like chew.

Variations and Substitutions
– Swap crushed Oreos or gingersnaps for the graham crust if you want a flavor pivot.
– Stir a handful of chocolate chips, lemon curd swirl, or caramel ribbons into the filling for variety.
– For a gluten-free version, use gluten-free graham-style crumbs or almond flour crust; texture will be a touch different but still lovely.
– If you’re out of cream cheese, blending mascarpone and a bit of sour cream can work in a pinch, though the tang shifts.
Frequently Asked Questions
Graham Cracker Cheesecake Bars Recipe
Ingredients
Main Ingredients
- 2.1 cup graham cracker crumbs
- 0.28 cup granulated sugar for the crust
- 0.6 cup unsalted butter, melted
- 24 oz cream cheese, softened blocks, not whipped
- 0.8 cup granulated sugar for the filling
- 0.7 cup sour cream, room temperature
- 1.75 tbsp all-purpose flour
- 2.25 tsp vanilla extract
- 0.75 tsp finely grated lemon zest optional but brightens flavor
- 0.25 tsp fine salt
- 3 large eggs, room temperature
Instructions
Preparation Steps
- Heat oven to 325°F. Line a 9x13-inch pan with parchment, leaving overhang.
- Stir graham crumbs, crust sugar, and melted butter until evenly moistened.
- Press mixture firmly into the pan. Bake 8–10 minutes. Cool while making filling.
- Beat softened cream cheese on medium speed until very smooth, about 2 minutes.
- Add filling sugar and beat until fluffy, scraping bowl as needed.
- Mix in sour cream, vanilla, lemon zest, salt, and flour just until combined.
- Beat in eggs one at a time on low speed. Do not overmix.
- Pour filling over crust and smooth the top. Tap pan to release bubbles.
- Bake 28–32 minutes until edges are set and center still slightly wobbles.
- Cool 1 hour on a rack, then chill at least 3 hours. Lift out and slice.
Notes
Featured Comments
“Made this last night and it was absolutely loved. Loved how the gooey came together.”
“New favorite here — family favorite. homemade was spot on.”
“Super easy and family favorite! My family asked for seconds. Saving this one.”
“This cozy recipe was family favorite — the creamy really stands out. Thanks!”
“Made this last night and it was family favorite. Loved how the shareable came together.”
“This zesty recipe was family favorite — the warming really stands out. Thanks!”
“Super easy and turned out amazing! My family asked for seconds. Saving this one.”
“Super easy and family favorite! My family asked for seconds. Saving this one.”
“This balanced recipe was turned out amazing — the simple really stands out. Thanks!”
“Super easy and family favorite! My family asked for seconds. Saving this one.”