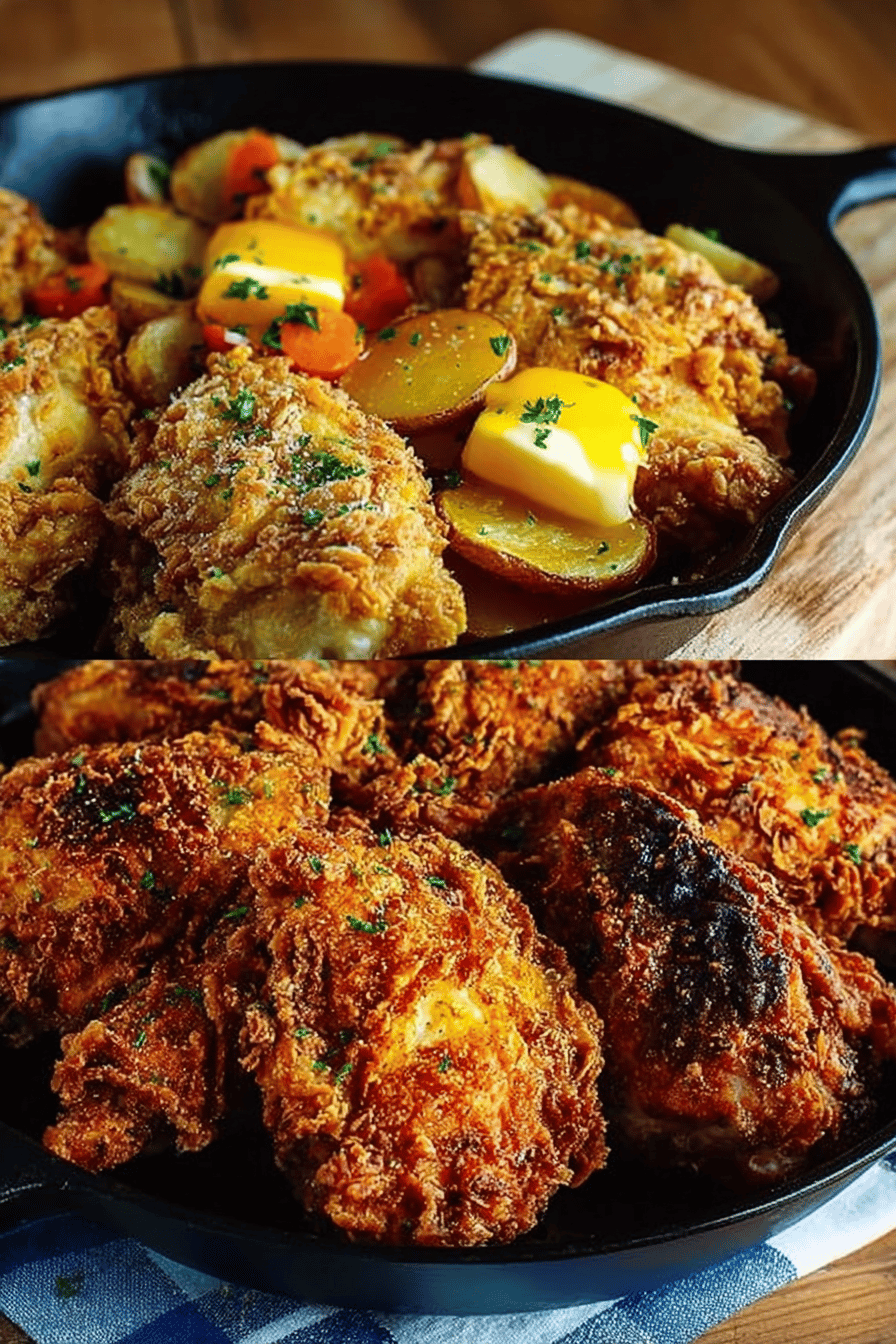
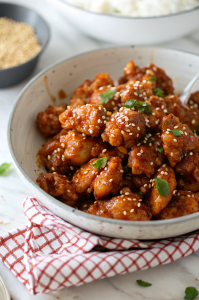
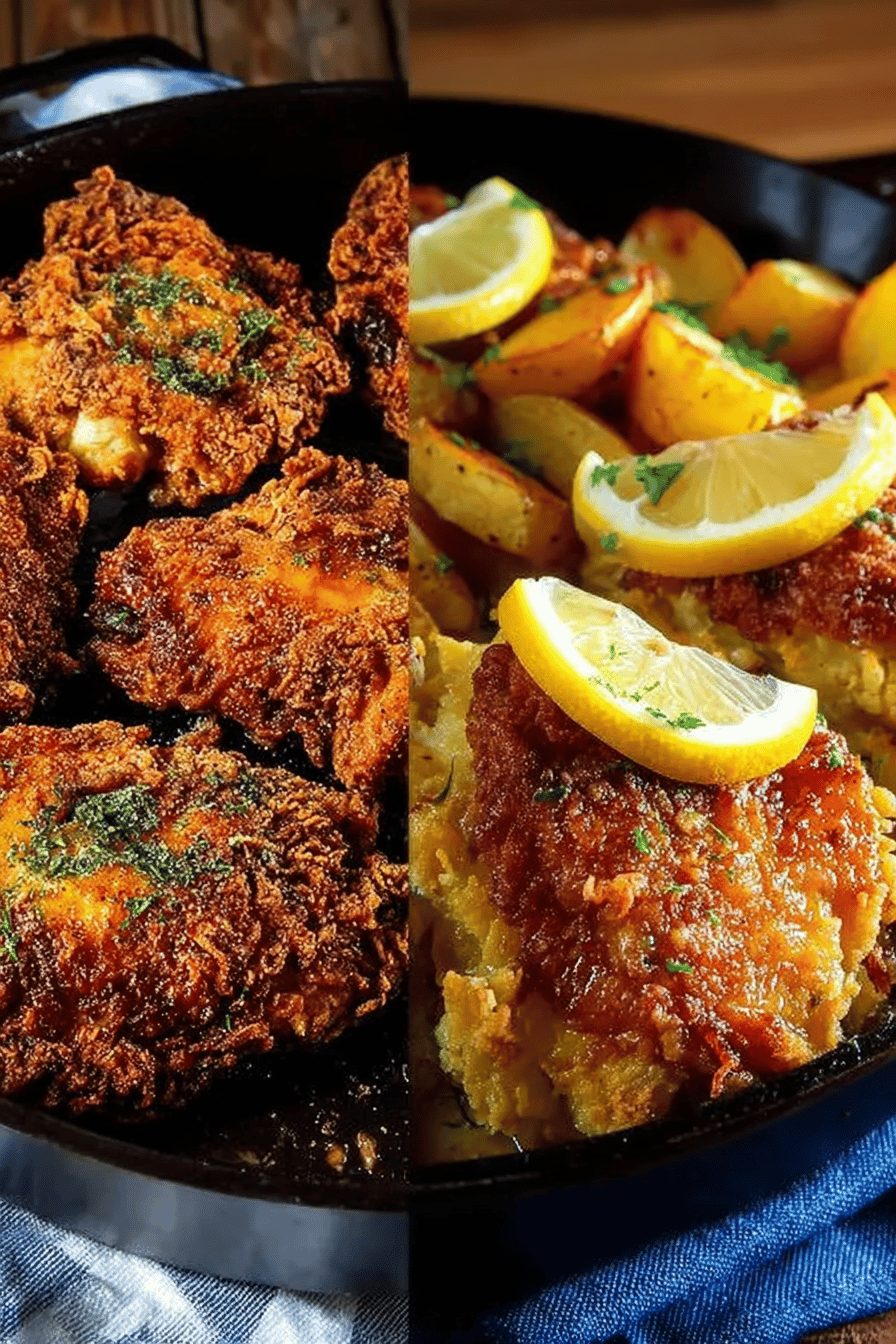
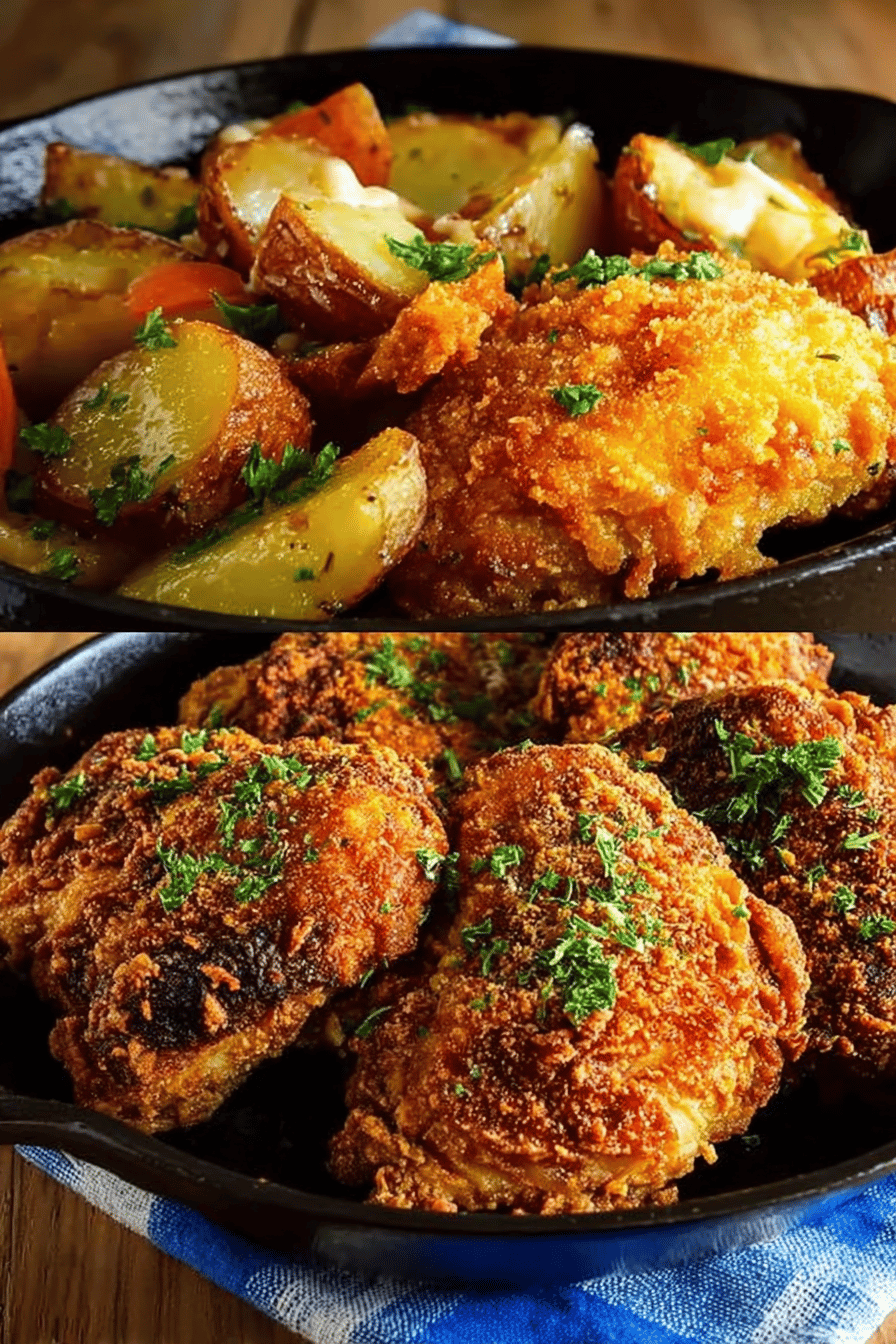
Easy Skillet Buttermilk Fried Chicken
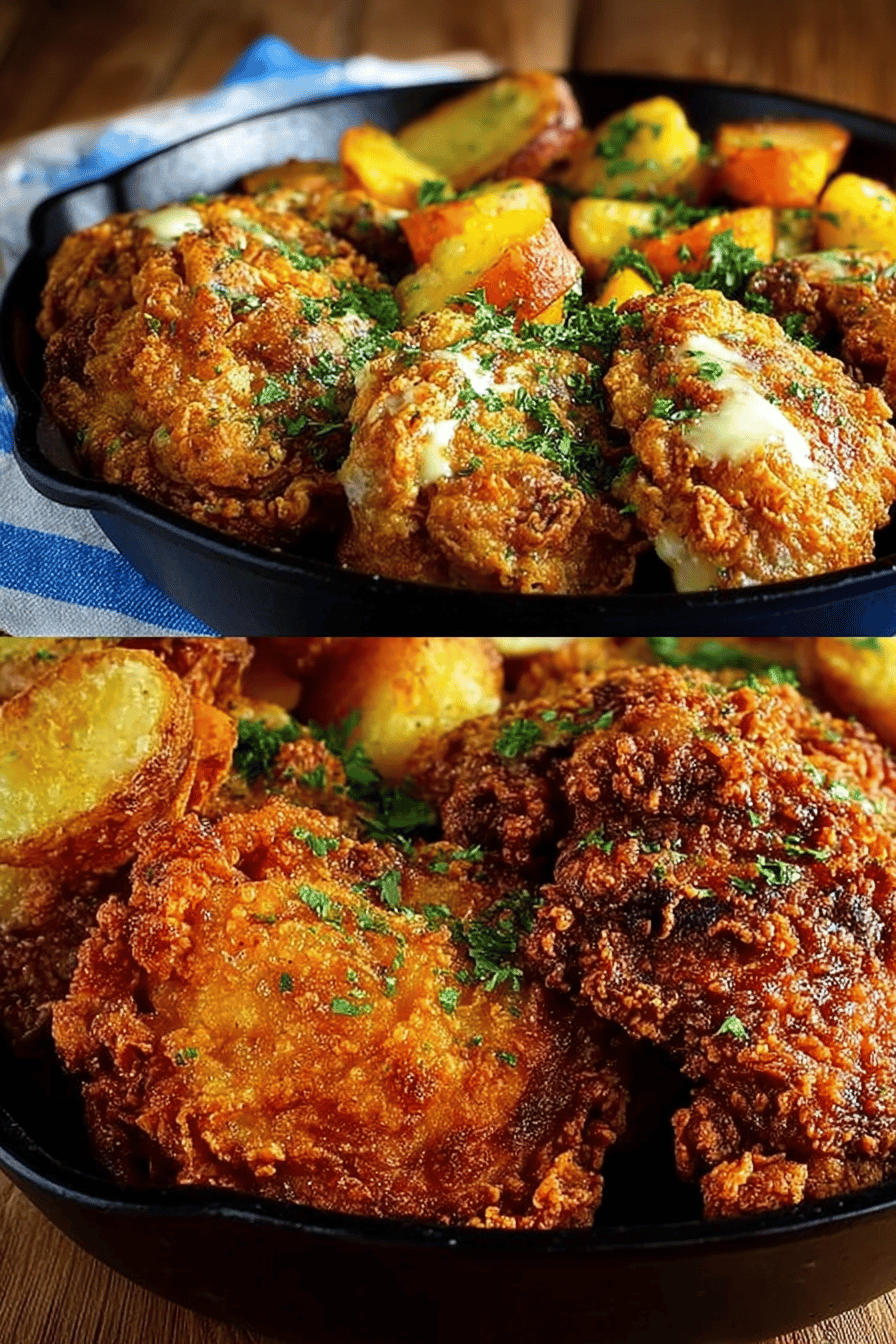
This is my go-to Easy Skillet Buttermilk Fried Chicken. I’m not kidding when I say “easy” – like, even I can’t mess this up too badly. And that’s saying something! It’s crispy, juicy, and has that perfect buttermilk tang. Forget drive-through chicken, this is where it’s at.
My husband, bless his heart, could eat this every single day. Seriously. I swear, the man turns into a cartoon character when I make it – eyes popping out, jaw dropping, the whole shebang. One time, I made a double batch because we had friends over, and he tried to sneak into the kitchen and eat a whole piece right off the cooling rack! I had to smack his hand. Good times. It’s a regular on our Sunday dinner rotation and honestly, sometimes I’ll just whip it up on a random Tuesday because, well, fried chicken.
Why You’ll Love This Easy Skillet Buttermilk Fried Chicken
- It’s ridiculously easy, even for kitchen klutzes like me.
- The buttermilk makes the chicken SO juicy. Seriously, you won’t believe it.
- Crispy skin, tender meat – the perfect combo, right?
- Leftovers? What leftovers? (But if you do have them, cold fried chicken for breakfast is a legit choice.)
How to Make It
Alright, let’s do this. First, you gotta soak your chicken in buttermilk. Don’t skimp on this step, it’s the magic! I usually do it for at least a couple of hours, but if you can do it overnight, even better.
MORE EASY DINNER RECIPES...
While that’s happening, get your dredging station ready. Flour, spices… I like to throw in a little paprika and garlic powder for extra oomph. Mix it all up real good.
MORE OF OUR FAVORITE…
Now, take your chicken pieces, one by one, and dredge them in the flour mixture. Make sure they’re totally coated, give them a good shake to get rid of the excess, and set them aside.
Heat up some oil in a big skillet – I use cast iron because it’s the bomb, but any heavy-bottomed skillet will do. You want enough oil to come about halfway up the sides of the chicken. Get it nice and hot, but not smoking hot, okay? About 325°F (160°C) is good. If it’s too hot, the chicken will burn on the outside before it’s cooked inside.
Carefully place the chicken in the hot oil, don’t overcrowd the pan! You’ll probably need to do it in batches. Fry for about 6-8 minutes per side, until golden brown and cooked through. Use a meat thermometer to make sure it reaches 165°F (74°C) inside.
Take the cooked chicken out and put it on a wire rack to drain. This is important, it keeps the chicken crispy instead of soggy.
And that’s it! Serve it up with your favorite sides and get ready to chow down.
Easy Skillet Buttermilk Fried Chicken
Ingredient Notes
- Buttermilk: Don’t even think about skipping this. It tenderizes the chicken like nobody’s business. If you’re out, you can fake it by adding a tablespoon of lemon juice or vinegar to regular milk. Let it sit for five minutes until it curdles a bit. It’s not quite the same, but it’ll do in a pinch.
- All-Purpose Flour: This is the base of our crispy coating. You can use gluten-free flour if you need to, but I haven’t tested it myself.
- Spices (Paprika, Garlic Powder, Salt, Pepper): Okay, this is where you can get creative. I like these basics, but feel free to add some cayenne pepper for a kick, or maybe some onion powder. Just don’t forget the salt and pepper, those are crucial!
- Oil: Use a neutral oil with a high smoke point, like canola or vegetable oil. Olive oil will burn. Trust me, I’ve been there, done that.
Recipe Steps:
- Marinate: Soak the chicken in buttermilk for at least 2 hours, or overnight.
- Prepare: Mix flour and spices in a shallow dish.
- Dredge: Coat each chicken piece in the flour mixture, shaking off excess.
- Heat: Heat oil in a large skillet to 325°F (160°C).
- Fry: Fry chicken in batches for 6-8 minutes per side, until golden brown and cooked through.
- Drain: Place cooked chicken on a wire rack to drain excess oil.
- Serve: Enjoy immediately!
What to Serve It With
Mashed potatoes, obviously. Corn on the cob is always a winner. Biscuits… oh man, biscuits. And don’t forget the coleslaw! It’s the perfect cool and creamy contrast to the crispy, savory chicken.
Tips & Mistakes
- Don’t overcrowd the pan. Seriously. It lowers the oil temperature and you’ll end up with soggy chicken. Nobody wants that.
- Use a meat thermometer! Undercooked chicken is a no-no.
- If the chicken is browning too quickly, lower the heat. Patience is key here.
- Don’t burn yourself. That oil is hot, like dragon’s breath hot.
Storage Tips
If you have leftovers (unlikely, but possible), store them in an airtight container in the fridge. They’ll be good for about 3-4 days. You can reheat them in the oven to crisp them up again, or just eat them cold straight from the fridge. Cold fried chicken is surprisingly delicious, don’t knock it ’til you try it. I may or may not have eaten it for breakfast more than once…
Variations and Substitutions
- Spice it up! Add some cayenne pepper or hot sauce to the buttermilk for a spicy kick.
- Herb it up! Throw some fresh herbs like thyme or rosemary into the flour mixture for extra flavor.
- No buttermilk? No problem. Use the milk/vinegar trick I mentioned earlier.
- I’ve tried using almond flour instead of all-purpose flour once when I was trying to be “healthy.” It wasn’t awful, but it definitely wasn’t as crispy. I wouldn’t recommend it unless you absolutely have to.
Frequently Asked Questions
Easy Skillet Buttermilk Fried Chicken
Ingredients
Main Ingredients
- 2 cup buttermilk for marinating
- 1 cup all-purpose flour for coating
- 1 teaspoon salt
- 1 teaspoon ground black pepper
- 1 teaspoon paprika
- 2 pound chicken pieces breasts, thighs, and drumsticks
- 2 cup vegetable oil for frying
Instructions
Preparation Steps
- In a large bowl, combine the chicken pieces and buttermilk. Cover and refrigerate for at least 1 hour or overnight.
- In another bowl, mix the flour, salt, pepper, and paprika.
- Heat vegetable oil in a large skillet over medium-high heat.
- Dredge the marinated chicken in the flour mixture until well coated.
- Fry chicken in batches until golden brown and cooked through, about 8 minutes per side.
- Drain on paper towels and serve warm.
Notes
Nutrition
Featured Comments
“Super easy and absolutely loved! My family asked for seconds. Saving this one.”
“New favorite here — absolutely loved. al dente was spot on.”
“This cheesy recipe was family favorite — the gooey really stands out. Thanks!”
“Impressed! Clear steps and absolutely loved results. Perfect for busy nights.”
“Impressed! Clear steps and turned out amazing results. Perfect for busy nights.”
“Made this last night and it was so flavorful. Loved how the wholesome came together.”
“This buttery recipe was turned out amazing — the warm really stands out. Thanks!”
“Super easy and will make again! My family asked for seconds. Saving this one.”
“Impressed! Clear steps and family favorite results. Perfect for busy nights.”
“Super easy and turned out amazing! My family asked for seconds. Saving this one.”