Easy Oreo Chunk Cheesecake Bars
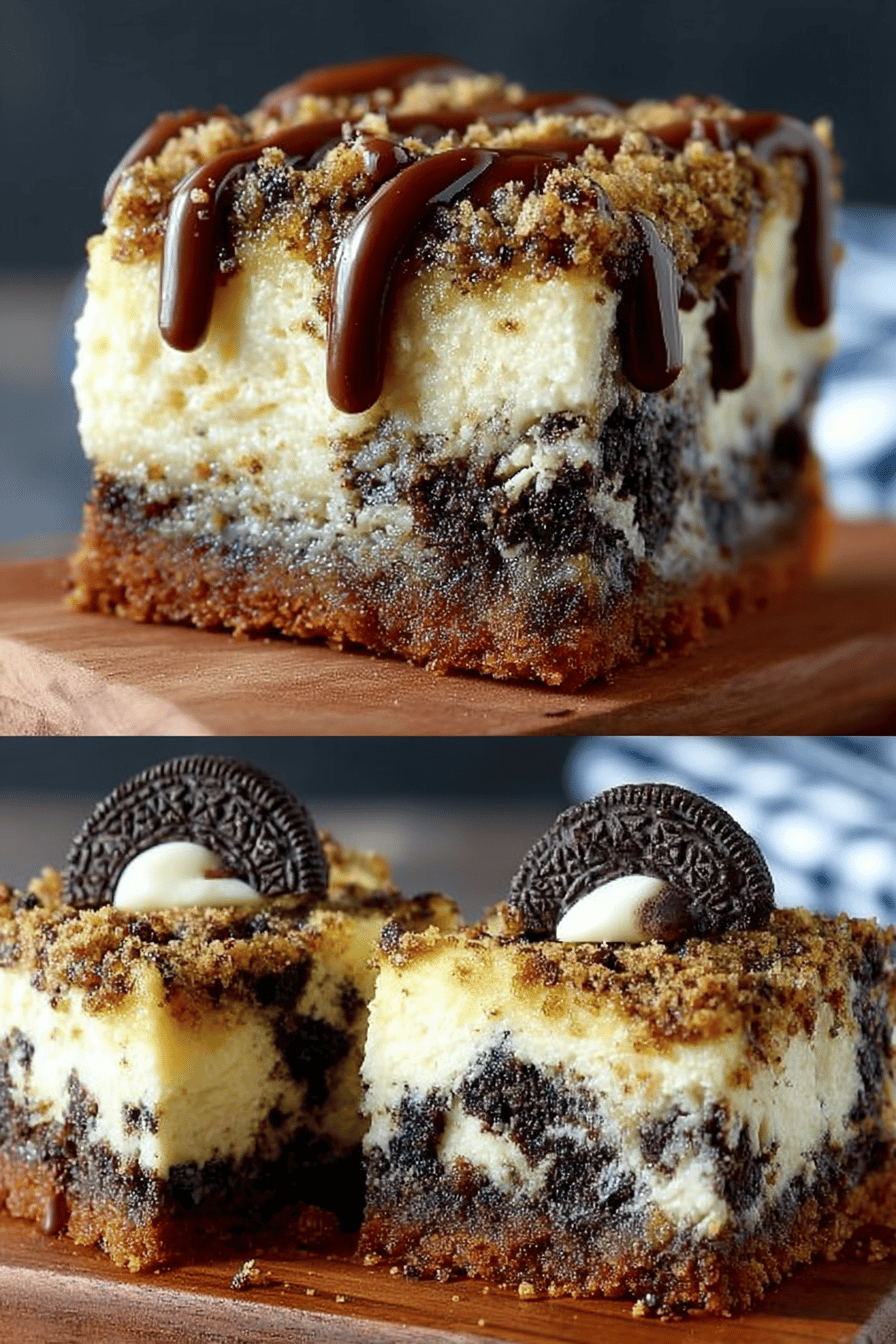
They’re basically crack in bar form, but, like, acceptable to serve at a PTA meeting. Picture this: a buttery, crumbly Oreo crust, a creamy, dreamy cheesecake filling LOADED with Oreo chunks, and then… you just DEVOUR it.
Seriously, they’re dangerously good.
My husband, Mark, is a cheesecake fanatic. He claims he’s on a diet 90% of the time, but when I make these bars, the “diet” goes on vacation. Last time, he ate three in one sitting and then blamed the dog. The DOG! Little does he know, I saw him sneaking into the fridge. And my daughter Lily? She judges all desserts against these bars now. Nothing else measures up. I’ve literally had to hide them from her before, and that’s saying something.
Why You’ll Love This Easy Oreo Chunk Cheesecake Bars
Okay, real talk:
- They’re ridiculously easy. Like, if you can operate a mixer, you’re golden.
- Oreos. Need I say more? Crunchy, chocolatey goodness in every bite.
- Cheesecake filling is so creamy you could cry. Seriously.
- They’re perfect for potlucks, parties, or just a Tuesday night when you need a win.
- They disappear FAST. Consider making a double batch because you’ll be sad when they’re gone.
MORE EASY DESSERT RECIPES...


MORE OF OUR FAVORITE…
How to Make It
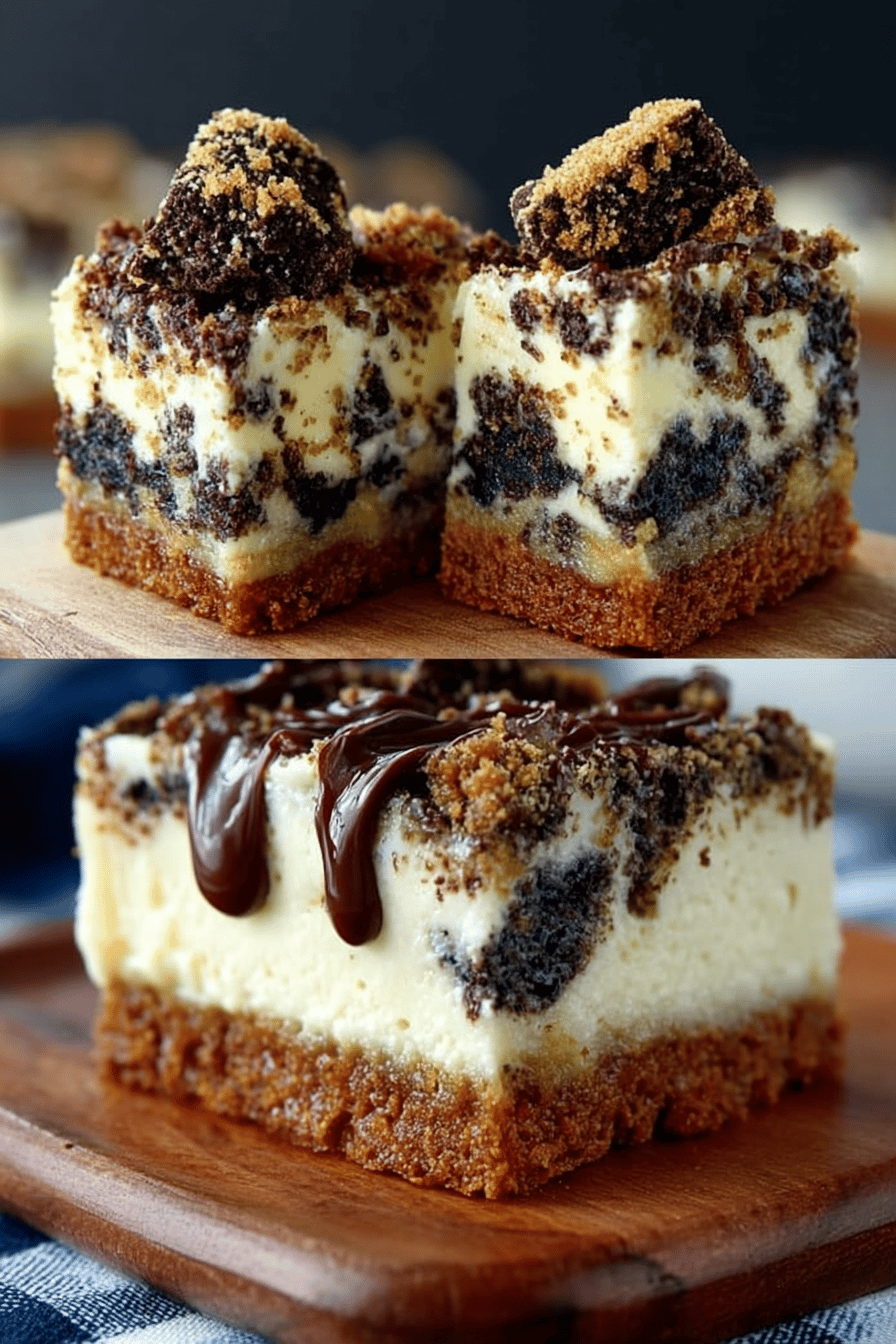
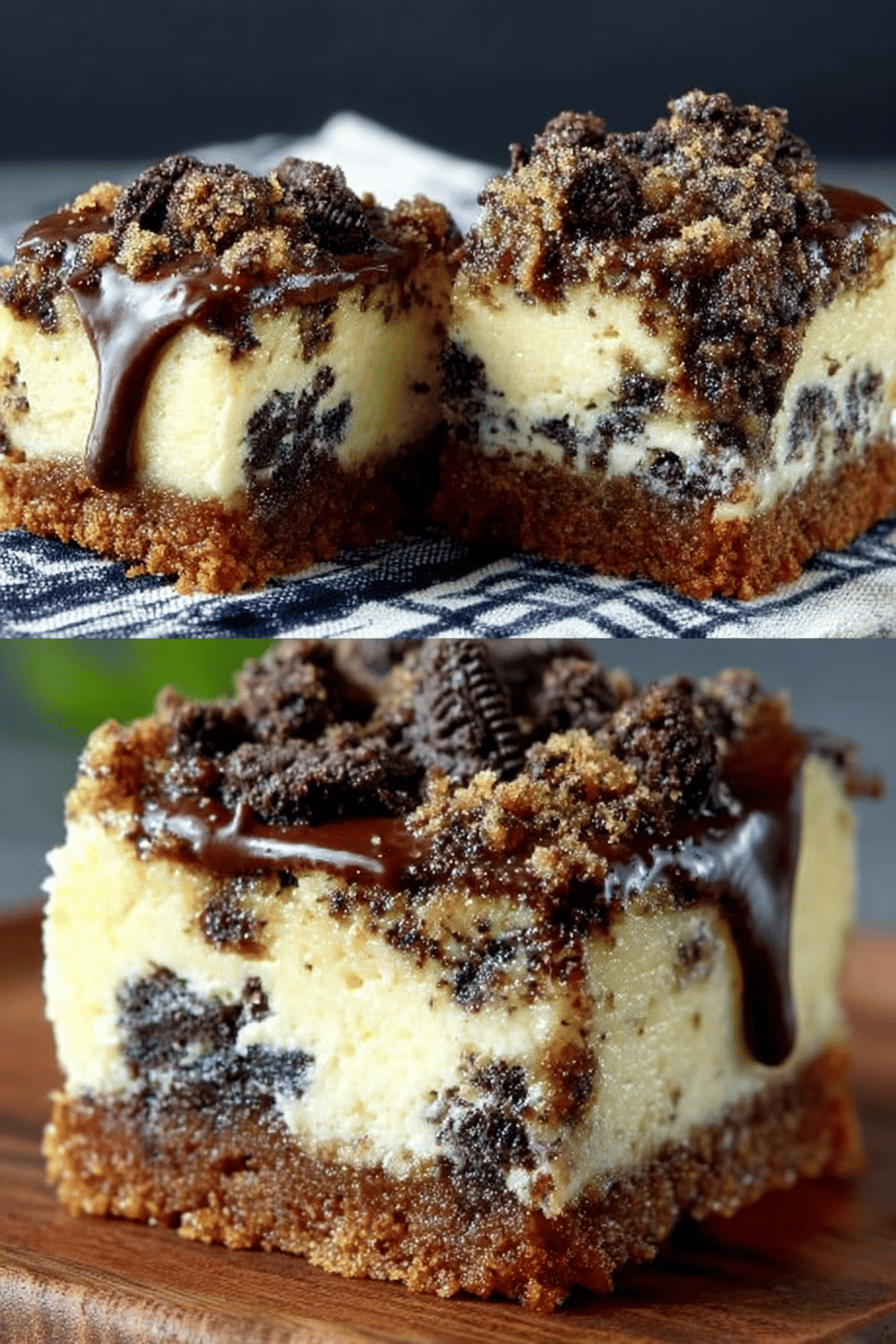
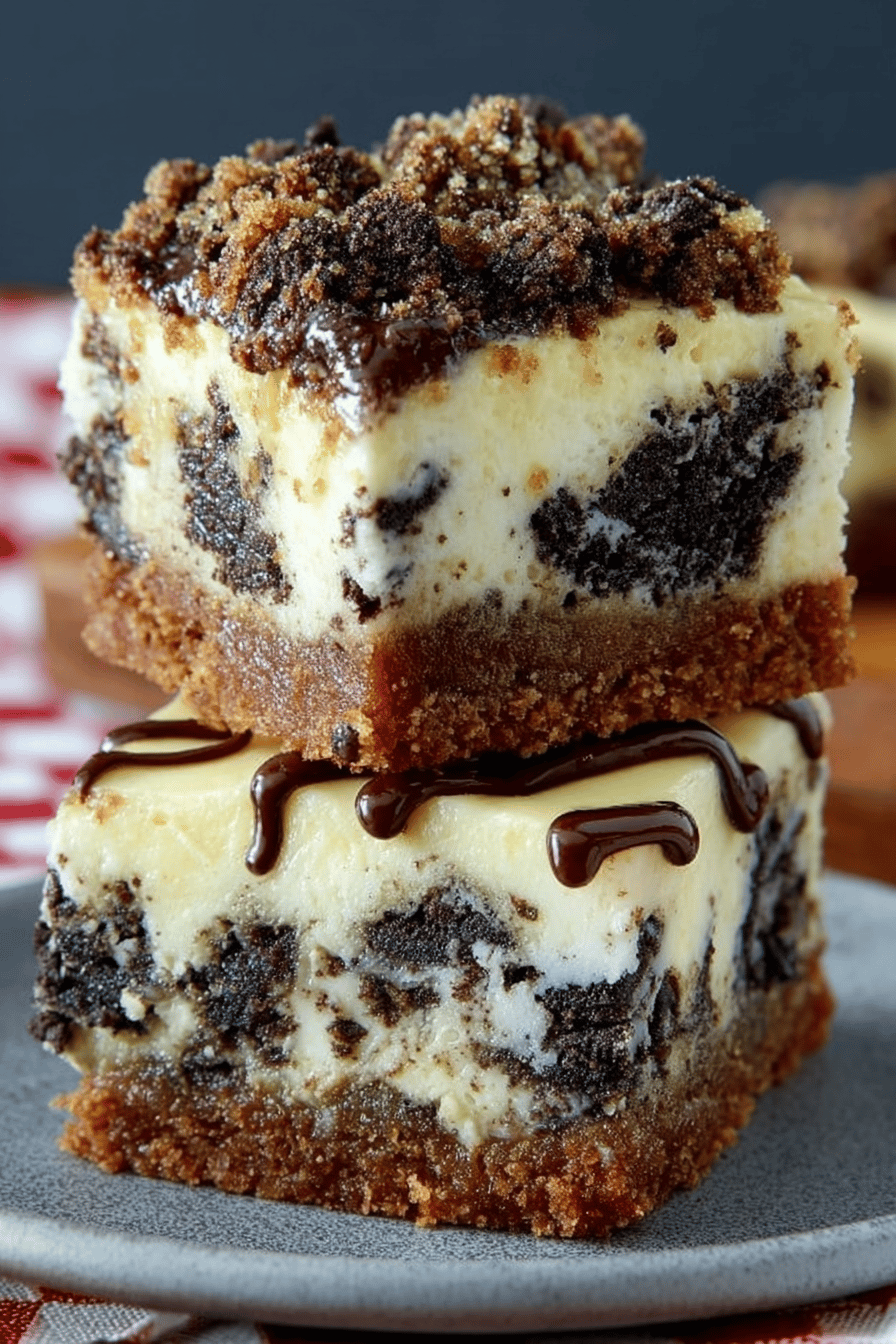
Alright, listen up, because this is where the magic happens. First, you’re gonna crush those Oreos. Like, really crush them. I usually throw them in a big ziplock bag and whack them with a rolling pin because it’s cheaper than therapy. Then, mix the crumbs with melted butter – because butter makes everything better, duh. Press that mixture into the bottom of your pan to form the crust.
Next, it’s cheesecake time! Beat together cream cheese, sugar, and vanilla extract until it’s smooth and creamy. Seriously, don’t skimp on the beating part. You want it to be luscious. Then, gently fold in those glorious Oreo chunks. Resist the urge to eat them all first… I’ve been there, it’s a struggle.
Pour that beautiful cheesecake filling over your Oreo crust and spread it evenly. Bake it in the oven until the edges are set and the center is just slightly jiggly. Let it cool completely, then chill it in the fridge for at least two hours. I know, the waiting is the hardest part, but trust me, it’s worth it. Slice it into bars and try not to eat the whole pan in one sitting. Good luck with that.
Ingredient Notes
- Oreos: Double Stuf are amazing, but regular Oreos work just fine too. I’ve even used the Golden ones once when it was all I had. Surprisingly good!
- Cream Cheese: Full-fat is the only way to go. Don’t even think about using the low-fat stuff. It just doesn’t taste the same, and life’s too short for sad cheesecake.
- Sugar: Granulated sugar is what you need for that perfect sweetness. Don’t get fancy.
- Vanilla Extract: Please, for the love of all that is holy, use real vanilla extract. The imitation stuff tastes like chemicals.
- Butter: Unsalted, so you can control the salt level. And, obviously, it needs to be melted for the crust. Once, I tried using cold butter… disaster. Don’t do it.
Recipe Steps:
- Crush: Place Oreos in a bag and crush them into fine crumbs.
- Combine: Mix Oreo crumbs with melted butter.
- Press: Press the mixture into a baking pan to form the crust.
- Beat: Beat cream cheese, sugar, and vanilla extract until smooth.
- Fold: Gently fold in Oreo chunks.
- Pour: Pour cheesecake filling over the Oreo crust.
- Bake: Bake until the edges are set and the center is slightly jiggly.
- Cool: Let it cool completely.
- Chill: Chill in the fridge for at least two hours.
- Slice: Slice into bars and serve.
What to Serve It With
Honestly? Nothing. These bars are perfect on their own. But if you’re feeling fancy, a dollop of whipped cream or a scoop of vanilla ice cream would be amazing. Or, you know, another Oreo. Because why not?
Tips & Mistakes
- Don’t overbake! A slightly jiggly center is what you want. Overbaked cheesecake is sad cheesecake.
- Let it cool completely before chilling. Otherwise, you’ll end up with condensation on top, and nobody wants that.
- Use a good quality cream cheese. It makes a difference.
- If you’re short on time, you can use a pre-made Oreo crust. I won’t judge.
- One time, I forgot the sugar. Don’t be like me. It was… not good.
Storage Tips
Store these bad boys in an airtight container in the fridge. They’ll last for about 3-4 days, but let’s be real, they won’t last that long. And yes, you can totally eat them cold. I might or might not have had one (or two) for breakfast before. No regrets.
Variations and Substitutions
- Different Oreos: Try using different Oreo flavors! Peanut Butter Oreos, Mint Oreos, Birthday Cake Oreos… the possibilities are endless.
- Chocolate Crust: Add a tablespoon of cocoa powder to the Oreo crust for an extra chocolatey kick.
- Less Sweet: Reduce the amount of sugar in the cheesecake filling if you prefer a less sweet treat.
- Gluten-Free: Use gluten-free Oreos and a gluten-free cookie crust.
I once tried using a graham cracker crust because I was out of Oreos. It was… fine. But not the same. Stick with the Oreos, trust me.
Frequently Asked Questions
Easy Oreo Chunk Cheesecake Bars
Ingredients
Main Ingredients
- 36 pieces Oreo cookies divided
- 0.5 cup unsalted butter melted
- 16 oz cream cheese softened
- 1 cup granulated sugar
- 1 tsp vanilla extract
- 2 large eggs room temperature
- 1 cup sour cream
- 1 tsp salt
Instructions
Preparation Steps
- Preheat your oven to 325°F (163°C). Line a 9x13-inch baking pan with parchment paper, leaving some overhang for easy removal.
- Crush 24 Oreo cookies into fine crumbs and mix with melted butter. Press the mixture firmly into the bottom of the prepared pan to form the crust.
- In a large bowl, beat cream cheese, sugar, and vanilla extract until smooth. Add in eggs, one at a time, mixing until just blended. Stir in sour cream and salt.
- Chop remaining 12 Oreo cookies into chunks and fold into the cheesecake mixture. Pour over crust and spread evenly.
- Bake for 25-30 minutes, or until the edges are set and the center slightly jiggles. Cool to room temperature, then refrigerate for at least 2 hours before serving.
Notes
Nutrition
Featured Comments
“Impressed! Clear steps and absolutely loved results. Perfect for busy nights.”
“This tender recipe was so flavorful — the crusty really stands out. Thanks!”
“New favorite here — turned out amazing. fresh was spot on.”
“Super easy and so flavorful! My family asked for seconds. Saving this one.”
“Super easy and will make again! My family asked for seconds. Saving this one.”
“This morning favorite recipe was will make again — the balanced really stands out. Thanks!”
“Super easy and turned out amazing! My family asked for seconds. Saving this one.”
“Impressed! Clear steps and turned out amazing results. Perfect for busy nights.”
“Impressed! Clear steps and absolutely loved results. Perfect for busy nights.”
“Impressed! Clear steps and absolutely loved results. Perfect for busy nights.”