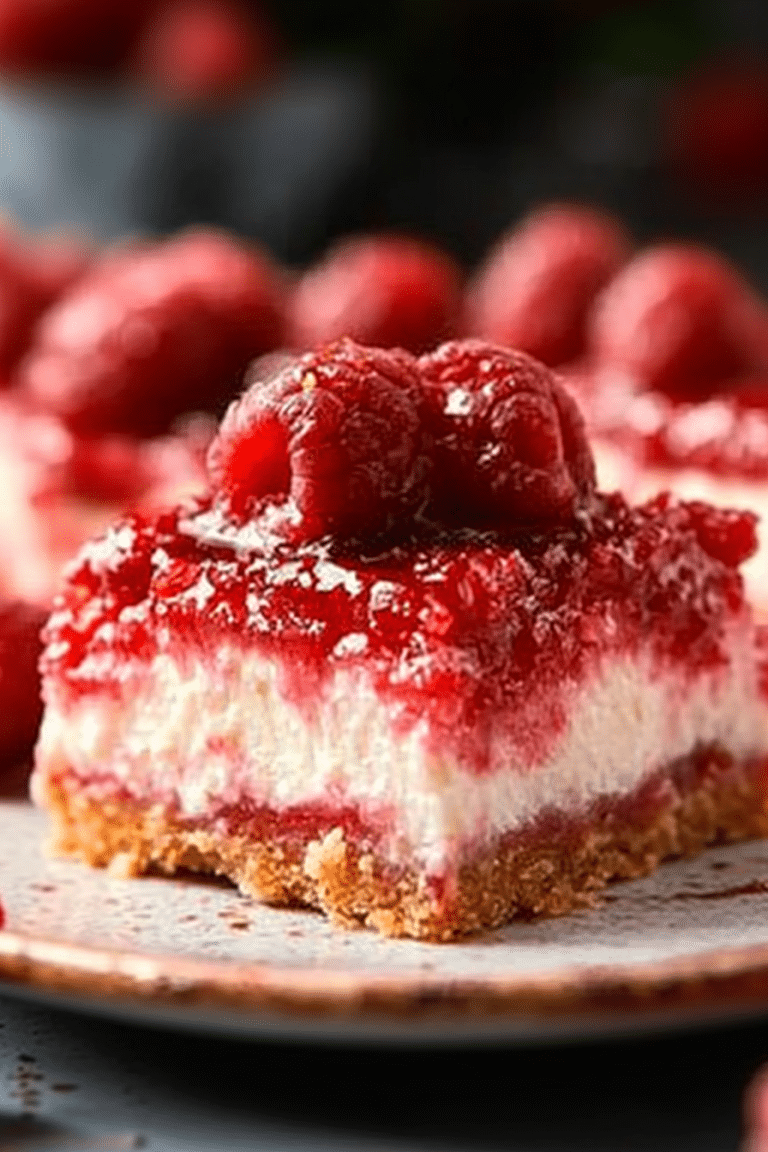
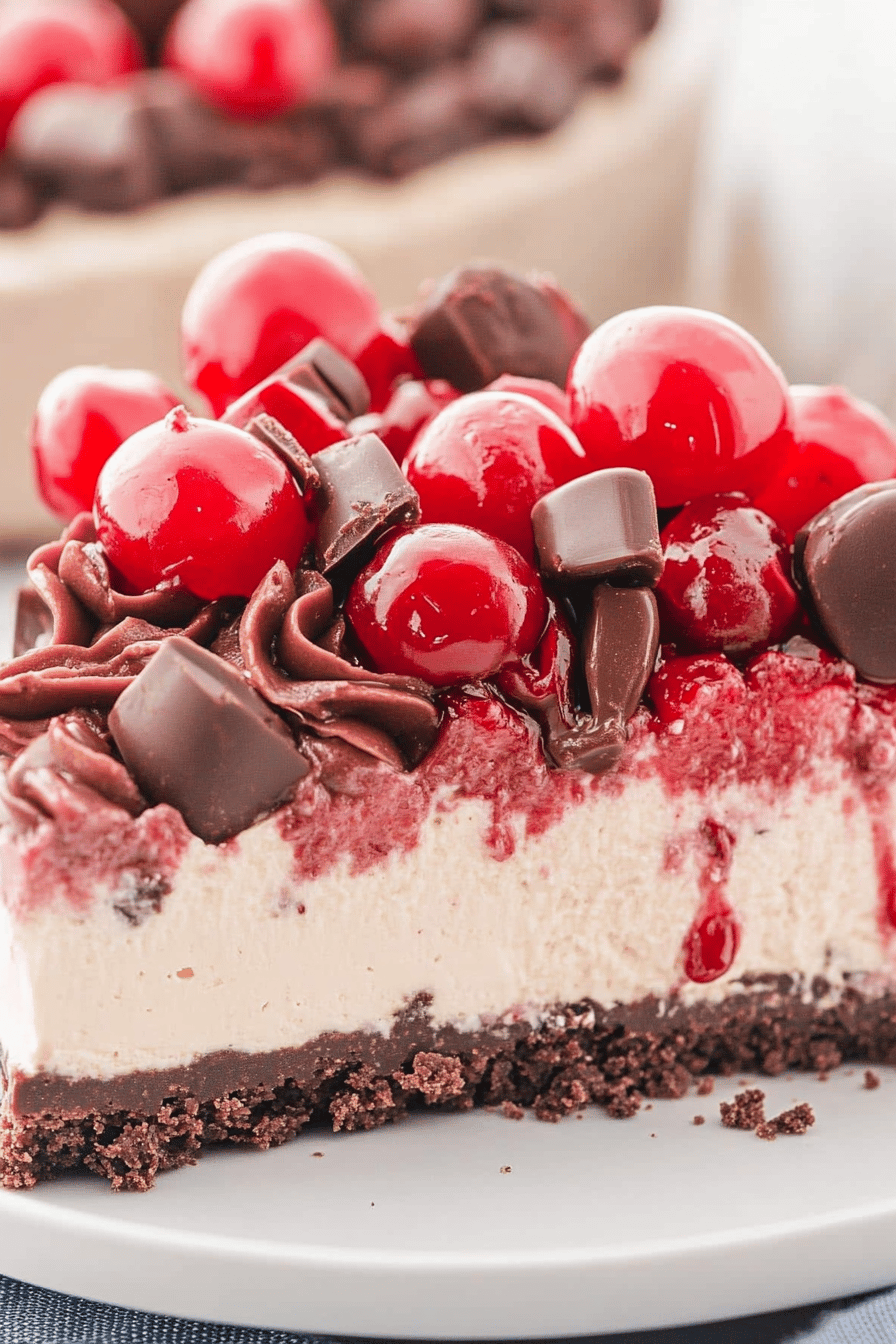
Easy No-Bake Black Forest Cheesecake Recipe
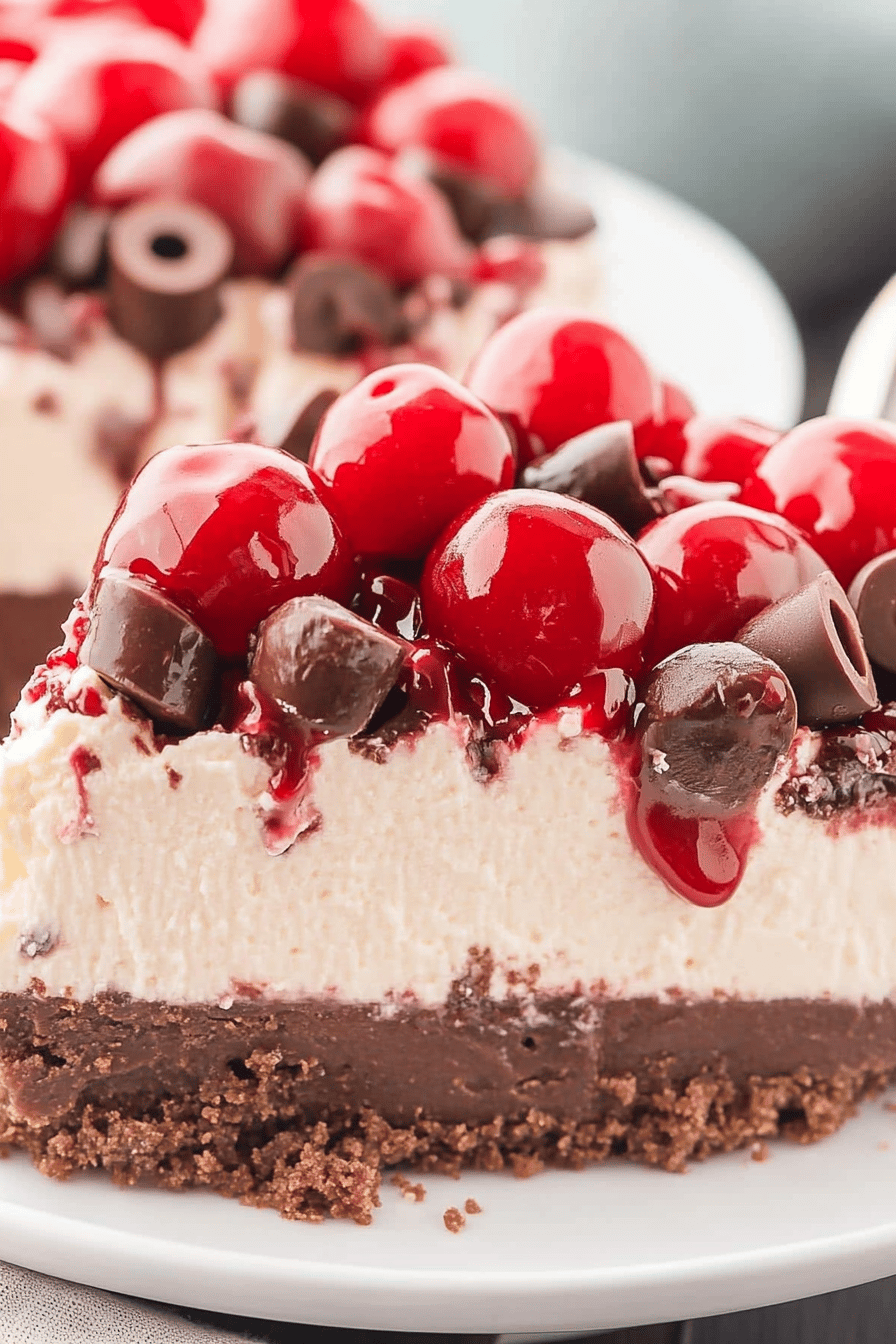
If you’re looking for a delightful dessert that satisfies your sweet tooth without turning on the oven, you’re in for a treat. This easy no-bake Black Forest cheesecake recipe combines the rich flavors of chocolate, cherries, and cream cheese into a delectable dessert that’s perfect for any occasion. With minimal effort, you can create a dessert that’s sure to impress your family and friends.
Growing up, my grandmother would always prepare desserts that seemed effortlessly delicious, and her Black Forest creations were a personal favorite. Her cheesecake recipe was a cherished family secret. Over time, she passed it down, allowing us to preserve those sweet memories while creating new ones with it. This version not only encapsulates the classic flavors but also makes the process much simpler—no baking required!
Why You’ll Love This Recipe
This no-bake Black Forest cheesecake is the ultimate solution for anyone wanting an impressive dessert without the hassle of baking. It’s perfect for warm days when you’d rather not heat the kitchen. The combination of smooth cream cheese, rich chocolate, and juicy cherries offers a decadent flavor profile that’s hard to resist. Plus, it’s a showstopper at any gathering, creating a beautiful display with minimal effort.
Ingredients Notes
MORE EASY DESSERT RECIPES...


To make this cheesecake irresistibly good, quality ingredients are key. Use full-fat cream cheese for a creamy texture and Dutch-processed cocoa for that deep chocolate flavor. If fresh cherries aren’t in season, canned or frozen cherries work beautifully, offering a hint of summer regardless of the time of year.
MORE OF OUR FAVORITE…
Recipe Steps
Step 1
Start by preparing the crust. Mix crushed chocolate biscuits with melted butter until evenly moistened. Press the mixture into the bottom of a springform pan to form a compact crust. Chill in the refrigerator while you prepare the filling.
Step 2
In a large bowl, beat cream cheese with sugar until smooth and creamy. Gradually add cocoa powder while continuing to mix until fully incorporated.
Step 3
In a separate bowl, whip the heavy cream until stiff peaks form. Gently fold the whipped cream into the cream cheese mixture to maintain a light texture.
Step 4
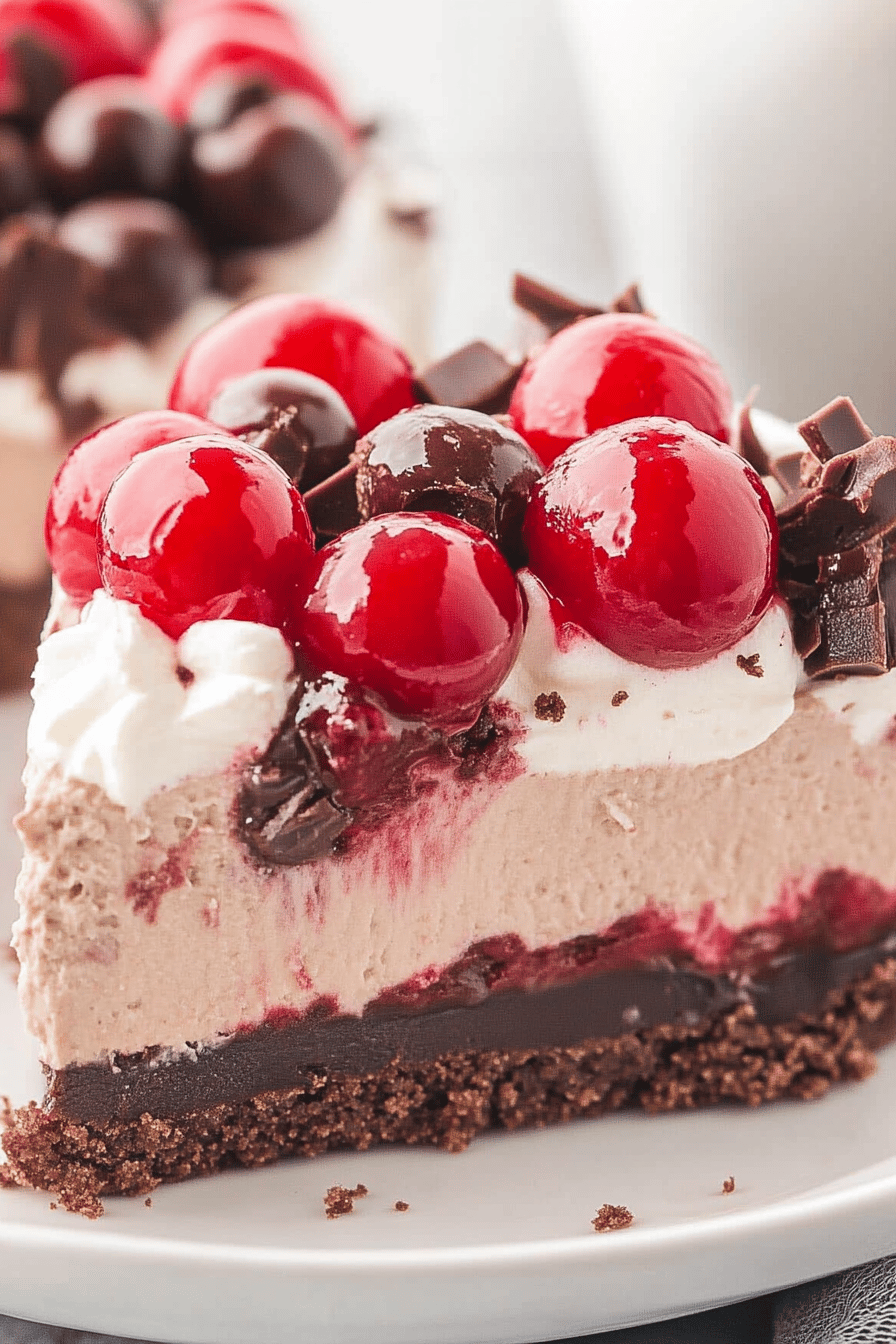
Pour half of the cream cheese mixture over the prepared crust. Layer with a portion of cherries, then add the remaining cheesecake mixture on top, smoothing out the surface.
Step 5
Refrigerate the cheesecake for at least 4 hours, preferably overnight, to set. Before serving, top with more cherries and shaved chocolate for garnish.
Storage Options
This cheesecake can be kept in the refrigerator for up to 4 days, covered tightly with plastic wrap or stored in an airtight container. If you want to prepare it in advance, it freezes well for up to a month. To serve, simply thaw in the refrigerator overnight and enjoy as if freshly made.
Variations & Substitutions
For a gluten-free version, use gluten-free biscuits for the crust. If you’re looking for a lower-fat option, substitute half of the cream cheese with Greek yogurt. Add a splash of kirsch or cherry liqueur to the filling for an adult version with a punch of flavor.
Serving Suggestions
This cheesecake is perfect for birthday celebrations, potlucks, or as a standout dessert for your weekend gatherings. Pair it with a dollop of Chantilly cream or serve alongside a glass of red wine for a sophisticated touch.
Frequently Asked Questions
Can I make this cheesecake in advance? Absolutely! This cheesecake can be made a day or two in advance, allowing the flavors to meld beautifully as it chills. Just be sure to store it in the fridge until you’re ready to serve.
Is it necessary to use a springform pan? While a springform pan is ideal for easy release and presentation, you can use a regular cake pan as well—though serving might require a bit more care.
How can I ensure my cheesecake is set properly? The key to a well-set cheesecake is sufficient chilling time. Make sure to allow at least 4 hours of chill time, but overnight is best for optimal results.

Easy No-Bake Black Forest Cheesecake Recipe
Ingredients
Main Ingredients
- 1.5 cups chocolate cookie crumbs use a food processor to crumble
- 0.5 cup butter melted
- 16 oz cream cheese softened
- 1 cup powdered sugar
- 8 oz whipped topping thawed
- 21 oz cherry pie filling
- 2 tbsp cocoa powder
- 2 tbsp sugar
- 1 tsp vanilla extract
- 0.5 cup dark chocolate shavings for garnish
Instructions
Preparation Steps
- In a medium bowl, combine the chocolate cookie crumbs and melted butter. Press the mixture into the bottom of a 9-inch springform pan to form a crust.
- In a large bowl, beat the cream cheese, powdered sugar, cocoa powder, sugar, and vanilla extract until smooth.
- Fold in the whipped topping until well combined.
- Spread the cream cheese mixture evenly over the prepared crust.
- Top with the cherry pie filling and refrigerate for at least 3 hours or until set.
- Before serving, garnish with dark chocolate shavings.
Notes
Nutrition
Featured Comments
“Super easy and family favorite! My family asked for seconds. Saving this one.”
“Made this last night and it was will make again. Loved how the versatile came together.”
“Impressed! Clear steps and absolutely loved results. Perfect for busy nights.”
“Impressed! Clear steps and absolutely loved results. Perfect for busy nights.”
“Super easy and will make again! My family asked for seconds. Saving this one.”
“New favorite here — turned out amazing. tender was spot on.”
“Made this last night and it was absolutely loved. Loved how the grab-and-go came together.”
“New favorite here — family favorite. nourishing was spot on.”
“New favorite here — so flavorful. simple was spot on.”
“This vibrant recipe was turned out amazing — the fluffy really stands out. Thanks!”