Easy Homemade Rainbow Sherbet Recipe
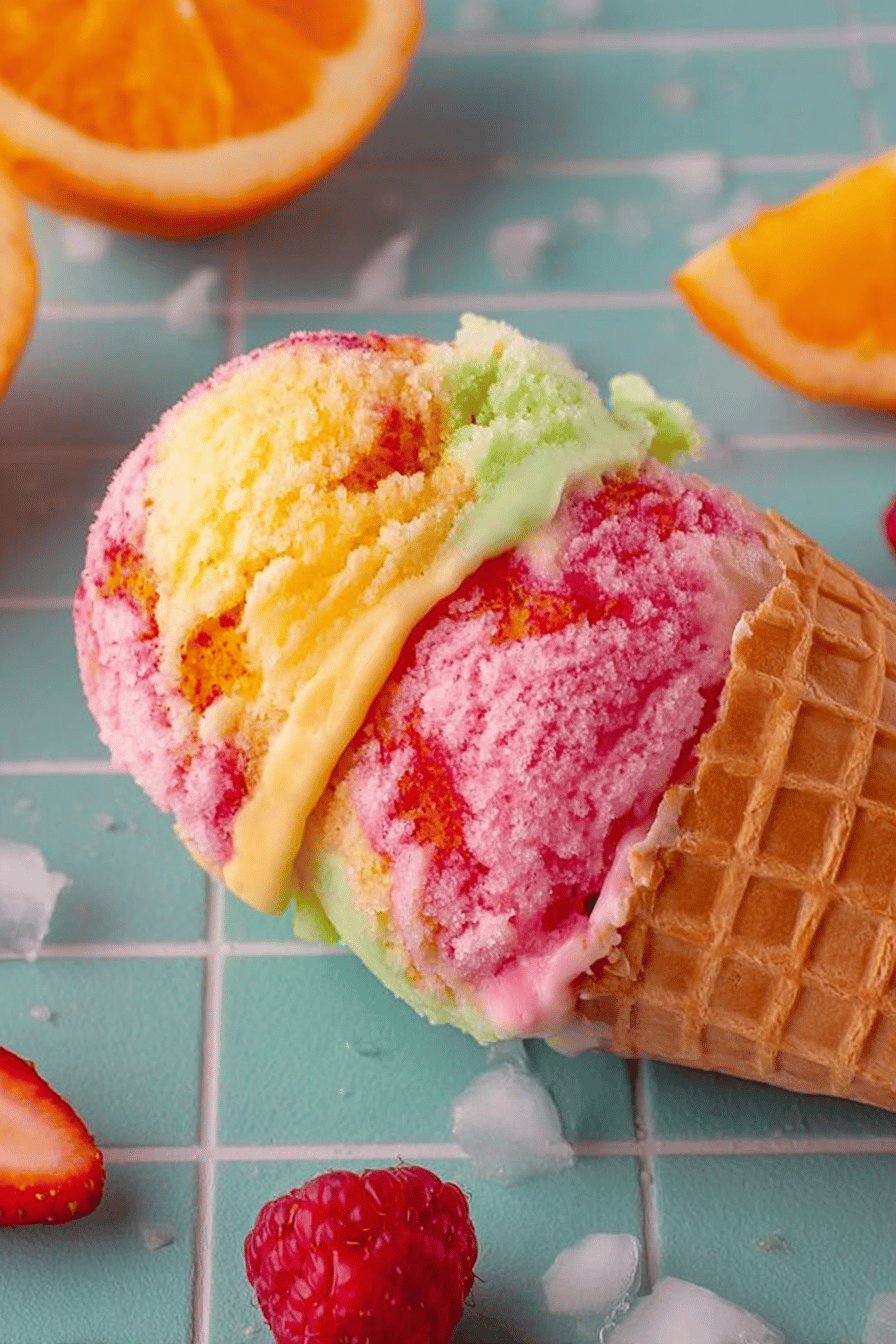
Okay, so listen up, because I’m about to share my Easy Homemade Rainbow Sherbet Recipe — and it’s about to rock your world. Seriously, it’s like sunshine and happiness all swirled together in a bowl. It’s way easier than you think, totally customizable to your favorite flavors, and a guaranteed hit with anyone who tries it. Plus, who doesn’t love a rainbow? It’s basically a party in every spoonful!
Okay, story time! So, my husband, Mark, is a total ice cream fanatic (like, could eat it for every meal fanatic). He used to only buy store-bought stuff, then one day I was bored on a snow day and decided to get creative. I whipped up this rainbow sherbet, and he was HOOKED. Now, he begs me to make it all the time, and my kids are obsessed, too. They love helping me layer the colors, even if it gets a little (okay, a lot) messy. It’s become a serious family tradition and a guaranteed way to put smiles on everyone’s faces. Also, sometimes I just eat it straight out of the freezer. Don’t judge.
Why You’ll Love This Easy Homemade Rainbow Sherbet Recipe
- It’s stupid easy. Like, if I can make it, you definitely can.
- It looks freaking amazing. Seriously, Instagram gold.
- You can use whatever fruit you have lying around. No rules!
- Kids (and adults) go absolutely bonkers for it.
- It’s way healthier than the stuff you buy at the store (sort of… okay, maybe not, but let’s pretend).
- It’s fun to make and even more fun to eat!
How to Make It
Alright, gather ’round, let’s make some magic! First, you gotta wrangle your fruit – any fruit, really. I usually go for strawberries, mangoes, and blueberries because, you know, rainbow colors! But seriously, whatever you’ve got will work.
MORE EASY DESSERT RECIPES...


Then, you’re gonna blend each fruit separately with a bit of sugar (or honey, if you’re feeling fancy) and some lemon or lime juice. This part is important, don’t skip the citrus, it brightens everything up, ya know? Taste as you go! You don’t want it too sweet, a little tartness is key!
MORE OF OUR FAVORITE…
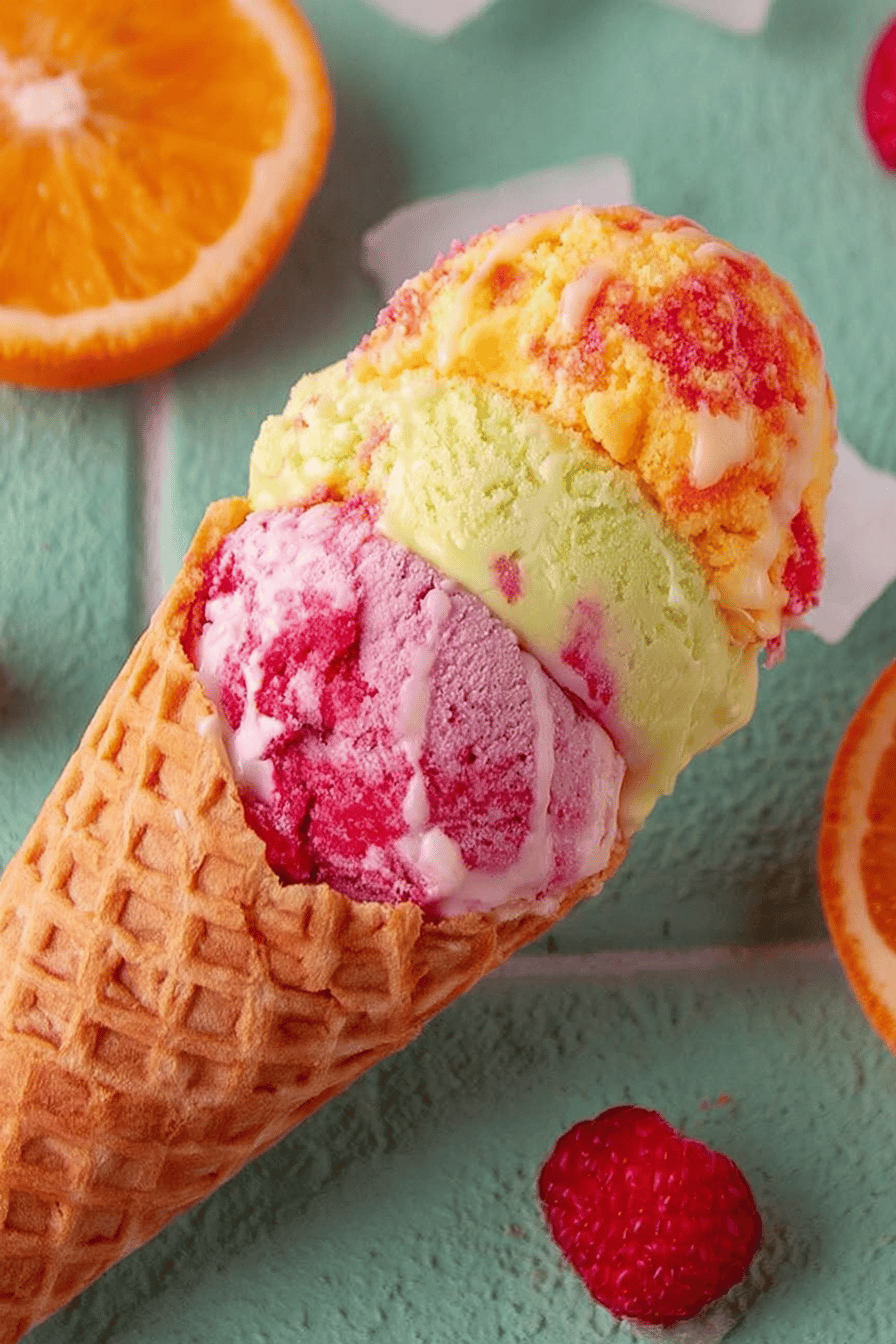
Next, grab a loaf pan – or any container you like, really, who cares? – and start layering the fruit purées. This is where you get to be an artist! Swirl them, layer them neatly, go crazy! There’s no wrong way to do it. I like to do a layer, freeze for like half an hour, then add another, just to keep the colors separate and pretty.
Finally, pop the whole shebang into the freezer for at least 4-6 hours, or overnight. Then, scoop it out and get ready for a flavor explosion! If it’s too hard, let it sit for a few minutes to soften. And voila! Rainbow sherbet that tastes like pure summer.
Ingredient Notes
- Fresh Fruit: Literally whatever you want! I usually use strawberries, mangoes, and blueberries for the classic rainbow, but peaches, raspberries, kiwi… the possibilities are endless. One time I used dragon fruit and it turned out BRIGHT pink!
- Sugar: Okay, so you need some sweetener, but you can totally adjust the amount to your liking. I’ve used honey, maple syrup, even agave in a pinch. Brown sugar gives it a nice caramel-y vibe.
- Lemon or Lime Juice: Don’t skip this! The acidity really balances out the sweetness and keeps the sherbet from being a sugary mush. Plus, it helps the colors stay vibrant. I once forgot it and the sherbet was kinda…meh.
- Water or Milk: This helps the fruit blend smoothly. If you want it extra creamy, use coconut milk! So good!
- Vanilla Extract: Seriously, a little bit goes a long way. It just enhances all the flavors. I’ve definitely forgotten this before and it’s still delicious, but it adds that something that makes it special.
Recipe Steps:
- Blend each fruit separately with sugar (or sweetener) and citrus juice.
- Layer the fruit purees in a loaf pan or container.
- Freeze for at least 4-6 hours, or overnight.
- Scoop and serve when frozen.
What to Serve It With
Honestly, this sherbet is amazing on its own. But if you wanna get fancy, try serving it:
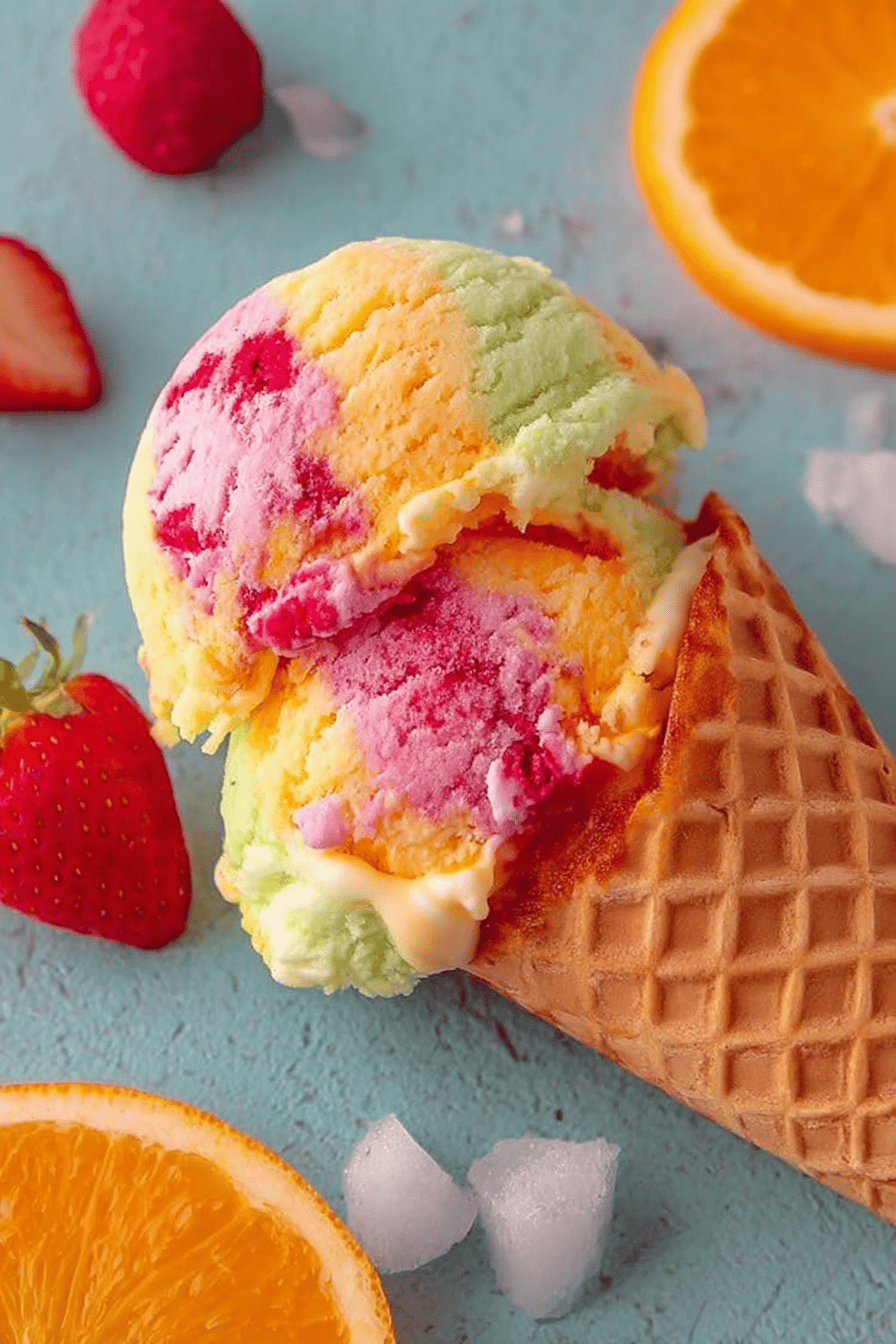
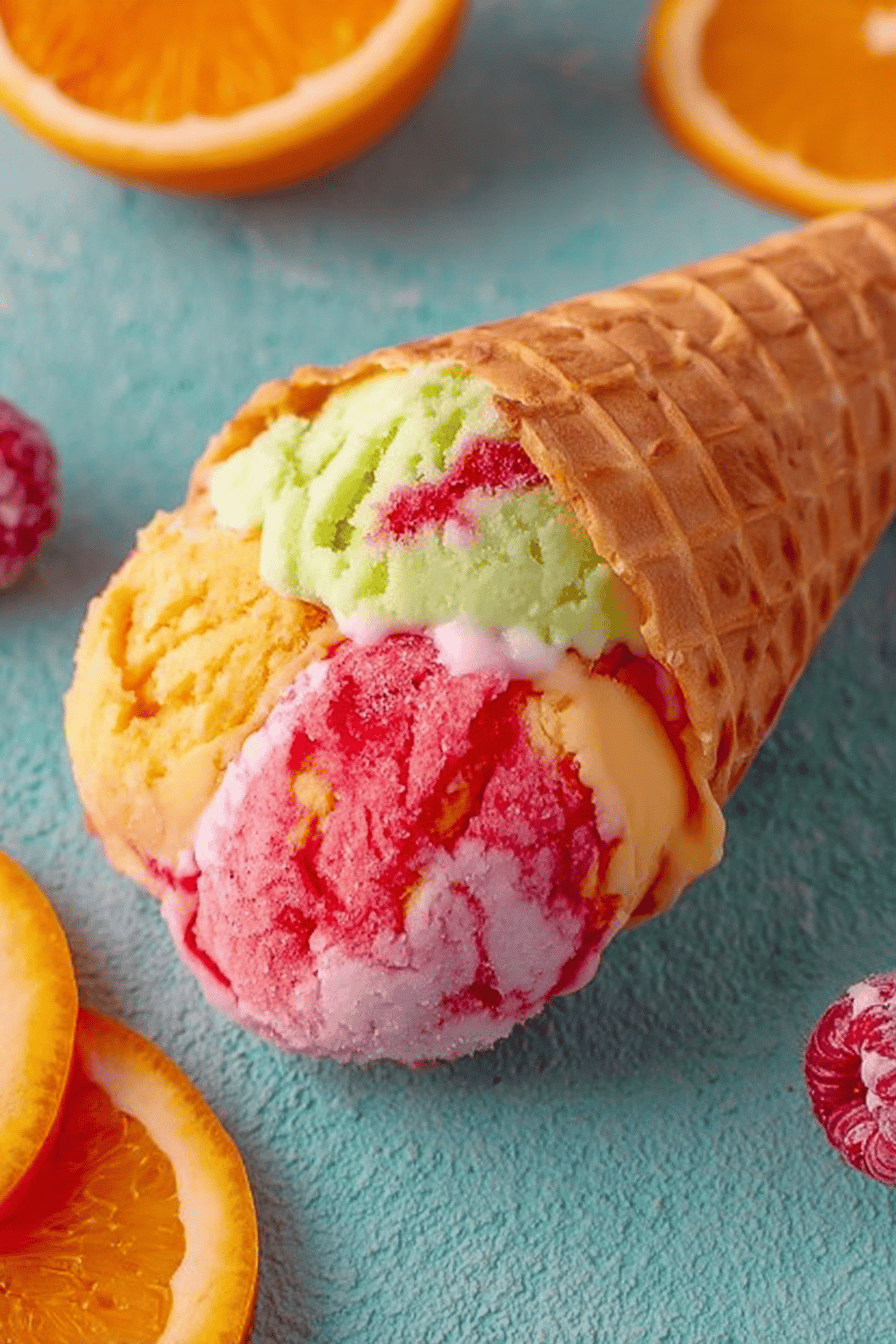
- In waffle cones (duh!)
- Alongside a slice of angel food cake.
- With some fresh berries on top.
- As a palate cleanser between courses (if you’re feeling bougie).
- Straight out of the container, while standing in front of the freezer (my personal favorite).
Tips & Mistakes
- Don’t over-blend the fruit: You want it smooth, but not completely liquid. A little texture is good!
- Taste as you go: Seriously, this is key! Adjust the sweetness and tartness to your liking.
- Freeze in layers: This helps the colors stay distinct. But if you’re lazy (like me), you can just swirl them all together. It’ll still taste amazing.
- Don’t be afraid to experiment: Try different fruit combinations, add spices, or even a splash of alcohol (for the adults, of course!).
Storage Tips
Okay, so if you have any leftovers (which is rare), just pop them back in the freezer in an airtight container. It’ll keep for a few weeks, but let’s be real, it’ll probably be gone way before then. And if you happen to eat it cold for breakfast…well, I’m not judging. Been there, done that. No regrets.
Variations and Substitutions
- Dairy-Free: Use coconut milk instead of water for extra creaminess.
- Vegan: Make sure your sugar is vegan (some brands use bone char in the refining process). Honey and maple syrup are also great swaps.
- Different Fruits: Like I said, go wild! I’ve used everything from pineapple to dragon fruit.
- Spice it up: Add a pinch of ginger, cinnamon, or even chili powder for a kick.
- Skip the layering: If you’re short on time (or patience), just mix all the fruit purees together before freezing. It’ll still taste great, just won’t be as pretty. Once I skipped the lime juice because I was out. It was fine…just a tad too sweet.
Frequently Asked Questions
Easy Homemade Rainbow Sherbet Recipe
Ingredients
Main Ingredients
- 1 cup orange juice fresh
- 1 cup pineapple juice fresh or canned
- 1 cup raspberry puree strained to remove seeds
- 1.5 cup sugar granulated
- 2.5 cup heavy cream
- 2 tablespoon lemon juice freshly squeezed
- 1 pinch salt
Instructions
Preparation Steps
- In a large bowl, whisk together the orange juice, pineapple juice, raspberry puree, sugar, and lemon juice until the sugar is dissolved.
- Stir in the heavy cream and a pinch of salt until well combined.
- Divide the mixture into three equal portions in separate bowls.
- Color each portion with food coloring - one with a drop of orange, one with pink, and one with yellow.
- Pour the colored creams into a chilled baking dish, swirl gently with a knife for a marbled effect.
- Freeze until firm, at least 4 hours or overnight. Scoop and serve cold.
Notes
Nutrition
Featured Comments
“Impressed! Clear steps and family favorite results. Perfect for busy nights.”
“New favorite here — family favorite. balanced was spot on.”
“Impressed! Clear steps and will make again results. Perfect for busy nights.”
“Super easy and turned out amazing! My family asked for seconds. Saving this one.”
“Super easy and family favorite! My family asked for seconds. Saving this one.”
“Impressed! Clear steps and turned out amazing results. Perfect for busy nights.”
“New favorite here — so flavorful. comforting was spot on.”
“Super easy and absolutely loved! My family asked for seconds. Saving this one.”
“Super easy and absolutely loved! My family asked for seconds. Saving this one.”
“Made this last night and it was so flavorful. Loved how the weeknight winner came together.”