Easy Hawaiian Poke Cake Recipe

If you’ve been craving a sweet, tropical treat that’s easy to make and perfect for any occasion, this Easy Hawaiian Poke Cake recipe is a must-try! Bursting with flavors, this cake will transport your taste buds to a sunny paradise, and it’s a breeze to create in just a few simple steps.
Growing up, my family always celebrated special occasions with unique desserts. The first time we made this cake, it was for a summer cookout. Everyone was enchanted by the exotic flavors, and it quickly became a family favorite. Nowadays, whenever I take a bite, I’m instantly reminded of those warm, joyful gatherings spent with loved ones.
Why You’ll Love This Recipe
- Easy to Make: With just a few ingredients, you can whip up this cake in no time.
- Exotic Flavor: The combination of tropical fruits makes it stand out from traditional cakes.
- Perfect for Any Occasion: Whether it’s a birthday, picnic, or potluck, this cake is a showstopper.
- Refreshing Texture: The poke method allows the flavors to infuse throughout, creating a moist and delicious dessert.
Ingredients Notes
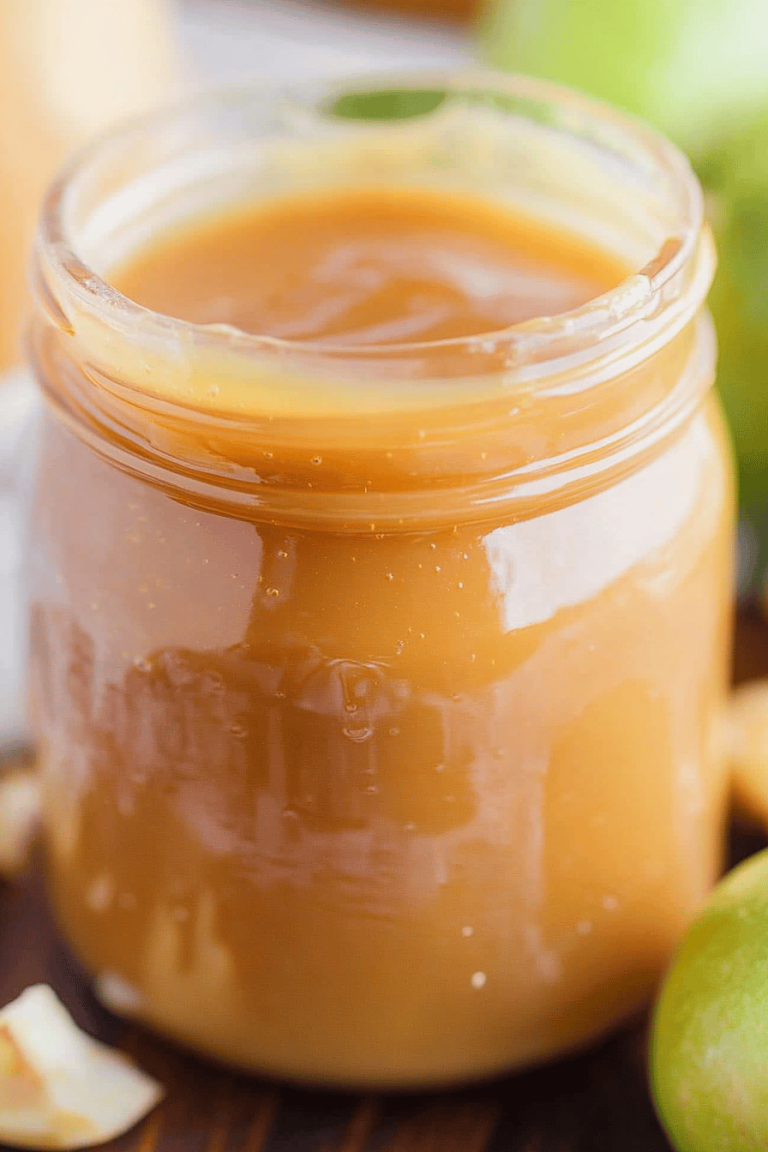
This recipe calls for a boxed white cake mix, pineapple juice, and a few other pantry staples. For the best results, opt for high-quality coconut cream. If you’re looking for a lighter version, substitute half of the coconut cream with light coconut milk. Fresh or canned crushed pineapple works, but make sure to drain it well.
Recipe Steps
Step 1
Prepare the white cake mix according to the package instructions, but replace the water with pineapple juice for an extra tropical kick. Bake the cake in a 9×13 inch pan and let it cool completely.
Step 2
Once the cake has cooled, use the end of a wooden spoon to poke holes all over the cake. These holes will help the flavors soak into the cake.
Step 3
Mix the coconut cream with a splash of pineapple juice, then pour over the cake, ensuring it fills the holes. Refrigerate for at least 2 hours or overnight for best results.
Step 4
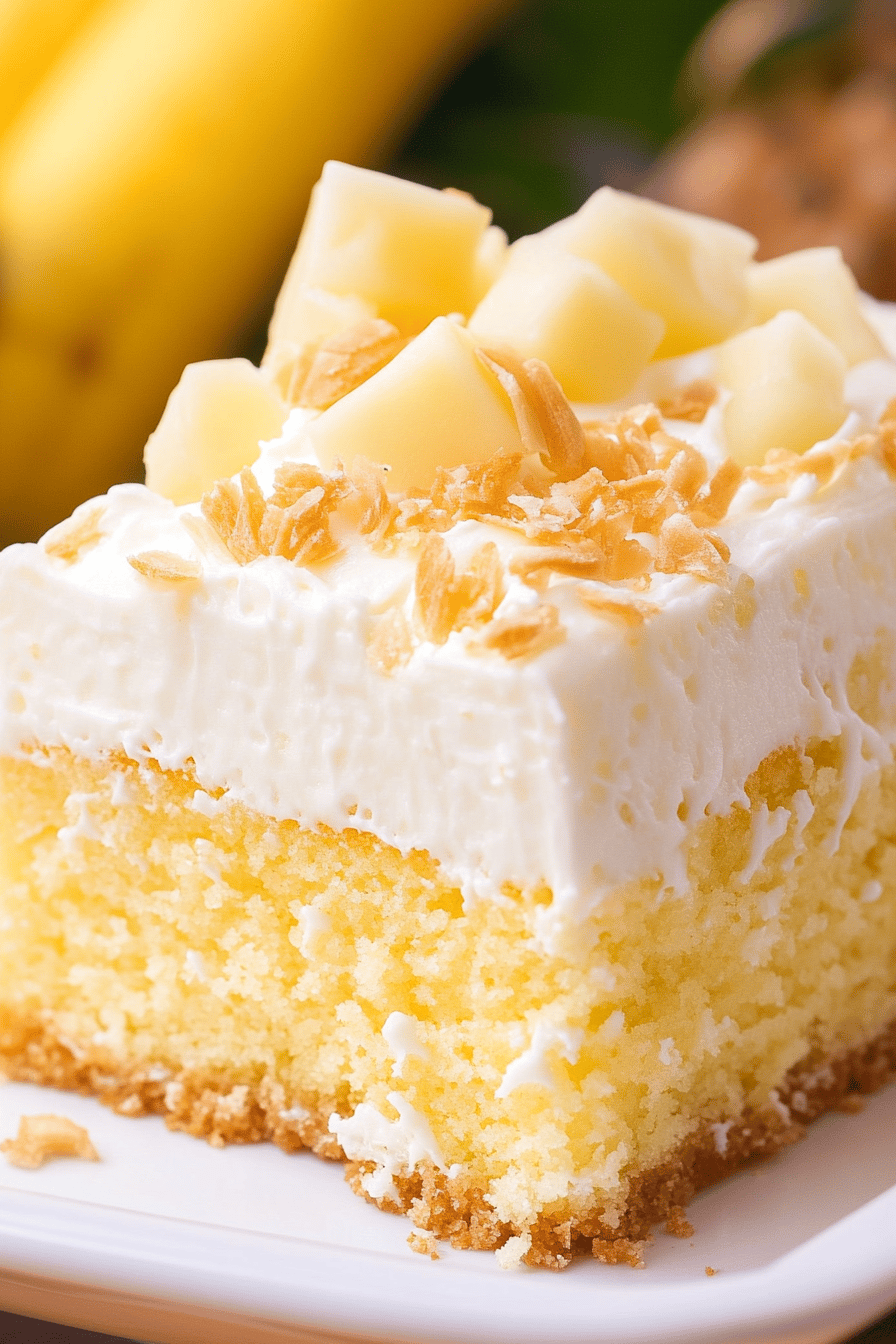
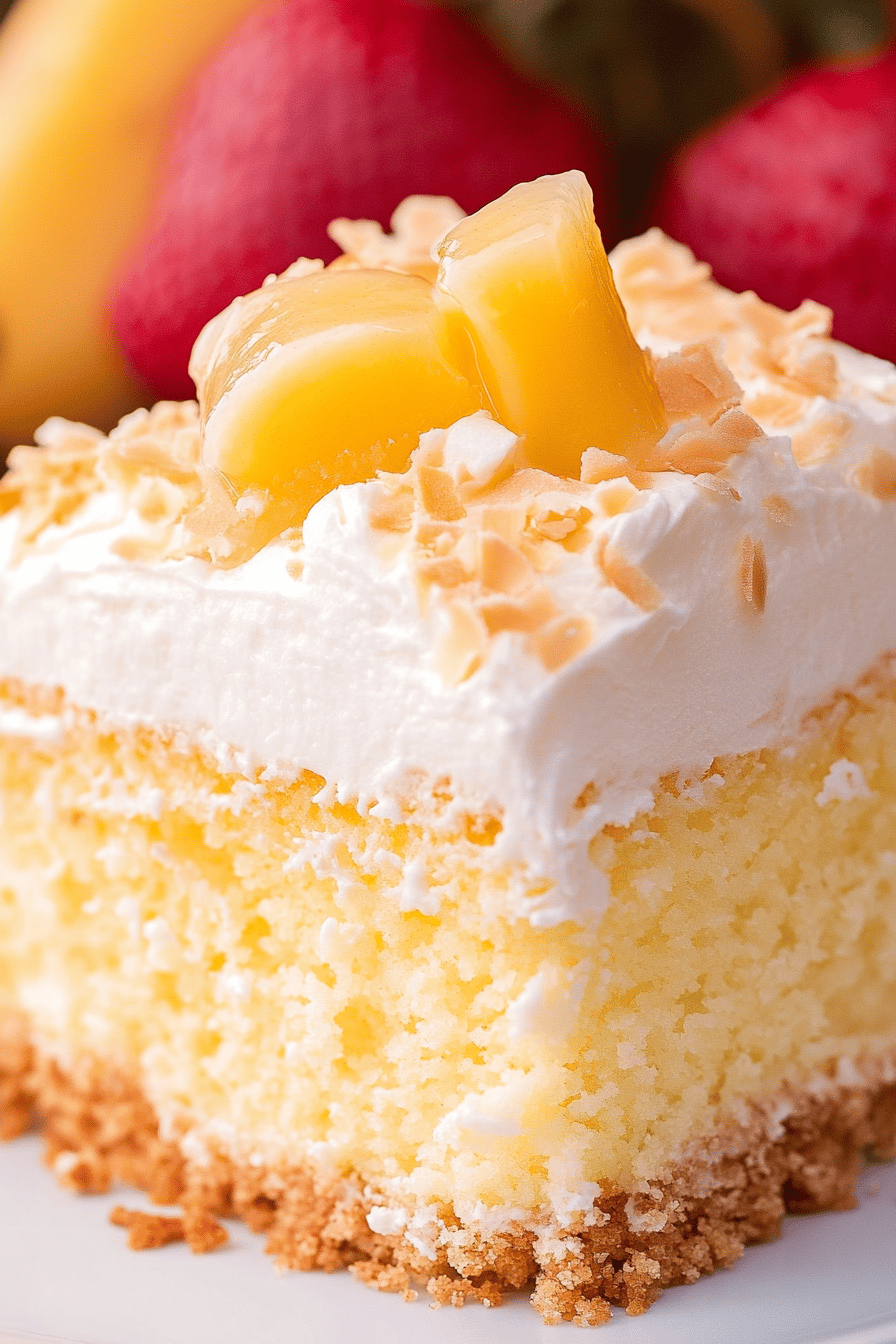
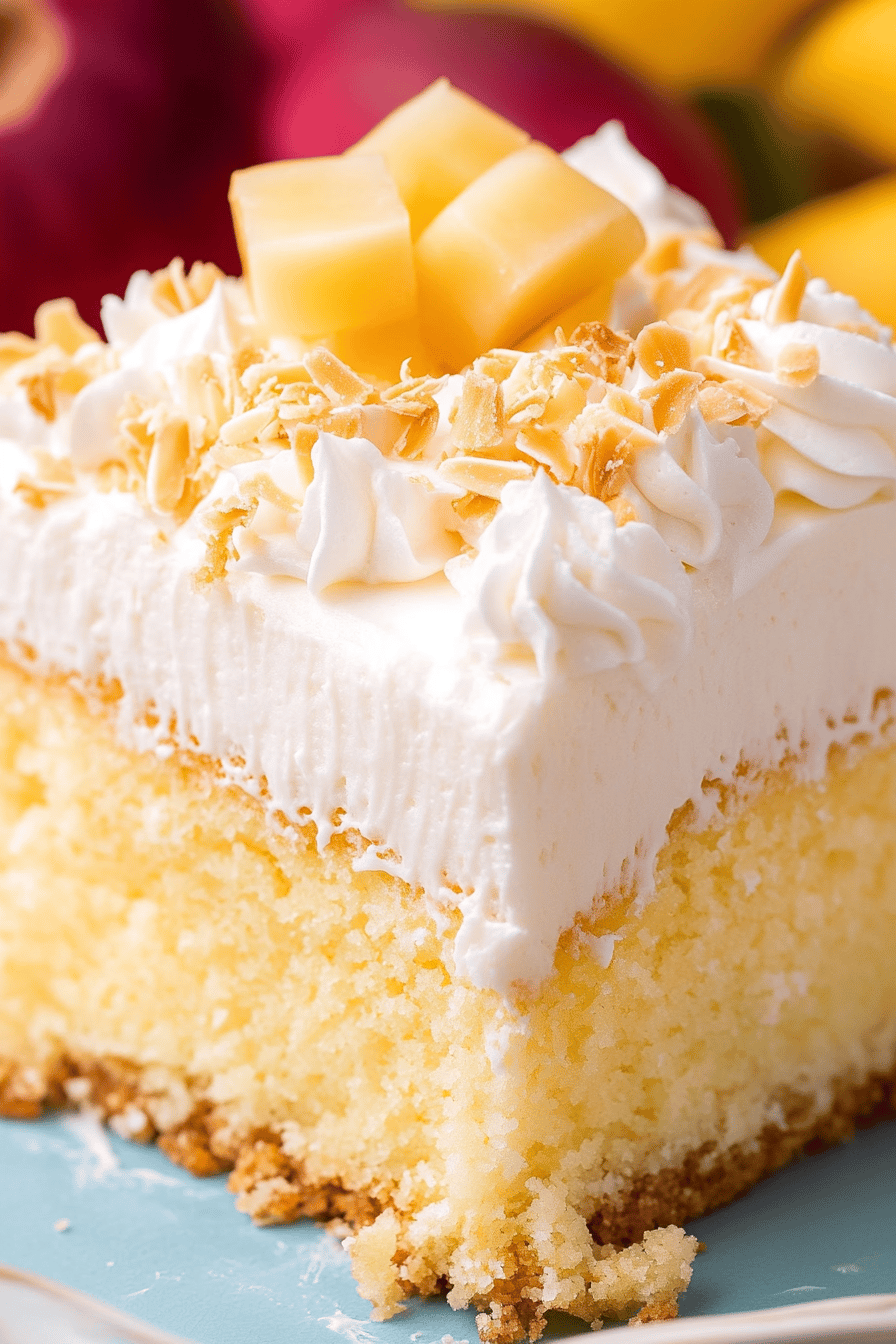
Spread a layer of drained crushed pineapple over the top of the cake, covering it entirely. This will add a sweet and tangy layer.
WANT TO SAVE THIS RECIPE?
Step 5
Top with freshly whipped cream and garnish with toasted coconut flakes for a delightful presentation. Serve chilled and enjoy!
Storage Options
This cake can be stored in the refrigerator for up to three days, covered with plastic wrap or in an airtight container. If you want to freeze it, wrap individual pieces in plastic wrap and foil to prevent freezer burn. Thaw in the refrigerator overnight before serving. To reheat, let it sit at room temperature for about 15 minutes for optimal flavor and texture.
Variations & Substitutions
For a dairy-free version, replace the whipped cream with coconut whipped cream. You can also add a layer of mango puree over the pineapple for an extra fruity twist. If you prefer a nutty flavor, add crushed macadamia nuts to the topping for a delicious crunch.
Serving Suggestions
Serve this cake during a summer barbecue, a luau-themed party, or as a refreshing dessert on a warm evening. Pair it with piña coladas or iced tea for a truly tropical experience. It’s also a lovely accompaniment to grilled meats or seafood dishes.
Frequently Asked Questions
Can I use a different cake mix? Absolutely! If you prefer a yellow or butter cake mix, feel free to use it. Just follow the same instructions for substituting pineapple juice for water.
How can I make this recipe healthier? To reduce the sugar, use a sugar-free cake mix and opt for unsweetened coconut cream. You can also top it with fresh fruit instead of whipped cream for a natural sweetness.
Is it necessary to refrigerate the cake? Yes, refrigeration is crucial to allow the flavors to meld and the cake to set properly. It also enhances the cake’s moist texture, making it an irresistible treat.

Easy Hawaiian Poke Cake Recipe
Ingredients
Main Ingredients
- 1 box yellow cake mix about 15.25 oz box
- 0.75 cup water
- 0.5 cup vegetable oil
- 3 large eggs
- 20 oz crushed pineapple undrained
- 14 oz sweetened condensed milk
- 8 oz whipped topping thawed
- 1 cup sweetened shredded coconut toasted
Instructions
Preparation Steps
- Preheat your oven to 350°F (175°C) and grease a 9x13 inch baking dish.
- In a large bowl, combine the yellow cake mix, water, vegetable oil, and eggs. Mix until well combined.
- Pour the cake batter into the prepared baking dish and bake for 30 minutes or until a toothpick inserted into the center comes out clean.
- While the cake is baking, mix the crushed pineapple with its juice and the sweetened condensed milk in a bowl.
- Once the cake is done, remove it from the oven and, while it's still hot, poke holes all over the surface with a fork or a skewer.
- Pour the pineapple and sweetened condensed milk mixture evenly over the cake, allowing it to soak into the holes.
- Let the cake cool completely before spreading the whipped topping over it.
- Sprinkle the toasted coconut generously over the whipped topping.