Easy Ham and Cheese Sliders
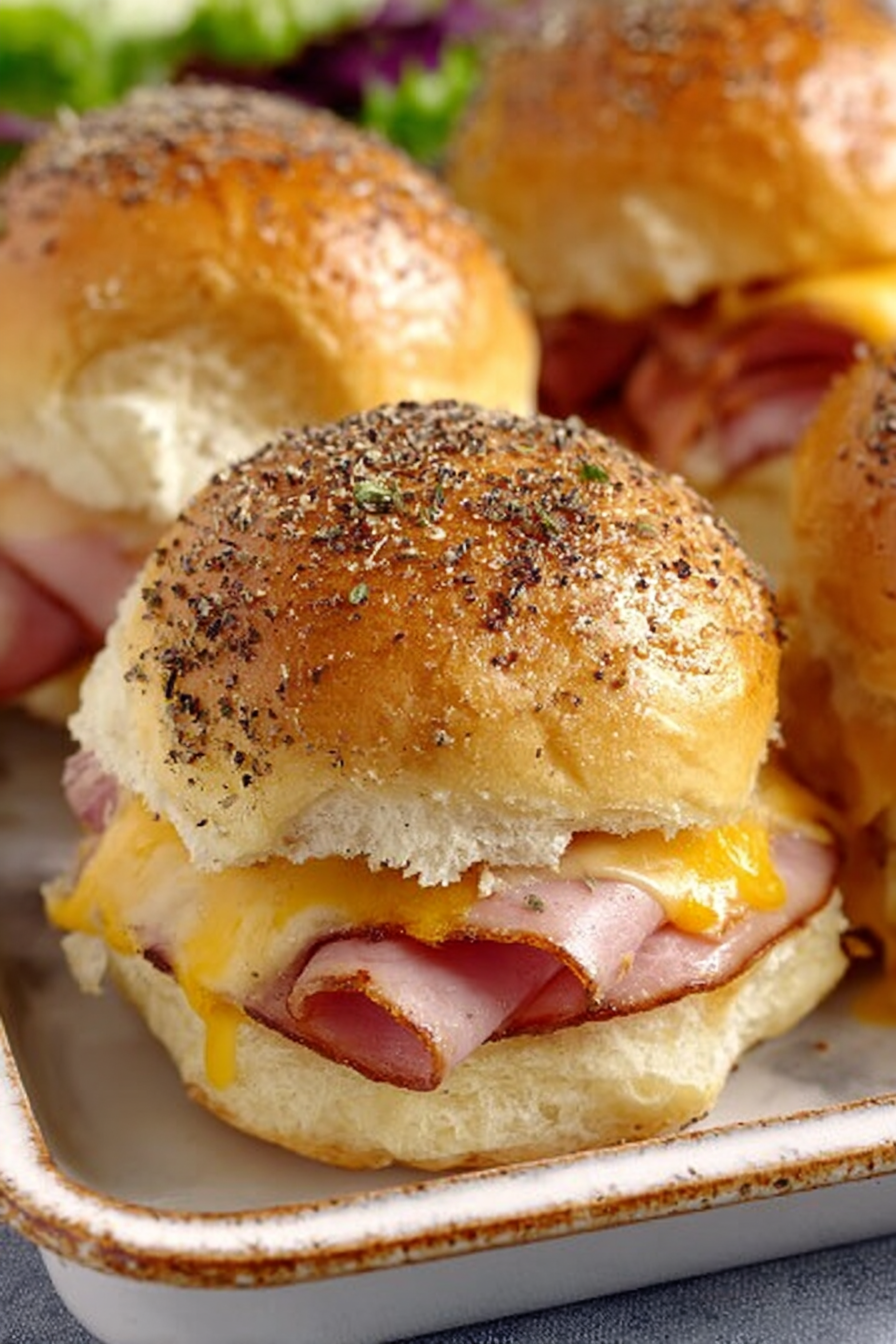
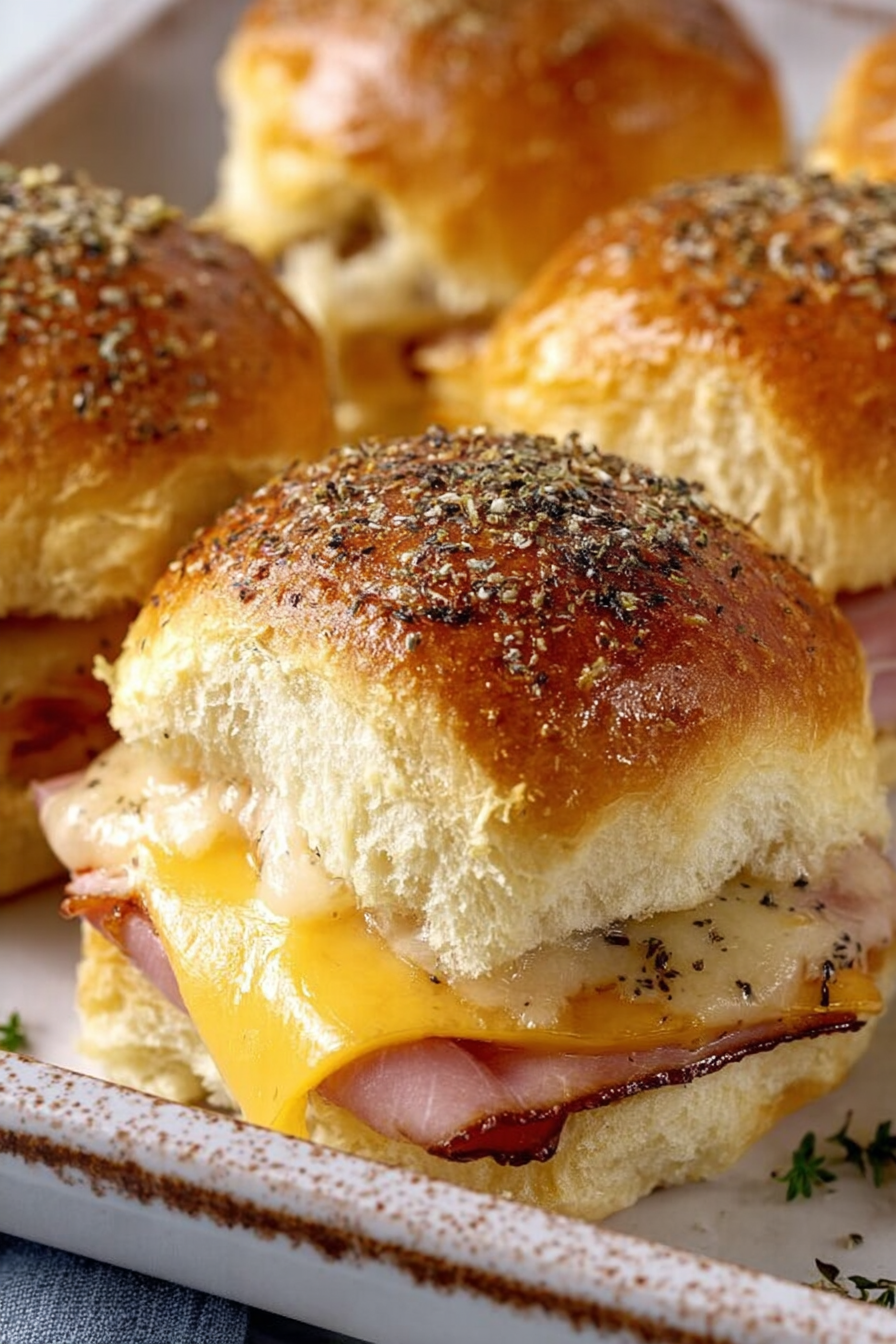
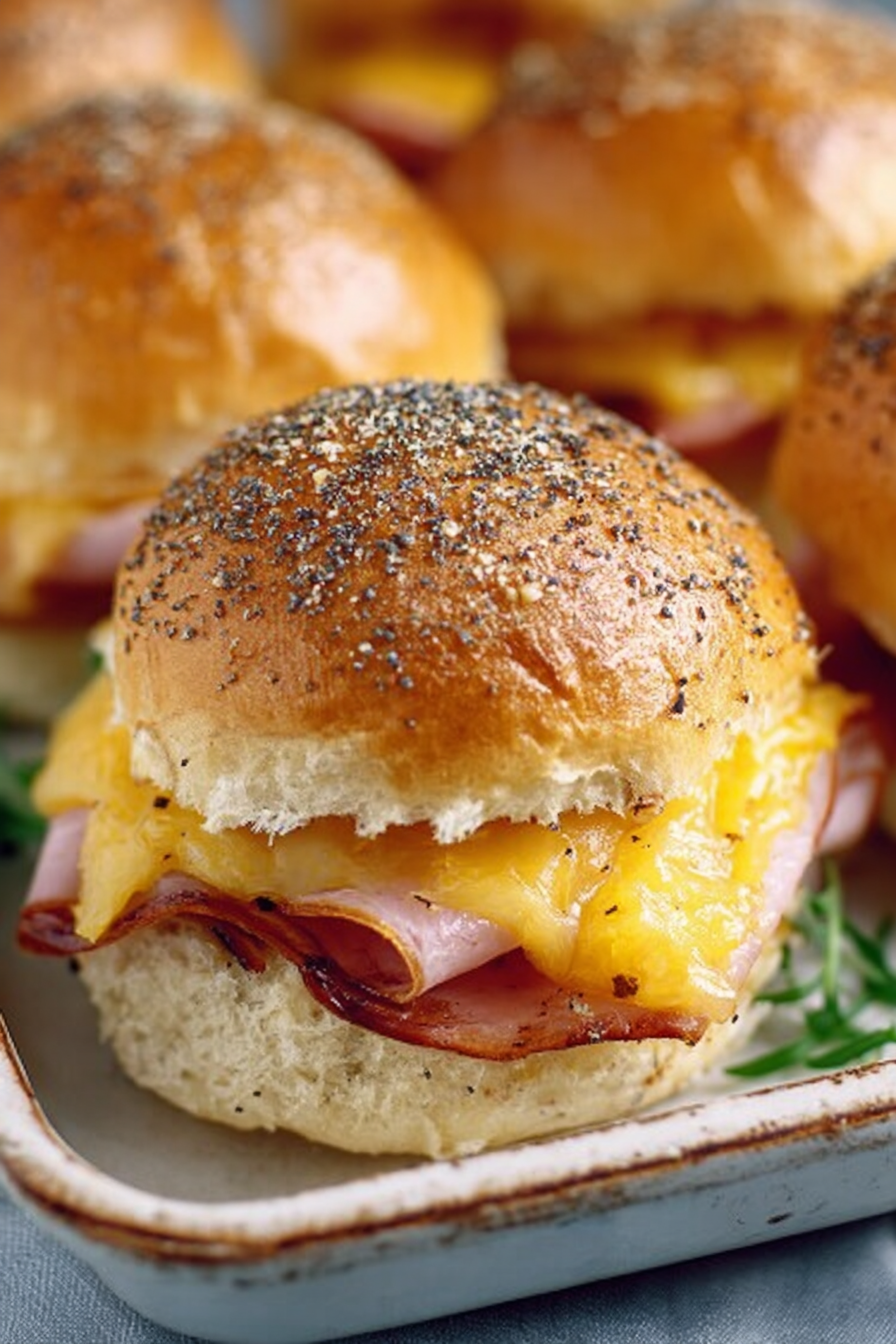
These ham and cheese sliders are the kind of thing I make when I want something ridiculously comforting, stupidly easy, and likely to disappear before I finish the second bite. Think melty cheese, salty ham, buttery tops, and soft dinner rolls all shoveled into your face with zero ceremony. They’re perfect for weeknights, game day, or when guests show up and you need something impressive that didn’t take all afternoon.
My husband calls these “the grab-and-go miracle” because he will eat three standing over the sink and still pretend he’s on his way to a real meal. Our kiddo asks for them after soccer practice like it’s a reward. Once I made them with leftover holiday ham and we ate the whole pan in one sitting while watching whatever trashy reality show was on. Now they live in our dinner rotation — quick to throw together, impossible to mess up, and somehow always feel celebratory.
Why You’ll Love This Easy Ham and Cheese Sliders
– Fast: ready in under 30 minutes from fridge to table if you use pre-sliced ham and rolls.
– Comfort food, but also adult: buttery, tangy, melty — you can serve these at a party and everyone will act like you slaved all day.
– Flexible: swap the ham or cheese, maybe throw in pickles or mustard, and you’ve basically made a new sandwich.
– Crowd-pleaser: picky kids and nosy in-laws both approve.
Kitchen Talk
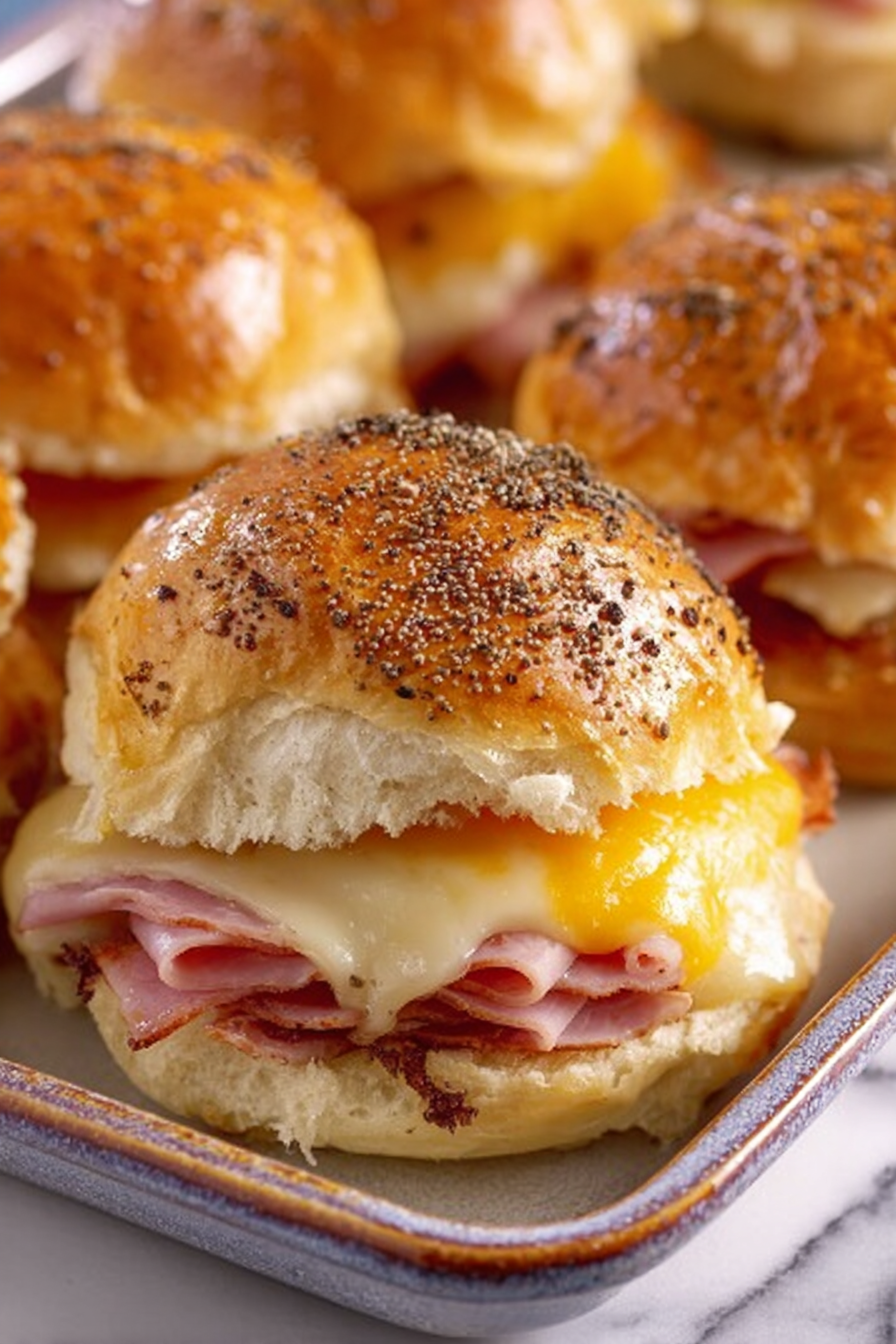
I always underestimate how many sliders people will eat. Every. Single. Time. I’ve burned the bottoms once by turning the oven up to “speed mode” and learned that a quick foil tent toward the end keeps the tops golden while the insides finish melting. Also: brushing the roll tops with extra butter and a sprinkle of poppy or sesame seeds makes them feel special in a way nobody asked for but everyone notices. One time I swapped Dijon for mayo because I was out of mustard — not bad at all, but more like brunch sliders.
These Easy Ham and Cheese Sliders are a total crowd-pleaser and so simple to throw together. The buttery, tangy sauce with poppy seeds really elevates the classic ham and Swiss combo, and baking them all together makes for perfectly melty, gooey sliders every time. I've made these for family gatherings and game days, and they always disappear fast!
MORE OF OUR FAVORITE…
Shopping Tips
– Cheese: Pick a melty cheese — Swiss, provolone, or cheddar all work. Buy a block and slice if you want fewer oily slices.
– Protein: Go for thin-sliced deli ham or leftover baked ham. Low-sodium versions keep these from getting too salty.
– Grains/Pasta: For sliders, Hawaiian rolls are classic; dinner rolls or slider buns work too — size matters for cook time and portioning.
– Dairy: Unsalted butter gives you control over saltiness; if using salted, dial back any extra salt in your spread.
– Fats & Oils: Melted butter plus a little oil helps get a golden top without burning; keep an eye under the broiler.
Prep Ahead Ideas
– Slice cheeses and stack the ham the day before; store in a shallow airtight container or wrapped in parchment so nothing gets soggy.
– Make the buttery herb topping ahead and keep it in the fridge — spread it on right before baking for an easy shortcut.
– Assemble the sliders in the pan and cover with plastic wrap; refrigerate overnight and slide into a cold oven, adding a few extra minutes to bake.
– Use a sheet pan with a lid or tightly tented foil if you’re bringing them to a gathering to keep them warm.
Time-Saving Tricks
– Use pre-sliced deli ham and pre-shredded or sliced cheese when life is busy — we’re making dinner, not sculpting.
– Assemble on a rimmed baking sheet instead of a casserole dish to speed oven heat circulation.
– Pop them under the broiler for 1–2 minutes at the end for bubbly cheese instead of long bakes.
– Don’t overstuff each slider; thinner layers heat through faster and give you more control.
Common Mistakes
– Over-salting: I once used both salted butter and extra salty ham — the sliders tasted like ocean. If your ham is salty, skip extra salt.
– Soggy bottoms: Putting wet condiments directly on the rolls can make a soggy mess. Spread thinly or add the sauce after baking.
– Burning the tops: Broilers are moodier than you think — watch closely during that last minute or tent with foil to protect.
– Too many fillings: Piled-too-high sliders take longer to heat and can fall apart. Keep layers reasonable.
What to Serve It With
– A crisp green salad with a bright vinaigrette to cut the richness.
– Easy coleslaw or pickled vegetables for a crunchy contrast.
– Oven fries or sweet potato wedges for something more casual.
– Roasted broccoli or a simple cucumber-tomato salad.
Tips & Mistakes
– Slide width matters: If you double up rolls, you’ll need longer bake time.
– Heat level: Use medium-high oven heat but back off the broiler if you’re gone for even a minute.
– Salt timing: Taste the ham before adding extra seasoning.
– Quick fix: If cheese isn’t melty, cover with foil and give it 3–5 minutes — patience wins.
Storage Tips
Leftovers keep well in an airtight container in the fridge for 3–4 days. Reheat in a 350°F oven for best texture, or microwave for 30–60 seconds if you’re desperate (they’ll be softer). Cold sliders? Totally acceptable as a snack or breakfast sandwich — no shame. If you want to freeze, wrap individual sliders tightly and freeze up to 2 months; thaw in the fridge and reheat in the oven.
Variations and Substitutions
– Swap ham for turkey, roast beef, or pulled chicken — adjust any spread to match the protein.
– Try different cheeses: pepper jack for heat, Gruyère for nuttiness, or a sharp cheddar for bite.
– For a vegetarian twist, use grilled veggies and a smear of pesto or sun-dried tomato spread.
– Replace Hawaiian rolls with ciabatta slices for a heartier sandwich; bake a few minutes longer.
– If you like sweet-savory, mix a little brown sugar into the butter topping for that caramelized pop.
Frequently Asked Questions

Easy Ham and Cheese Sliders
Ingredients
Main Ingredients
- 12 oz soft Hawaiian-style dinner rolls
- 12 oz thinly sliced deli ham
- 8 oz Swiss cheese slices
- 2 tbsp mayonnaise optional
- 7 tbsp unsalted butter, melted
- 1.5 tbsp Dijon mustard
- 1 tbsp Worcestershire sauce
- 1 tbsp poppy seeds
- 1 tbsp dried minced onion
- 0.5 tsp garlic powder
- 1 tsp light brown sugar
- 0.25 tsp kosher salt
- 0.25 tsp black pepper
Instructions
Preparation Steps
- Heat oven to 350°F. Lightly grease a 9x13-inch baking dish.
- Slice the rolls horizontally as a single slab. Set the bottoms in the baking dish.
- Spread the cut sides with mayonnaise, if using.
- Layer ham evenly over the bottom slab. Top with the Swiss cheese slices.
- Place the top slab of rolls over the cheese to close the sandwiches.
- Whisk melted butter with Dijon, Worcestershire, poppy seeds, dried onion, garlic powder, brown sugar, salt, and pepper.
- Brush the butter mixture over the tops and down the sides. Spoon any extra into the edges.
- Cover the dish tightly with foil and bake for 12 minutes.
- Uncover and bake 3–5 minutes more, until the tops are lightly toasted and the cheese is melted.
- Rest 5 minutes. Slice along the roll lines and serve warm.
Notes
Featured Comments
“New favorite here — so flavorful. crispy was spot on.”
“New favorite here — will make again. crispy was spot on.”
“This flavorful recipe was family favorite — the crispy really stands out. Thanks!”
“This crispy recipe was family favorite — the flavorful really stands out. Thanks!”
“Made this last night and it was so flavorful. Loved how the shareable came together.”
“Made this last night and it was absolutely loved. Loved how the shareable came together.”
“New favorite here — so flavorful. bite-sized was spot on.”
“New favorite here — absolutely loved. flavorful was spot on.”
“Made this last night and it was absolutely loved. Loved how the bite-sized came together.”
“Super easy and absolutely loved! My family asked for seconds. Saving this one.”


