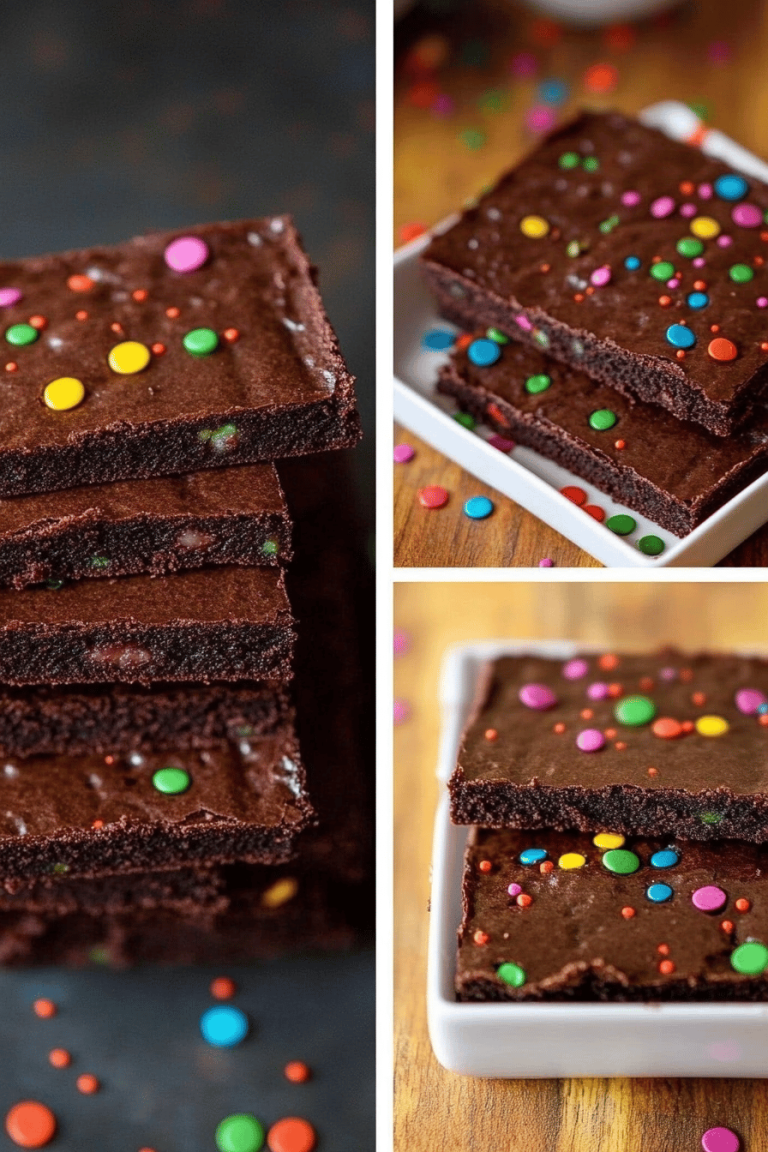
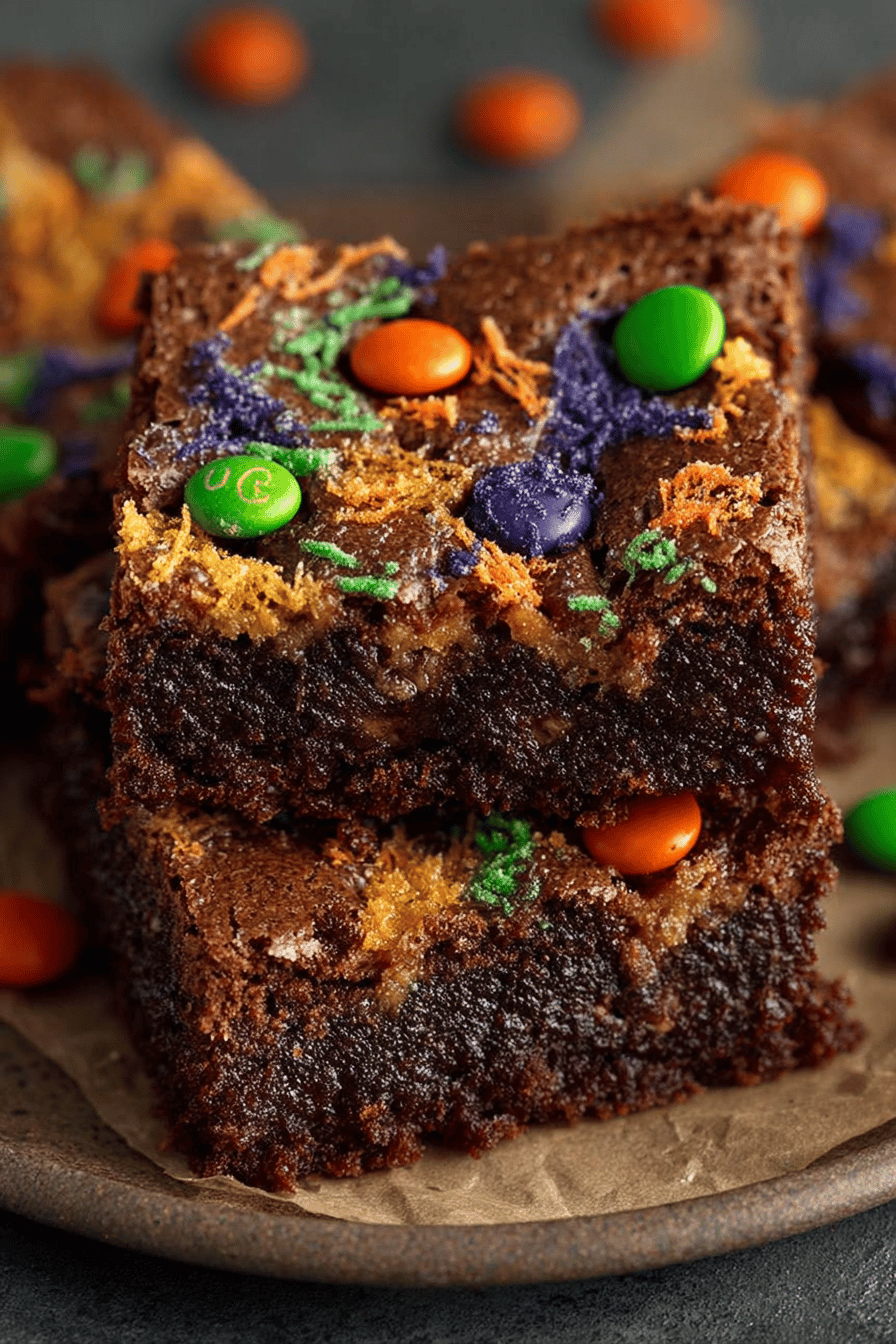
Easy Halloween Brownies with Leftover Candy
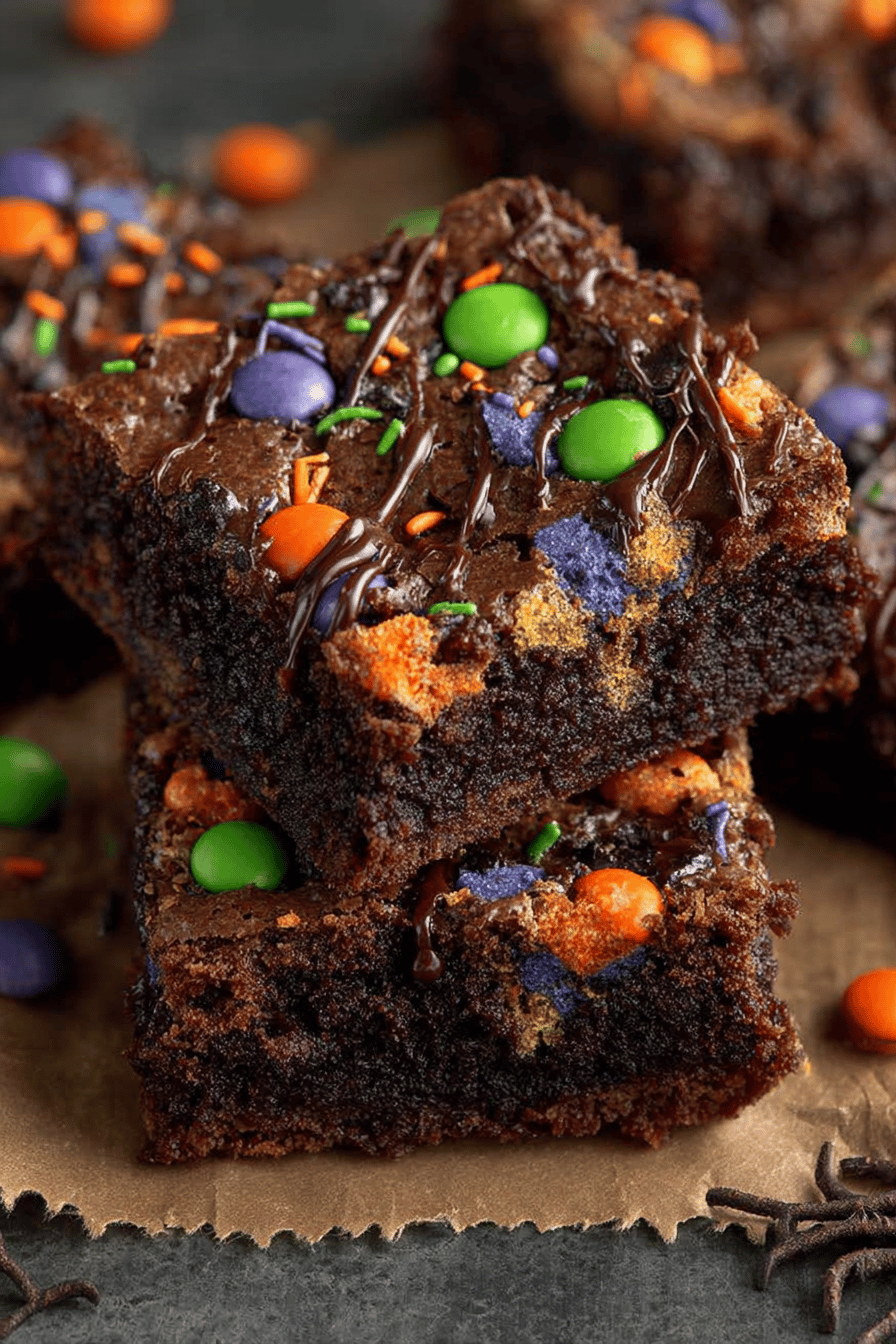
Halloween candy is EVERYWHERE! And what better way to use up that glorious sugar stash than by stuffing it into brownies? Seriously, these Easy Halloween Brownies with Leftover Candy are the best way to deal with the candy overload. They’re gooey, chocolatey, and packed with all those fun-size treats your kids (or you!) couldn’t finish. Let’s be real, are we ever really finished with candy?
So, picture this: my little monster, Leo, comes home with a pillowcase overflowing with candy. Half of it’s those weird candies no one likes, and the other half is gone before dinner even starts. But I’m left staring at this pile of Snickers and Reese’s… and boom! Inspiration strikes. Now, every year, Leo helps me unwrap all the candy (his favorite part, obvi), and we throw it ALL into these brownies. My husband, Mark? He’s usually “too full” after dinner, but magically finds room for one of these. Or three. It’s become a full-blown family tradition.
Why You’ll Love This Easy Halloween Brownies with Leftover Candy
- Because… BROWNIES. Duh.
- It’s a genius way to get rid of leftover Halloween candy…like, seriously, NO MORE CANDY CORN.
- They’re super easy. Even I can’t mess these up, and trust me, that’s saying something.
- The salty-sweet combo from the candy is seriously addictive. I’m not even kidding.
- It’s a legit crowd-pleaser. Everyone loves brownies, everyone loves candy, so… do the math!
How to Make It
Okay, so, first things first: preheat your oven! I always forget this step and then I’m standing around like an idiot waiting for it to heat up. 350°F (175°C) is your target. Now, grease a baking pan. I usually use an 8×8 inch pan, but honestly, whatever you have lying around is fine. Just adjust the baking time a bit.


Next, you gotta make your brownie batter. I usually just use a box mix because, hello, I’m not trying to win any baking awards here. But if you’re feeling fancy, go for it! Follow the instructions on the box, or whip up your favorite homemade recipe.
MORE OF OUR FAVORITE…
Now comes the fun part! Unwrap all that candy. Seriously, get the kids involved. It’s like a mini-party. Chop up the bigger candies – Snickers, Reese’s, whatever you’ve got. You want them to be in bite-sized pieces.
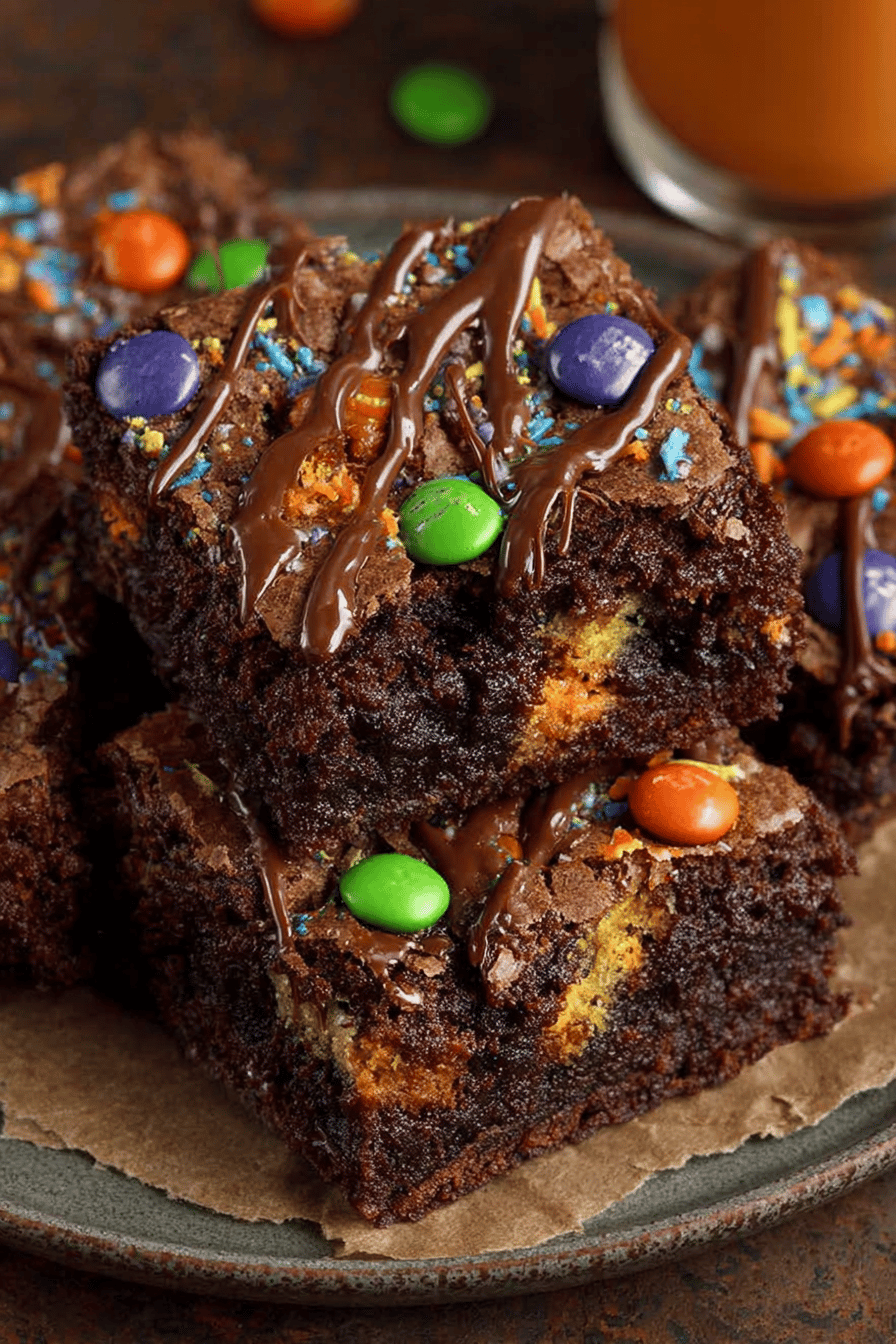
Pour half of your brownie batter into the pan. Then, sprinkle all that chopped candy on top. Don’t be shy! The more candy, the better! Pour the remaining batter over the candy.
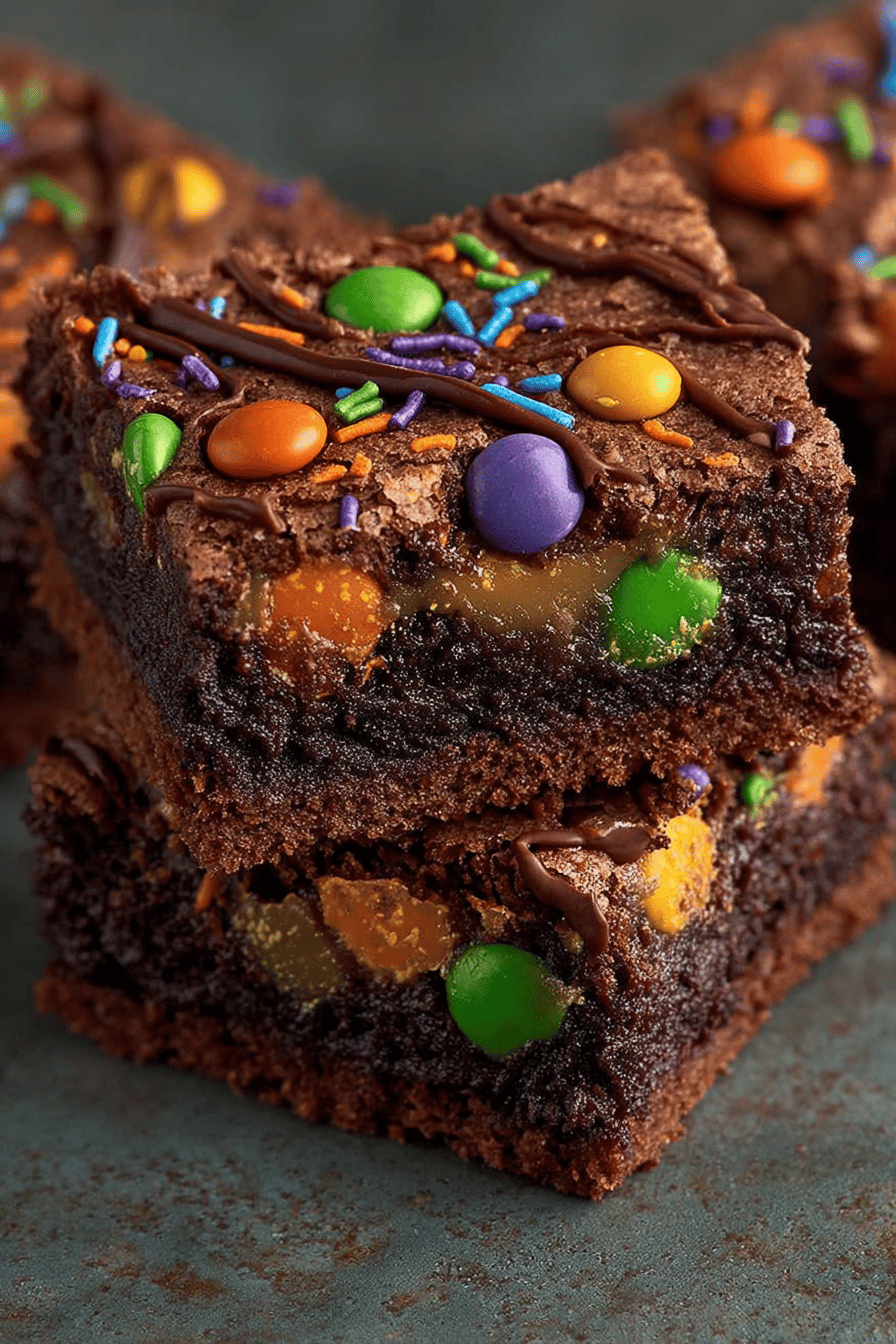
Bake for like, 25-30 minutes. Or until a toothpick inserted into the center comes out mostly clean. A little gooey is okay – it just means they’ll be extra fudgy.
Let them cool completely before cutting. I know, it’s torture. But trust me, they’re much easier to cut when they’re cool. And that’s it! Easy Halloween Brownies with Leftover Candy are done!
Ingredient Notes
- Boxed Brownie Mix: Okay, I’m not ashamed. It’s easy, it’s consistent, and it tastes good. Plus, with all that candy, nobody’s gonna notice if it’s not gourmet. But you do you!
- Eggs & Oil: Whatever the box tells you to use. Don’t skimp on the oil though, it keeps them moist. Nobody wants dry brownies.
- Halloween Candy: The star of the show! Seriously, anything goes. Chocolate bars, peanut butter cups, even those weird caramel squares. Just chop ’em up and throw ’em in! I try to avoid anything super melty, like pure chocolate, because it can make the brownies a little greasy.
- Sprinkles (optional): Because why not? Adds a festive touch. The kids always love them. I even threw some on there from last year, they were fine!
Recipe Steps:
- Preheat your oven to 350°F (175°C) and grease a baking pan.
- Prepare brownie batter according to package or recipe instructions.
- Unwrap and chop Halloween candy into bite-sized pieces.
- Pour half the batter into the prepared pan.
- Sprinkle chopped candy evenly over the batter.
- Pour remaining batter over the candy.
- Bake for 25-30 minutes, or until a toothpick comes out mostly clean.
- Cool completely before cutting and serving.
What to Serve It With
Honestly? Nothing! They’re perfect on their own. But if you’re feeling extra, a scoop of vanilla ice cream is always a good idea. Or a glass of milk. Or maybe just another brownie…
Tips & Mistakes
- Don’t overbake! Slightly underbaked brownies are way better than dry, crumbly ones.
- If your candy is sticking to the knife when you’re chopping it, try freezing it for a few minutes beforehand.
- Don’t add too much liquid candy – like those caramel-filled chocolates. I made that mistake once. Trust me, it’s a mess.
- Let the brownies cool COMPLETELY. I know it’s hard, but it’s worth it. They’ll slice much easier.
- If you want extra fudgy brownies, add a tablespoon of instant coffee to the batter. It enhances the chocolate flavor.
Storage Tips
Store any leftover brownies in an airtight container at room temperature. They’ll stay good for about 3-4 days. If you want to keep them longer, you can freeze them for up to a month. Just wrap them individually in plastic wrap. And yeah, eating them cold straight from the fridge is totally acceptable. I may or may not do that on a regular basis. Don’t judge. Also, they are AMAZING for breakfast.
Variations and Substitutions
- Different Candy: Obviously! Use whatever you have on hand. M&Ms, Kit Kats, even gummy worms (though I’m not a huge fan of gummy worms in brownies, TBH).
- Nuts: Add chopped nuts to the batter for some extra crunch. Walnuts or pecans would be delicious.
- Frosting: If you’re feeling fancy, add a layer of frosting on top. Chocolate or vanilla would both work. I’ve even used store-bought frosting in a pinch, and no one complained.
- Gluten-Free: Use a gluten-free brownie mix. I’ve tried it, and it works just fine.
- No Boxed Mix: Use a homemade brownie recipe! If you’re feeling ambitious. I have a good one, but it’s a little more involved.
Frequently Asked Questions
Easy Halloween Brownies with Leftover Candy
Ingredients
Main Ingredients
- 1 box brownie mix typically for a 13x9 inch pan
- 2 large eggs
- 0.5 cup vegetable oil
- 0.25 cup water
- 1.5 cups assorted leftover Halloween candy chopped into small pieces
Instructions
Preparation Steps
- Preheat your oven to 350°F (175°C) and grease a 13x9 inch baking pan.
- In a large bowl, mix together the brownie mix, eggs, vegetable oil, and water until well combined.
- Fold in the chopped leftover Halloween candy.
- Pour the batter into the prepared baking pan and spread it evenly.
- Bake in the preheated oven for 25-30 minutes, or until a toothpick inserted into the center comes out clean.
- Allow to cool before cutting into squares and serving.
Notes
Nutrition
Featured Comments
“Super easy and so flavorful! My family asked for seconds. Saving this one.”
“New favorite here — turned out amazing. weeknight winner was spot on.”
“Made this last night and it was family favorite. Loved how the warming came together.”
“Impressed! Clear steps and absolutely loved results. Perfect for busy nights.”
“Made this last night and it was will make again. Loved how the cheesy came together.”
“New favorite here — so flavorful. vibrant was spot on.”
“New favorite here — will make again. refreshing was spot on.”
“New favorite here — so flavorful. al dente was spot on.”
“This lighter recipe was absolutely loved — the homemade really stands out. Thanks!”
“New favorite here — absolutely loved. smoky was spot on.”