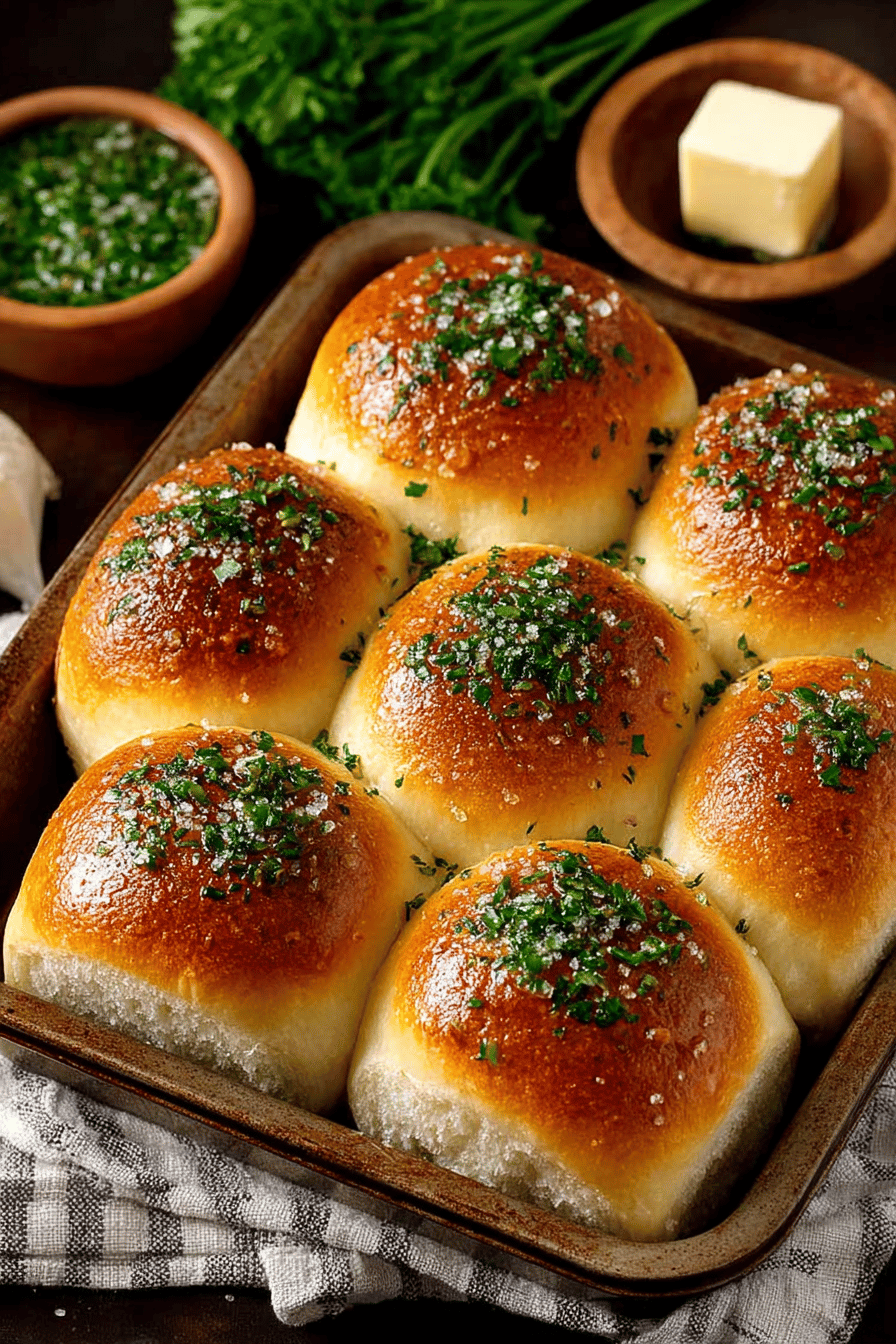
Easy Garlic Herb Dinner Rolls Recipe
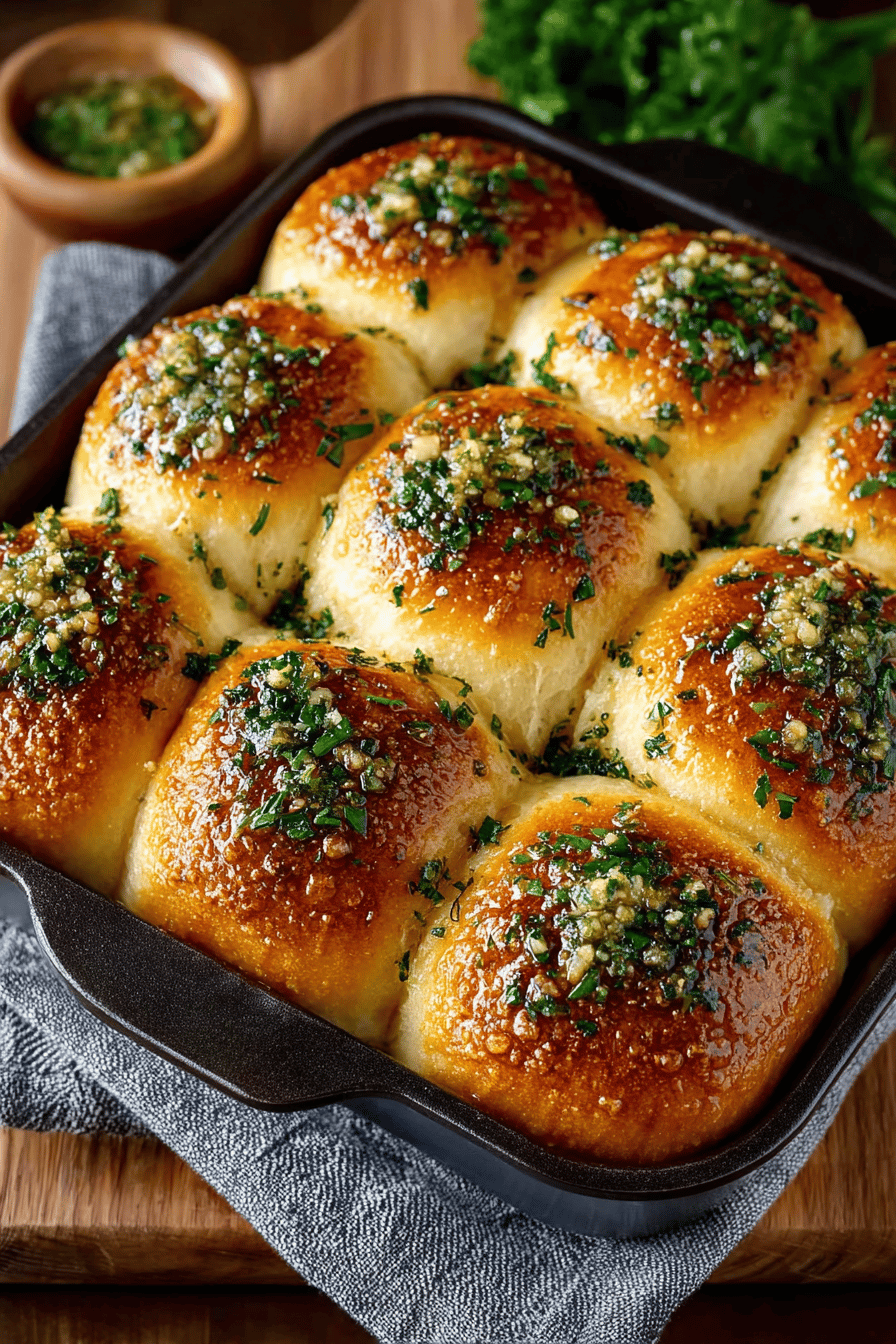
These rolls…oh man, these rolls. They’re like a warm hug in bread form, you know? Fluffy, garlicky, herby… the kind of thing that makes you forget about, like, everything bad in the world for a few minutes. They’re SO easy too, which is a major plus in my book. If I can make them without setting the kitchen on fire, anyone can. Seriously, give them a shot – you won’t regret it!
My family? They are OBSESSED. My husband, Mark, claims he’s “not a bread guy,” but then proceeds to inhale three of these bad boys in one sitting. The kids, bless their messy little hearts, fight over the herby bits on top. One time, I made a double batch for a potluck and came home with an empty dish. EMPTY. That’s when I knew these rolls were a winner. Now, they’re a staple for Sunday dinners, holidays, and honestly, sometimes just because it’s Tuesday and we need a little carby comfort.
Why You’ll Love This Easy Garlic Herb Dinner Rolls Recipe
- Because carbs. I mean, need I say more?
- They make your house smell like a freaking bakery, which is always a win.
- They’re surprisingly easy to make, even if you’re a total klutz in the kitchen (like me!).
- Leftovers (if there ARE any) are amazing dipped in soup, turned into mini-sandwiches, or just eaten cold straight from the fridge (don’t judge).
How to Make It
Okay, so first things first, you gotta bloom your yeast. I always get nervous about this part because I’m convinced I’m gonna kill the yeast. Warm water, a little sugar, and fingers crossed! Then, you kinda just throw everything else in a bowl – flour, melted butter (yum!), garlic (don’t skimp!), herbs… give it a good mix until it forms a dough.
Now, the waiting game. Let that dough rise somewhere warm-ish. I usually stick it near the stove while I’m preheating the oven because I’m impatient like that. Once it’s doubled, punch it down (satisfying!), and shape into rolls.
MORE OF OUR FAVORITE…
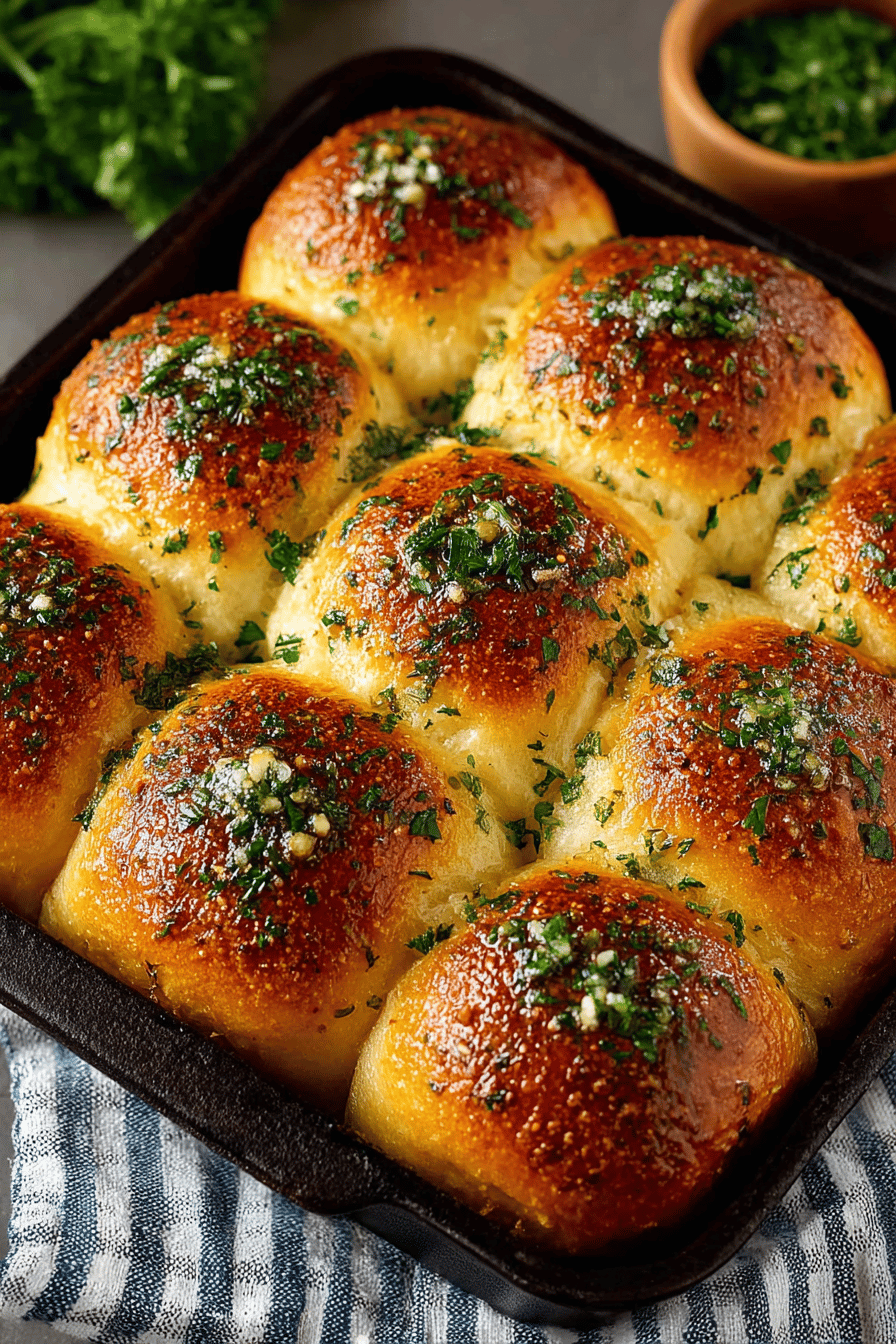
Brush them with garlicky herb butter (more yum!), and bake until golden brown and glorious. Try not to eat them all in one sitting. I usually fail at this part, but hey, no regrets!
Ingredient Notes
- Flour: All-purpose is fine, but bread flour gives them a little extra chew. Don’t stress if you only have all-purpose, though. They’ll still be delicious!
- Yeast: Make sure it’s not expired! I once made a batch with old yeast and ended up with hockey pucks instead of rolls. Not fun.
- Garlic: Fresh is best, obviously. But if you’re in a pinch, garlic powder will do. Just don’t tell anyone I said that.
- Butter: Unsalted is my go-to so I can control the saltiness. But honestly, salted works too. I’ve used both and never noticed a huge difference.
- Herbs: I usually use a mix of dried Italian herbs. Fresh herbs are amazing if you have them, but dried are easier and I always have them on hand.
- Sugar: Just a pinch to feed the yeast. Don’t overthink it.
Recipe Steps:
- Bloom yeast in warm water with sugar.
- Combine flour, melted butter, garlic, herbs, and yeast mixture in a bowl.
- Mix until a dough forms.
- Let dough rise in a warm place until doubled.
- Punch down dough and shape into rolls.
- Brush with garlic herb butter.
- Bake until golden brown.
What to Serve It With
These rolls are amazing with just about anything! Soup, salad, pasta, roast chicken, you name it. They’re also fantastic as little sliders with leftover pulled pork or brisket. Or just eat them on their own. No judgment here.
Tips & Mistakes
- Don’t kill the yeast with water that’s too hot! Think lukewarm, like a baby’s bath.
- If your dough is too sticky, add a little more flour, a tablespoon at a time.
- Don’t overbake them! Dry rolls are sad rolls.
- If you forget to add the herbs to the dough, just sprinkle them on top with the garlic butter. Nobody will know! (Except now you guys do.)
Storage Tips
Store any leftover rolls in an airtight container at room temperature. They’ll stay good for a couple of days. Or, wrap them tightly in foil and freeze them for longer storage. Just thaw them out and reheat them in the oven before serving. Cold? Honestly, still good. Especially for breakfast with a smear of cream cheese. Don’t judge my life choices.
Variations and Substitutions
- No garlic? Use onion powder. It’s not the same, but it’s better than nothing.
- Out of butter? Olive oil works in a pinch.
- Want to make them cheesy? Add some shredded Parmesan or cheddar to the dough.
- I’ve skipped the sugar before when I was out, and they still turned out ok. The yeast just took a little longer to get going.
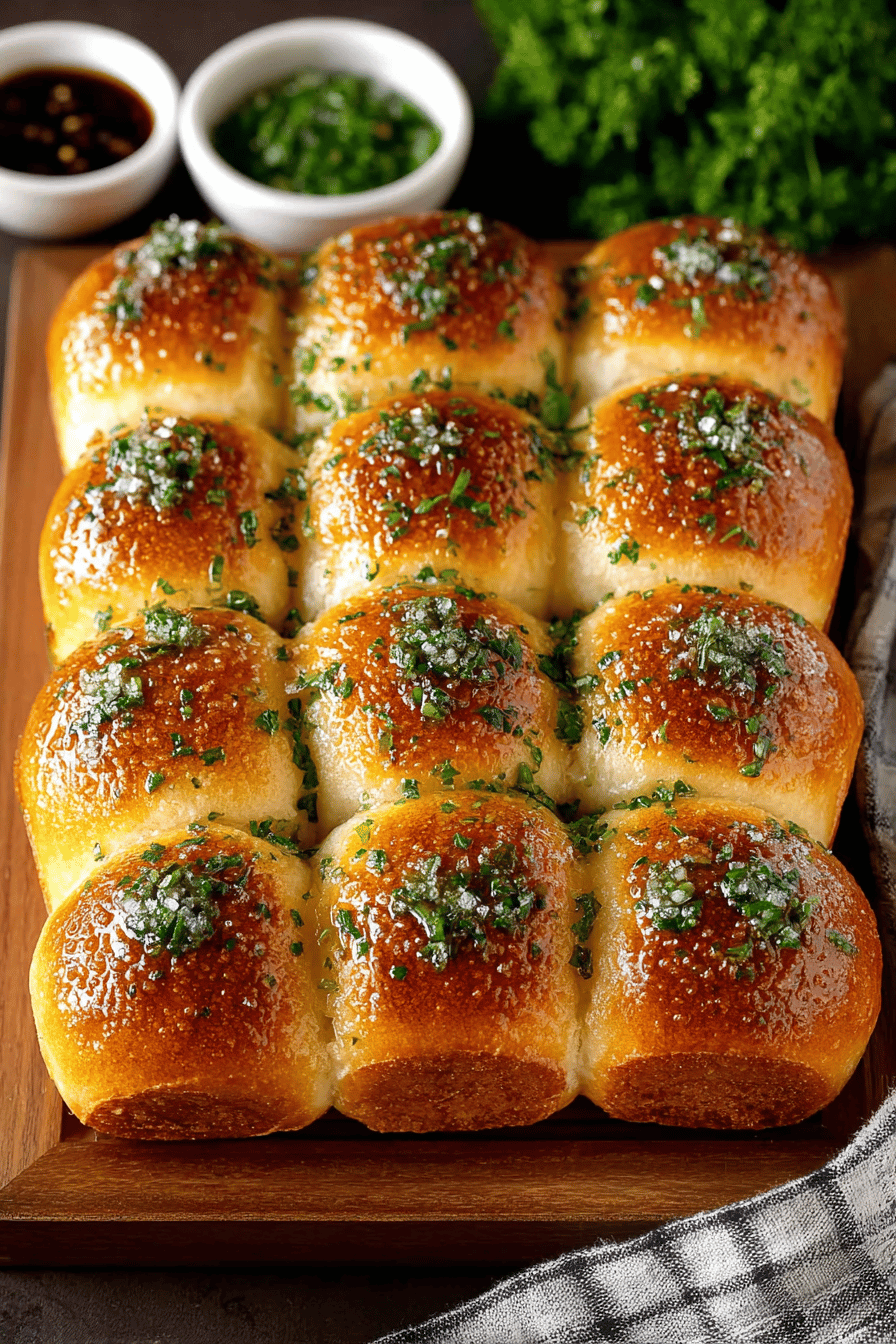
- If you’re feeling fancy, sprinkle some sea salt on top before baking. Makes them look all gourmet-y.
Frequently Asked Questions
Easy Garlic Herb Dinner Rolls Recipe
Ingredients
Main Ingredients
- 4 cups all-purpose flour
- 1 packet active dry yeast
- 1.25 cups warm water between 105-115 degrees F
- 2 tablespoons granulated sugar
- 1 teaspoon salt
- 0.5 cup butter melted
- 2 tablespoons minced garlic fresh
- 2 tablespoons chopped fresh parsley
- 1 tablespoon dried oregano
Instructions
Preparation Steps
- In a large bowl, dissolve sugar and yeast in the warm water. Let sit for 5 minutes until frothy.
- Stir in butter, salt, minced garlic, parsley, oregano, and half of the flour. Mix well.
- Gradually add remaining flour to form a soft dough. Knead for about 6-8 minutes on a floured surface until smooth and elastic.
- Place dough in a greased bowl, cover, and let rise in a warm place until doubled, about 1 hour.
- Punch dough down, then divide into 12 pieces. Shape each piece into a ball and place on a greased baking sheet.
- Cover rolls with a cloth and let rise again in a warm place until doubled, about 20 minutes. Preheat oven to 375°F (190°C).
- Bake rolls for 15-20 minutes or until golden brown. Brush with additional melted butter and more minced garlic if desired.
Notes
Nutrition
Featured Comments
“This flavorful recipe was absolutely loved — the perfect pair really stands out. Thanks!”
“This anytime recipe was turned out amazing — the perfect pair really stands out. Thanks!”
“Super easy and family favorite! My family asked for seconds. Saving this one.”
“Impressed! Clear steps and turned out amazing results. Perfect for busy nights.”
“Super easy and turned out amazing! My family asked for seconds. Saving this one.”
“New favorite here — absolutely loved. perfect pair was spot on.”
“New favorite here — so flavorful. simple was spot on.”
“This anytime recipe was will make again — the perfect pair really stands out. Thanks!”
“This simple recipe was absolutely loved — the flavorful really stands out. Thanks!”
“Made this last night and it was turned out amazing. Loved how the anytime came together.”