Easy Chocolate-Covered Oreos Recipe
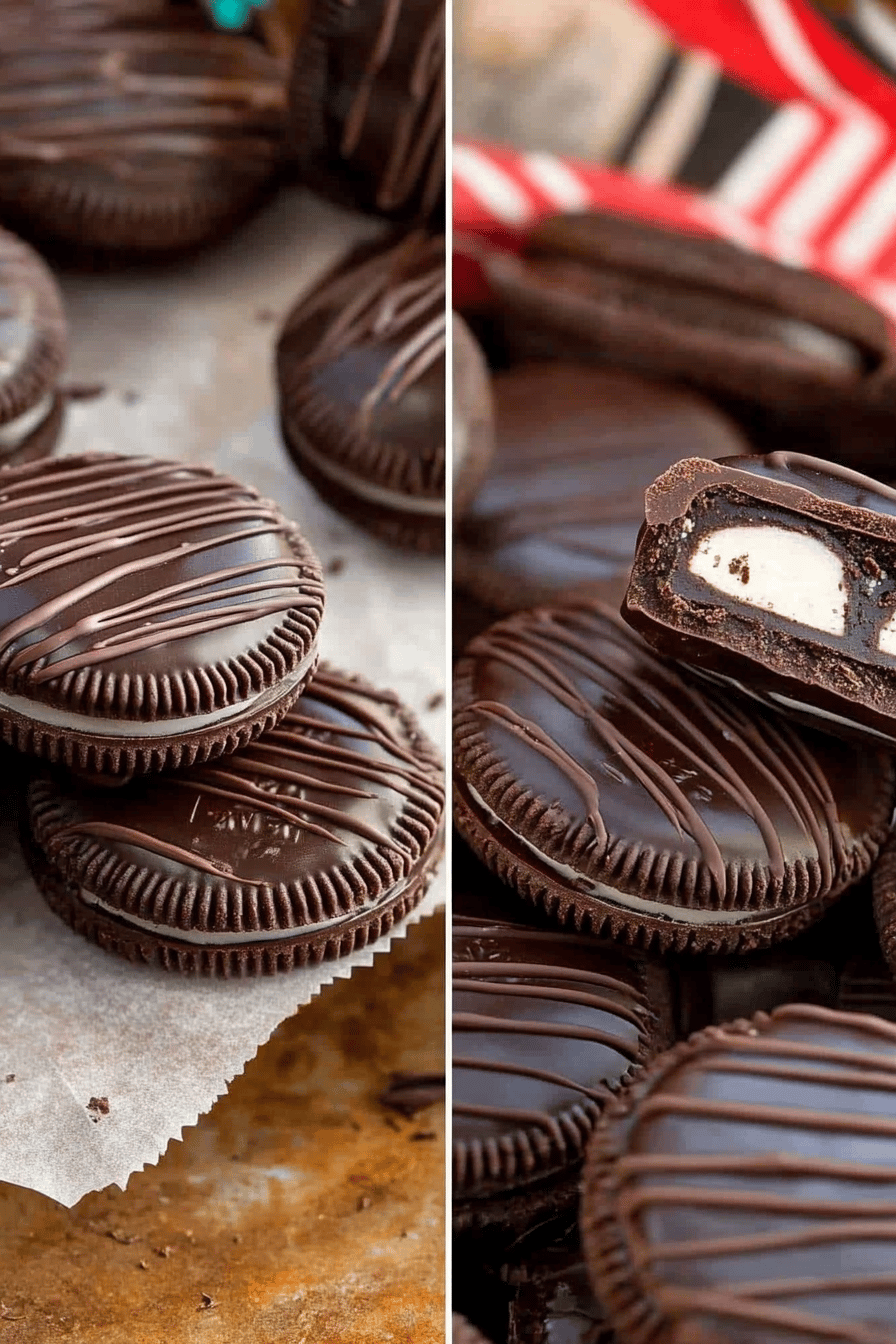
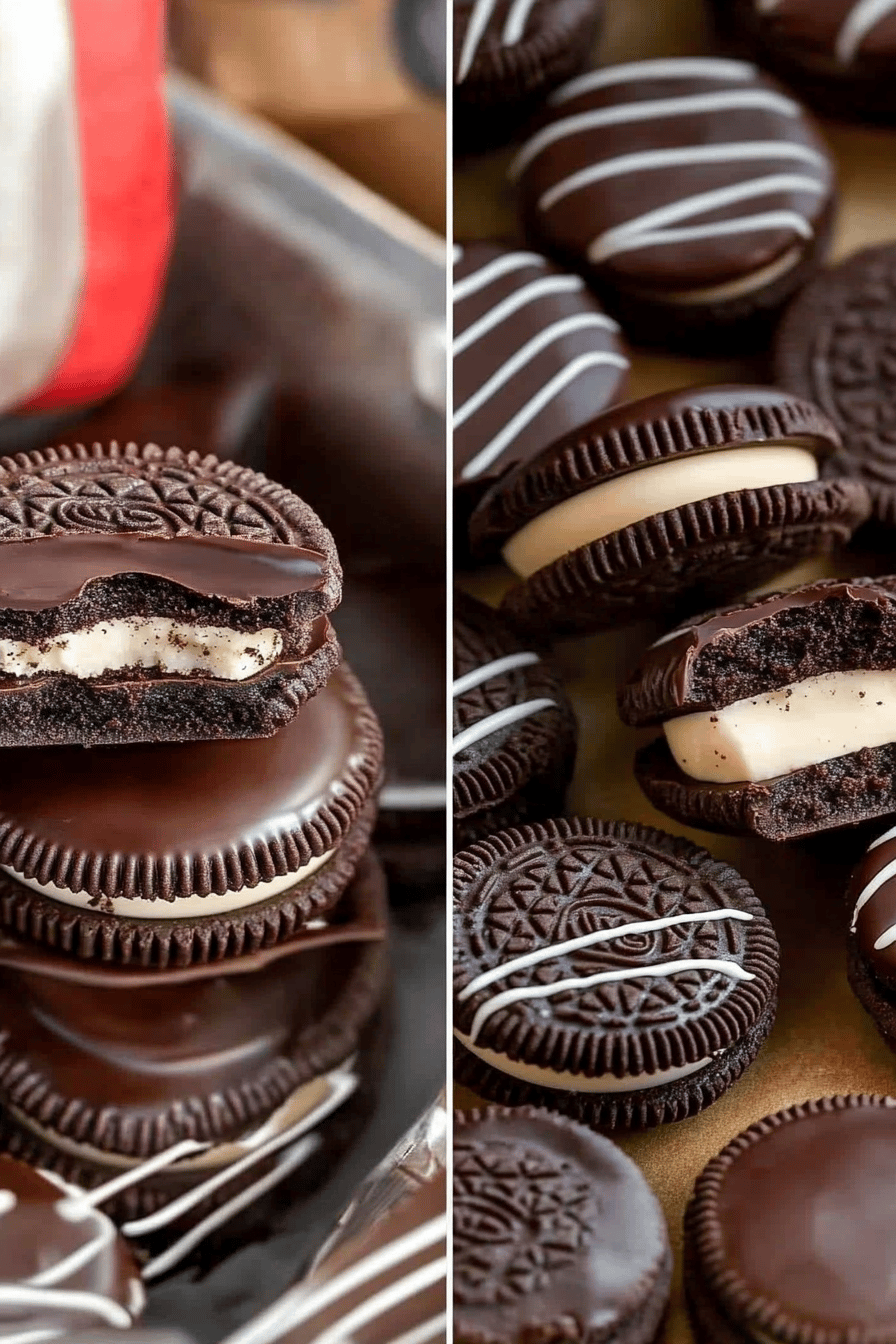
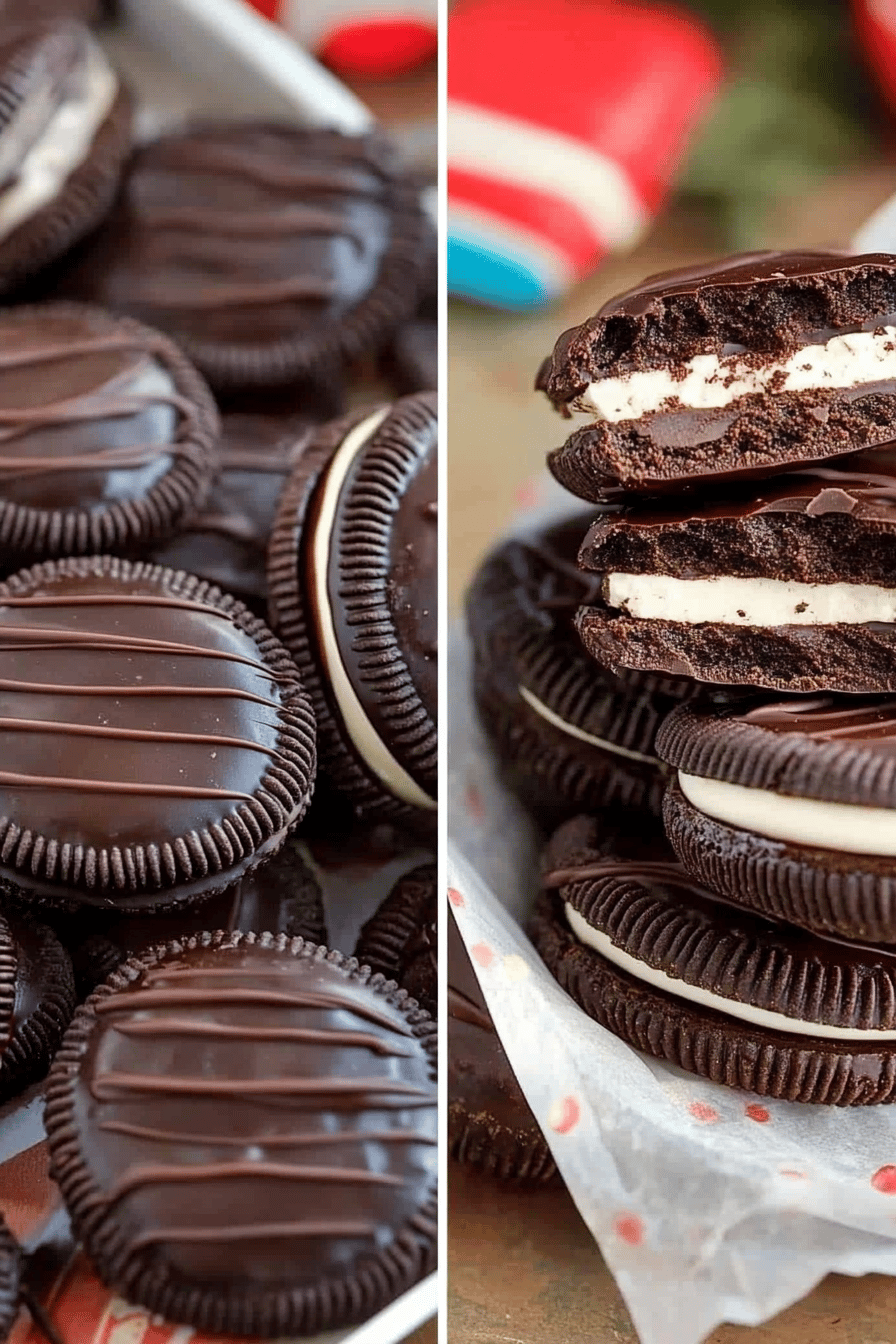
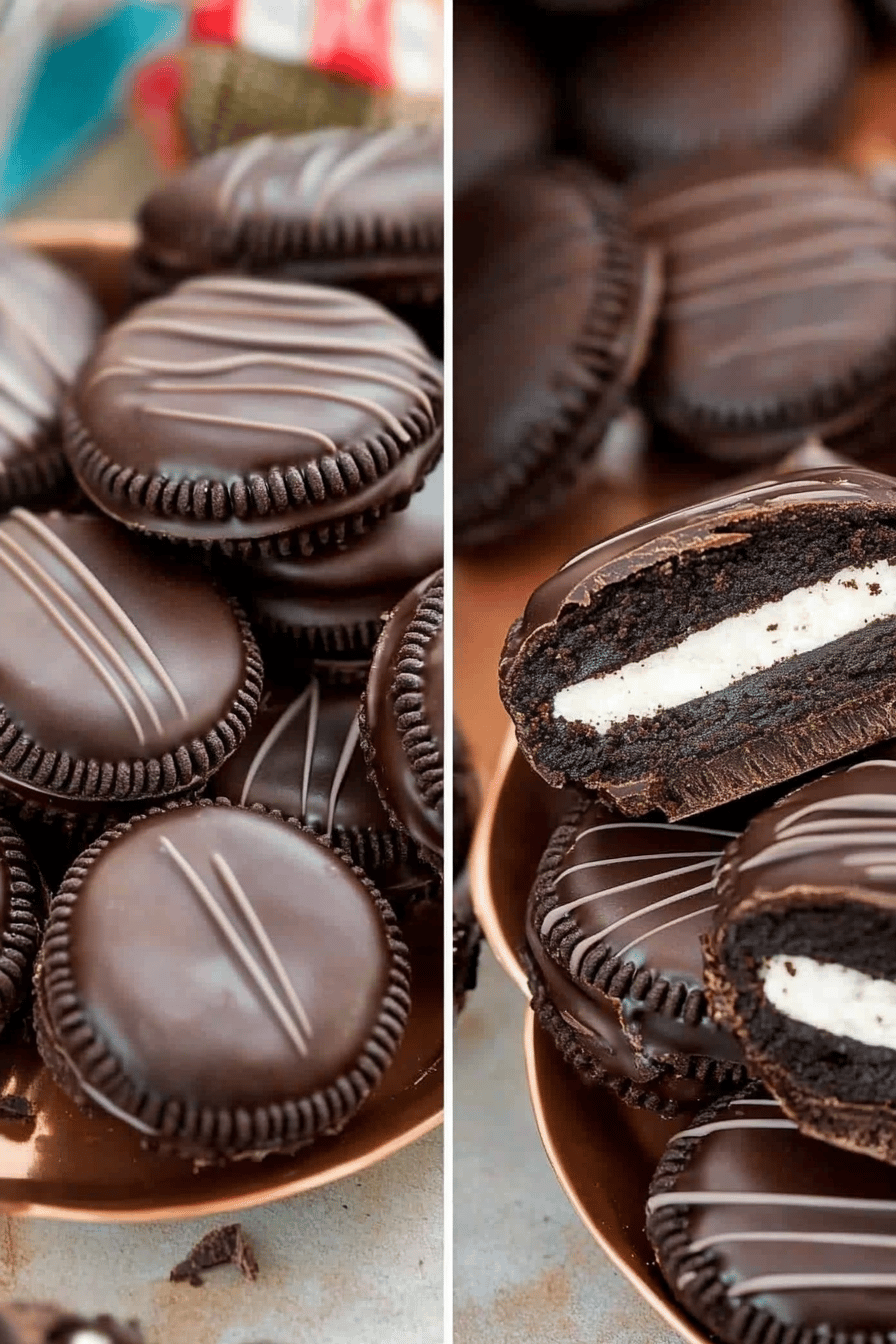
There’s nothing quite like the combination of creamy chocolate and the beloved crunch of Oreos. This easy recipe for chocolate-covered treats is perfect for satisfying those sweet cravings when you’re short on time. With just a few ingredients, you can transform a classic snack into a decadent dessert that everyone will enjoy.
Growing up, chocolate-covered Oreos were a staple at our family gatherings. My grandmother used to make them for every special occasion, storing them in an old, colorful tin. She shared these simple treats with us, and I remember helping her dip each Oreo into rich melted chocolate. It was always a joy to watch them disappear as everyone savored each bite.
Why You’ll Love This Recipe
This recipe is a showstopper because of its simplicity and deliciousness. Not only is it quick and easy to make, but it also requires no baking. Perfect for those who are short on time but still want to impress. The combination of creamy chocolate and crunchy Oreos is irresistible, making it a hit at parties and gatherings. Customize with your favorite toppings to suit any occasion, ensuring that each batch is unique yet delicious.
Ingredients Notes
MORE EASY DESSERT RECIPES...


To get started, you will need quality chocolate or chocolate melts, Oreos, and optional toppings like sprinkles or crushed nuts. Opt for good-quality chocolate to ensure a smooth melt. If you’re looking for a dairy-free option, consider using dark chocolate or vegan chocolate melts. Feel free to experiment with different flavors of Oreos for an added twist.
MORE OF OUR FAVORITE…
Recipe Steps
Step 1
Melt the chocolate in a heatproof bowl over a pot of simmering water or in the microwave, stirring until smooth.
Step 2
Using a fork, dip each Oreo into the melted chocolate, ensuring it is fully coated.
Step 3
Place the chocolate-covered Oreos onto a baking sheet lined with parchment paper.
Step 4
Sprinkle any desired toppings over the Oreos while the chocolate is still wet.
Step 5
Allow the chocolate to set at room temperature or place Oreos in the refrigerator to speed up the process.
Storage Options
Store any leftover chocolate-covered Oreos in an airtight container at room temperature for up to one week. For longer storage, refrigerate them for up to two weeks. These treats can also be frozen for several months; just be sure to use a freezer-safe container. To enjoy, thaw at room temperature.
Variations & Substitutions
Experiment with different flavors by using mint or peanut butter Oreos. Add decorative flair with colored chocolate melts or varying toppings like toasted coconut or crushed candy canes. To accommodate dietary restrictions, use gluten-free cookies or dairy-free chocolate options.
Serving Suggestions
These treats are perfect for holiday parties, birthday celebrations, or as a sweet afternoon snack. Serve them with coffee or milk for a delightful pairing. Use them as edible decor for festive gatherings by arranging them on a decorative tray.
Frequently Asked Questions
Can I use white chocolate instead? Yes, white chocolate can be used for a sweeter variation. It pairs beautifully with traditional or flavored Oreos, and makes for a striking presentation with dark toppings.
How do I prevent my chocolate from seizing? Ensure that no water comes into contact with the chocolate while melting, as this can cause the chocolate to seize. Use a dry bowl and utensils to keep your chocolate smooth.
What toppings can I use? The sky is the limit! Consider using sprinkles, crushed nuts, shredded coconut, or mini chocolate chips. For themed events, you can use color-coordinated toppings to match the occasion.
Easy Chocolate-Covered Oreos Recipe
Ingredients
Main Ingredients
- 24 pieces Oreos
- 12 oz chocolate chips semi-sweet or milk chocolate, as preferred
- 2 tbsp sprinkles optional, for decoration
Instructions
Preparation Steps
- Line a baking sheet with wax paper.
- Melt the chocolate chips in a microwave-safe bowl in 30-second increments, stirring in between, until smooth.
- Dip each Oreo into the melted chocolate, letting excess drip off, and place on the prepared baking sheet.
- Decorate with sprinkles if desired, and let the chocolate set.
Notes
Nutrition
Featured Comments
“New favorite here — turned out amazing. playful was spot on.”
“New favorite here — turned out amazing. healthy swap was spot on.”
“Super easy and absolutely loved! My family asked for seconds. Saving this one.”
“New favorite here — so flavorful. colorful was spot on.”
“New favorite here — turned out amazing. dairy-free was spot on.”
“Impressed! Clear steps and family favorite results. Perfect for busy nights.”
“New favorite here — absolutely loved. handheld was spot on.”
“New favorite here — turned out amazing. bite-sized was spot on.”
“New favorite here — turned out amazing. flavorful was spot on.”
“Impressed! Clear steps and so flavorful results. Perfect for busy nights.”