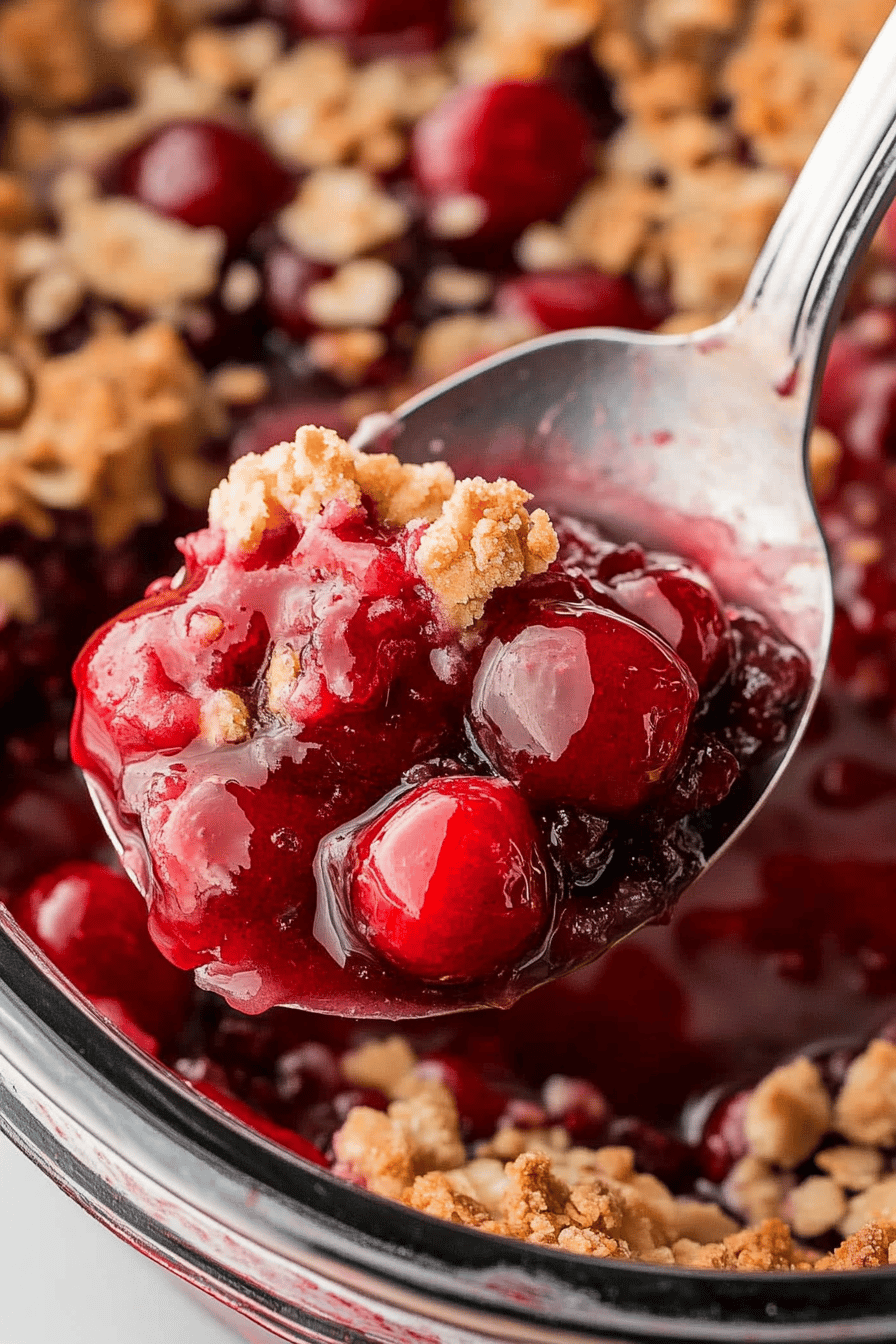
Easy Cherry Crisp with Pie Filling Recipe
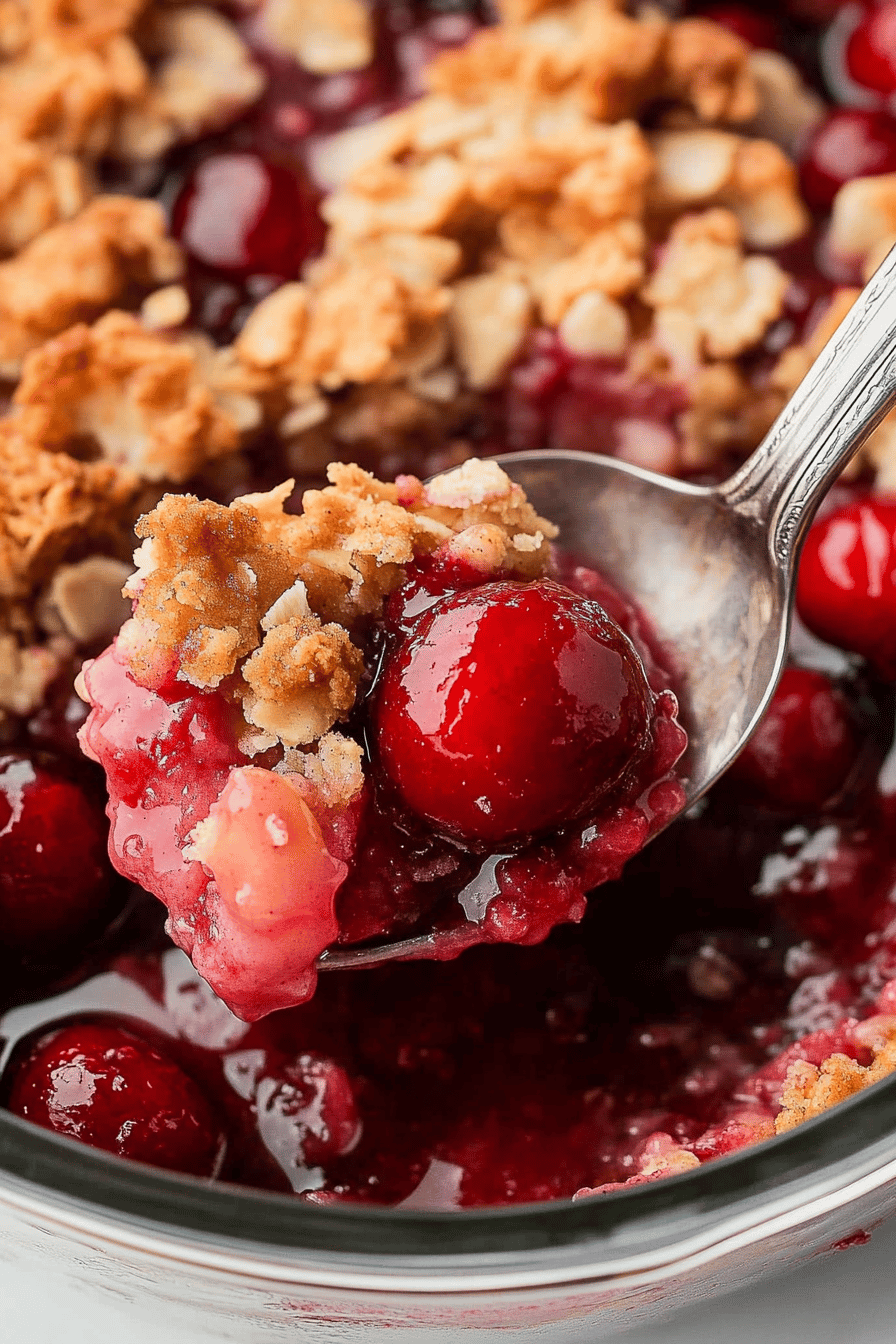
If you’re looking for the ultimate comforting dessert, you’ve just found it. This easy and delicious recipe makes use of pie filling to deliver a rich, flavorful treat. With its sweet, juicy cherries and crisp topping, it’s sure to become a go-to dessert in your household.
Growing up, my grandmother often made this dessert for family gatherings. Each bite brought back a flood of cherished memories, from sneaking spoonfuls of the pie filling when no one was looking to enjoying a warm bowl by the fire on cold winter nights. Now, this tasty dish carries on those beloved traditions with my own family.
Why You’ll Love This Recipe
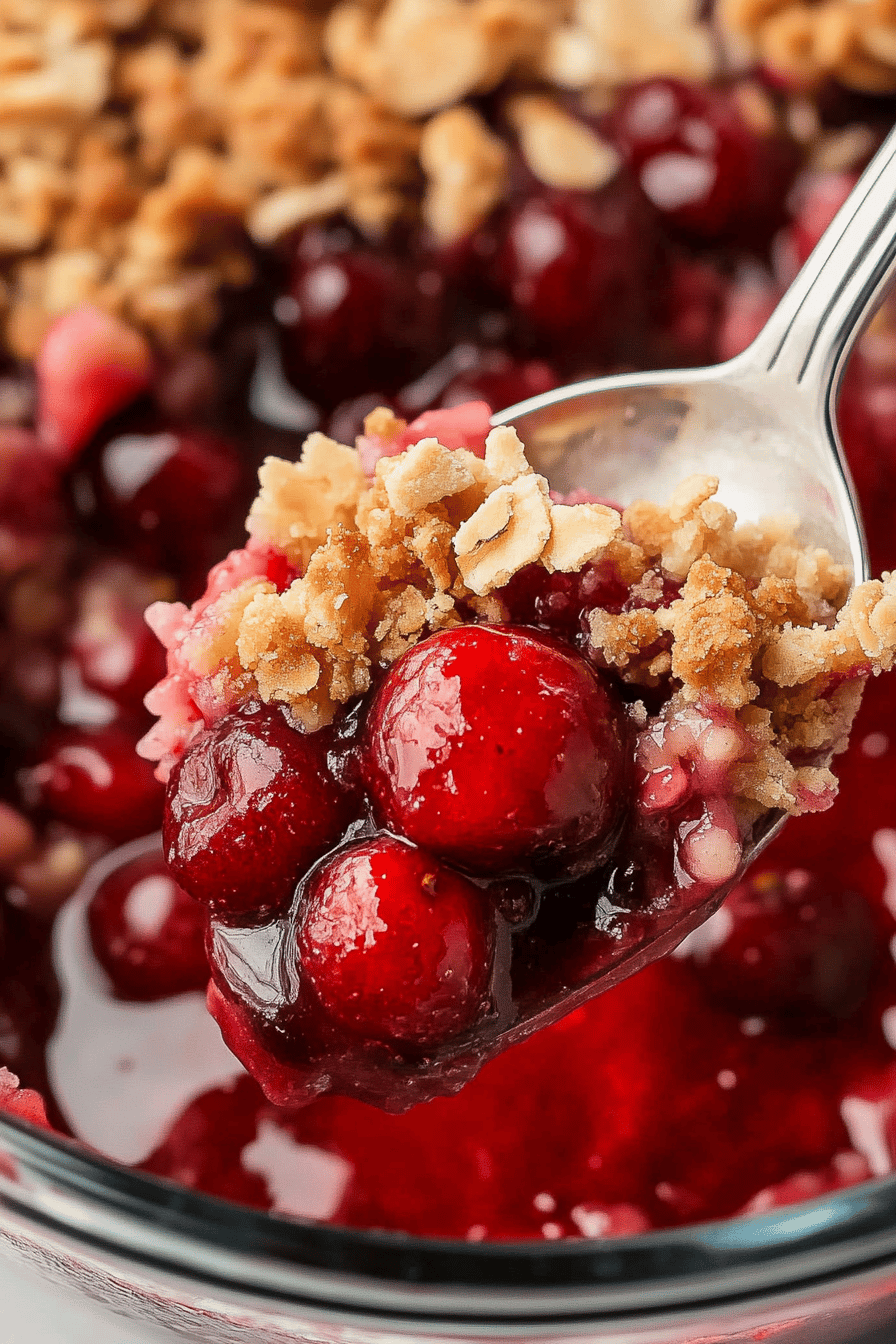
This recipe is as convenient as it is delightful. Utilizing canned pie filling means less preparation and a shorter cooking time, making it perfect for busy days. The combination of tart cherries with a buttery, crunchy topping creates a contrast that’s hard to resist. Plus, you can easily adapt it for any fruit-filled craving you might have!
Ingredients Notes
To achieve the best results, using high-quality cherry pie filling is key. If fresh cherries are plentiful, you can make your own pie filling by cooking pitted cherries with sugar and cornstarch. For a nutty twist, incorporate chopped almonds or pecans into the topping.
Recipe Steps
Step 1
Preheat your oven to 350°F (175°C). Grease a 9×9 baking dish with butter or non-stick spray.
Step 2
In a medium bowl, combine flour, oats, brown sugar, and cinnamon to make the crumble. Stir in melted butter until the mixture is crumbly.
Step 3
Pour the cherry pie filling into the prepared baking dish, spreading it evenly across the bottom.
Step 4
Sprinkle the crumble mixture over the cherry pie filling, ensuring even coverage.
WANT TO SAVE THIS RECIPE?
Step 5
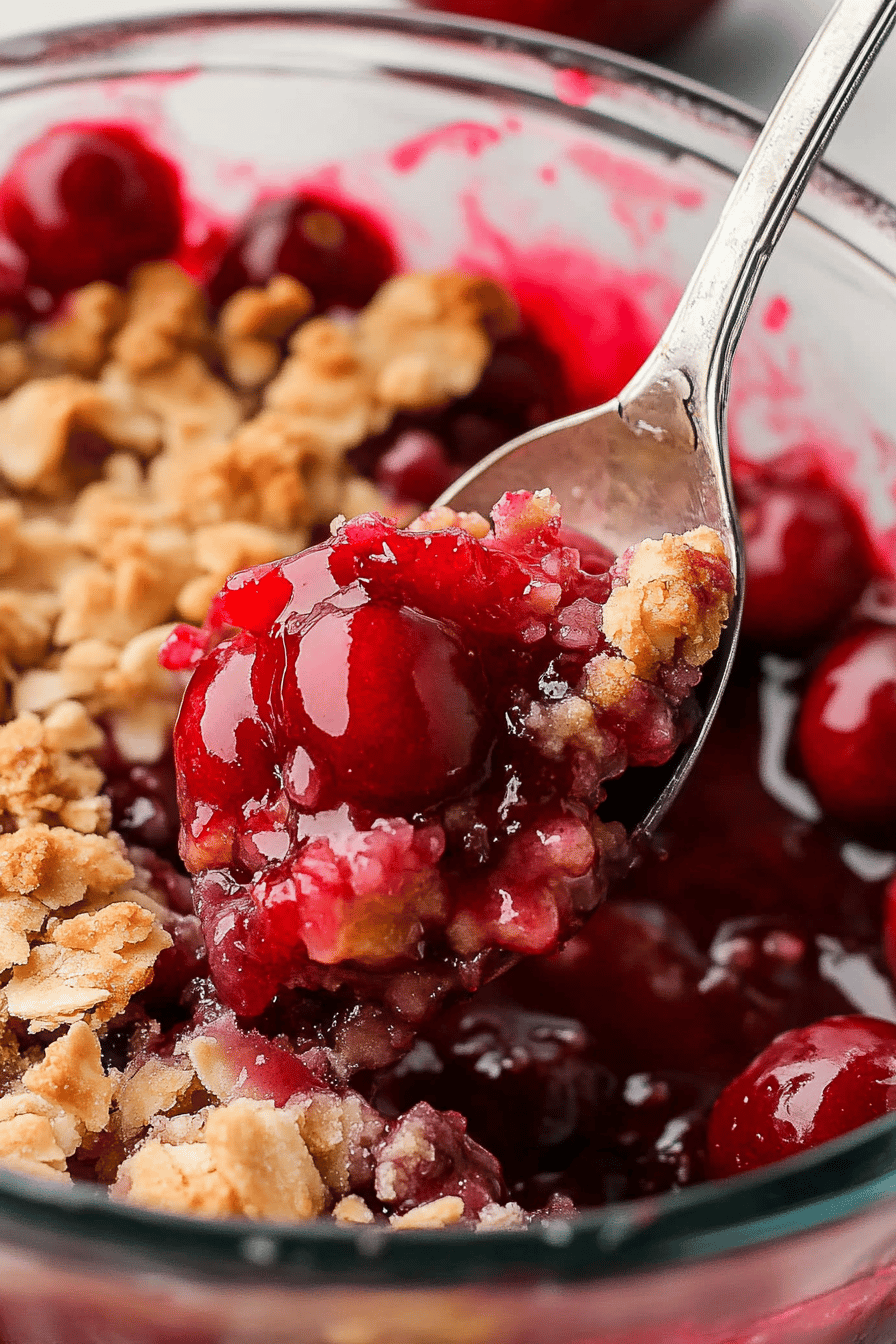
Bake the dish in the preheated oven for 30-35 minutes, or until the topping is golden brown and the filling is bubbly. Allow it to cool slightly before serving.
Storage Options
Leftover cherry crisp can be stored in the refrigerator in an airtight container for up to three days. For longer storage, cover it tightly with foil and freeze for up to two months. Reheat in the oven until it’s warm and crispy again – avoid microwaving to prevent sogginess.
Variations & Substitutions
Consider swapping cherry pie filling with apple or blueberry for a different flavor profile. For a gluten-free option, use almond flour and gluten-free oats. If you prefer a vegan version, replace the butter with coconut oil or vegan butter substitutes.
Serving Suggestions
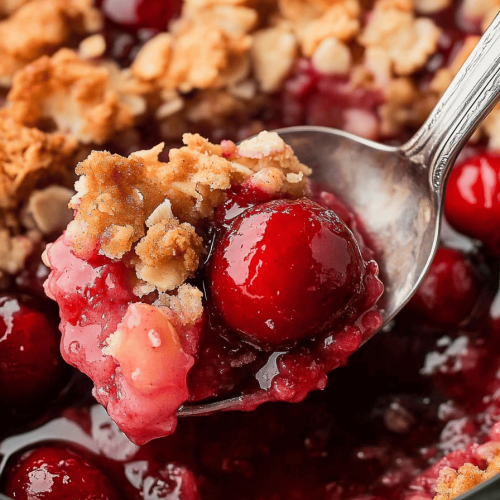
This dessert shines when served warm with a scoop of vanilla ice cream or a dollop of whipped cream. It’s a perfect ending for holiday dinners or a sweet companion for an afternoon tea party.
Frequently Asked Questions
Can I use fresh cherries instead of pie filling? Absolutely! To replace canned filling, use about 4 cups of pitted fresh cherries. Cook them with 1/2 cup of sugar and 2 tablespoons of cornstarch until thickened before adding to your baking dish.
How do I know when the cherry crisp is done baking? The crisp is ready when the topping is a nice golden brown and you can see the filling bubbling around the edges. This typically takes about 30-35 minutes at 350°F (175°C).
Can I make this dessert ahead of time? Yes, you can prepare this dish a day in advance. Follow the instructions up to baking, then wrap it tightly and store it in the refrigerator. When ready to serve, bake it for 35 minutes or until warmed through.
In conclusion, this dish is a tried-and-true classic that promises satisfaction every time. Whether you’re new to this recipe or revisiting it for nostalgia, it’s a heartwarming addition to any menu.
Easy Cherry Crisp with Pie Filling Recipe
Ingredients
Main Ingredients
- 2 cans cherry pie filling 21 oz each
- 0.5 cup all-purpose flour
- 0.5 cup rolled oats
- 0.5 cup brown sugar packed
- 0.25 cup granulated sugar
- 1 tsp ground cinnamon
- 0.25 tsp salt
- 0.5 cup unsalted butter melted
- 0.5 tsp vanilla extract
Instructions
Preparation Steps
- Preheat your oven to 350°F (175°C) and lightly grease a 9x9 inch baking dish.
- In a large bowl, combine the flour, oats, brown sugar, granulated sugar, cinnamon, and salt.
- Add the melted butter and vanilla extract to the dry ingredients and mix until crumbly.
- Spread the cherry pie filling evenly in the prepared baking dish.
- Sprinkle the oat mixture evenly over the cherry pie filling.
- Bake in the preheated oven for about 30 minutes or until the topping is golden brown and crisp.
- Let it cool for a few minutes before serving. It can be served warm with a scoop of vanilla ice cream if desired.