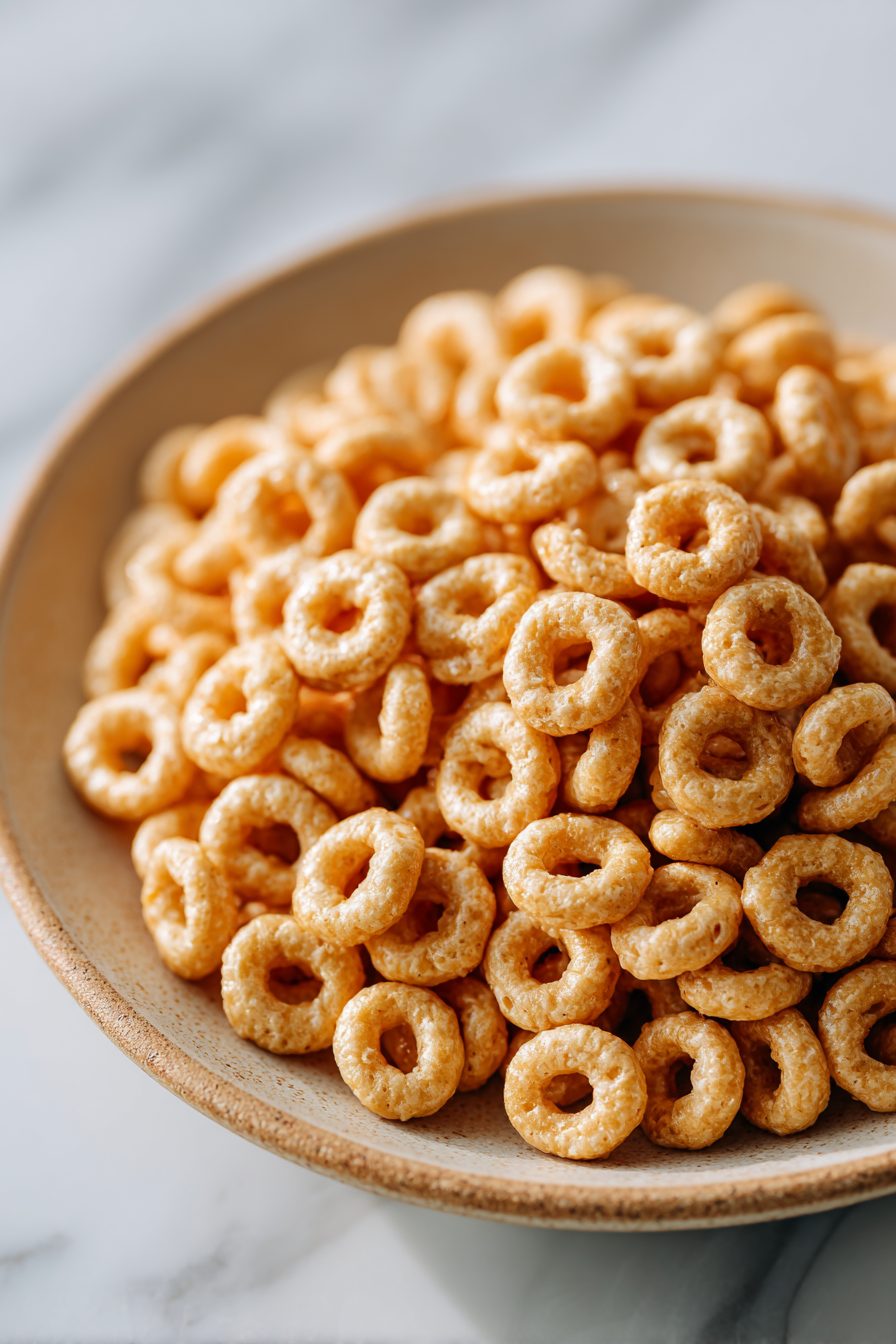
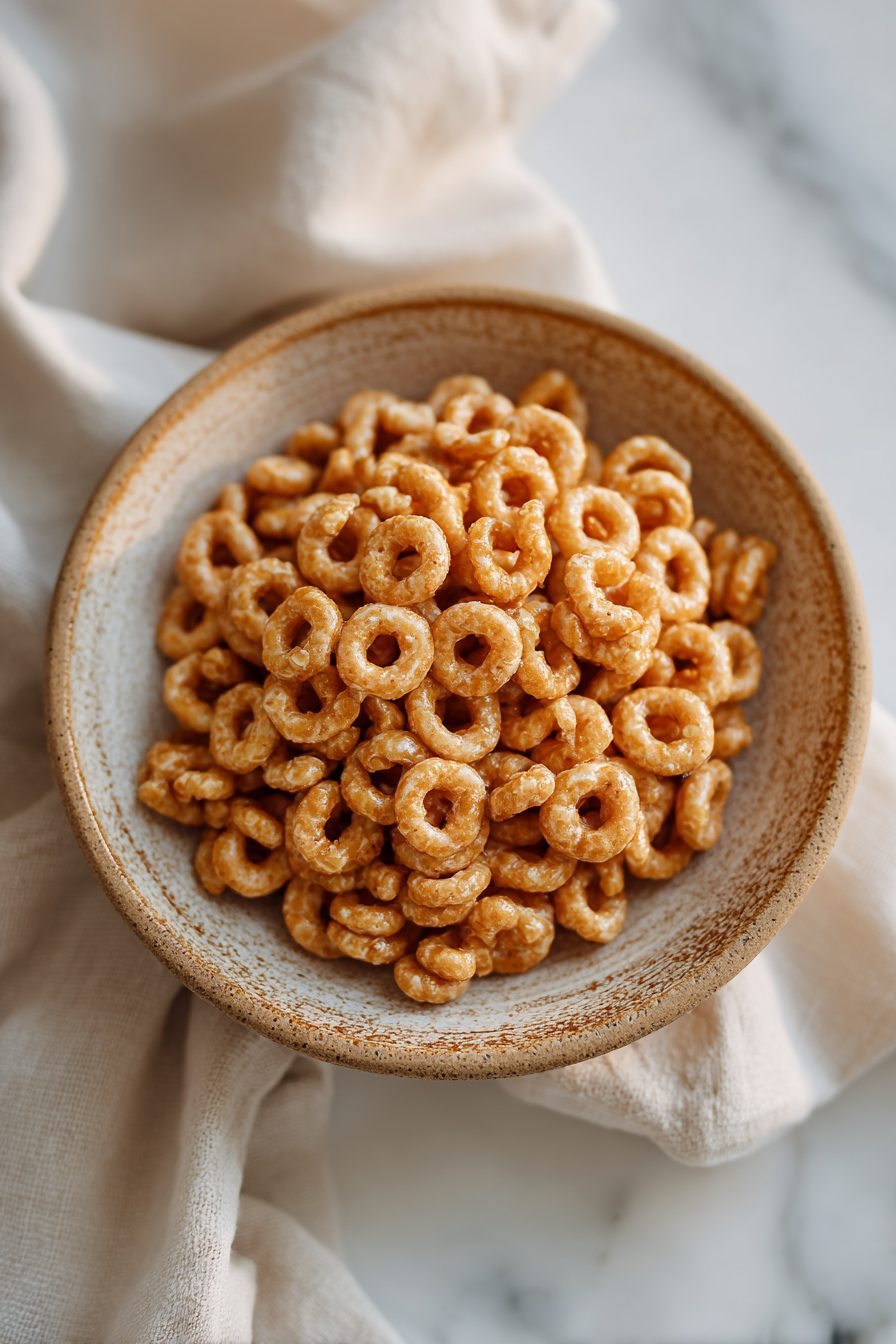
Crispy Golden Cheerios Treats
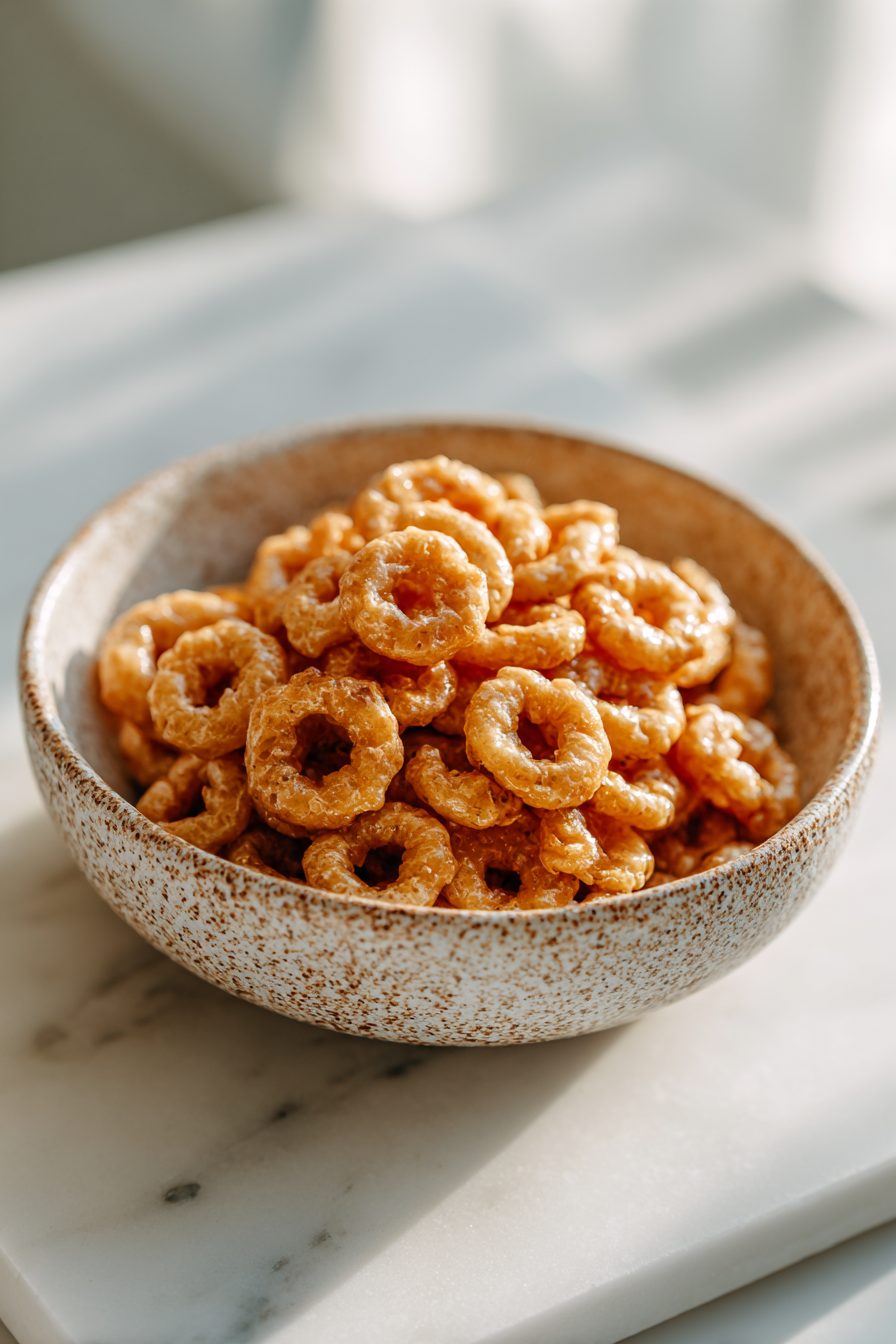
These little squares are basically a nostalgia grenade wrapped in sticky, buttery cereal — think rice krispie treats but made with Golden Cheerios for a nuttier, lighter crunch and a slightly grown-up vibe. They’re fast, oddly sophisticated for how lazy they are, and disappear in suspiciously small quantities every time I make them. Try them when you want something snackable that feels homemade but doesn’t require babysitting the oven.
My husband calls them “the dangerous ones.” He’ll grab one between emails and then suddenly there are three missing from the tray. The kids demand them for lunchboxes and for breakfast (they insist it’s protein, I do not argue). This became a staple because I once needed something to bring to a last-minute school bake sale and had exactly 15 minutes and a microwave — now it’s the thing we make when life is hectic and everyone needs a tiny, crunchy hug.
Why You’ll Love This Crispy Golden Cheerios Treats
– Quick as heck to pull together — done before you’ve fully decided what to make for dinner.
– Kid-approved and very adult-friendly: they’re sweet but not saccharine, and the Cheerios give a lovely toasted note.
– No oven required, which means less summer heat and fewer dishes.
– Super adaptable: add chocolate, nuts, or keep them plain and nostalgic.
Kitchen Talk


I have a habit of melting marshmallows with butter and somehow getting distracted by a text. One time I walked away and the whole house smelled like toasted sugar — not great. I’ve done the microwave method and the stovetop method; both work. Pressing the mixture into the pan too hard gives dense, sad bars, so I usually pat them down gently with a buttered spatula and then let gravity do the rest while they set. Also: a splash of vanilla changes everything, don’t skip it if you like living on the edge of flavor.
MORE OF OUR FAVORITE…
Shopping Tips
– Sweeteners: Marshmallows are the classic binder; pick regular mallows (not the mini-only bags) or consider a marshmallow cream if you can’t find them.
– Fats & Oils: Unsalted butter gives the best control — you can always add a pinch of salt later if you want that sweet-salty thing.
– Chocolate: If you’re adding chips or a drizzle, go for a mid-range chocolate that melts well (not ultra-cheap waxy stuff).
– Nuts & Seeds: Toast any nuts before adding for extra crunch and flavor; chop them roughly so they scatter through the bars.
– Crunch Extras: Mini candies, toasted coconut, or even cereal mix-ins work — pick something that won’t melt into an oily mess in your pantry.
Prep Ahead Ideas
– You can pre-toast or chop any nuts, and have your cereal measured into a big bowl the day before so assembly is literally two moves.
– Make the sticky mix and press into the pan a day ahead; wrap tightly and keep at room temp so they stay chewy, not chalky.
– Store extras in a shallow airtight container with parchment between layers so they don’t stick together — perfect for grab-and-go mornings.
Time-Saving Tricks
– Microwave your butter + marshmallows in short bursts (20–30 seconds), stirring between, instead of messing with a double boiler.
– Line the pan with parchment and let the paper overhang — remove the whole slab in one quick move and slice on a cutting board.
– Use a buttered spatula or sprayed measuring cup to press down the mix — no need to get your hands messy.
Common Mistakes
– Burning the marshmallows: I did this once and it ruined the whole batch. If you see browning, dump it and start again. Marshmallows should be glossy, not browned.
– Pressing too hard: you’ll end up with rock bars. Press gently so they keep their air pockets.
– Using stale cereal: steps to rescue? If they’re already sticky and sad, you can toast cut pieces in a low oven briefly to add crunch back, or crumble and use as a topping.
What to Serve It With
– A big glass of cold milk — obvious, but it’s a match made in childhood.
– Fresh fruit or a simple fruit salad for a lighter contrast.
– Coffee or tea for an afternoon pick-me-up.
– Packed into lunchboxes with carrot sticks for a fun sweet note.
Tips & Mistakes
– Heat level: low and steady for stovetop melting; microwave in short bursts with stirring.
– Pan size matters: too small = towers that won’t set right.
– Salt timing: add a teeny pinch after melting if you want depth — don’t overdo it.
Storage Tips
Store in an airtight container at room temperature for up to a few days; layering with parchment keeps them from sticking. Cold makes them firmer and chewier — still good for breakfast if you’re into that. You can freeze them wrapped tightly for longer storage; thaw at room temp before eating.
Variations and Substitutions
– Swap the cereal: try honey-nut Cheerios for extra sweetness or a gluten-free puff for dietary needs.
– Add-ins: chocolate chips, peanut butter swirls, toasted coconut, or chopped pretzels all work — fold them in at the end.
– Want to skip marshmallows? You can make a nut-butter + honey binder, but the texture will be different — denser and chewier.
– Salted butter vs unsalted: either works; if using salted, taste before adding extra salt.
Frequently Asked Questions
Crispy Golden Cheerios Treats
Ingredients
Main Ingredients
- 6 cup toasted oat cereal rings
- 10 oz mini marshmallows
- 4 tbsp unsalted butter cut into pieces
- 1 tsp vanilla extract
- 0.125 tsp fine salt
- 0.5 tbsp unsalted butter for greasing the pan
Instructions
Preparation Steps
- Line a 9x13-inch pan with parchment; grease lightly with the extra butter.
- Warm butter in a large pot over medium-low heat.
- Stir in marshmallows; cook, stirring, until fully melted and smooth.
- Remove from heat. Mix in vanilla and a small pinch of salt.
- Add cereal and fold until every piece is coated.
- Press mixture into the pan with a buttered spatula, gently.
- Let cool until set, then cut into squares.
Notes
Featured Comments
“Made this last night and it was will make again. Loved how the crispy came together.”
“Impressed! Clear steps and absolutely loved results. Perfect for busy nights.”
“Made this last night and it was family favorite. Loved how the crispy came together.”
“Super easy and family favorite! My family asked for seconds. Saving this one.”
“Impressed! Clear steps and family favorite results. Perfect for busy nights.”
“Super easy and turned out amazing! My family asked for seconds. Saving this one.”
“New favorite here — will make again. crispy was spot on.”
“New favorite here — turned out amazing. crispy was spot on.”
“New favorite here — so flavorful. flavorful was spot on.”
“New favorite here — absolutely loved. shareable was spot on.”