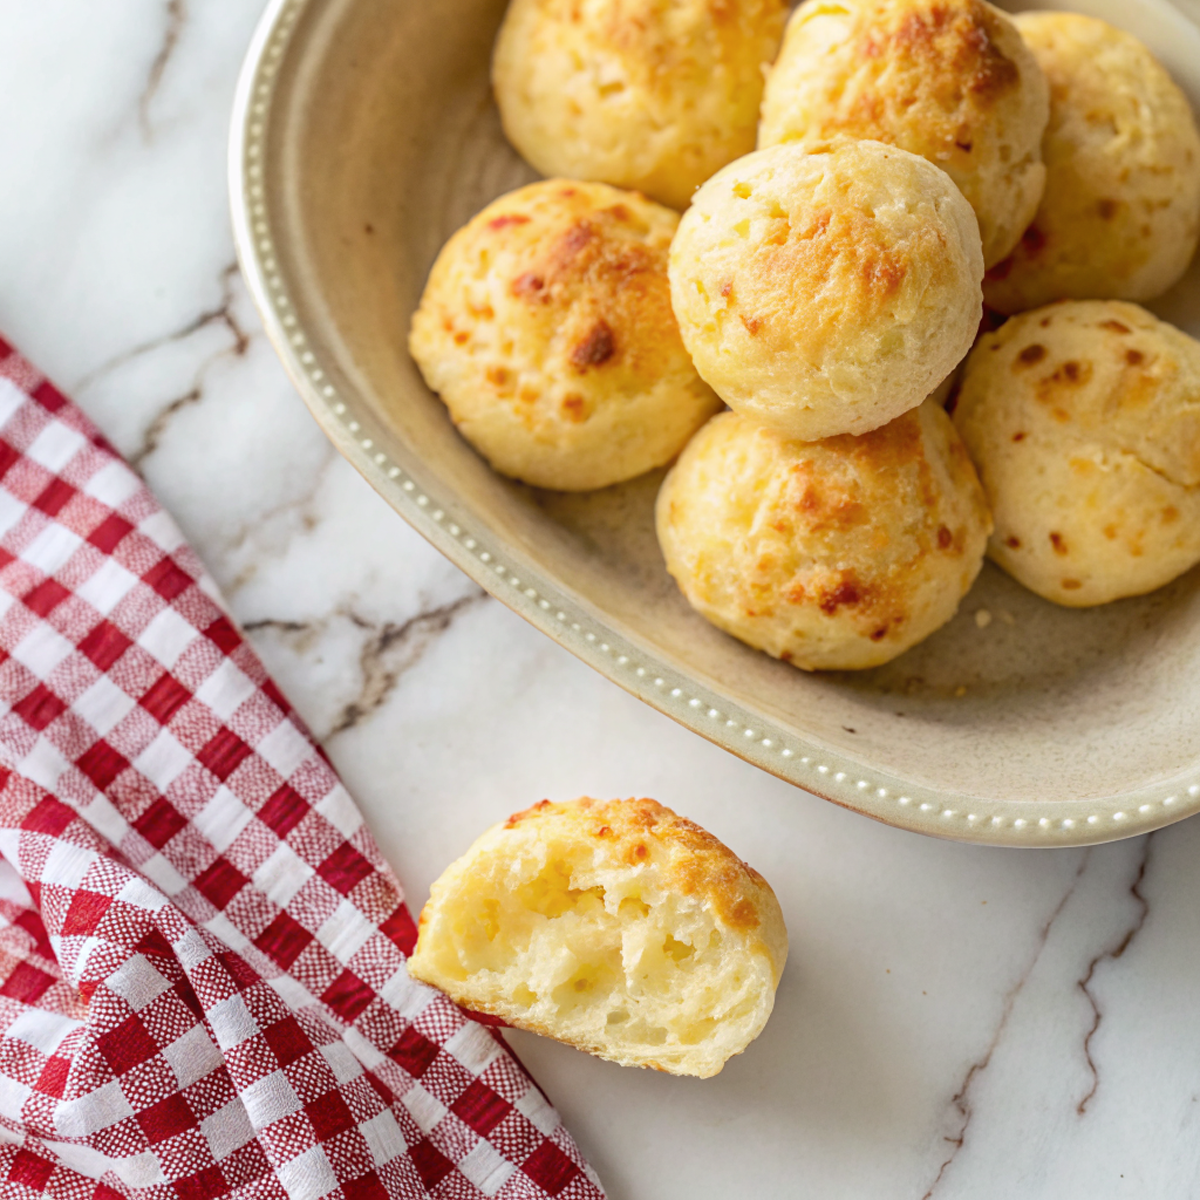
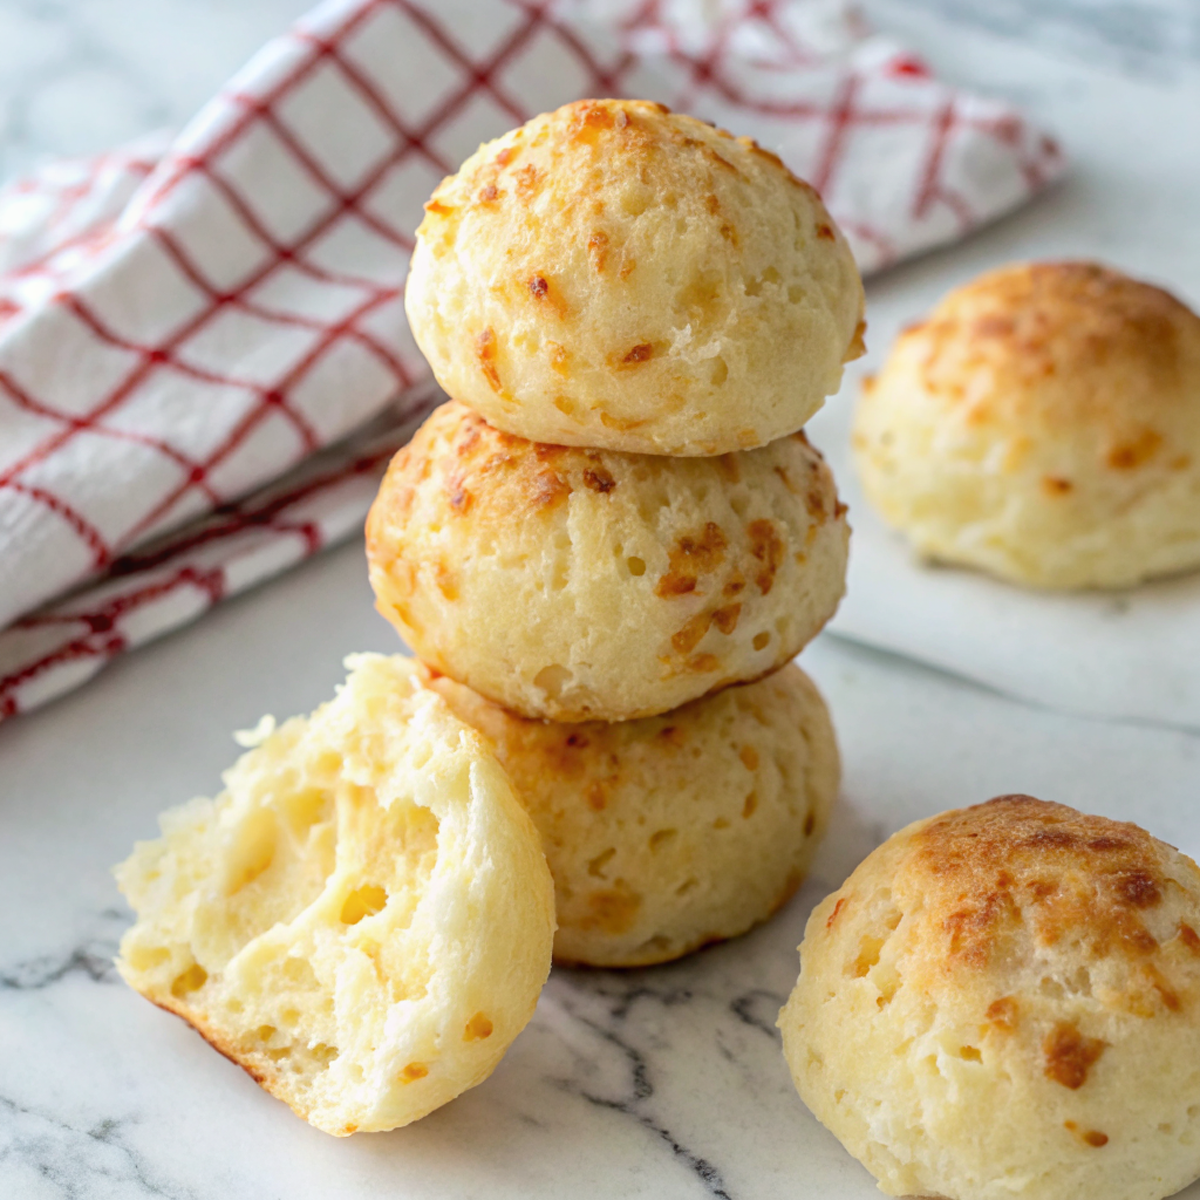
Brazilian Cheese Bread
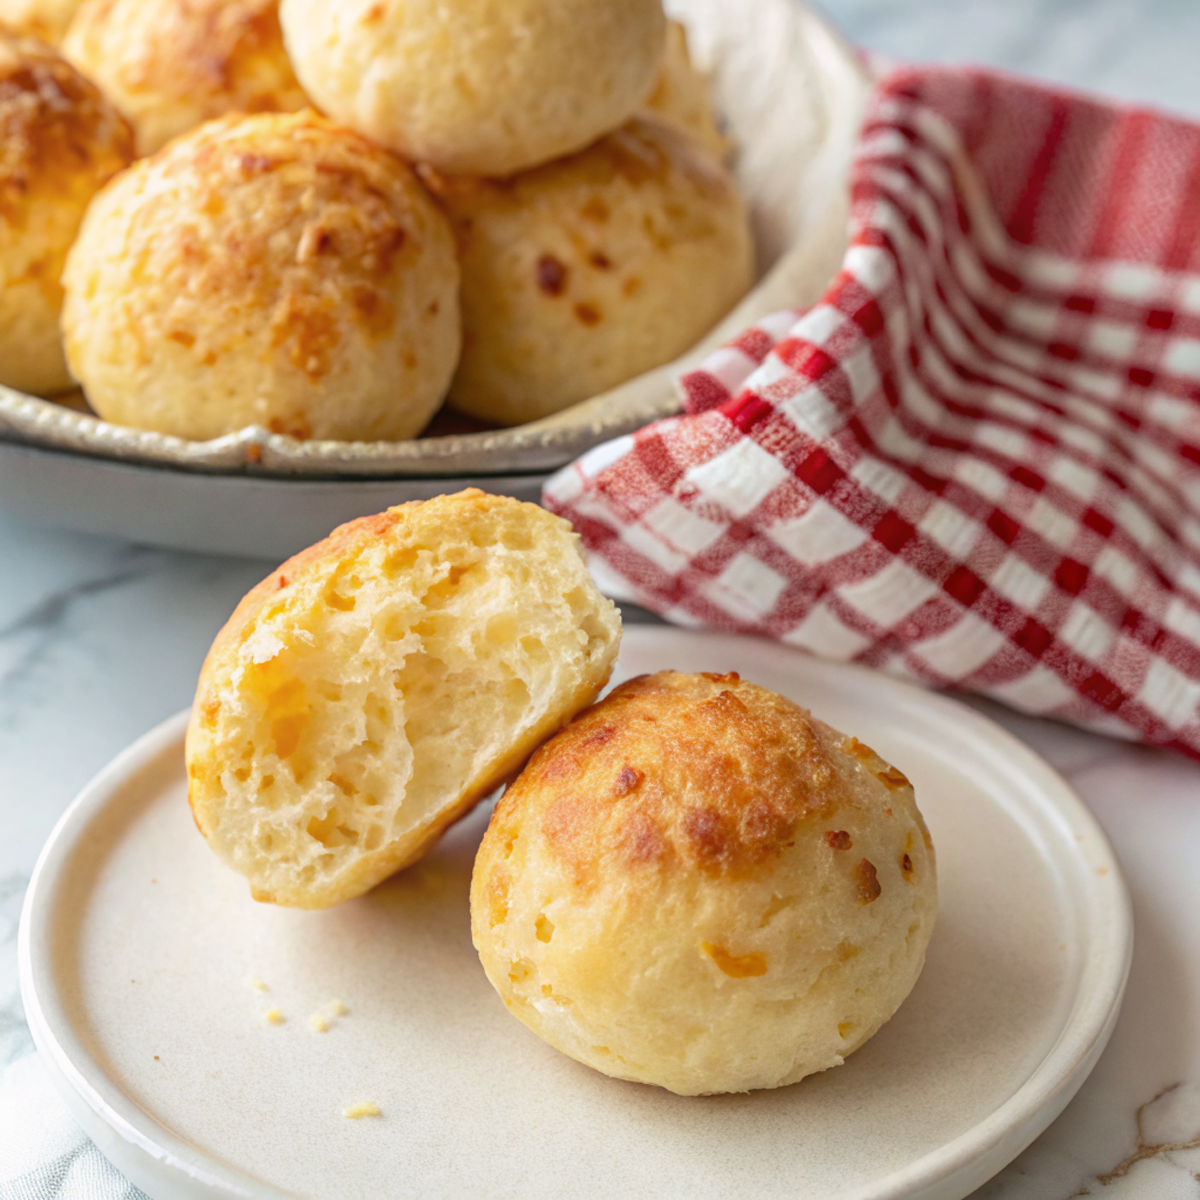
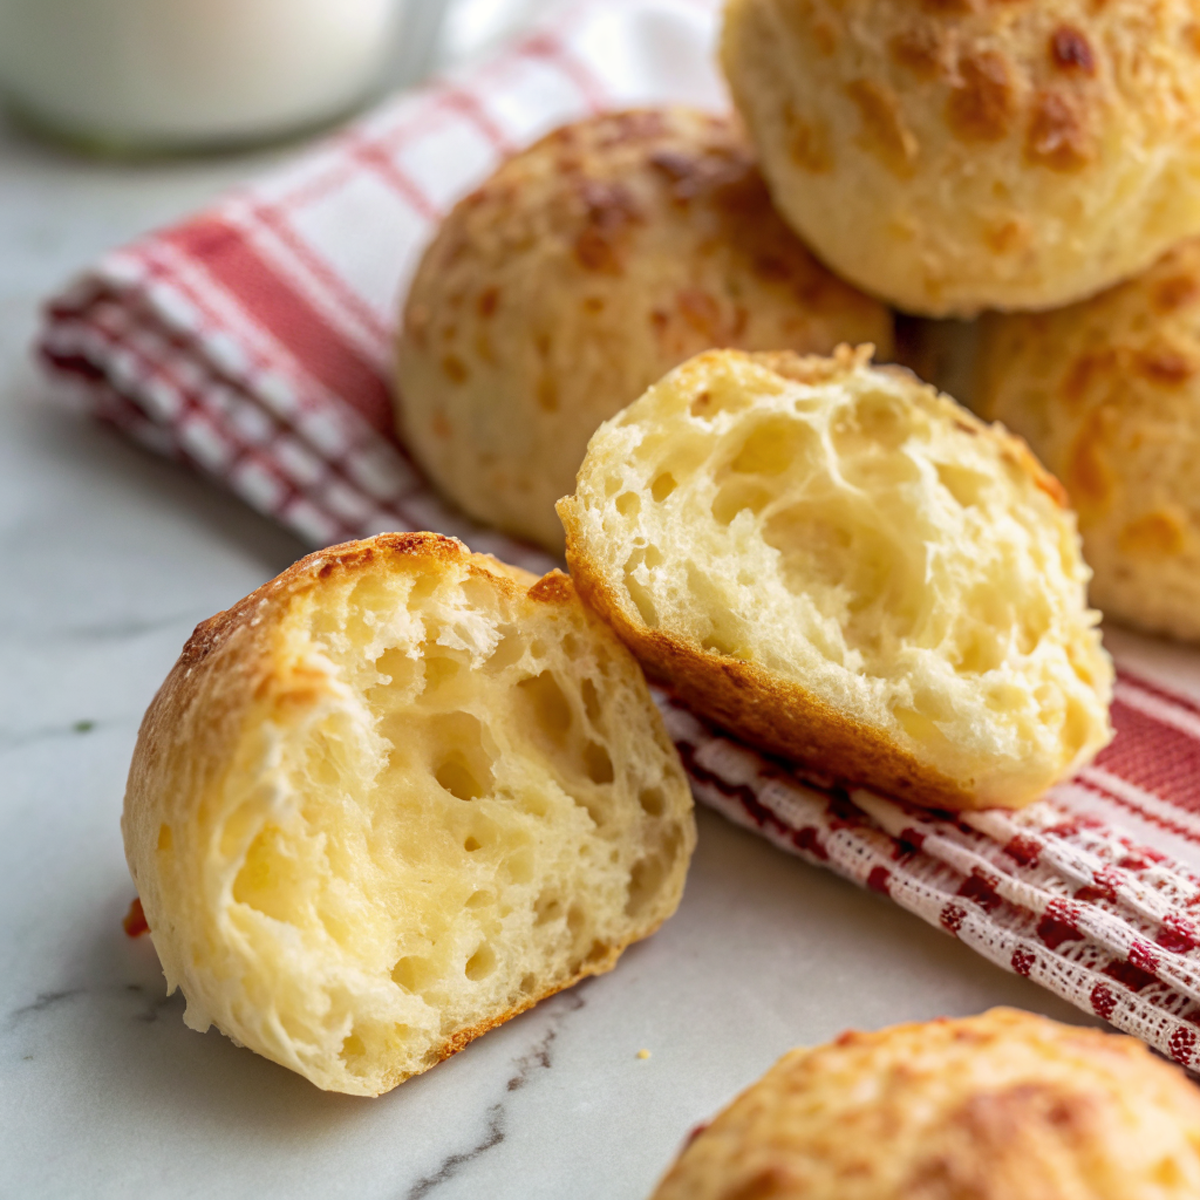
I make these little cheesy puffs almost every week because they are the kind of snack that disappears faster than I can wash the bowl. Lightly crisp outside, pillowy inside, salty cheese pockets that make everyone stop talking—pure chaos in the best way. They’re simple, a tiny celebration with coffee, soup, or as a ridiculous addition to a dinner where everyone pretends they’re being restrained.
My husband thinks he invented them because he “remembers” a bakery version from childhood, so now he takes full credit and eats three in a row like it’s performance art. My kid uses them as a vehicle for butter and makes a face like they’re the best thing ever. This turned into our Sunday ritual: I bake, they argue about who gets the warmest one, and someone always claims the last one was “closer to my side of the table” so it’s a whole production.
Why You’ll Love This Brazilian Cheese Bread
– Tiny, cheesy cloud bites that feel fancy but aren’t fussy.
– Naturally gluten-free — hello emergency snack for guests with dietary needs.
– No yeast, no rising time, and still puff-y and satisfying.
– Perfect for dunking in soups, coffee, or eating straight from the pan at 9 p.m. when no one’s judging.
Kitchen Talk
MORE EASY DINNER RECIPES...


I learned early on that the texture is everything: too little liquid and they’re gritty, too much and they’re dense. I once tried to “improve” the texture by blitzing the dough in a food processor and ended up with something resembling a savory marshmallow — not the goal. Another time I swapped out half the cheese for shredded parmesan because I was out of the usual, and honestly? Delicious, but saltier. The batter looks weirdly wet and sticky at first; trust it. It puffs into magic.
MORE OF OUR FAVORITE…
Shopping Tips
– Cheese: Go for a flavorful, melty cheese like mozzarella mixed with a sharper cheese (parmesan or pecorino) for depth; avoid pre-shredded blends with anti-caking agents if you can.
– Baking Basics (Flour/Sugar/Leaveners): Tapioca flour (cassava starch) is the key — it’s the base that gives these their chew and bounce, so don’t substitute with regular wheat flour.
– Dairy: Use whole milk or a milk-and-oil combo for richness; skim will work but the texture changes.
– Eggs: Fresh eggs make the batter smoother and help with the rise; if they’re older, the puffs still work but may be slightly less tender.
– Specialty Item: If you’re buying tapioca flour for the first time, get the plain white tapioca/cassava starch labeled for baking — it’s different from tapioca pearls.
Prep Ahead Ideas
– Make the batter a day ahead and keep it covered in the fridge; it firms up a bit but just stir gently before scooping.
– Grate your cheese ahead and store it in a zip-top bag in the fridge to save ten minutes when hungry panic hits.
– Scoop dough into a lined baking sheet and freeze for quick grab-and-bake puffs later; flash-freeze first so they don’t stick together.
Time-Saving Tricks
– Use a cookie scoop or two spoons to portion dough quickly and keep sizes even.
– Preheat the oven fully so the first batch puffs right away; nothing kills the vibe like limp cheese bread.
– If you’re short on time, grate cheese with a food processor attachment to speed things up.
Common Mistakes
– Adding regular wheat flour instead of tapioca — they won’t puff or have that signature chew. I learned this the sad way.
– Overbaking: they should be lightly golden, not deep brown; overbaked ones get dry. If yours look a touch pale, they’ll still be soft inside.
– Not measuring tapioca properly — too much gives gummy results, too little makes them crumbly. Eyeing it here is risky.
What to Serve It With
– A simple green salad with a bright vinaigrette to cut the richness.
– Tomato soup or caldo for dunking warmth.
– Coffee or a lightly sweetened iced tea for brunch vibes.
– Roasted veggies and a protein if you want to make it a full meal.
Tips & Mistakes
– Use warm oven heat so they puff quickly.
– Don’t skimp on the cheese for flavor — it’s the backbone.
– If batter is super sticky, refrigerate briefly; it becomes easier to handle.
– Oops moment: I once used salted butter and the first batch tasted like a pretzel — fix by adding a touch more cheese or serving with something sweet.
Storage Tips
Leftovers keep in an airtight container in the fridge for a couple of days; reheat in a hot oven or toaster oven to bring back the crisp outside. Cold? Totally fine for breakfast with coffee—chewy and nostalgic. If you microwave them, they’ll be softer and a touch gummy but still tasty; oven is best for texture.
Variations and Substitutions
– Cheese swaps: mozzarella + parmesan is classic, but cheddar produces a sharper, more rustic flavor. Don’t use processed cheese slices.
– Dairy-free: replace milk with unsweetened non-dairy milk and use a firm, flavorful dairy-free cheese — results vary, but it can work in a pinch.
– Herb add-ins: finely chopped rosemary or chives stirred into the batter are lovely, but don’t overdo it or you mask the cheese.
– Note: regular wheat flour won’t replicate the texture, so if you need gluten-free, stick to tapioca/cassava starch.
Frequently Asked Questions
Brazilian Cheese Bread
Ingredients
Cheese Bread Dough
- 2 cups tapioca flour (tapioca starch)
- 1 cup whole milk
- 1/3 cup light olive oil
- 3/4 teaspoon fine sea salt
- 2 large eggs
- 1 1/4 cups finely grated Parmesan cheese
- 2 tablespoons finely grated Parmesan cheese, for topping
- 1/4 teaspoon garlic powder
- 1/8 teaspoon freshly ground black pepper
Instructions
Preparation Steps
- Position racks in the upper and lower thirds of the oven and heat to 375°F (190°C). Line 2 rimmed baking sheets with parchment paper.
- In a large mixing bowl, whisk together the tapioca flour, garlic powder, and black pepper until evenly dispersed.
- Combine the milk, light olive oil, and sea salt in a small saucepan. Warm over medium heat until the edges are steaming and tiny bubbles appear (no rolling boil), 2 to 3 minutes. Remove from heat.
- Pour the hot milk mixture over the tapioca mixture. Stir vigorously with a sturdy spatula until it forms a sticky, shaggy dough. Let it stand 5 minutes to cool slightly and hydrate.
- Beat in the eggs one at a time using a hand mixer on medium speed (or a strong arm with a spatula), mixing until smooth and glossy after each addition and scraping the bowl as needed.
- Fold in 1 1/4 cups Parmesan and mix for 30 seconds more until the dough is elastic and tacky. Reserve the remaining 2 tablespoons Parmesan for topping.
- Transfer the dough to a large piping bag (or a zip-top bag) and snip a 1/2-inch opening; lightly oil the inside of the bag to help the sticky dough move. Pipe tablespoon-size mounds 2 inches apart onto the prepared sheets. Smooth any pointy tips with a damp fingertip and sprinkle each mound with a pinch of the reserved Parmesan.
- Bake for 18 to 22 minutes, rotating the pans front to back and top to bottom halfway through, until puffed, set, and deeply golden on the undersides. The puffs should sound hollow when tapped.
- Cool 5 minutes on the sheets, then serve warm while the centers are still chewy and the edges crisp.
Notes
Featured Comments
“Impressed! Clear steps and so flavorful results. Perfect for busy nights.”
“Impressed! Clear steps and family favorite results. Perfect for busy nights.”
“Impressed! Clear steps and will make again results. Perfect for busy nights.”
“Made this last night and it was absolutely loved. Loved how the fresh came together.”
“New favorite here — will make again. plant-powered was spot on.”
“Made this last night and it was absolutely loved. Loved how the family-style came together.”
“Made this last night and it was will make again. Loved how the bite-sized came together.”
“Impressed! Clear steps and turned out amazing results. Perfect for busy nights.”
“New favorite here — turned out amazing. cheesy was spot on.”
“This nutty recipe was will make again — the light really stands out. Thanks!”