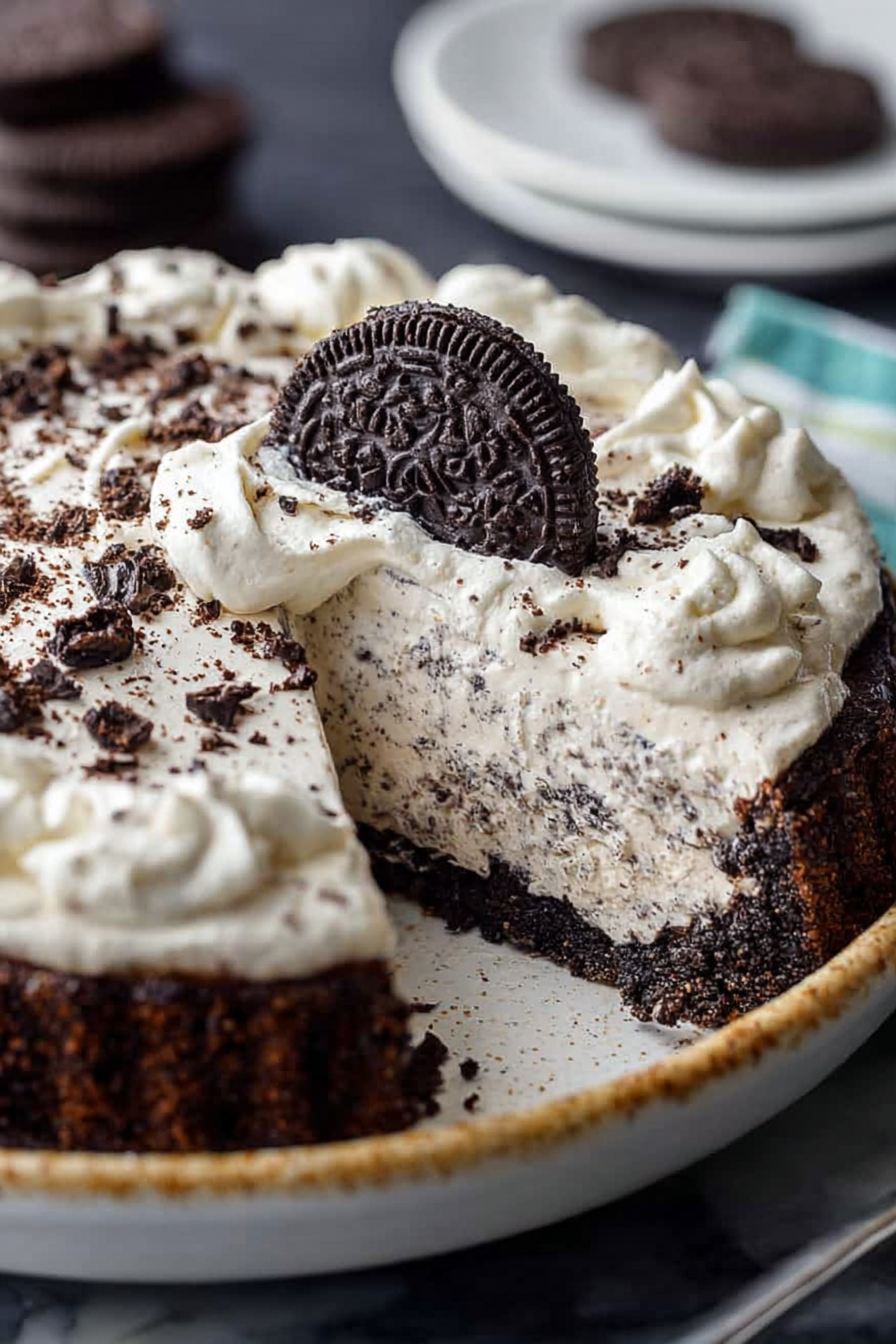
No-Bake Oreo Cream Pie Recipe
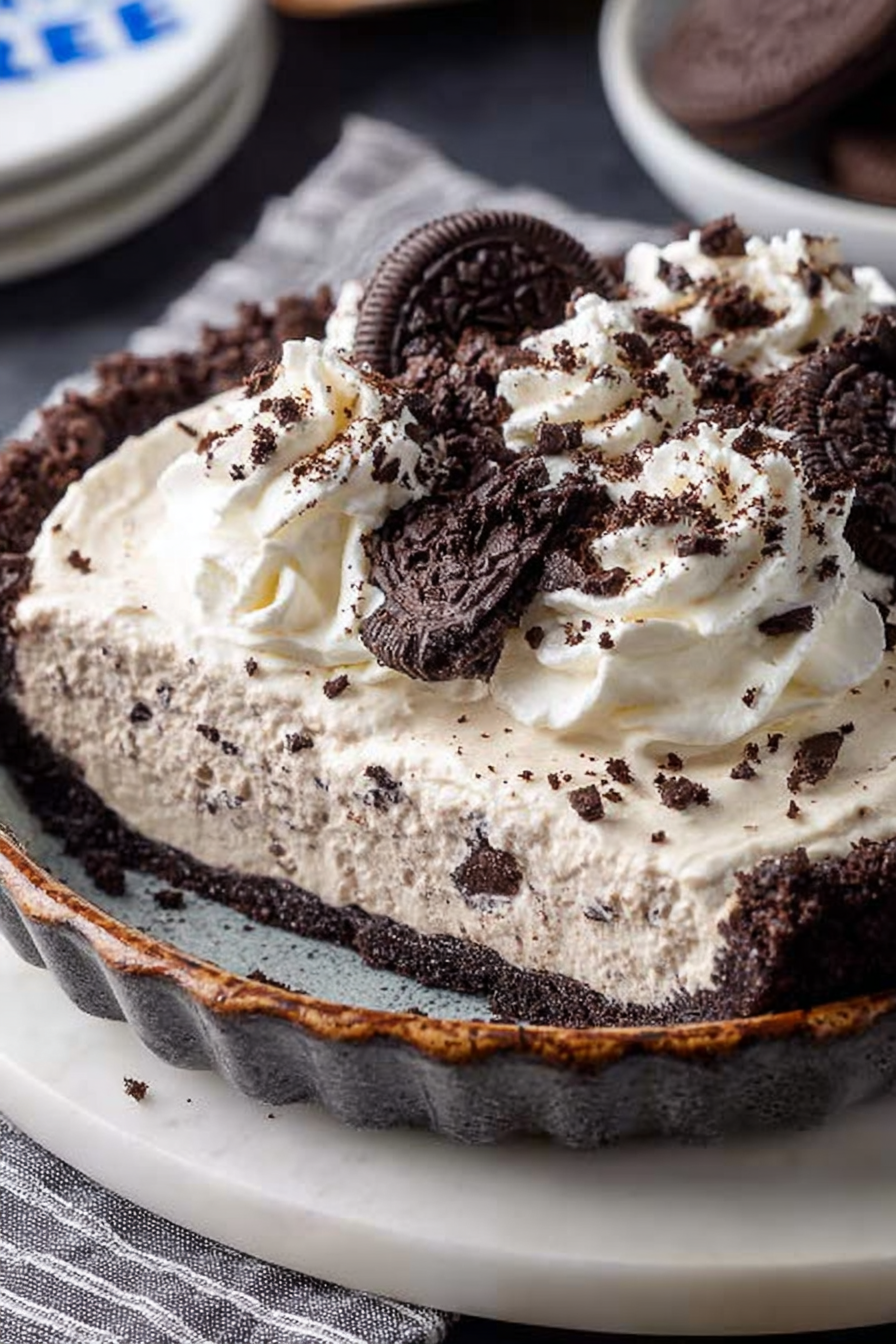
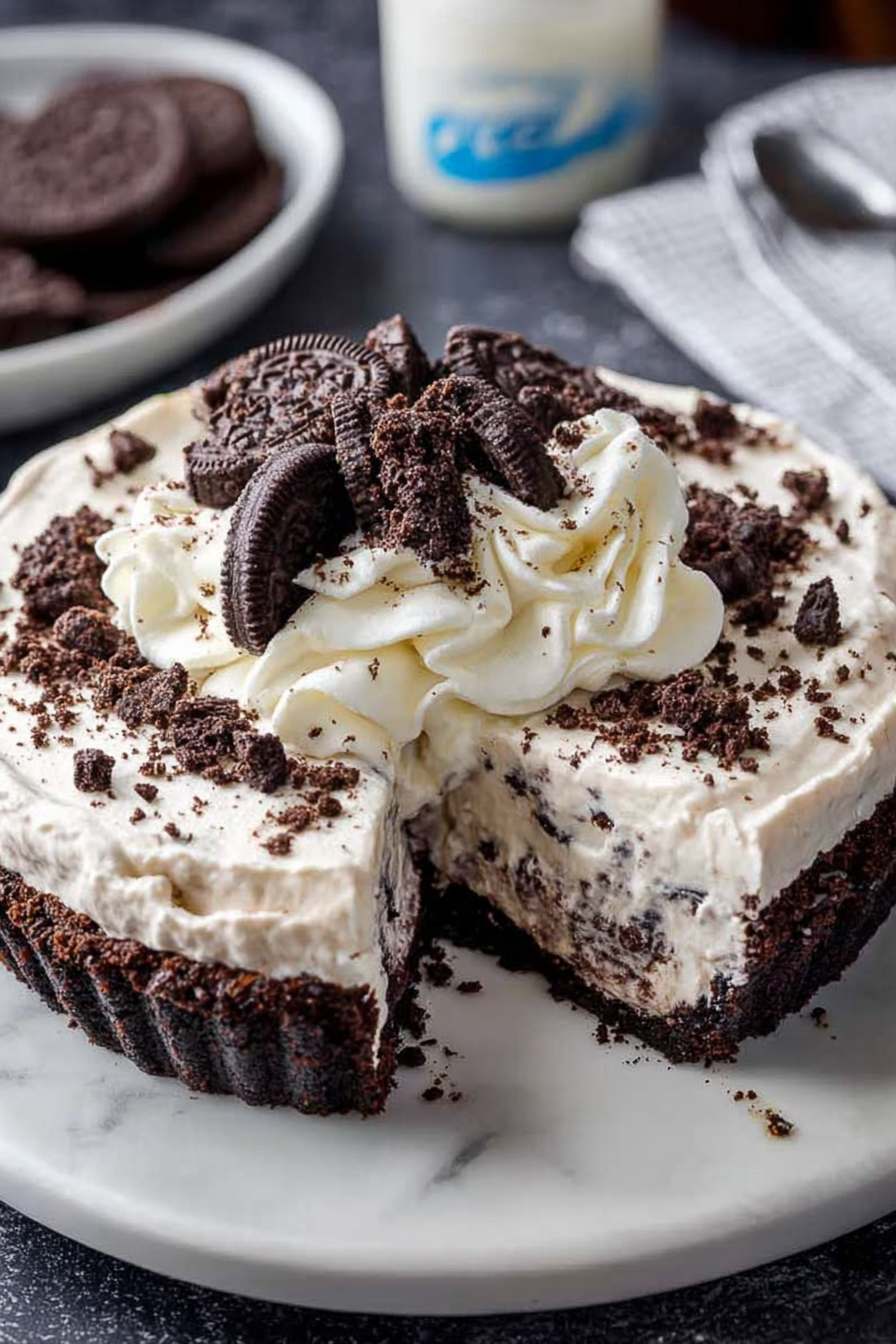
I make this No-Bake Oreo Cream Pie when I want something that feels indulgent but doesn’t require me to preheat emotional energy along with the oven. It’s essentially a crunchy Oreo crust, an impossibly creamy filling (think whipped cream and cream cheese holding hands), and more Oreo crumbs on top because of course we double down. If you can stir, chill, and resist eating it straight from the bowl, you’ve got this.
My husband calls it “the pie that made him a convert” — he used to be Team Brownie, but one bite of this and he’s a different man. The kids request it for every “important” event (which is most weekends), and I’ve learned to keep a pre-crushed bag of cookies in the freezer for those emergencies. Once I accidentally used half whipped cream and half Cool Whip because I forgot to defrost, and shockingly, the pie still disappeared in under 24 hours. That’s the real test.
Why You’ll Love This No-Bake Oreo Cream Pie Recipe
– No oven = no hot kitchen and more time to mess up the living room instead.
– Fast-ish: crust, whip, chill — you can have dessert ready the same afternoon.
– Crowd-pleaser: kids, picky eaters, and that one dessert-snobby friend will all take a slice.
– Flexible: swap mix-ins, make it mini, or turn it into parfaits when you’re feeling lazy.
Kitchen Talk


I’ve learned the hard way that the crust is 90% technique and 10% sugar. If you under-butter the crumbs, the crust falls apart and you cry into a spoonful of crumbs. If you over-whip the cream, you get grainy sadness. Also: do not, under any circumstances, try to crush Oreos with a rolling pin while your toddler is “helping” — crumbs will end up in the toy bin. Once I swapped half the cream cheese for mascarpone when I was feeling fancy and the pie turned into literal cloud. Worth the splurge.
This No-Bake Oreo Cream Pie is a total crowd-pleaser and super easy to make! The homemade Oreo crust paired with the creamy, sweet filling hits just the right balance, and it’s perfect for when you want a dessert without turning on the oven. Just make sure to chill it well—it tastes best straight from the fridge the next day!
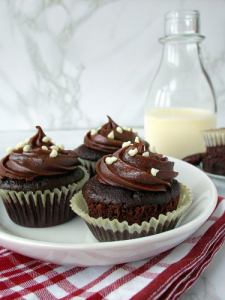
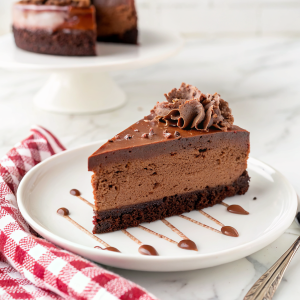
MORE OF OUR FAVORITE…
Shopping Tips
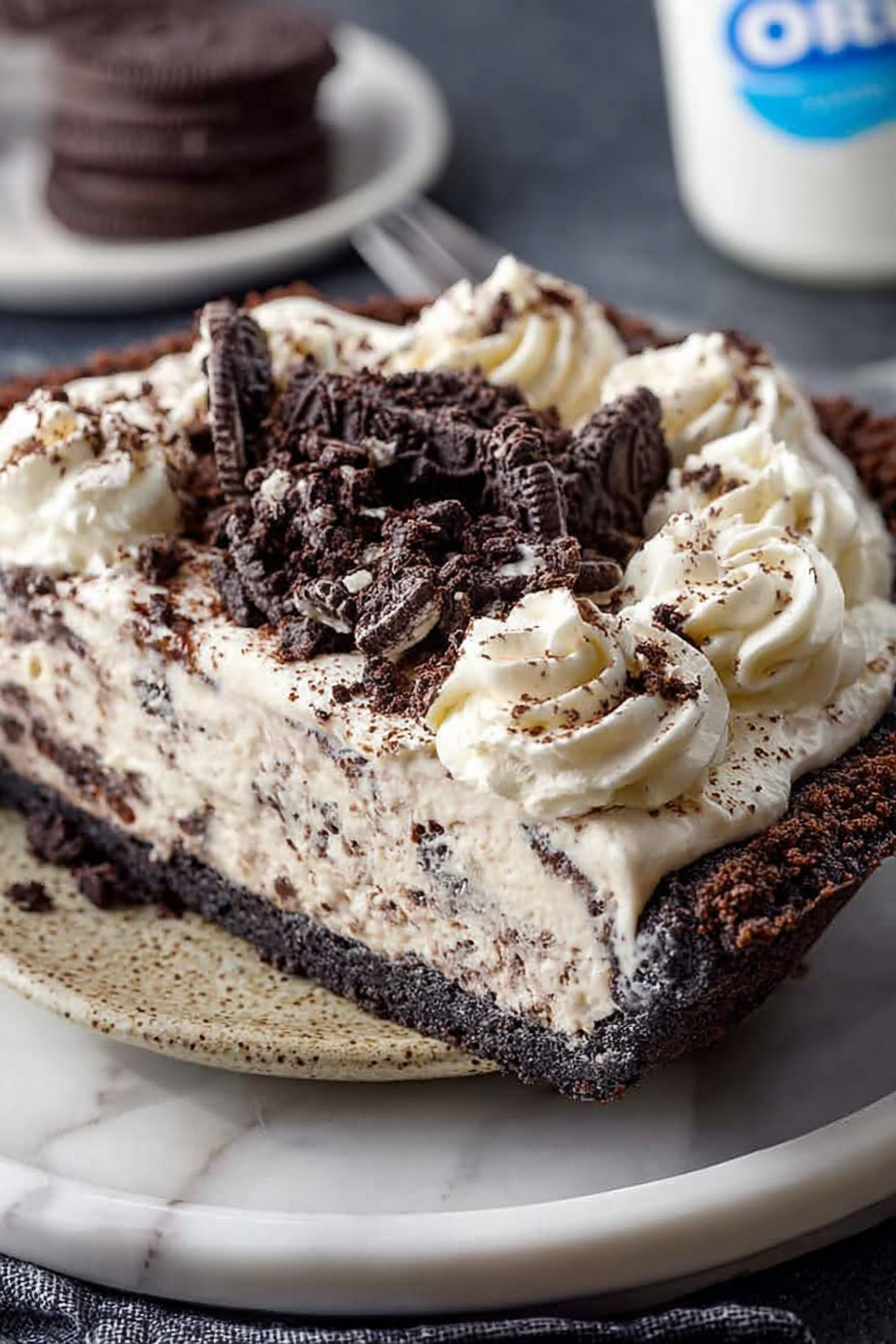
– Crunch Extras: Grab a sleeve of Oreos (regular or double-stuff if you like extra filling). For a prettier top, save a dozen whole cookies to decorate.
– Dairy: Use full-fat cream cheese and heavy cream for best texture; low-fat versions can make the filling loose and sad.
– Baking Basics: Powdered sugar smooths the filling faster than granulated; it dissolves into cream without grit.
– Flavor Boosts: A good vanilla extract matters here — avoid the super-cheap stuff if you can, it makes a real difference.
– Specialty Item: If you want to riff — try chocolate sandwich cookies with mint filling for a peppermint version, just check labels if you need gluten-free.
Prep Ahead Ideas
– Crush the cookies and make the crust a day ahead; keep it covered in the fridge so it doesn’t absorb fridge smells.
– Whip the filling a few hours ahead and store it in an airtight container; fold gently before filling the crust.
– Assemble fully and chill overnight for a firmer slice — great for guests the next evening.
– Use plastic wrap or an airtight pie box for transport; the pie tolerates short car rides better than I tolerate traffic.
Time-Saving Tricks
– Crush cookies in a food processor to save time and get a perfectly fine crumb.
– Use store-bought whipped topping in a pinch — it’s not the same, but it speeds things up on chaos nights.
– Chill in the freezer for 20–30 minutes to firm the pie quickly if you’re impatient.
– Don’t rush the chill entirely: the filling needs time to set, or it’ll be a wobbly mess when you slice.
Common Mistakes
– Overwhipping cream: turns grainy and separates; if this happens, gently fold in a spoonful of unwhipped cream to rescue it.
– Soggy crust: too much butter or too-thin a layer makes it limp; press crumbs firmly and chill before filling.
– Under-seasoning: sounds weird, but a pinch of salt in the crust or filling brightens the whole thing.
– Cutting too early: slices will smoosh — let the pie set for at least a couple hours for cleaner pieces.
What to Serve It With
– Fresh berries or a simple berry compote for a tart contrast.
– Espresso or cold brew — the bitterness balances the sweet.
– Vanilla ice cream for the ultimate over-the-top dessert experience.
– A sprig of mint or a dusting of cocoa for guests who notice details.
Tips & Mistakes
– Don’t heat the cream — cold cream whips better and faster.
– Press the crust firmly with the bottom of a measuring cup for an even base.
– If your filling looks too loose after mixing, give it 10–15 minutes in the fridge and stir again.
– Pro tip: save a little filling to dollop on each slice at serving time for prettiness.
Storage Tips
Keep leftovers in the fridge, covered, for up to 3 days. The crust softens a bit overnight but still tastes amazing — honestly, cold pie for breakfast is a valid life choice. You can freeze slices wrapped tightly for up to a month; thaw in the fridge for a few hours before serving. No shame in reheating slightly for softness, but don’t microwave the whole pie.
Variations and Substitutions
– Gluten-free: use GF chocolate sandwich cookies for the crust.
– Peanut butter swirl: fold a few tablespoons of peanut butter into part of the filling and marble it.
– Light version: use light cream cheese and a stabilized whipped topping, but expect a softer set.
– Fancy swap: mascarpone for half the cream cheese gives a silkier, more luxurious filling.
– No Oreos? Use graham crackers or chocolate wafers — the method stays the same.
Frequently Asked Questions
No-Bake Oreo Cream Pie Recipe
Ingredients
Main Ingredients
- 2.25 cup finely crushed chocolate sandwich cookies about 24 cookies
- 5 tbsp unsalted butter melted
- 0.13 tsp fine salt optional
- 8 oz cream cheese softened
- 0.9 cup powdered sugar
- 1.25 tsp vanilla extract
- 1.25 cup heavy whipping cream cold
- 1.5 cup chopped chocolate sandwich cookies
- 0.5 cup crushed chocolate sandwich cookies for garnish
Instructions
Preparation Steps
- Crush cookies for the crust until fine crumbs form.
- Stir in melted butter and salt, then toss to coat evenly.
- Press crumbs into a 9-inch pie plate, going up the sides.
- Chill the crust while you make the filling.
- Beat cream cheese until smooth and fluffy.
- Mix in powdered sugar and vanilla until creamy.
- Whip the cold cream to stiff peaks.
- Fold whipped cream into the cream cheese mixture gently.
- Fold in chopped cookies until evenly dotted.
- Spread filling into the crust and smooth the top.
- Sprinkle with cookie crumbs. Cover and refrigerate until set, about 3 hours.
- Slice with a warm knife and serve chilled.
Notes
Featured Comments
“New favorite here — so flavorful. quick dinner was spot on.”
“New favorite here — family favorite. crispy was spot on.”
“Super easy and will make again! My family asked for seconds. Saving this one.”
“Impressed! Clear steps and turned out amazing results. Perfect for busy nights.”
“This loaded recipe was turned out amazing — the saucy really stands out. Thanks!”
“This crowd-pleasing recipe was so flavorful — the grilled really stands out. Thanks!”
“Super easy and absolutely loved! My family asked for seconds. Saving this one.”
“Made this last night and it was so flavorful. Loved how the vibrant came together.”
“Made this last night and it was so flavorful. Loved how the creamy came together.”
“This grab-and-go recipe was turned out amazing — the refreshing really stands out. Thanks!”