Easy Cherry Bars for a Sweet Treat
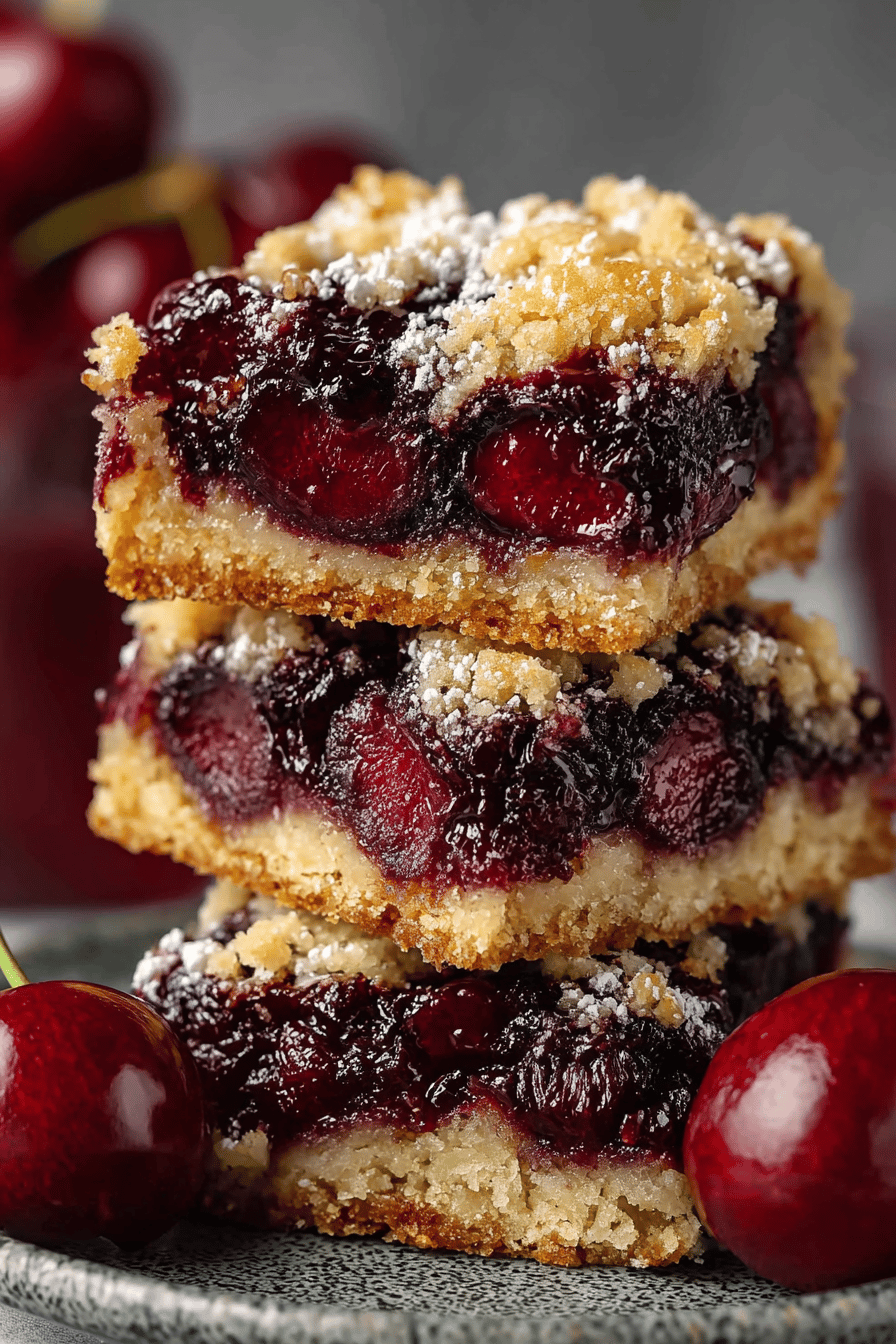
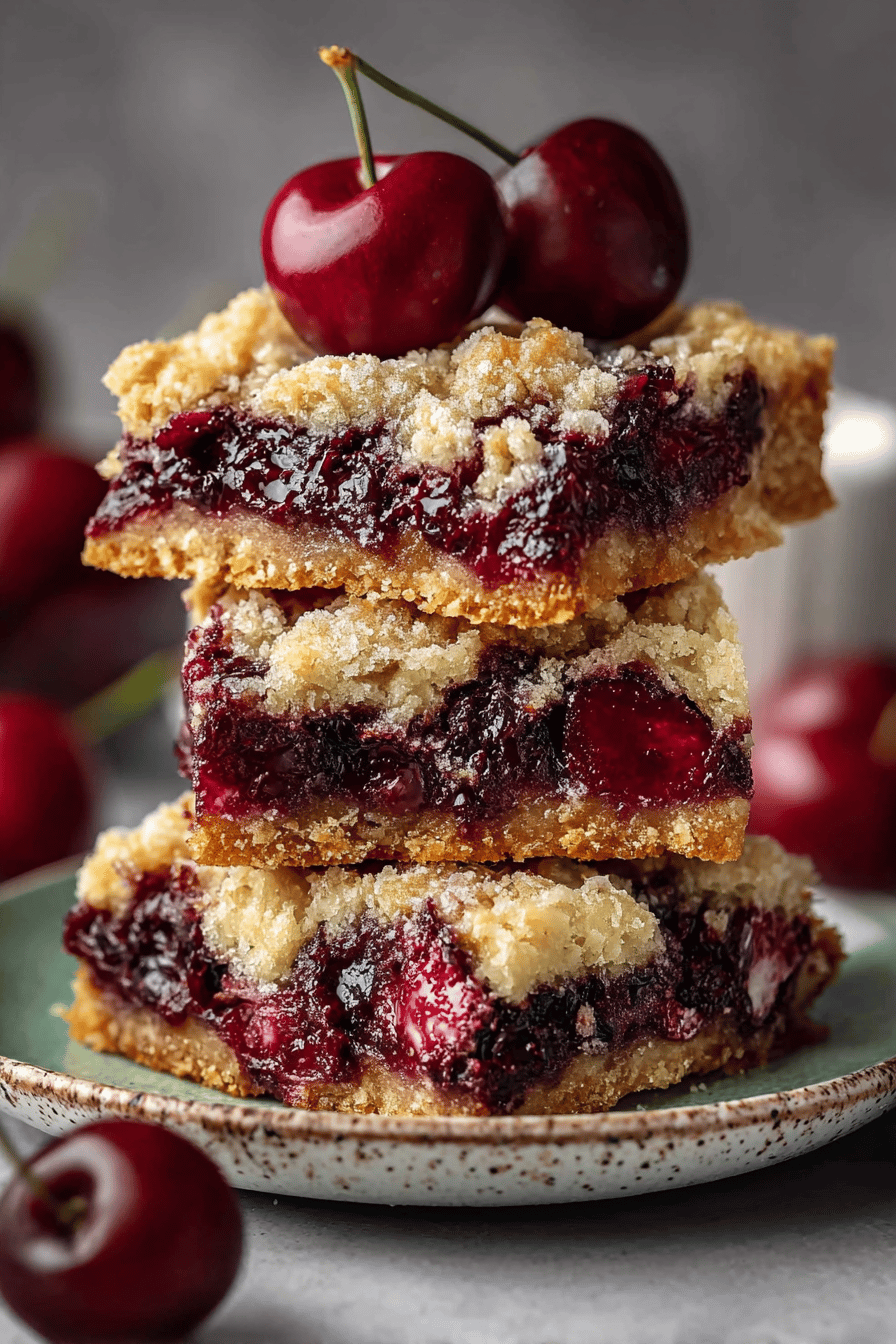
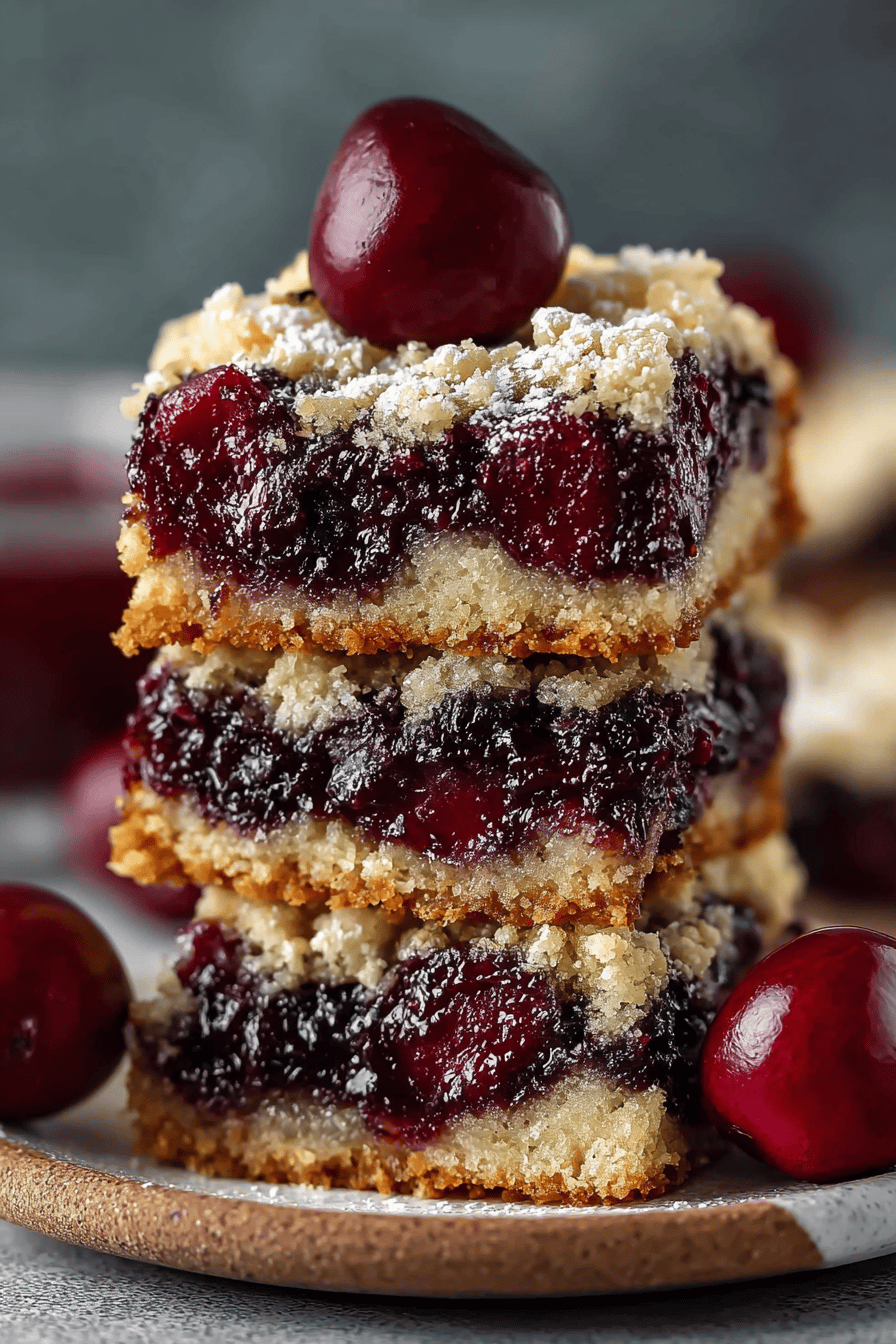
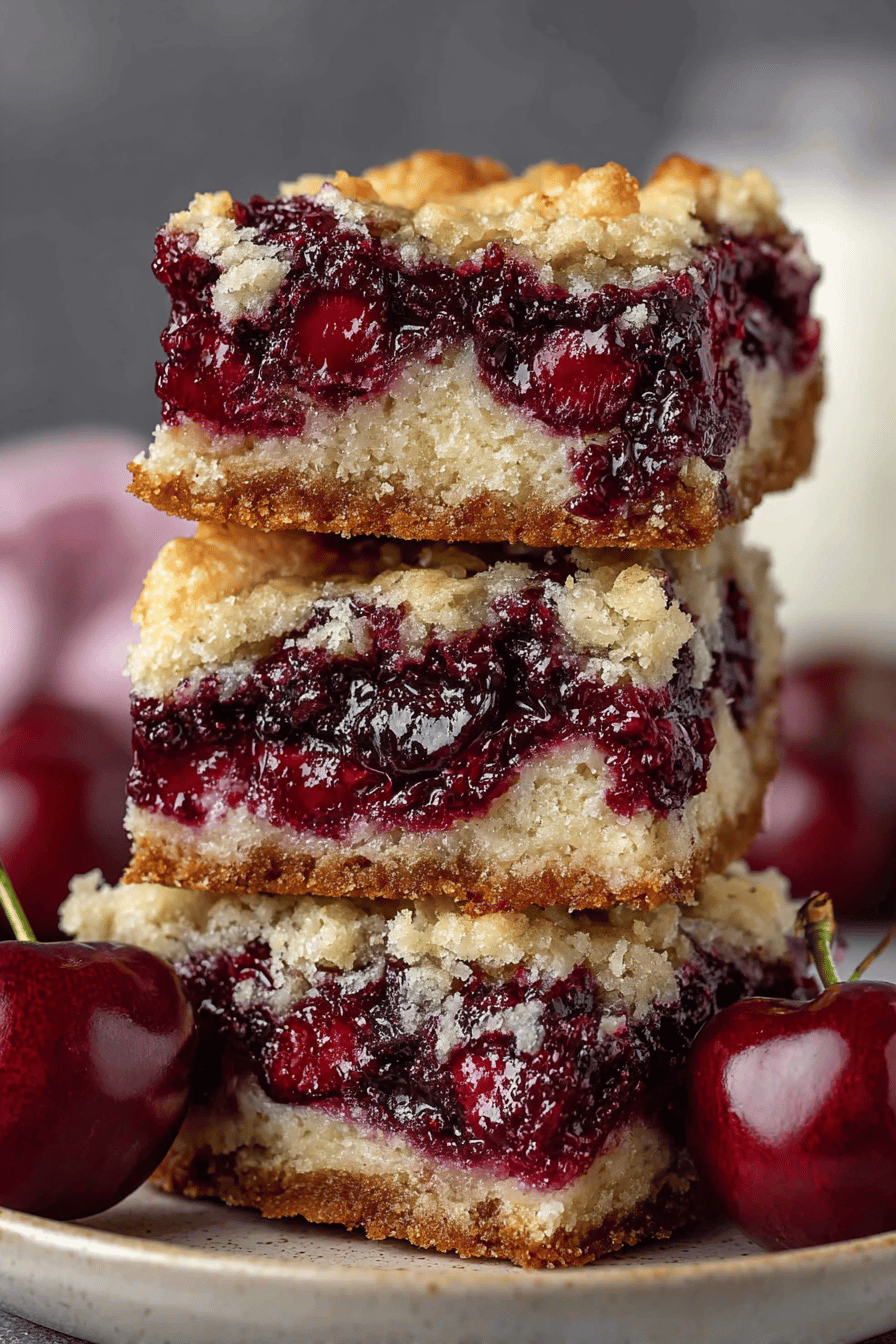
This is the kind of dessert you pull together when you need something easy that still looks like you tried. Buttery, soft crumb on the bottom, jammy cherries in the middle, a sandy little crumble on top, and a lazy almond glaze that makes it feel bakery-fancy. It’s weeknight-friendly, potluck-proof, and wildly snackable with coffee.
My husband calls these “the red bars,” which is both adorable and unhelpful. The kids go feral for the corner pieces, and I’ve caught more than one tiny hand sneaking into the pan before the glaze set. We made a batch last Sunday “for neighbors,” which was cute because we ate three rows before it cooled. It’s become our default move when someone texts, “Be there in 20!” and I’m still in slippers with flour on my sweater.
Why You’ll Love This Easy Cherry Bars for a Sweet Treat
– Shortcut dessert that doesn’t taste like a shortcut. Promise.
– Uses mostly pantry stuff and two cans of cherry pie filling. Minimal brain cells required.
– That almond glaze? Makes people think you did something fancy, but it’s a 2-minute whisk.
– Sturdy enough for lunchboxes, pretty enough for brunch.
– Not-too-sweet vibe if you let the cherries do their thing.
How to Make It
Okay, preheat to 350°F and line a 9×13 with parchment so you can lift the whole slab out like a champ. We’re doing a simple dough: beat soft butter with sugar till it’s pale and fluffy, then toss in an egg, vanilla, and a whisper of almond extract (it’s the secret “bakery” smell). Dry stuff goes in next—flour, a pinch of baking powder, salt—just until clumpy. It should look like damp sand that holds together when you squeeze it.
These cherry bars were such a breeze to whip up, and they tasted like something straight out of a bakery! The crust was buttery and just the right balance to the sweet cherry filling. I’ll definitely be making them again for weekend treats or potlucks.
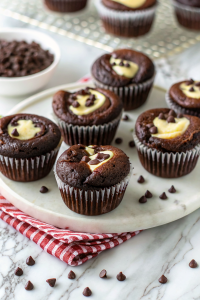
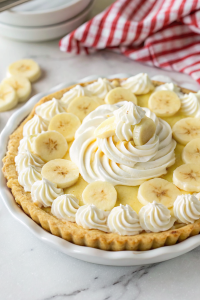
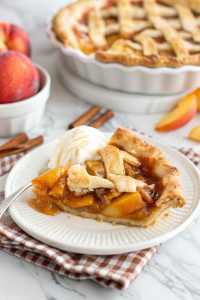
MORE OF OUR FAVORITE…
Press about two-thirds of that into the pan—don’t overthink it, just an even-ish layer. Spread two cans of cherry pie filling over the base (I dollop and then connect the dots so nothing tears up the crust). Crumble the remaining dough over the top in cozy clusters. Bake until the edges are golden and the cherries are bubbling through. Let it cool (I know, torture), whisk a quick glaze, drizzle, and slice. Try not to “taste test” five pieces. Or do. I’m not your boss.
Ingredient Notes
– Unsalted butter: Room temp is key or it won’t cream properly and your base gets dense. Salted works—just reduce the added salt a smidge.
– Granulated sugar: Sweetens and helps with that tender crumb. I’ve swapped in half cup white + half cup coconut sugar and it was lovely, slightly caramelly.
– Egg: Binds the dough so it doesn’t turn to dust. Don’t skip it unless you like chaos. Flax egg can work in a pinch—texture’s a bit more crumbly.
– Almond extract: The whole bakery-vibes thing. If you hate almond, use all vanilla or add lemon zest for brightness.
– Flour + baking powder: All-purpose, nothing fancy. A tiny lift keeps it from being shortbread-flat.
– Cherry pie filling: Canned is easy and honestly great. If using homemade, simmer until thick—watery filling = soggy middle.
– Powdered sugar + milk: For the glaze. I go milk for simple, but a splash of cream or even lemon juice is chef’s kiss.
Recipe Steps
1. Preheat oven to 350°F and line a 9×13-inch pan with parchment; lightly grease.
2. Beat 1 cup unsalted butter (soft) with 1 cup sugar until light and fluffy, 2–3 minutes.
3. Mix in 1 large egg, 1 tsp vanilla, 1/2 tsp almond extract, and 1/2 tsp fine salt.
4. Whisk 3 cups all-purpose flour with 1 tsp baking powder; add to the bowl and mix just until clumpy.
5. Press about 2/3 of the dough into the pan; spread 2 cans (21 oz each) cherry pie filling over; crumble remaining dough on top.
6. Bake 32–38 minutes until edges are golden and filling bubbles; cool 45–60 minutes, whisk 1 cup powdered sugar with 2–3 tbsp milk + a dash of almond extract, drizzle, slice.
What to Serve It With
– Hot coffee or an iced latte if we’re pretending it’s breakfast.
– A scoop of vanilla ice cream when you want full sundae energy.
– Lightly sweetened whipped cream and a sprinkle of toasted almonds.
– Bright things like lemon yogurt or a whisper of lemon zest on top to cut the sweet.
Tips & Mistakes
– Line the pan. Lifting the whole slab out makes clean cuts and less swearing.
– Don’t overmix the dough once flour goes in—crumbly is the goal, not bread dough.
– If your cherry filling looks runny, simmer it 5 minutes with 1 tsp cornstarch first.
– Let it cool before glazing or the drizzle vanishes into the warm top. Tastes great, looks meh.
– Golden edges + a few cherry bubbles are your done signals. Pale top = give it 5 more minutes.
Storage Tips
Counter: Covered at room temp for 2 days.
Fridge: 4–5 days in an airtight container—cold bars are secretly amazing and slice super clean.
Freezer: Wrap individual bars and freeze up to 2 months; thaw on the counter or go full goblin and eat slightly frozen. Breakfast bar? I won’t tattle.
Variations and Substitutions
– Berry swap: Blueberry or raspberry pie filling is fantastic. Strawberry gets sweeter—add a squeeze of lemon.
– Fresh cherry moment: Cook 4 cups pitted cherries with 1/2 cup sugar, 1 tbsp lemon juice, and 1–1.5 tbsp cornstarch until thick.
– Nutty: Fold 1/2 cup slivered almonds into the crumble or sprinkle on top before baking.
– Oat crumble: Swap 1/2 cup flour for rolled oats in the topping for extra texture.
– Gluten-free: Use a 1:1 GF baking flour; bake an extra 3–5 minutes if needed, and cool fully before slicing.
– Dairy-free: Use a good vegan butter or refined coconut oil (texture will be a bit more shortbready).
– Less sweet: Reduce sugar in the dough to 3/4 cup; in the glaze, thin powdered sugar with lemon juice. Honey ↔ sugar works in the glaze (a little stickier), less so in the dough.
– Flavor twist: Skip almond extract and use lemon zest + vanilla, or drizzle with melted dark chocolate instead of glaze.
Frequently Asked Questions
Easy Cherry Bars for a Sweet Treat
Ingredients
Main Ingredients
- 1 cup unsalted butter softened
- 1 cup granulated sugar
- 3 large eggs
- 2 tsp vanilla extract
- 0.5 tsp almond extract
- 2.5 cup all-purpose flour
- 1 tsp baking powder
- 0.5 tsp fine salt
- 42 oz cherry pie filling about 2 cans
- 1 cup powdered sugar for glaze
- 2 tbsp milk for glaze
- 0.5 cup sliced almonds optional, for topping
Instructions
Preparation Steps
- Preheat oven to 350°F. Line a 9x13 inch baking pan with parchment, leaving overhang for easy removal. Lightly grease.
- Cream softened butter and granulated sugar in a large bowl until light and fluffy, about 2 minutes.
- Beat in eggs one at a time, then mix in vanilla and almond extract until combined.
- Whisk flour, baking powder, and salt in a separate bowl. Add dry ingredients to the wet mixture and mix just until a soft dough forms.
- Spread about two-thirds of the dough evenly into the prepared pan.
- Gently spread the cherry pie filling over the dough in an even layer.
- Drop spoonfuls of the remaining dough over the cherries; it will not cover completely. Sprinkle with sliced almonds if using.
- Bake for 30 to 35 minutes, until the top is lightly golden and the center is set. Cool completely in the pan.
- Whisk powdered sugar and milk until smooth, adding a few drops more milk if needed for drizzling consistency. Drizzle over cooled bars.
- Lift bars from the pan using parchment and cut into 24 squares. Serve and enjoy.
Notes
Nutrition
Featured Comments
“Super easy and so flavorful! My family asked for seconds. Saving this one.”
“Made this last night and it was so flavorful. Loved how the fruity came together.”
“New favorite here — turned out amazing. buttery was spot on.”
“This satisfying recipe was will make again — the quick dinner really stands out. Thanks!”
“Made this last night and it was family favorite. Loved how the flavorful came together.”
“Made this last night and it was so flavorful. Loved how the juicy came together.”
“Made this last night and it was will make again. Loved how the cozy came together.”
“New favorite here — so flavorful. clean was spot on.”
“New favorite here — turned out amazing. family favorite was spot on.”
“Made this last night and it was so flavorful. Loved how the hearty came together.”